


This project is about building a mobile outdoor kitchen for a Big Green Egg barbecue. Part 2 of the video is linked below.
Design
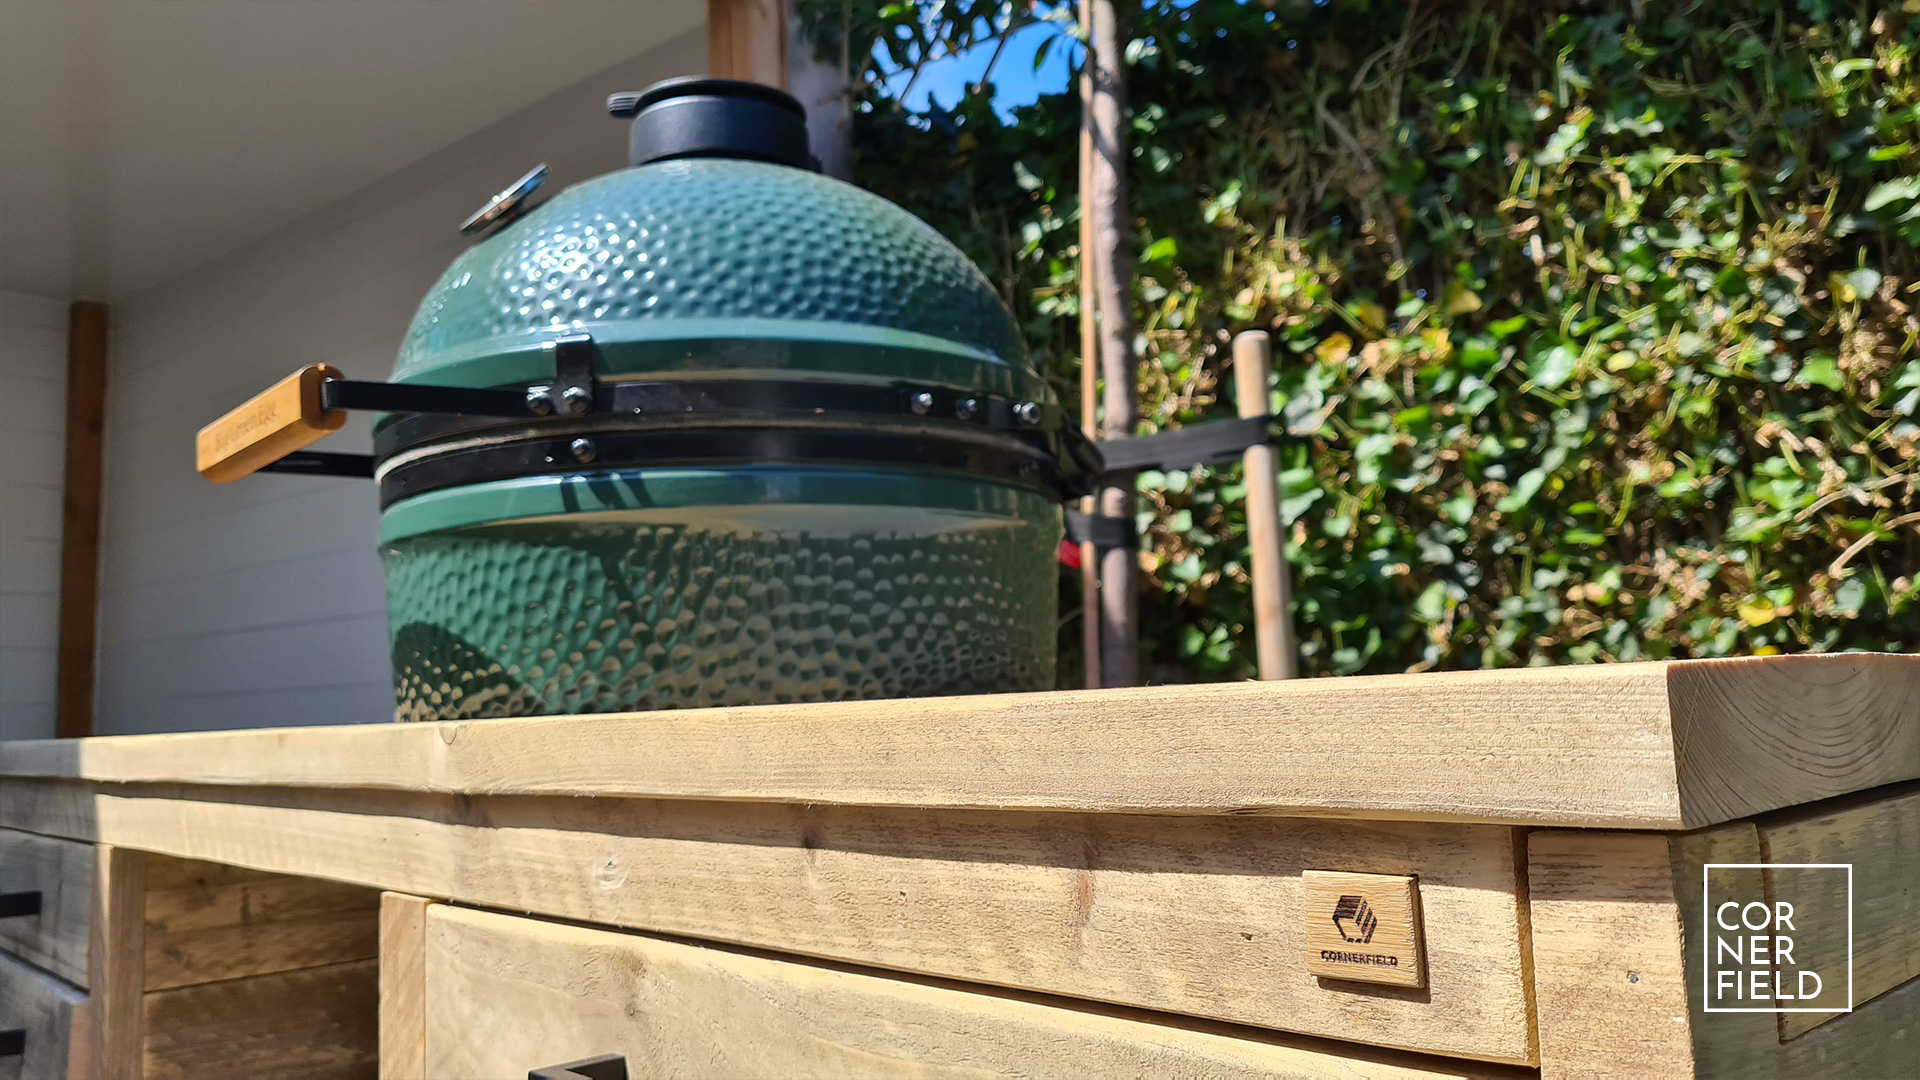
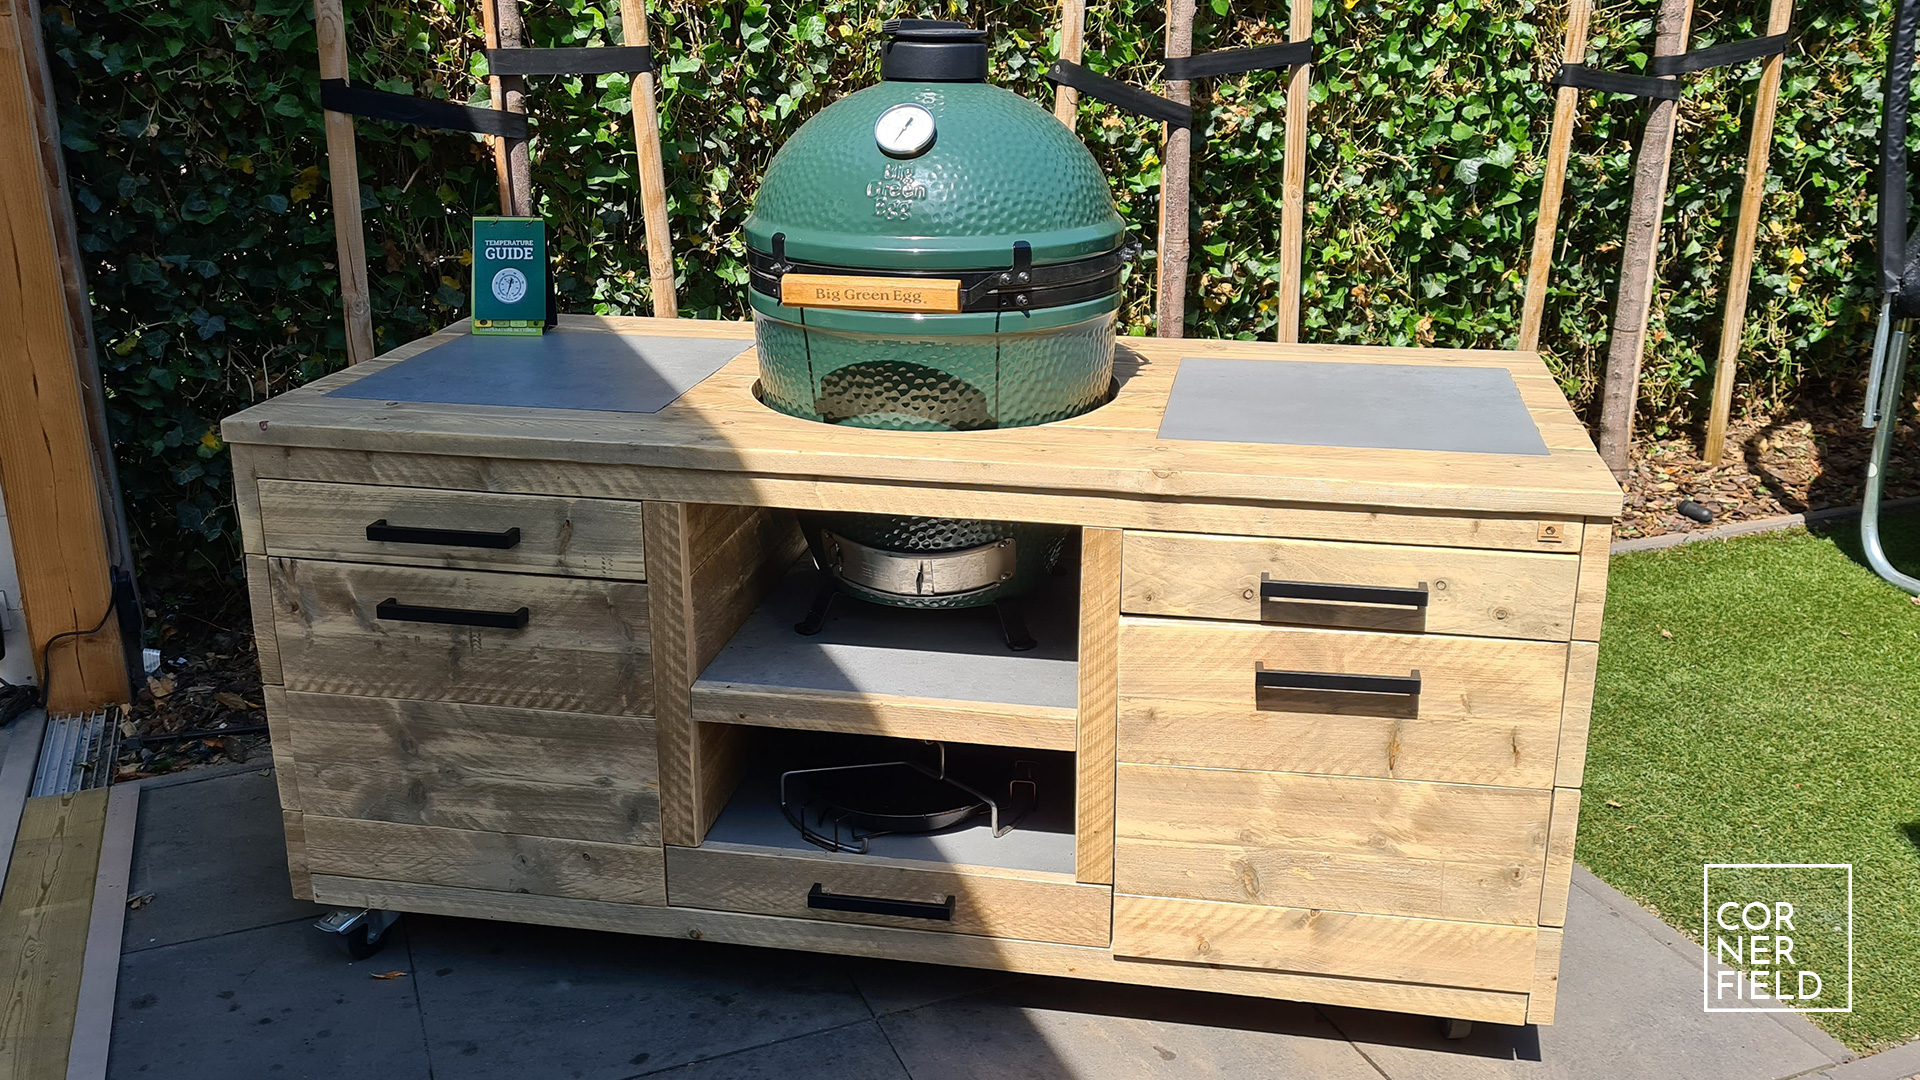
For the design of this outdoor kitchen, I wanted to make something that was compact yet versatile. It has to hold a Big Green Egg Large barbecue in the center with sufficient space to cook and work arround it. The entire assembly had to be moveable and durable. That puzzle resulted in this design:
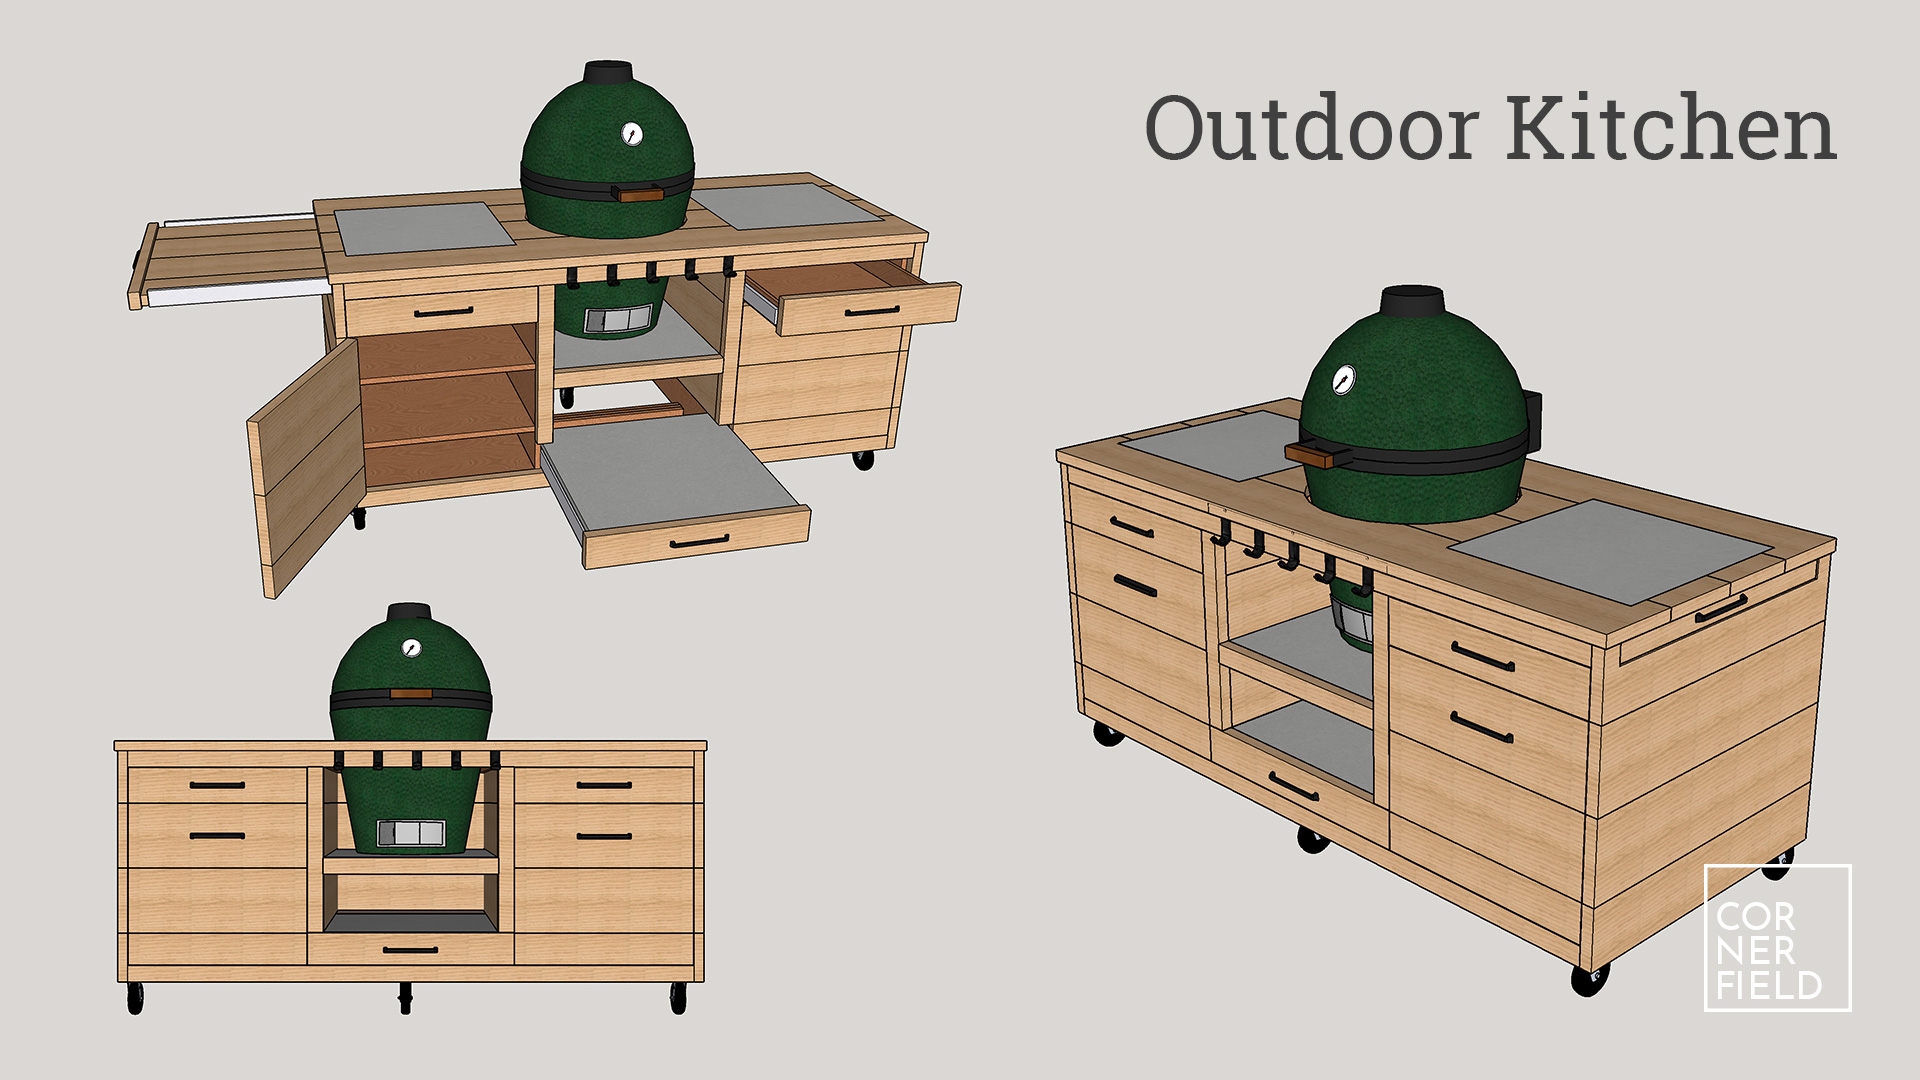
A quick summary of all the components of this project.
- Elevated stand for the Big Green Egg in the center of the kitchen,
- Working surface (60 cm, or 2 feet) on both sides of the barbecue,
- Extensions for the work surface, 50 cm (+/- 1.5 feet) on both sides,
- Two embedded ceramic tiles for easier cleaning and hot objects,
- Two upper drawers for tools and smaller items,
- Two large cabinets with shelves,
- One extendable ceramic tile for storing stones from the BBQ,
- Heavy-duty casters for easy transportation.
Build
Wood
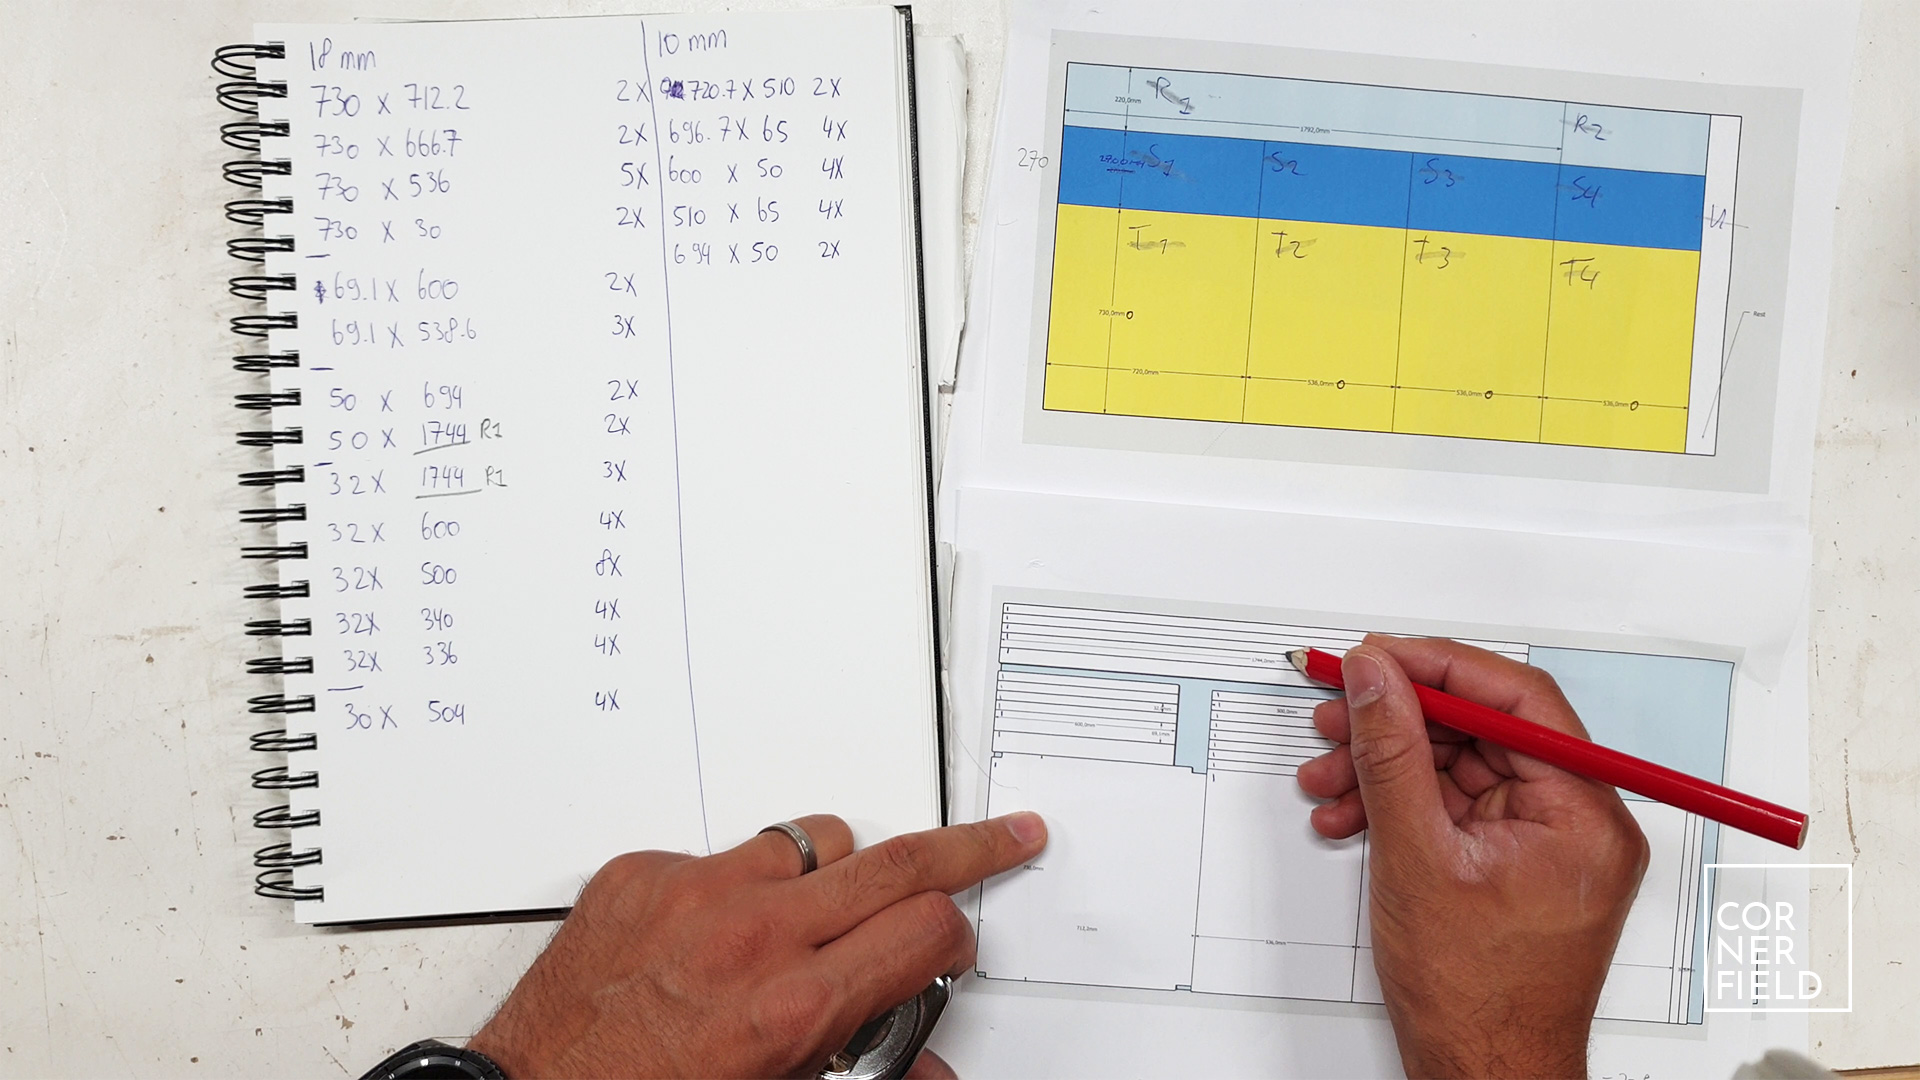
This project started with breaking down my design into cut lists for each of the materials I needed. These overviews are available as downloads at the end of this article. The wood required for this project:
- 2 sheets of 18 mm(3/4″),
- 1 sheet of 10mm (1/2″) exterior grade plywood,
- 16 boards of 2.5 meter (8.2 feet) used construction lumber.
The top and siding are made from the used construction lumber that in The Netherlands is called ‘steigerhout’.
Materials
- Drawer slides,
- Door hinges,
- Shelf pins,
- Castors,
- Tiles,
- Drawer pulls,
- Screws, nails, and glue,
- Paint & varnish.
Tools
I wanted to share with you the full list of all the tools I used (or at least try to). There is no fixed set of tools that are required to make this project but I used the following:
- Table saw ( DeWALT DWE7491 with Freud cross-cut blade )
- Circular saw ( Makita DHS680 )
- Band saw ( HBM 300 Profi with Makita blade )
- Pull saw ( Hultafors PSX )
- Drill press ( HBM 20mm )
- Compressor & 18 Ga nailer ( DeWALT DPC10QTC & Eco Tools nailer )
- Random orbit sander ( DeWALT DWE6423 )
- Router & bits ( Makita DRT50 & Bosch bit set )
- Drill & driver ( Makita DDF481 & Makita DTD171 )
- Drills & driver bits ( Milwaukee Shockwave )
- Clamps ( Bessey KliKlamps )
- Pocket hole jig ( Kreg R3 )
- Measure and marking tools
The obvious things like hearing protection and a respirator are not on this list but absolutely worn during the project. If I left anything out that you saw in the video and want to know more about it, let me know so I can add it to the list.
Frame
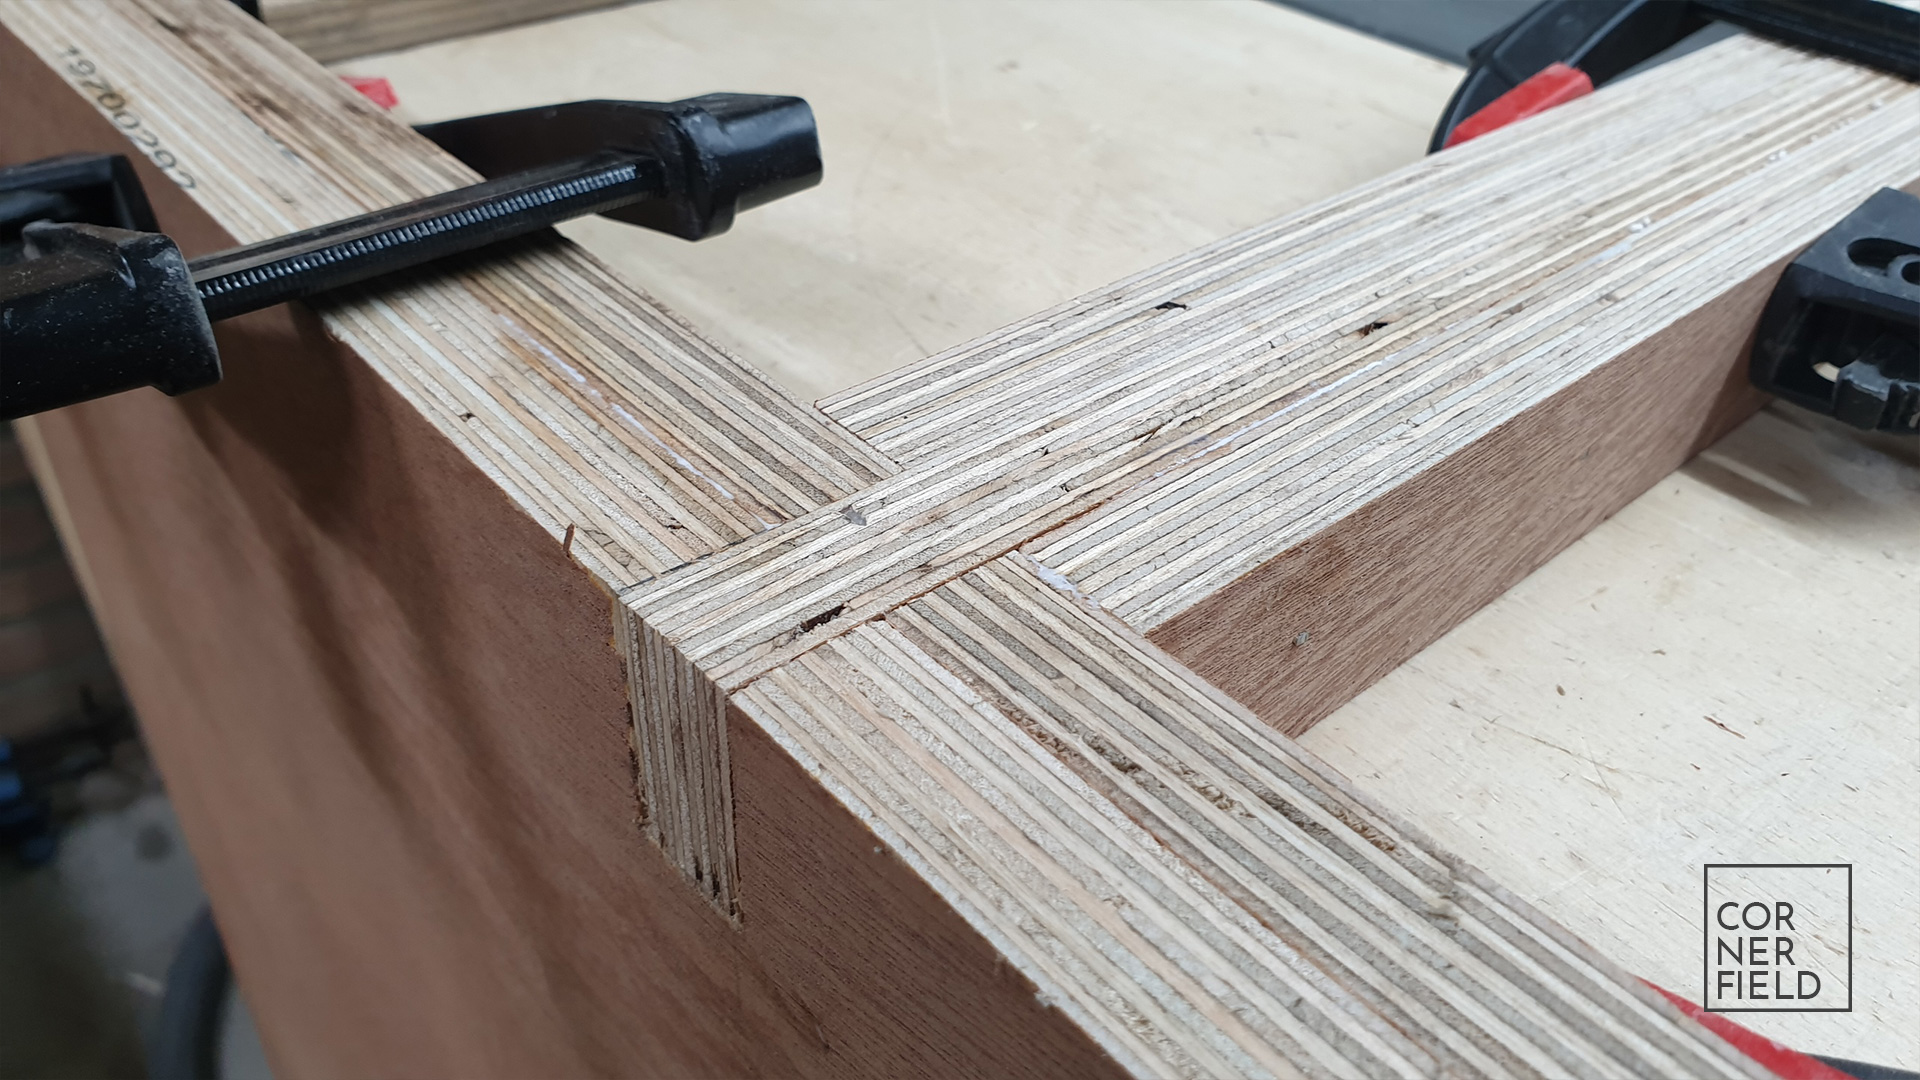
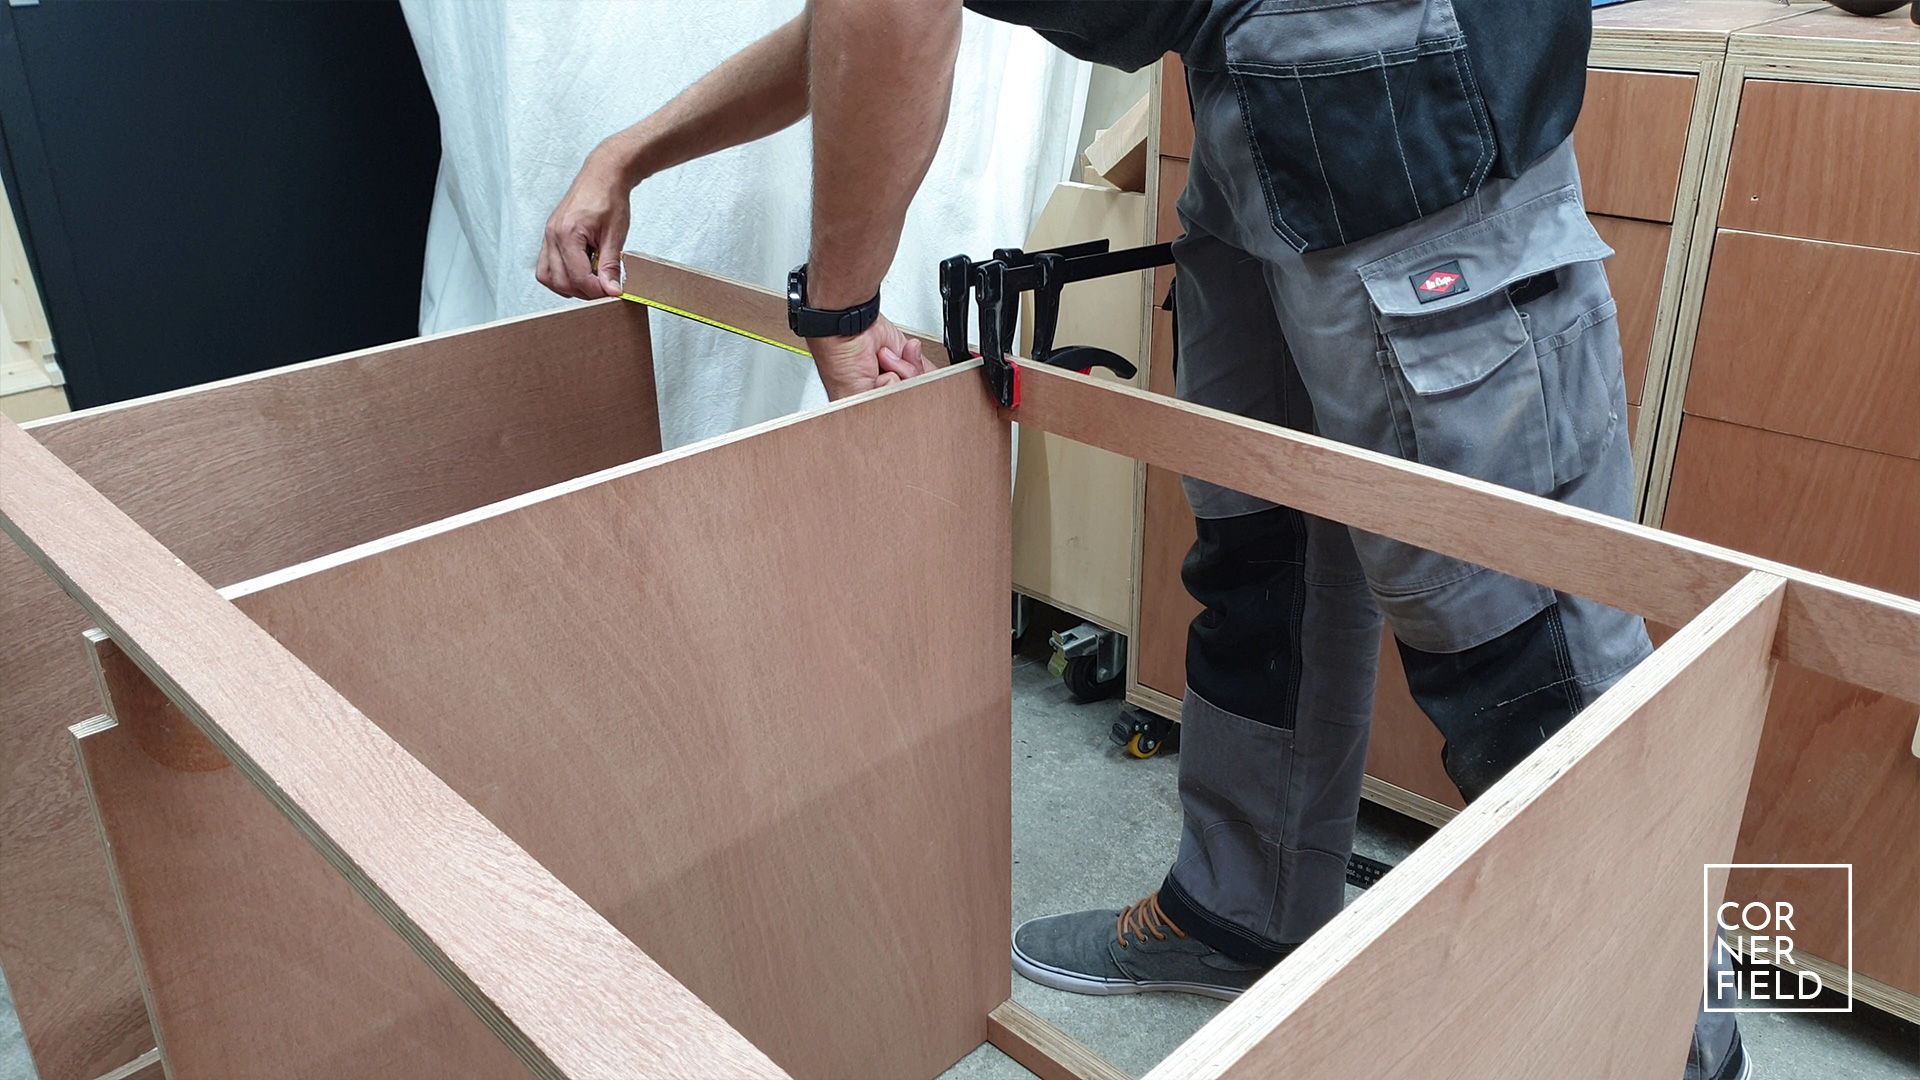
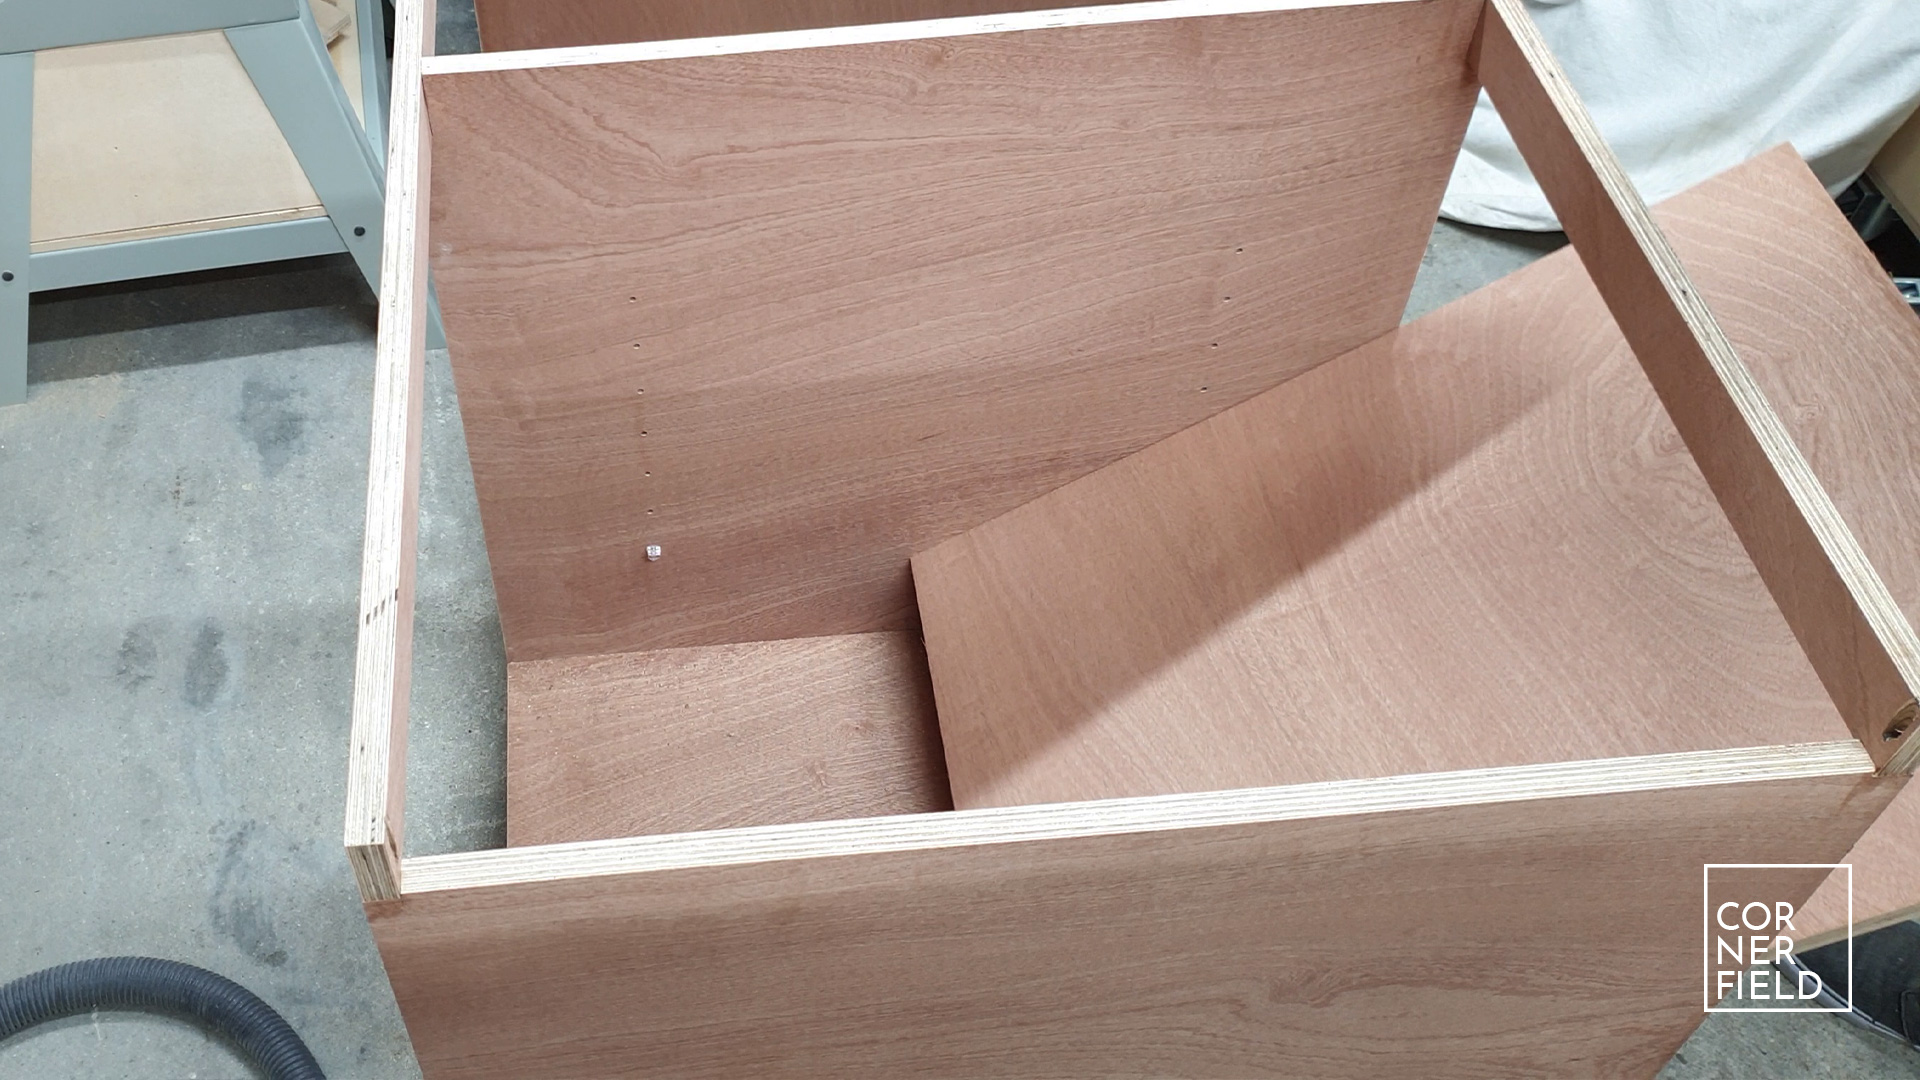
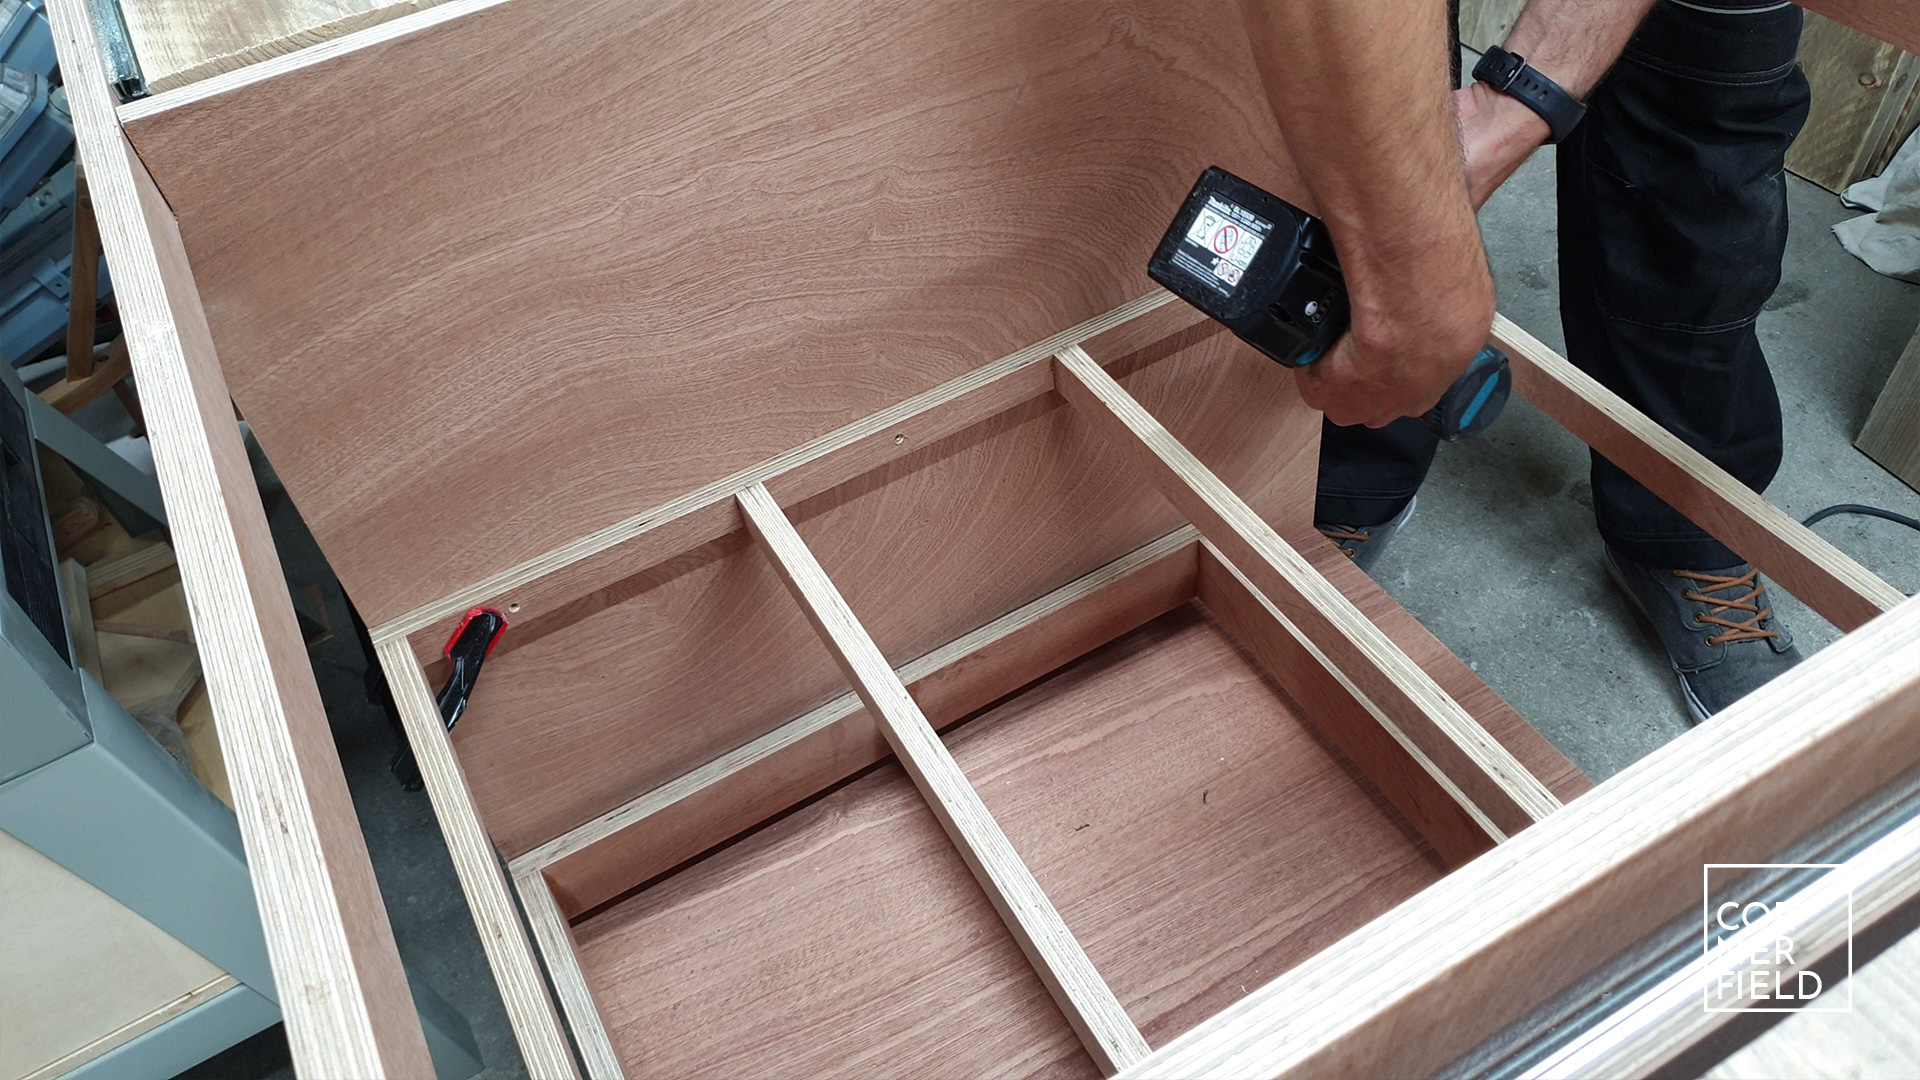
The first step in building this kitchen is cutting the bulk of the pieces to size. Having made a cut list from my 3D model allows me to cut most of the pieces ahead of time. As long as I make sure the dimensions are cut exactly. If a piece turns out to be thicker or thinner than in my model I have to account for that in my cuts. Once I have the first batch of pieces cut to size I start with assembling the bottom of the frame.
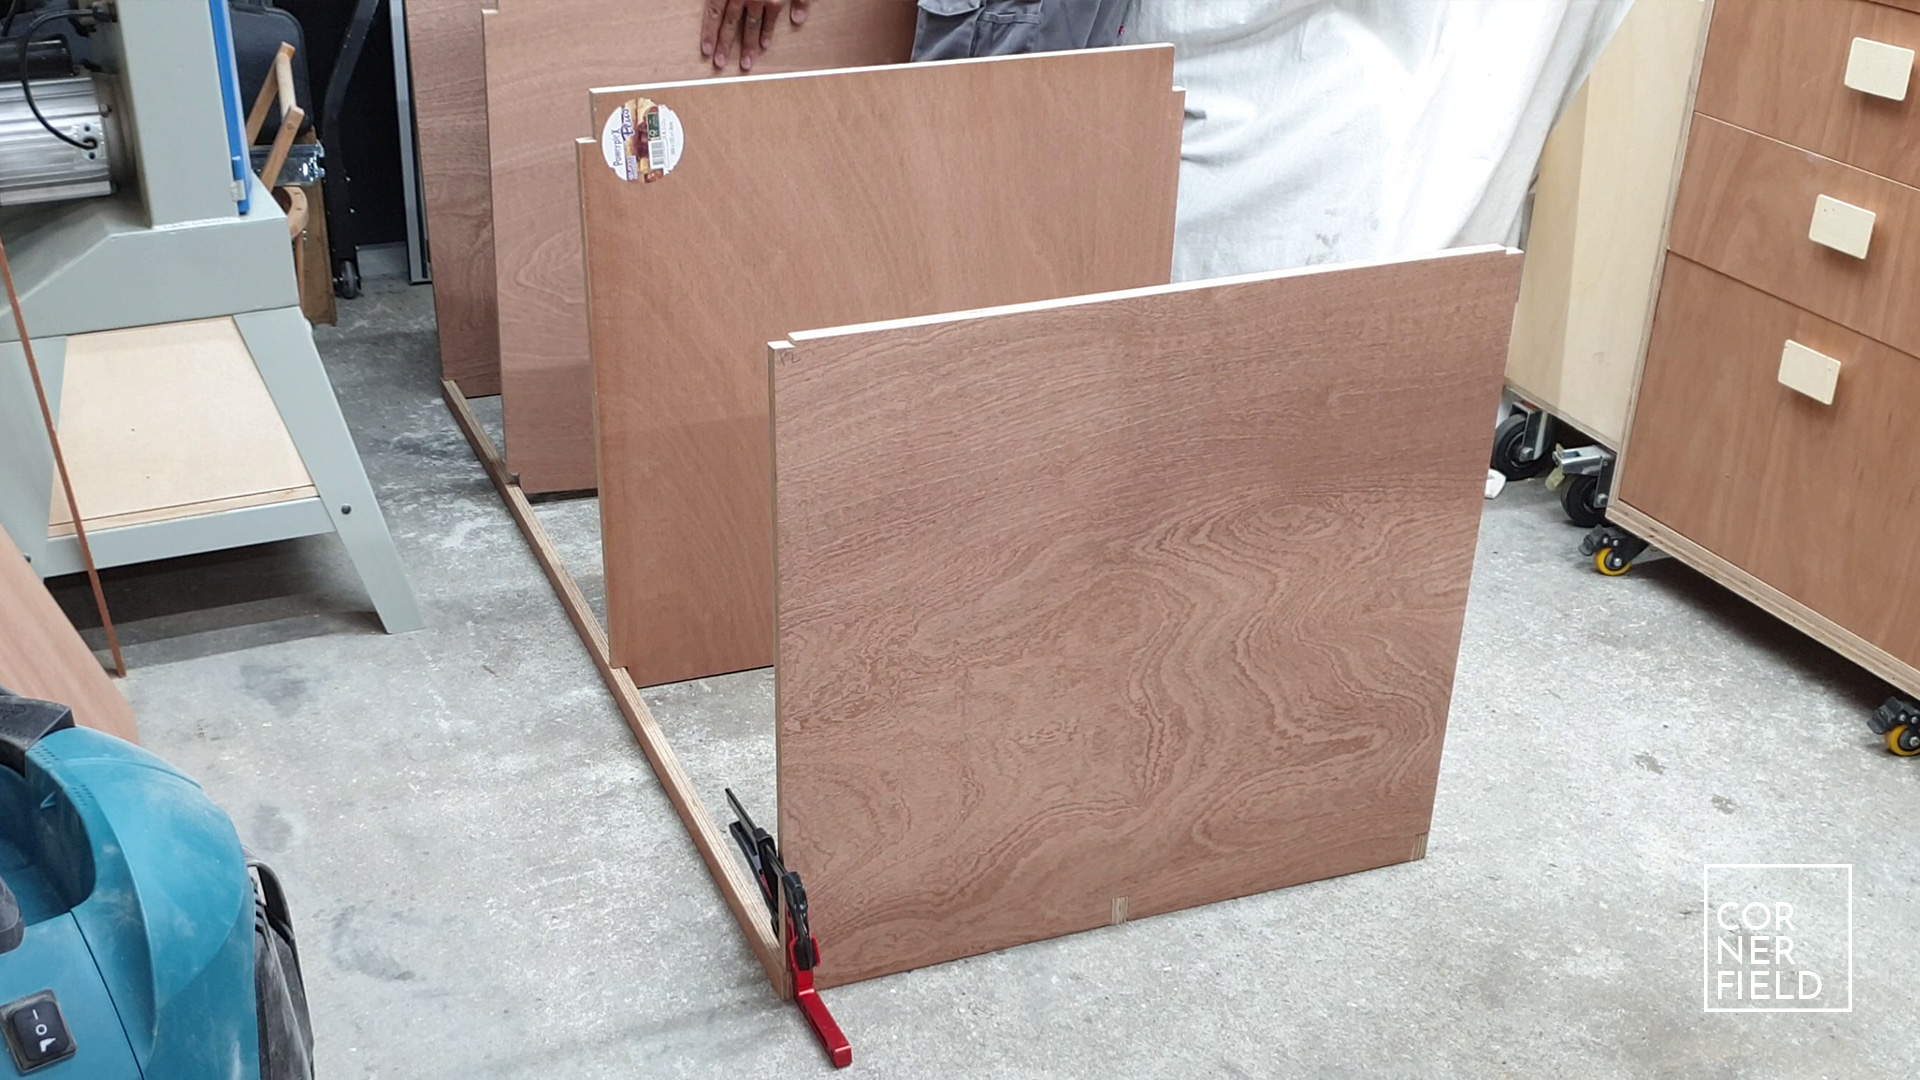
The construction for this is a lamination of thin strips that are stacked on top of each other and fastened with glue and screws/nails. By doing this I’m making a rigid structure that is fairly lightweight. Or at least, that’s the idea. In between the strips I have sides that will act as dividers for the three main sections. These sections will allow me to put in drawers. To complete the boxes I’m putting in strips at the top as well. Once the frame is completed I will add a siding that will further help to increase the strength of the frame.
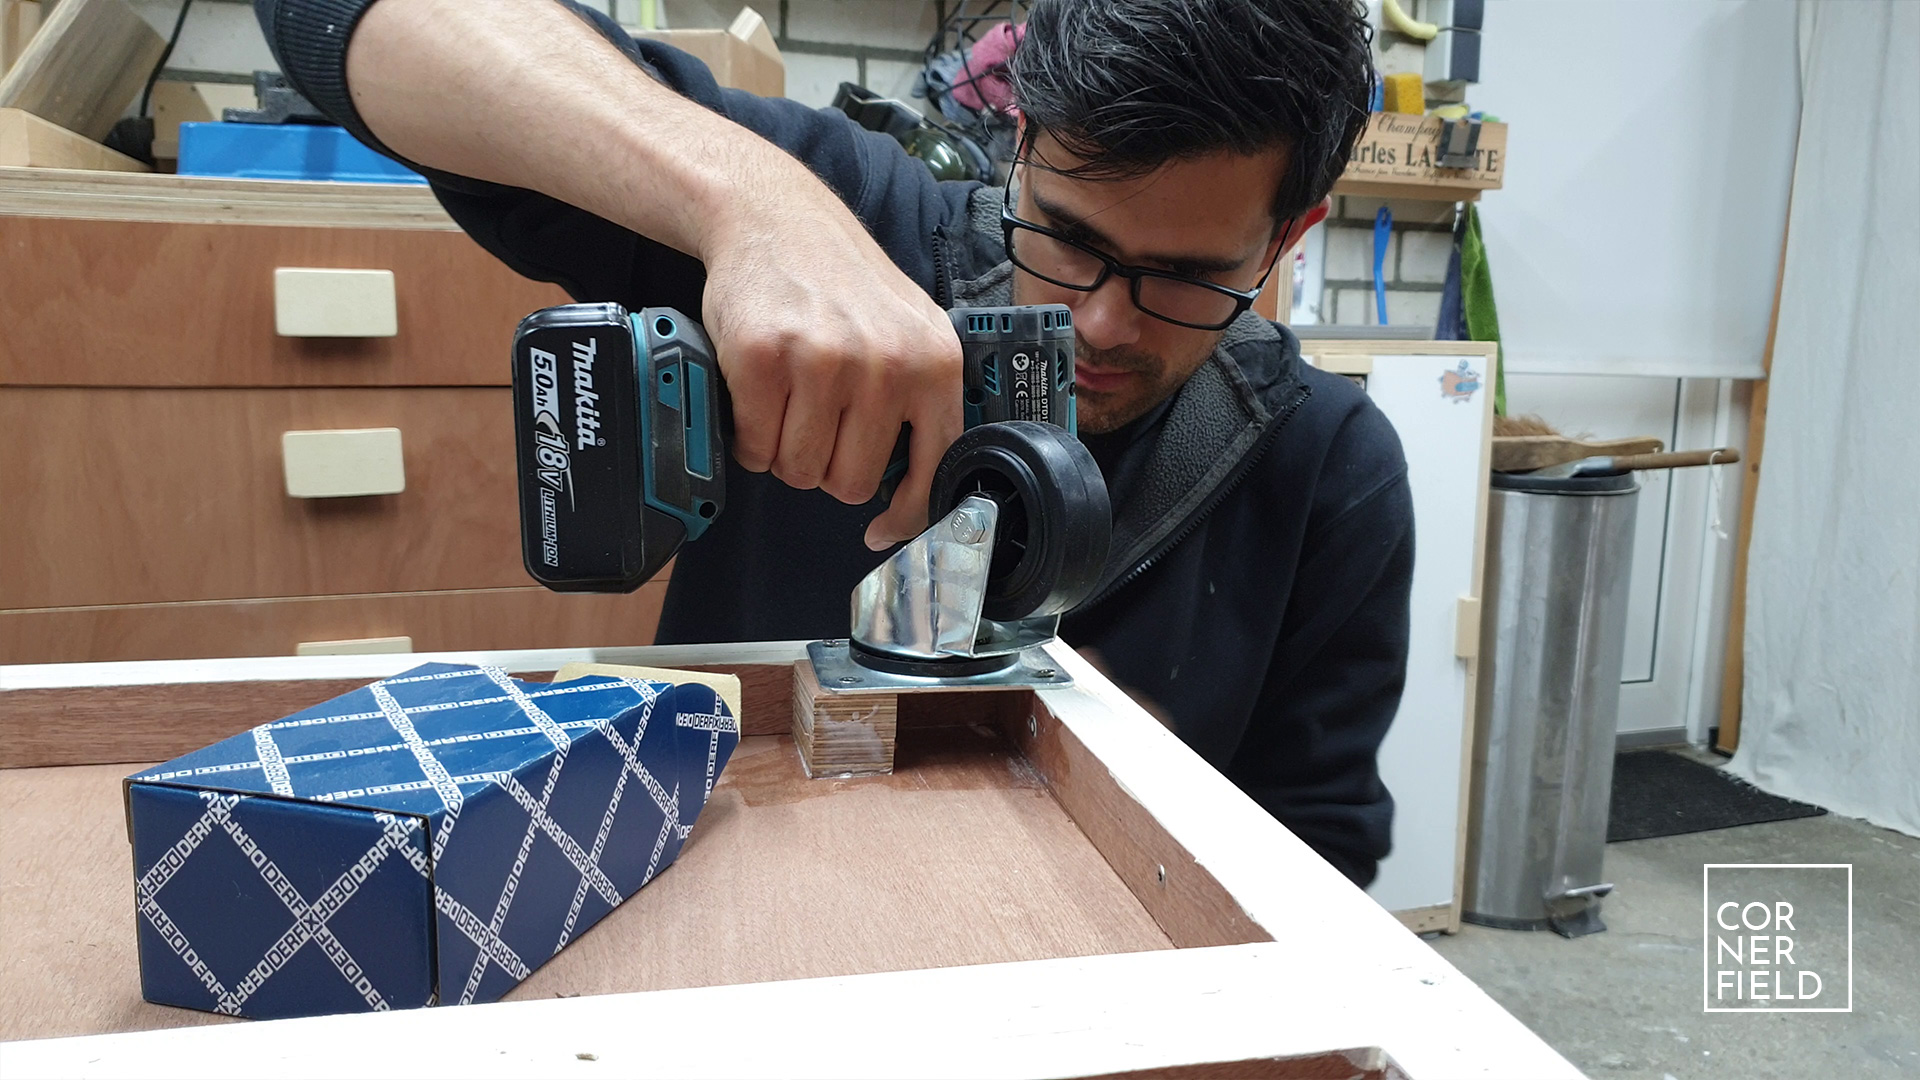
The bottom of the frame is sealed using an edge sealer paint. This is to prevent water from soaking into the exposed edges of the plywood. Then I add some additional support blocks and attach the castors. I attach them in a triangular pattern for maximum stability and strength. With the castors on I can flip the frame back over and start working on the drawers.
Drawers
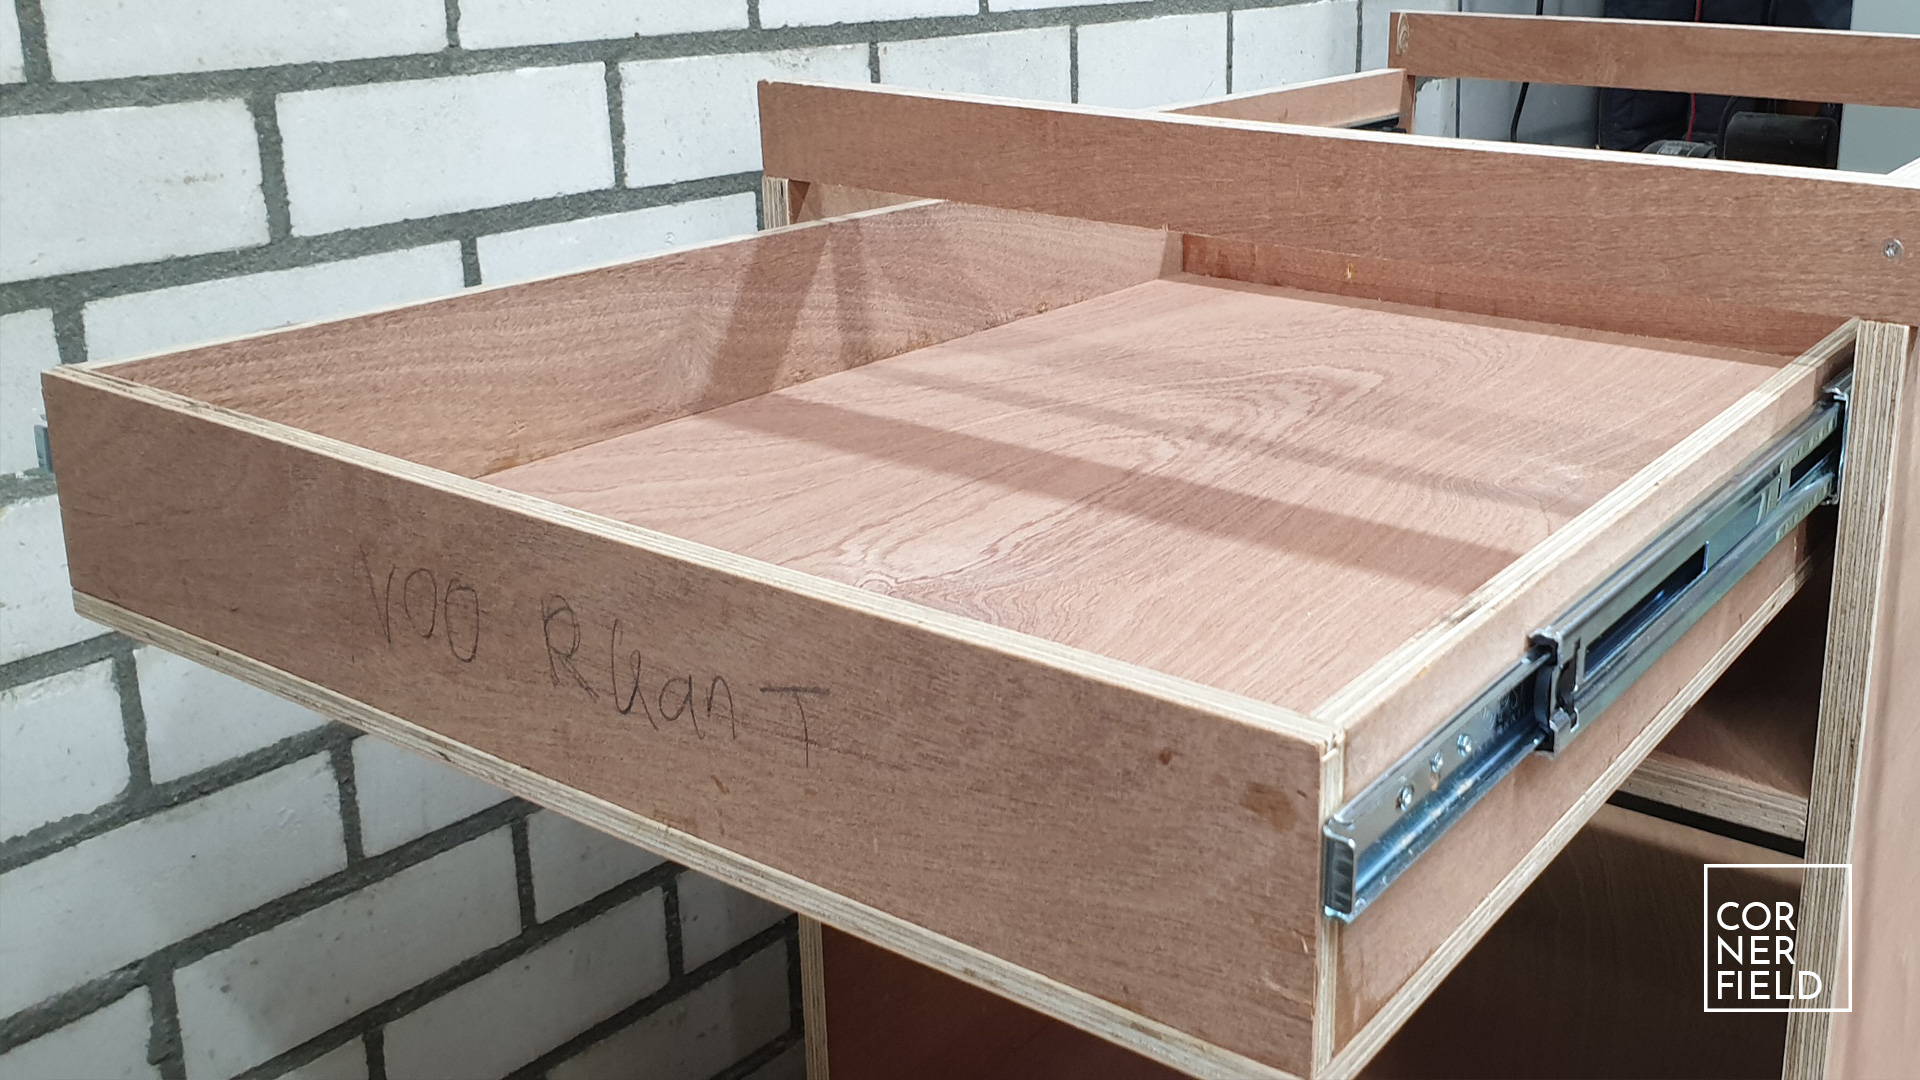
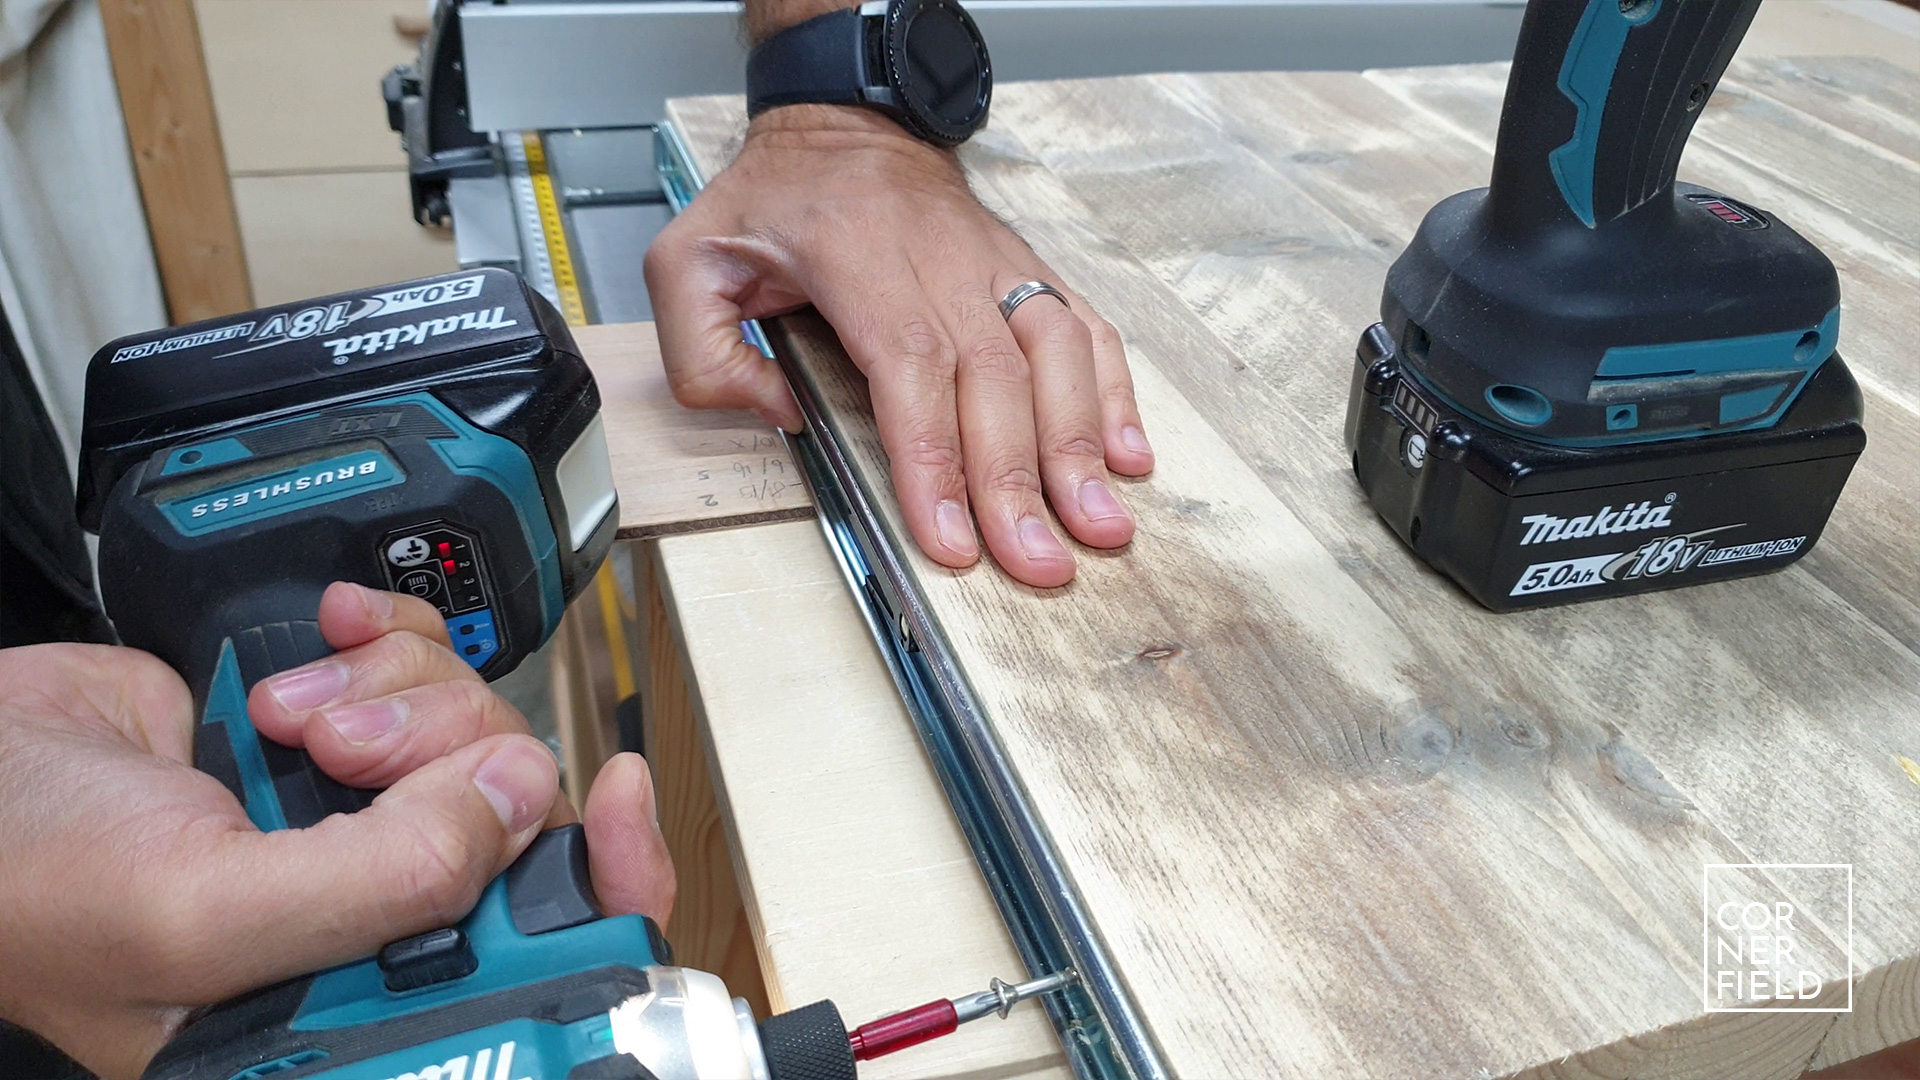
Now that the frame is assembled I can start adding in the different slides and drawers. For this project, the boxes for the drawers are made using butt joints, glue, and screws. My preferred method for attaching the boxes to the slides is as followed. First I install the slide in the cabinet. Usually using some sort of spacer to get them at a consistent height left and right. Once they are in I position the drawer between the slides, also using some sort of spacer.
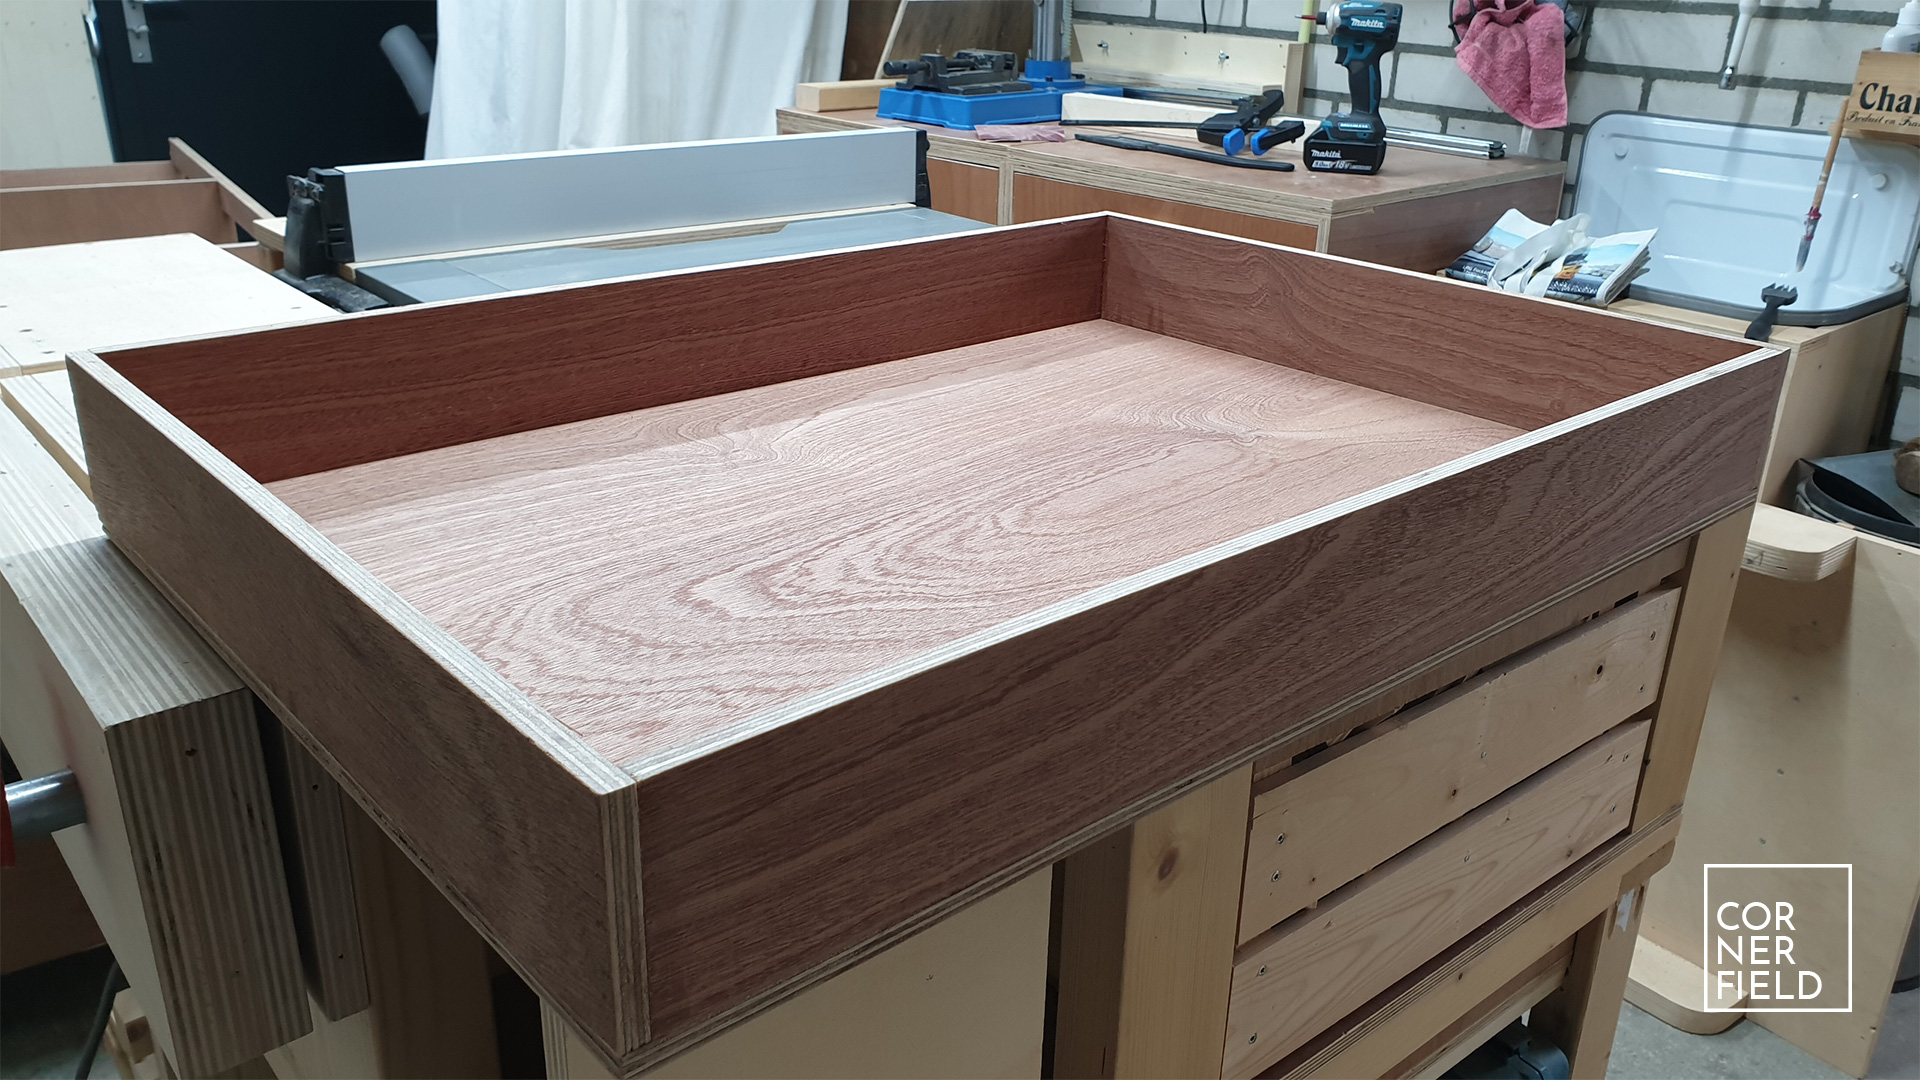
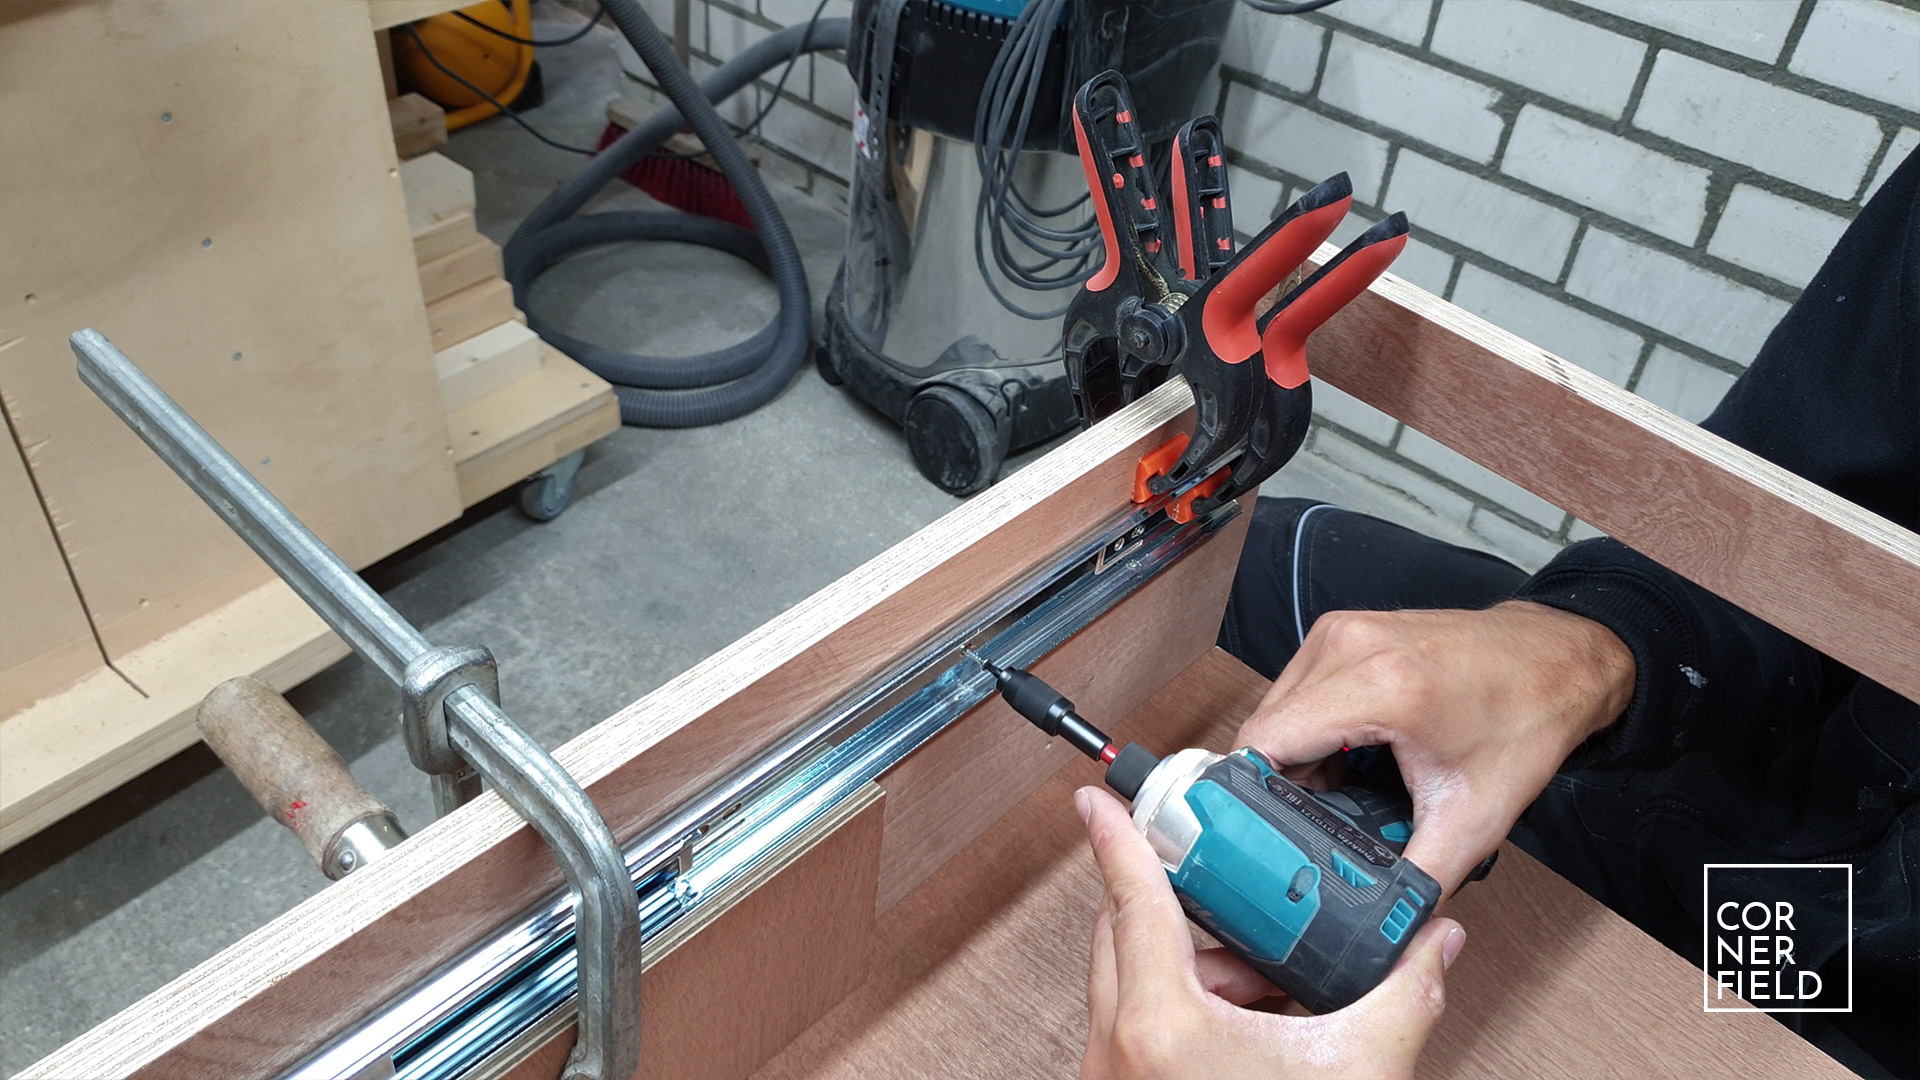
Then the slides are extended a little so a screw can be put in from the side. Important is that the extension is kept flush with the front of the drawer. Then gradually I pull the slides further out, putting a screw in every other hole until the drawer is fully extended. At that point, it can be removed and all the remaining screws can be put in. One special drawer for this project is the tile extension in the center of the cabinet. I make a support frame for this ‘drawer’ and install it the same as the drawers.

Part two of the video is about the below.
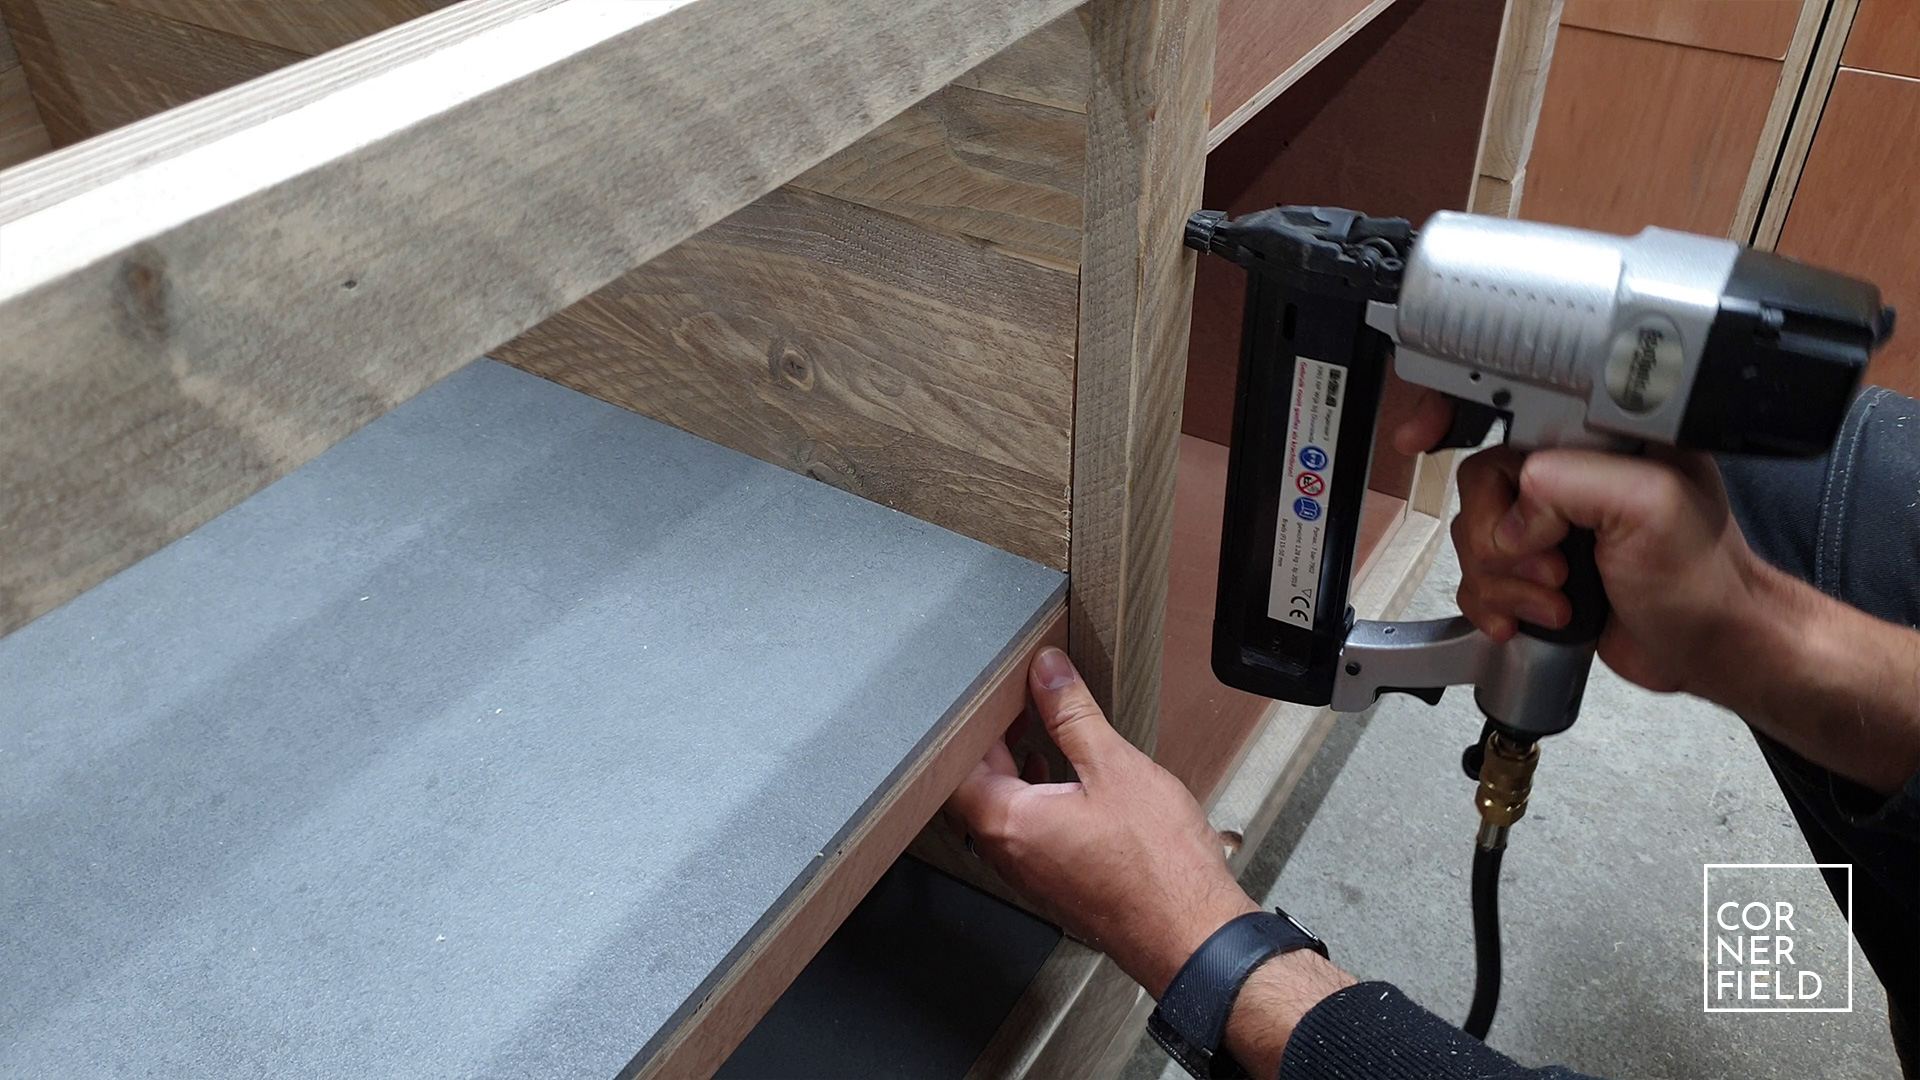
Shelves & top extension
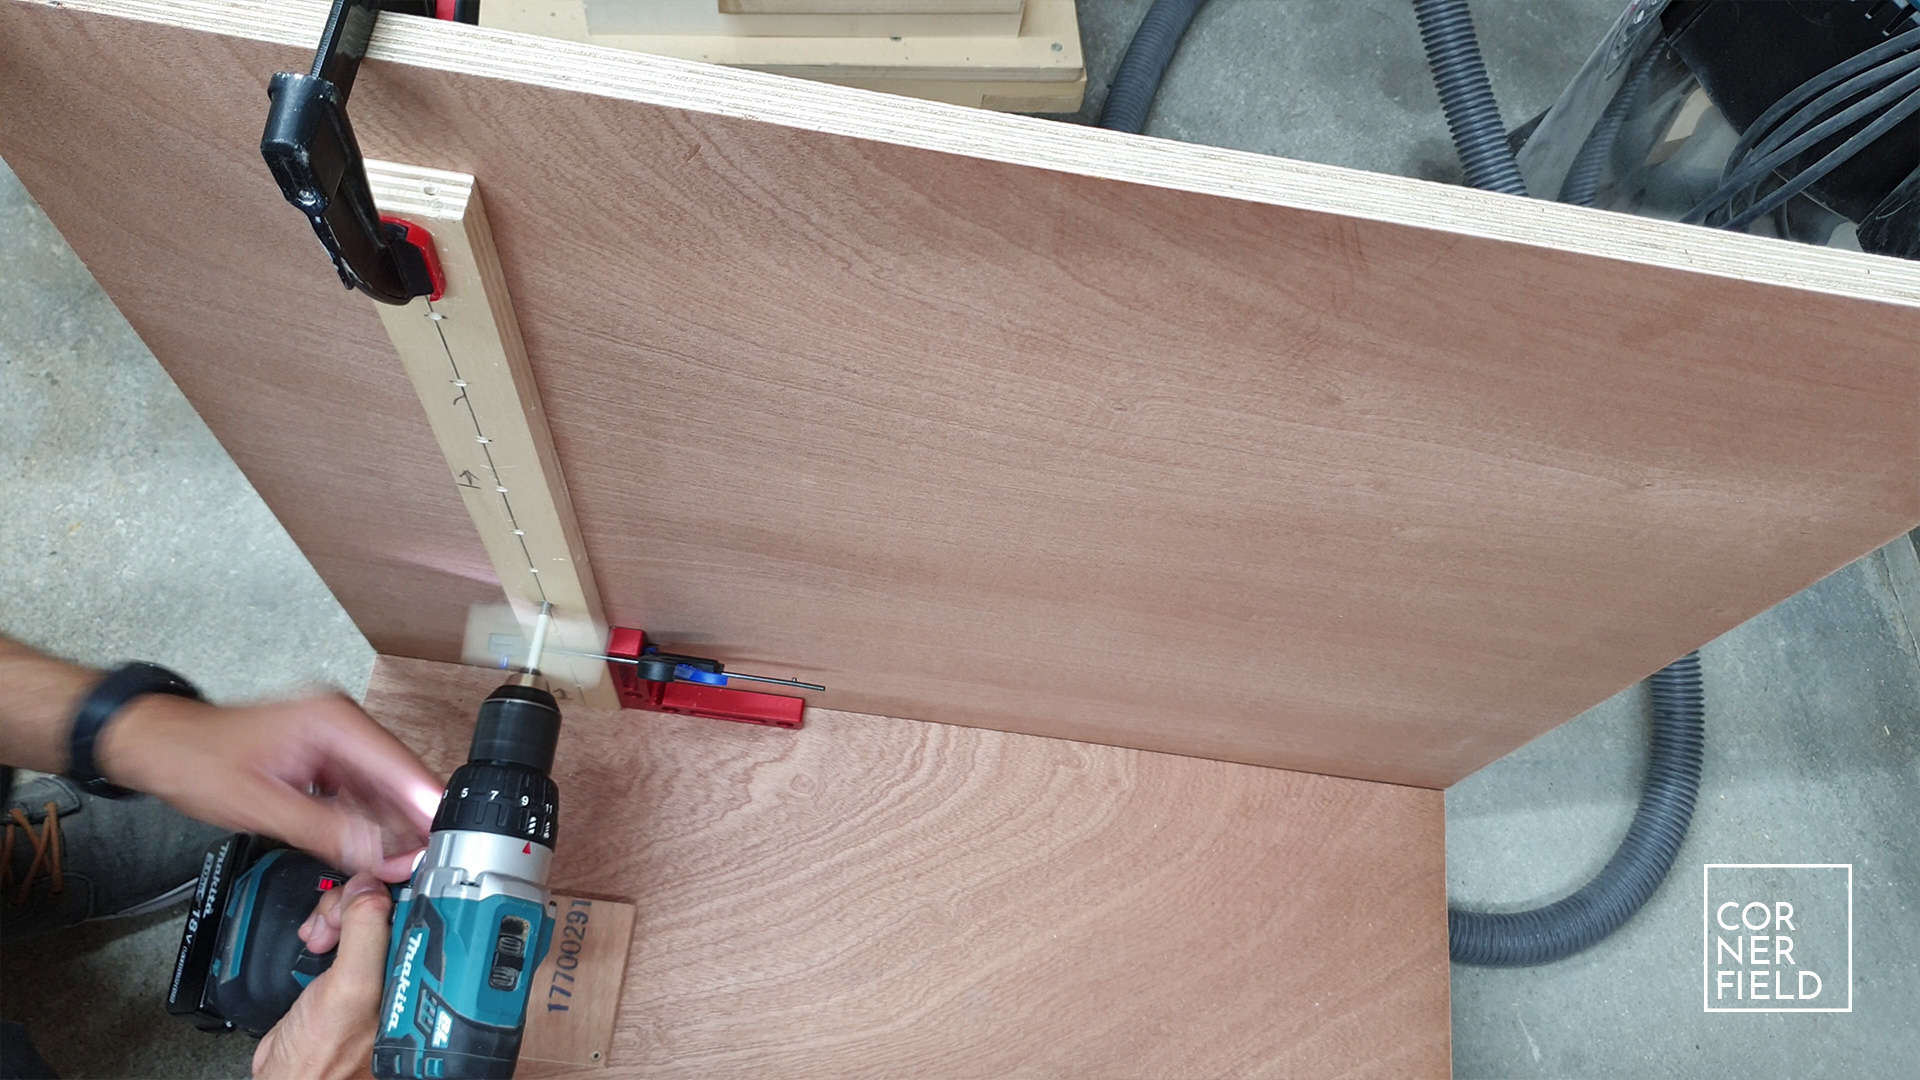
Within the cabinets, there will be shelves, supported by shelf pins. To drill the holes for those pins, I made a jig on the drill press from a scrap piece to help evenly space out the holes. The shelves are pieces of plywood that I cut to size and will paint later. In the middle section, there is a heavy-duty shelf that will hold the Big Green Egg barbecue. It’s not an outdoor kitchen without a BBQ ;-).
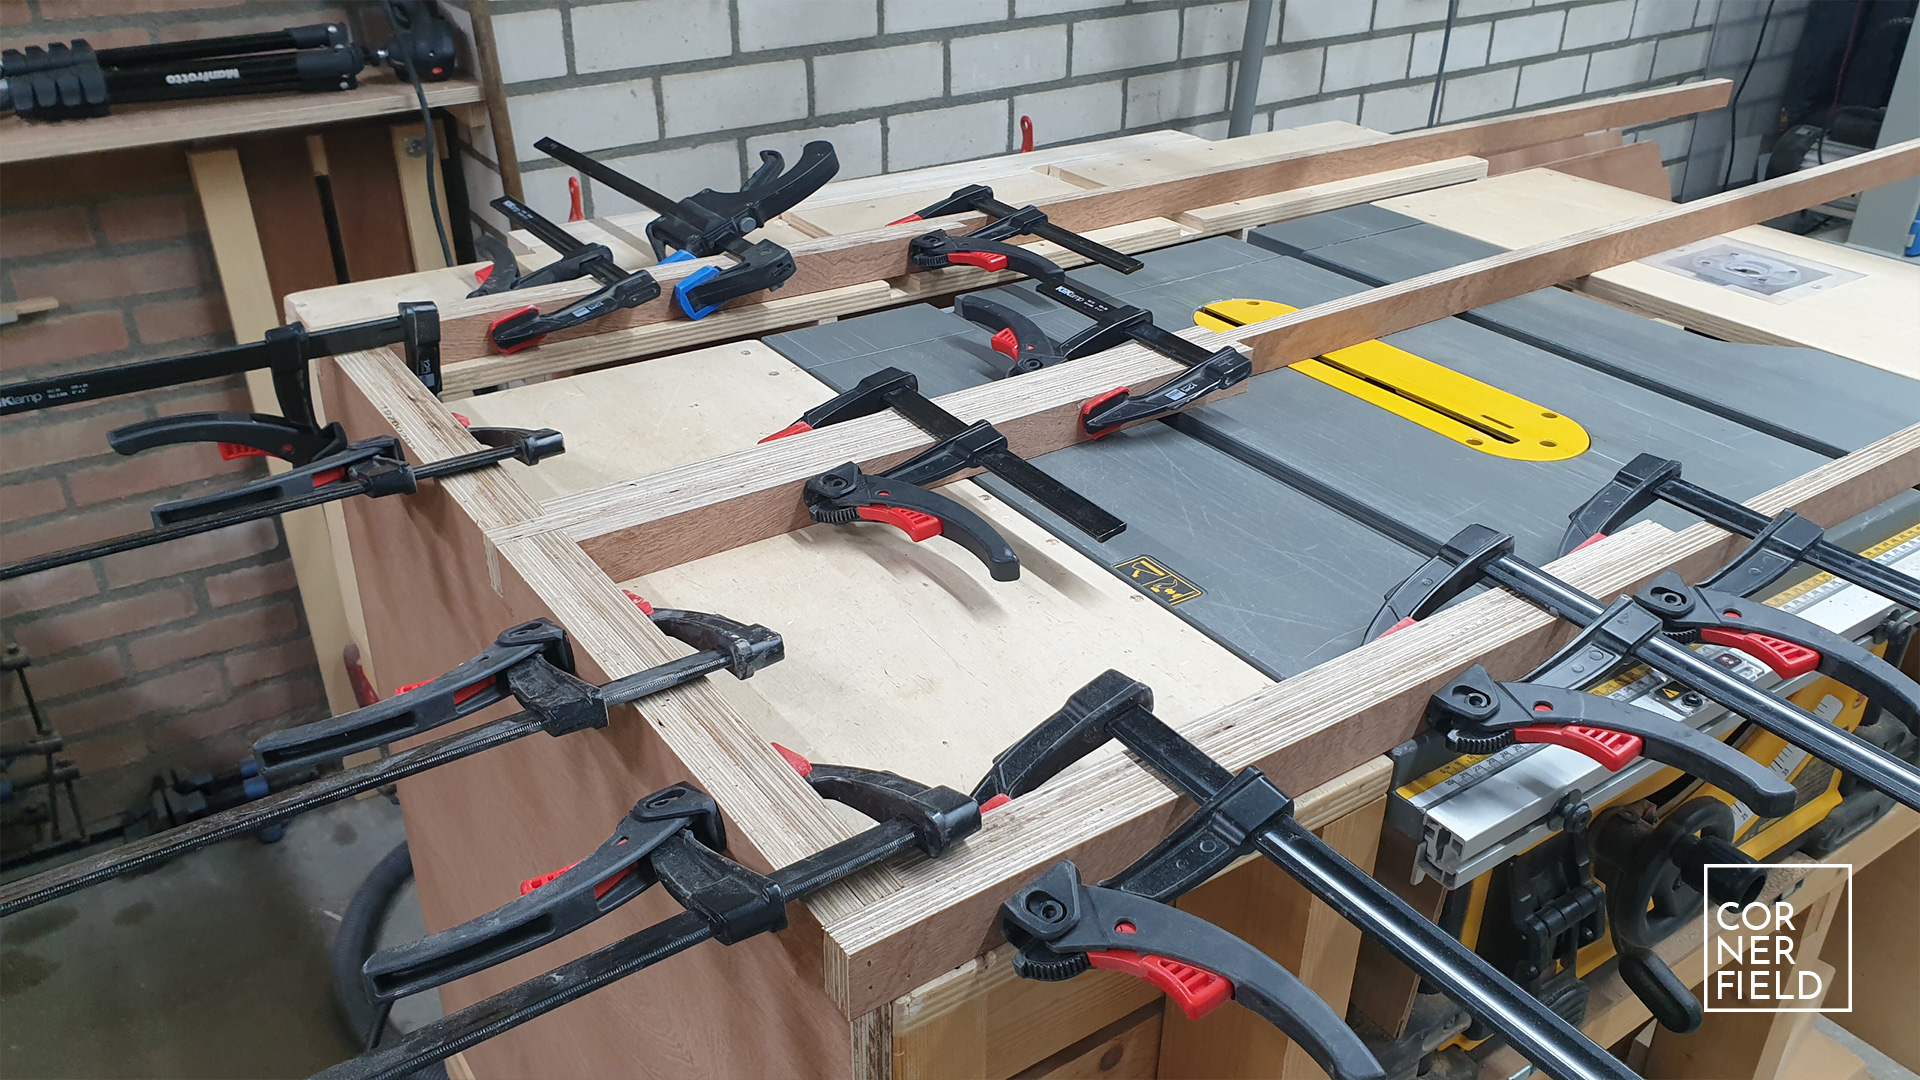
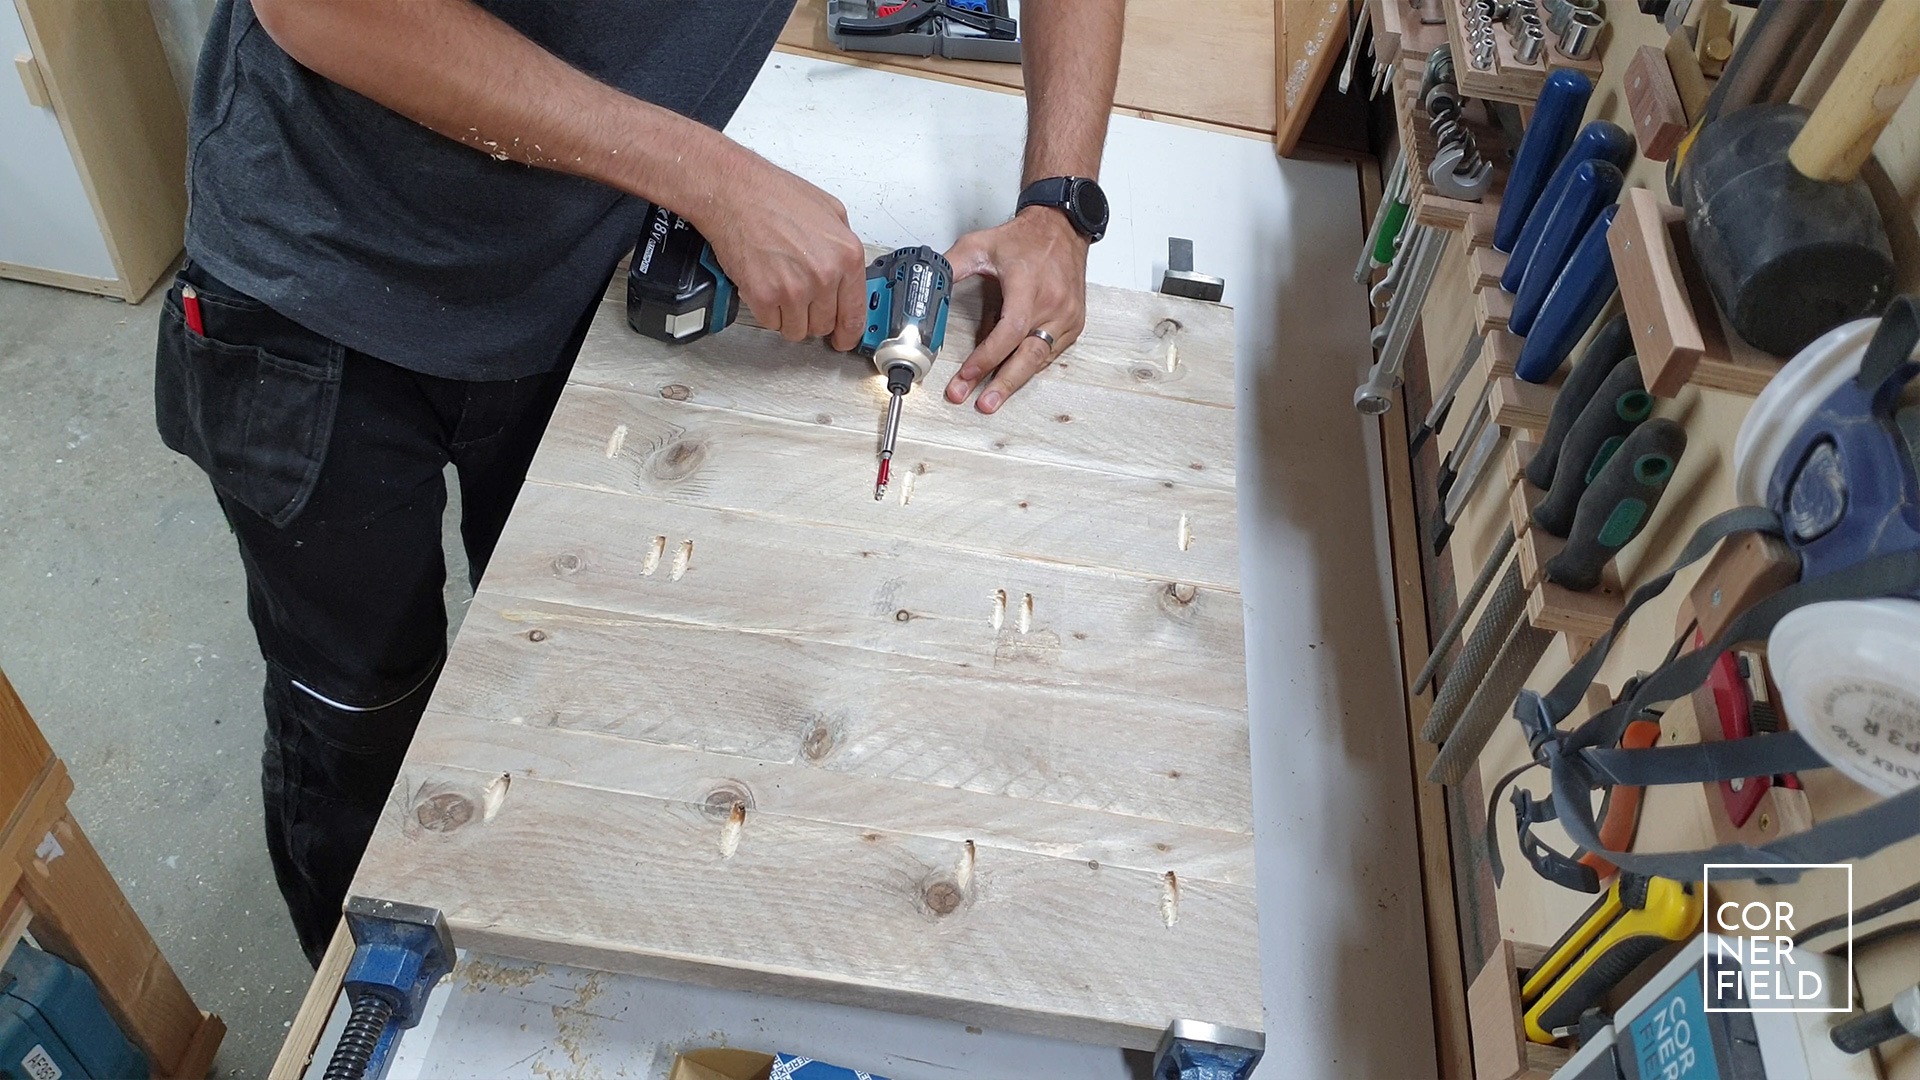
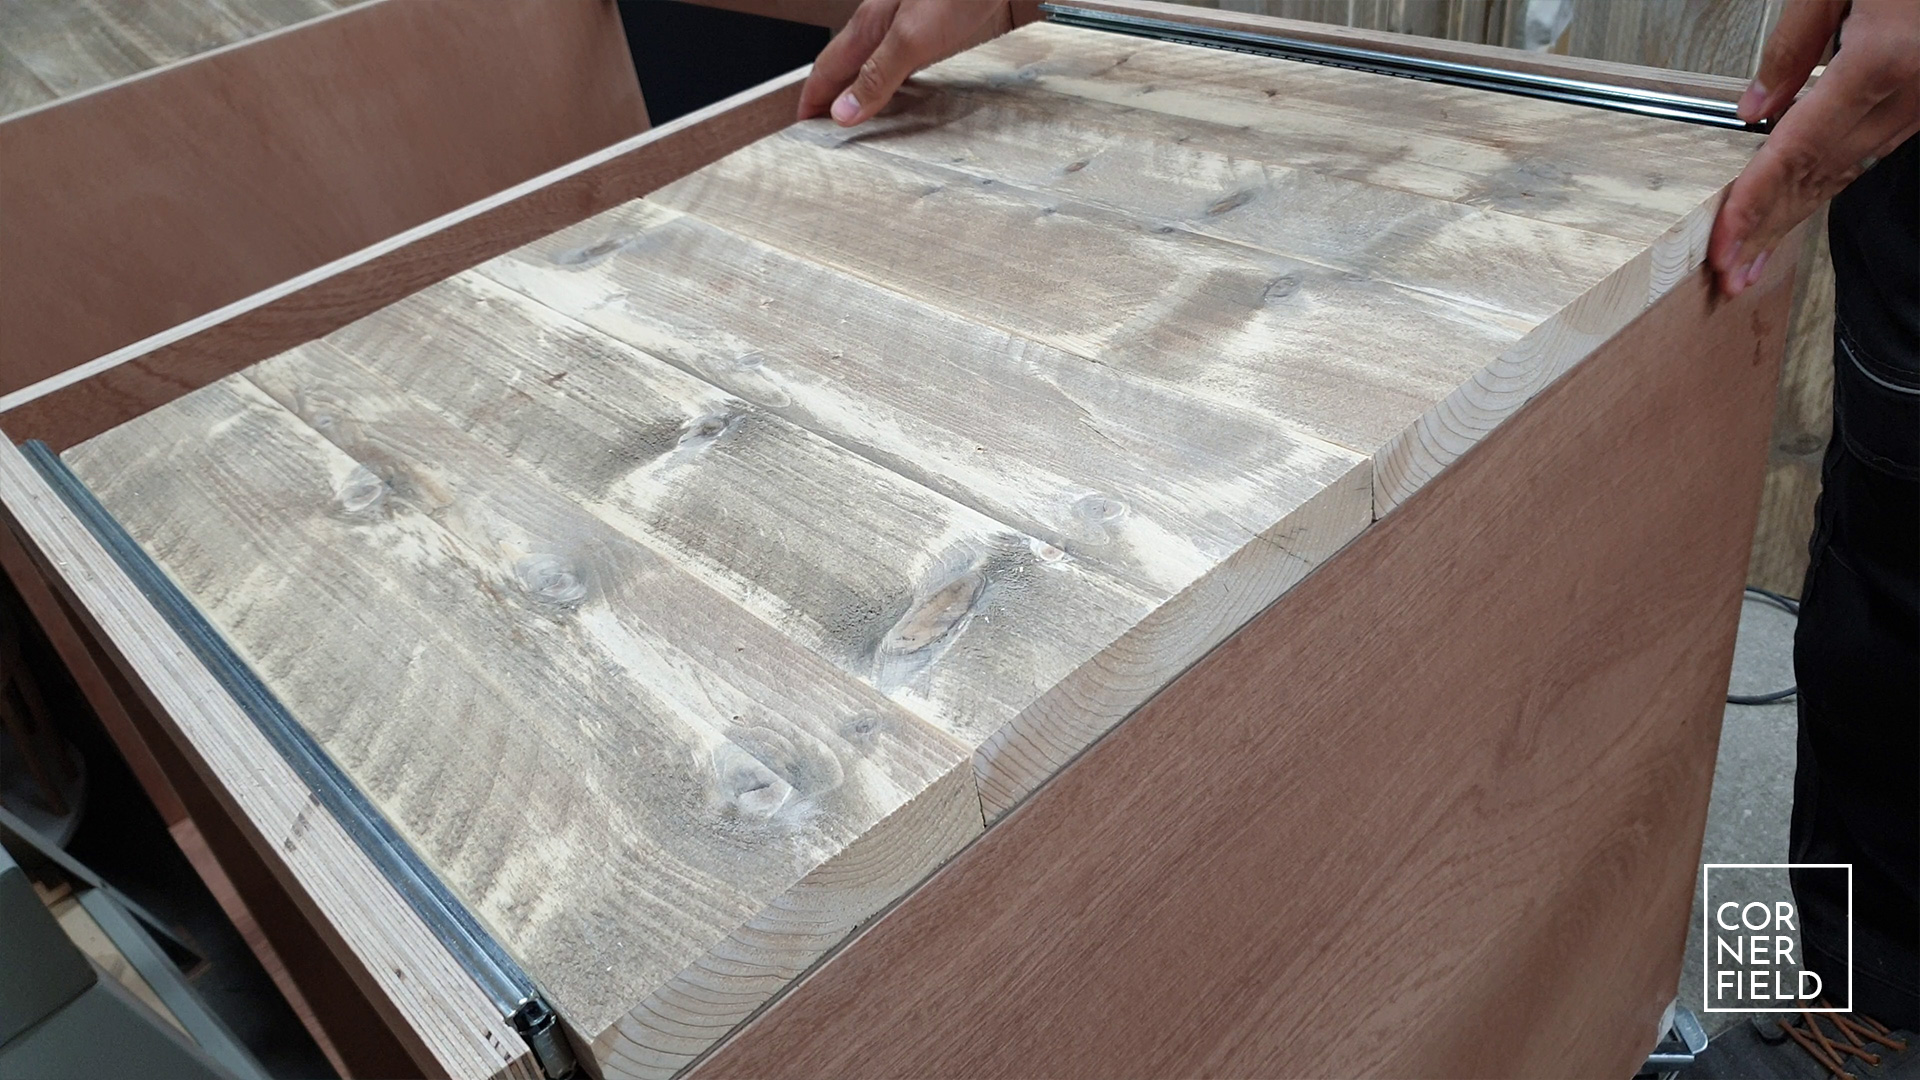
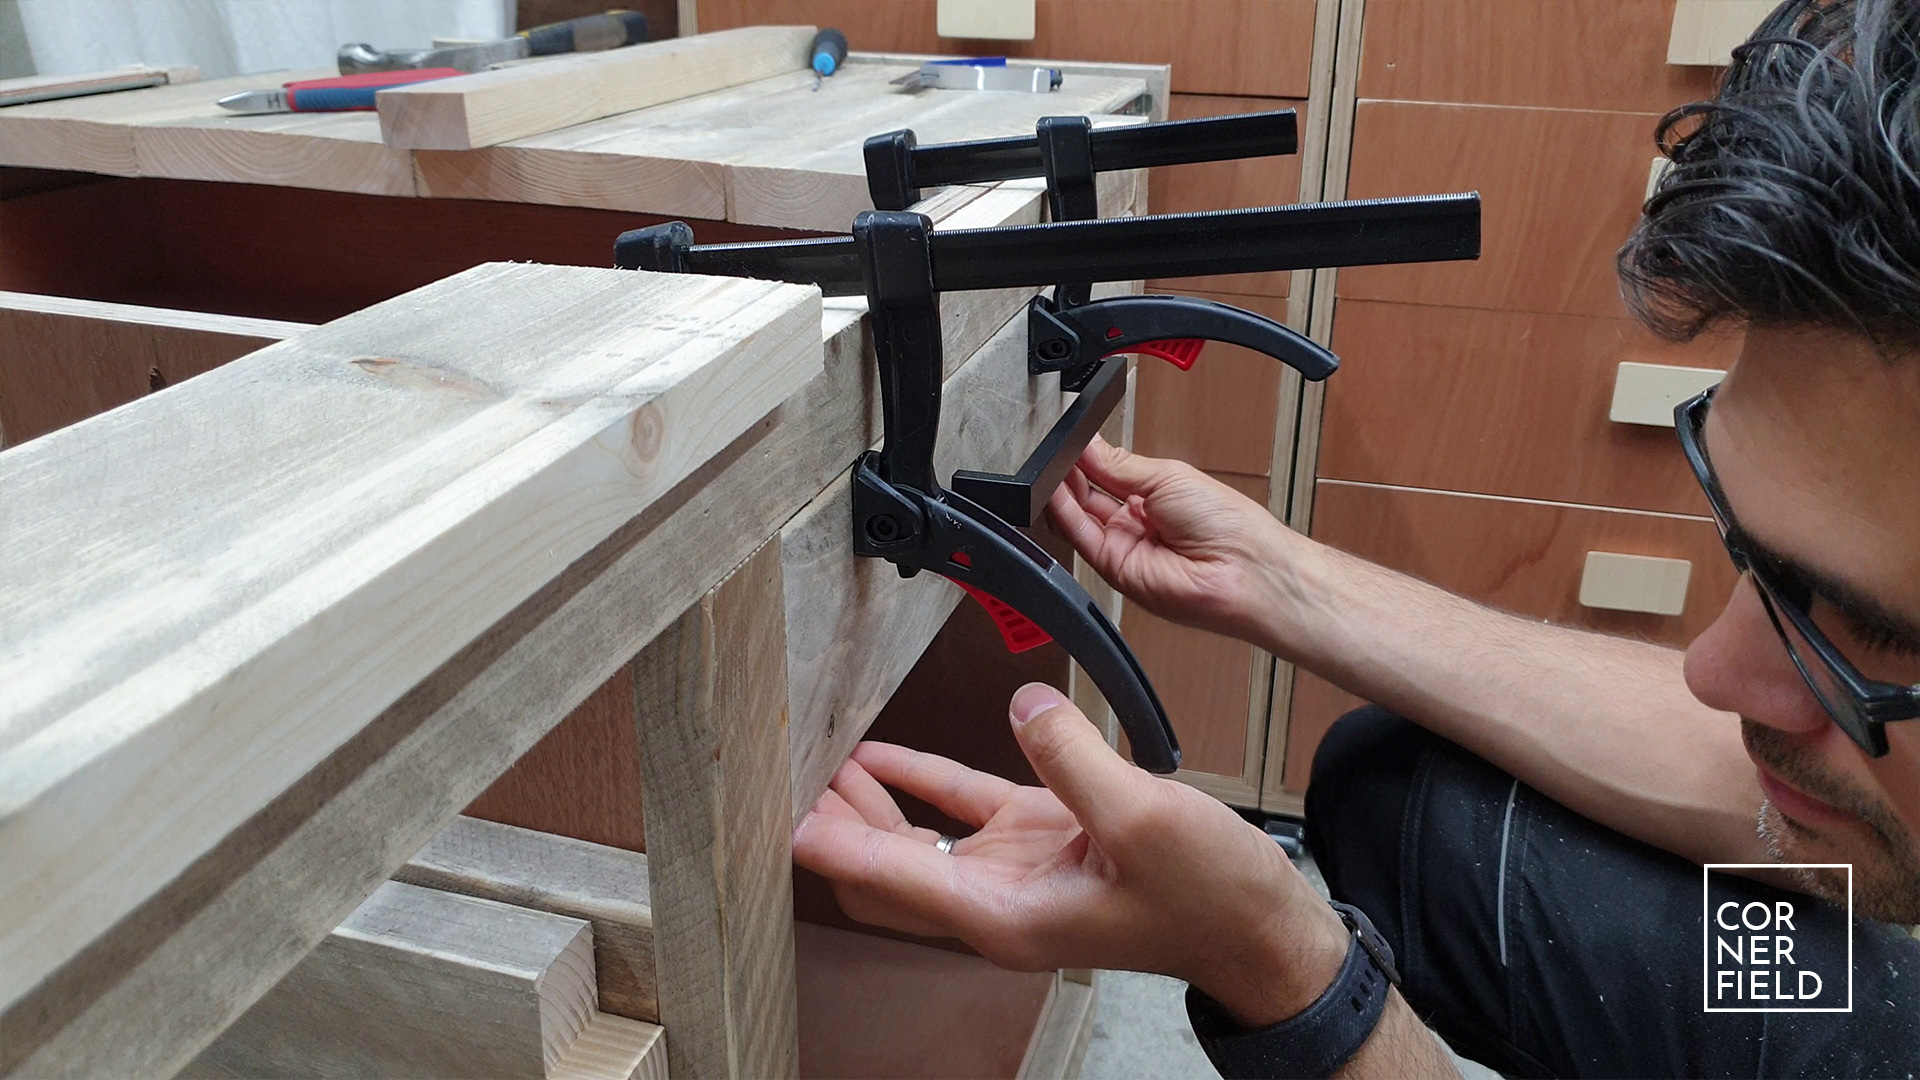
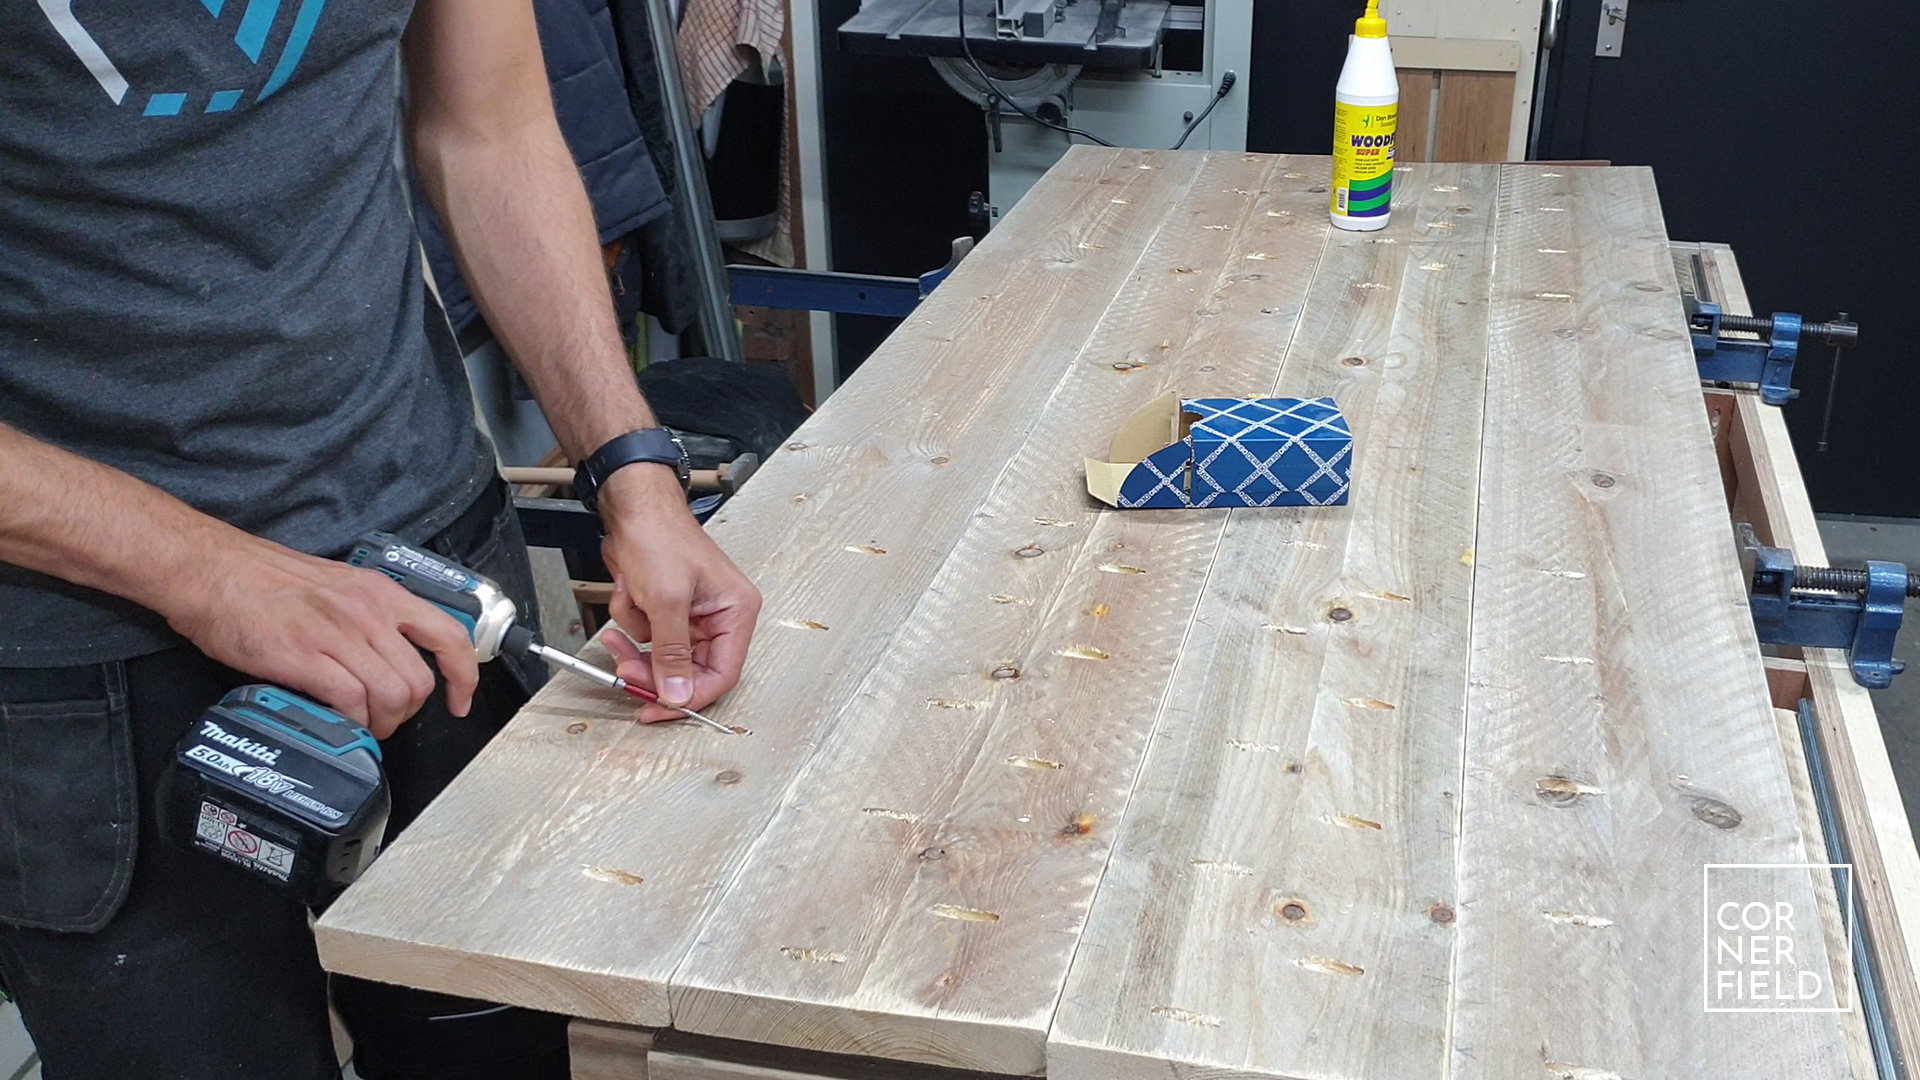
This shelf is supported by a frame that I made from strips and attached to the cabinet with glue and screws. The height of this shelf determines your working height on the grill so it’s important to get this right. Next are the extensions for the work surface. I laminate 4 boards together using pocket holes and glue. The assembly gets fastened to the slides. To hide the exposed edges from the cut wood, I will use a cut-out from the siding that will be put on later.
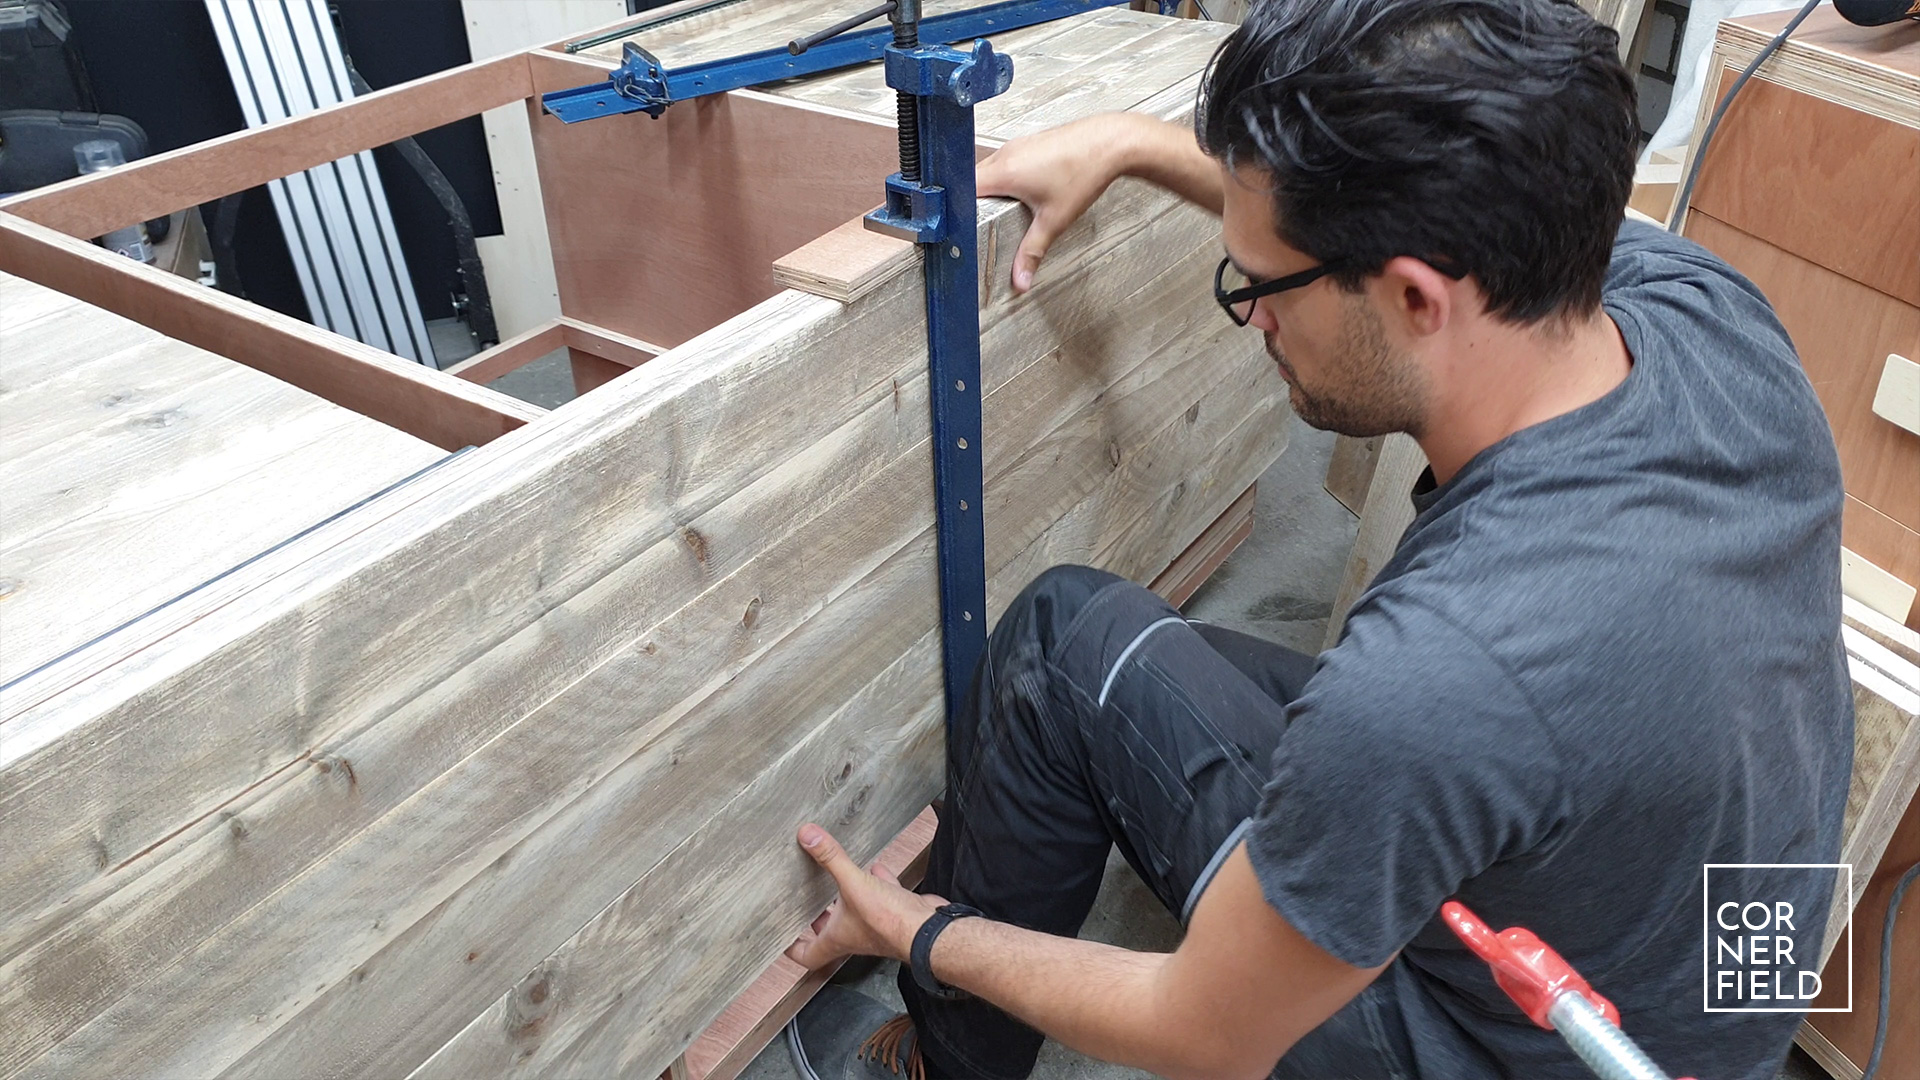
Siding
The entire outside of the kitchen is covered with the ‘steigerhout’. I use screws from the inside where possible but most of it is attached with nails. Reason for that being that it’s more aesthetically pleasing to not see any fasteners. The pieces on the side would show the cut edges as well and I didn’t like the look of that so I cut miters on the ends and attached off-cuts with a weathered side facing forward. This way it leaves a consistent look all the way around. I could have cut miters on the corners and make it continuos but I know this wood and it’s far from straight and varies in width so I didn’t want to gamble with that. On the front, I cover all of the plywood only leaving gaps for the drawer fronts and doors.
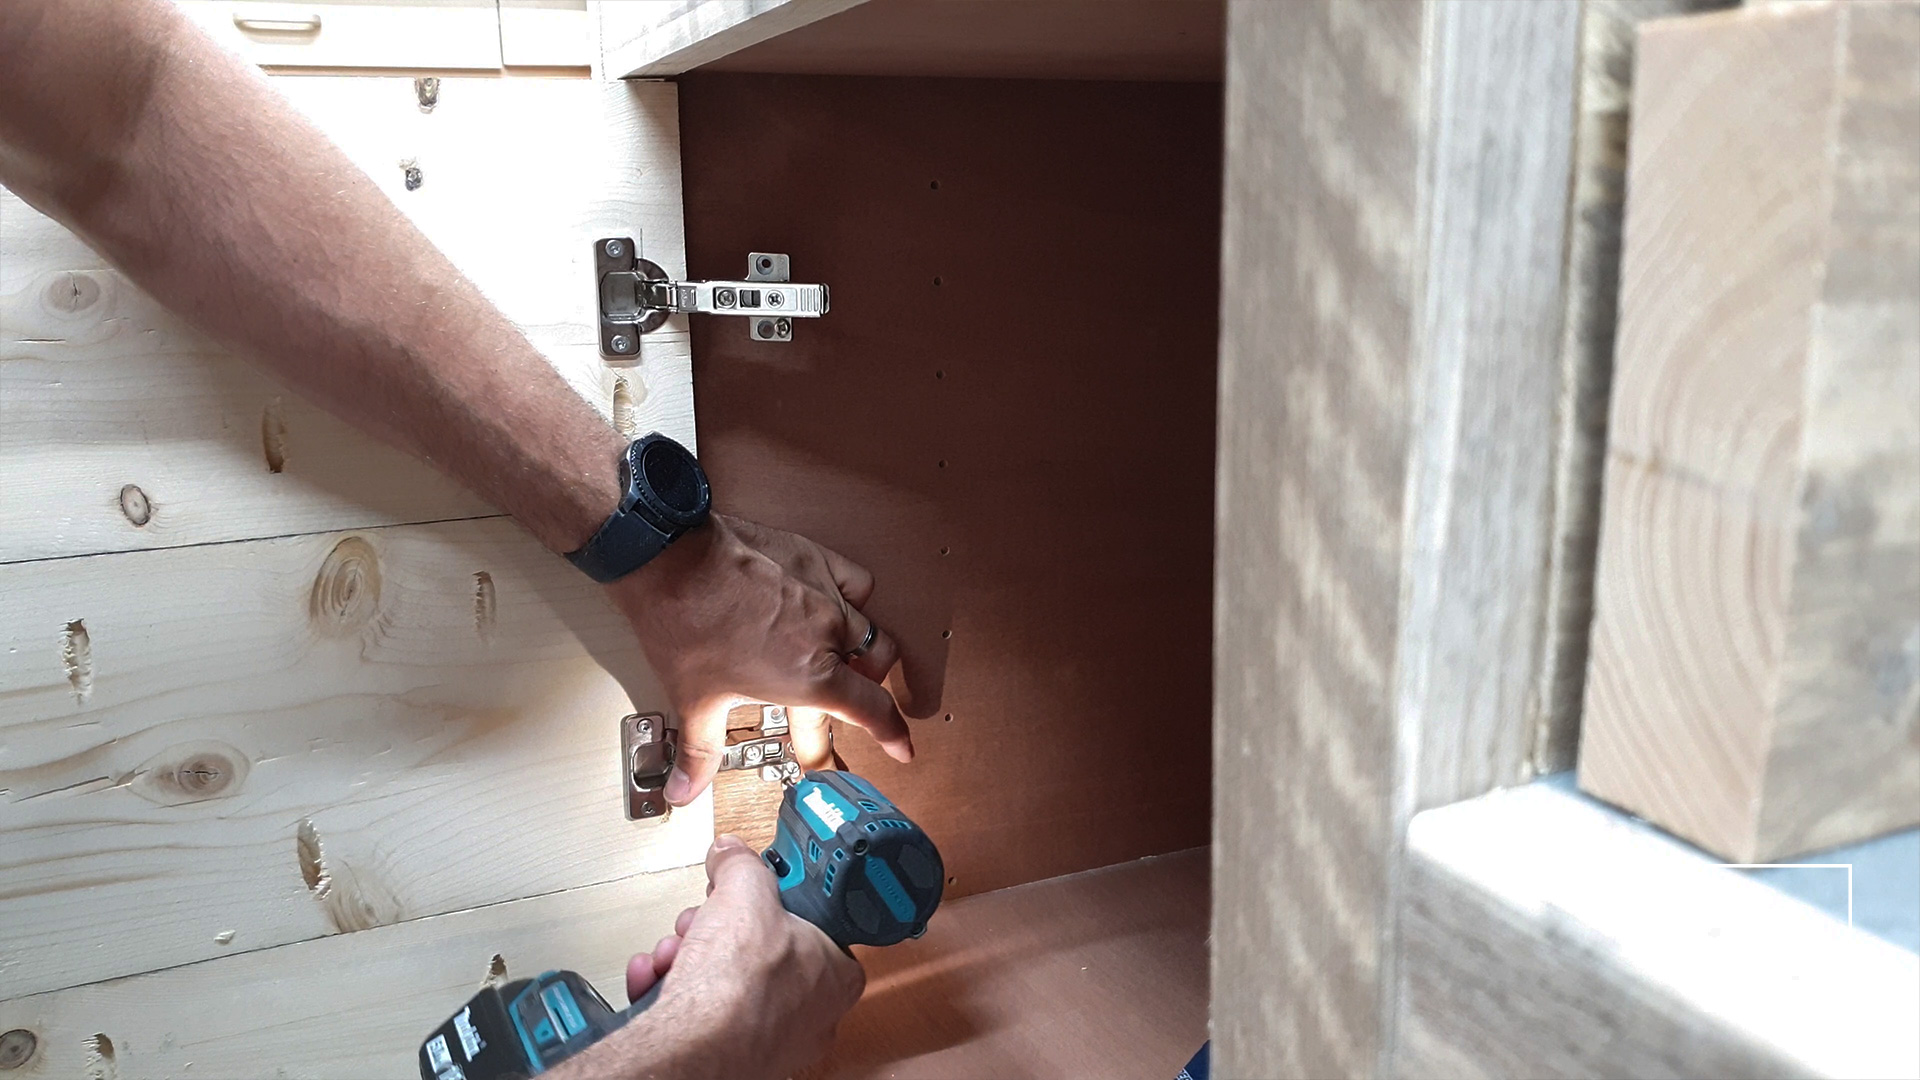
Doors, fronts & handles
The doors are made by laminating boards together using the same method as the extension for the work surface. To get the holes for the hinges drilled in the right position I made a scrap piece that was spot on. I then used that to mark the holes on the door and drill them on the drill press. With the Blum hinges it’s important to not drill too deep so remember to set a depth stop of some sort. I attached them to the cabinet by spacing them with some cards, holding it one hand, and driving in a few screws with the other. It wasn’t the best method but it worked in the end. For the drawers, extensions, and special slide I made fronts from the same ‘steigerhout’. These fronts first get the handles attached to them before they get fastened. To ensure the handles don’t come off I add some Bison Lock Bond.
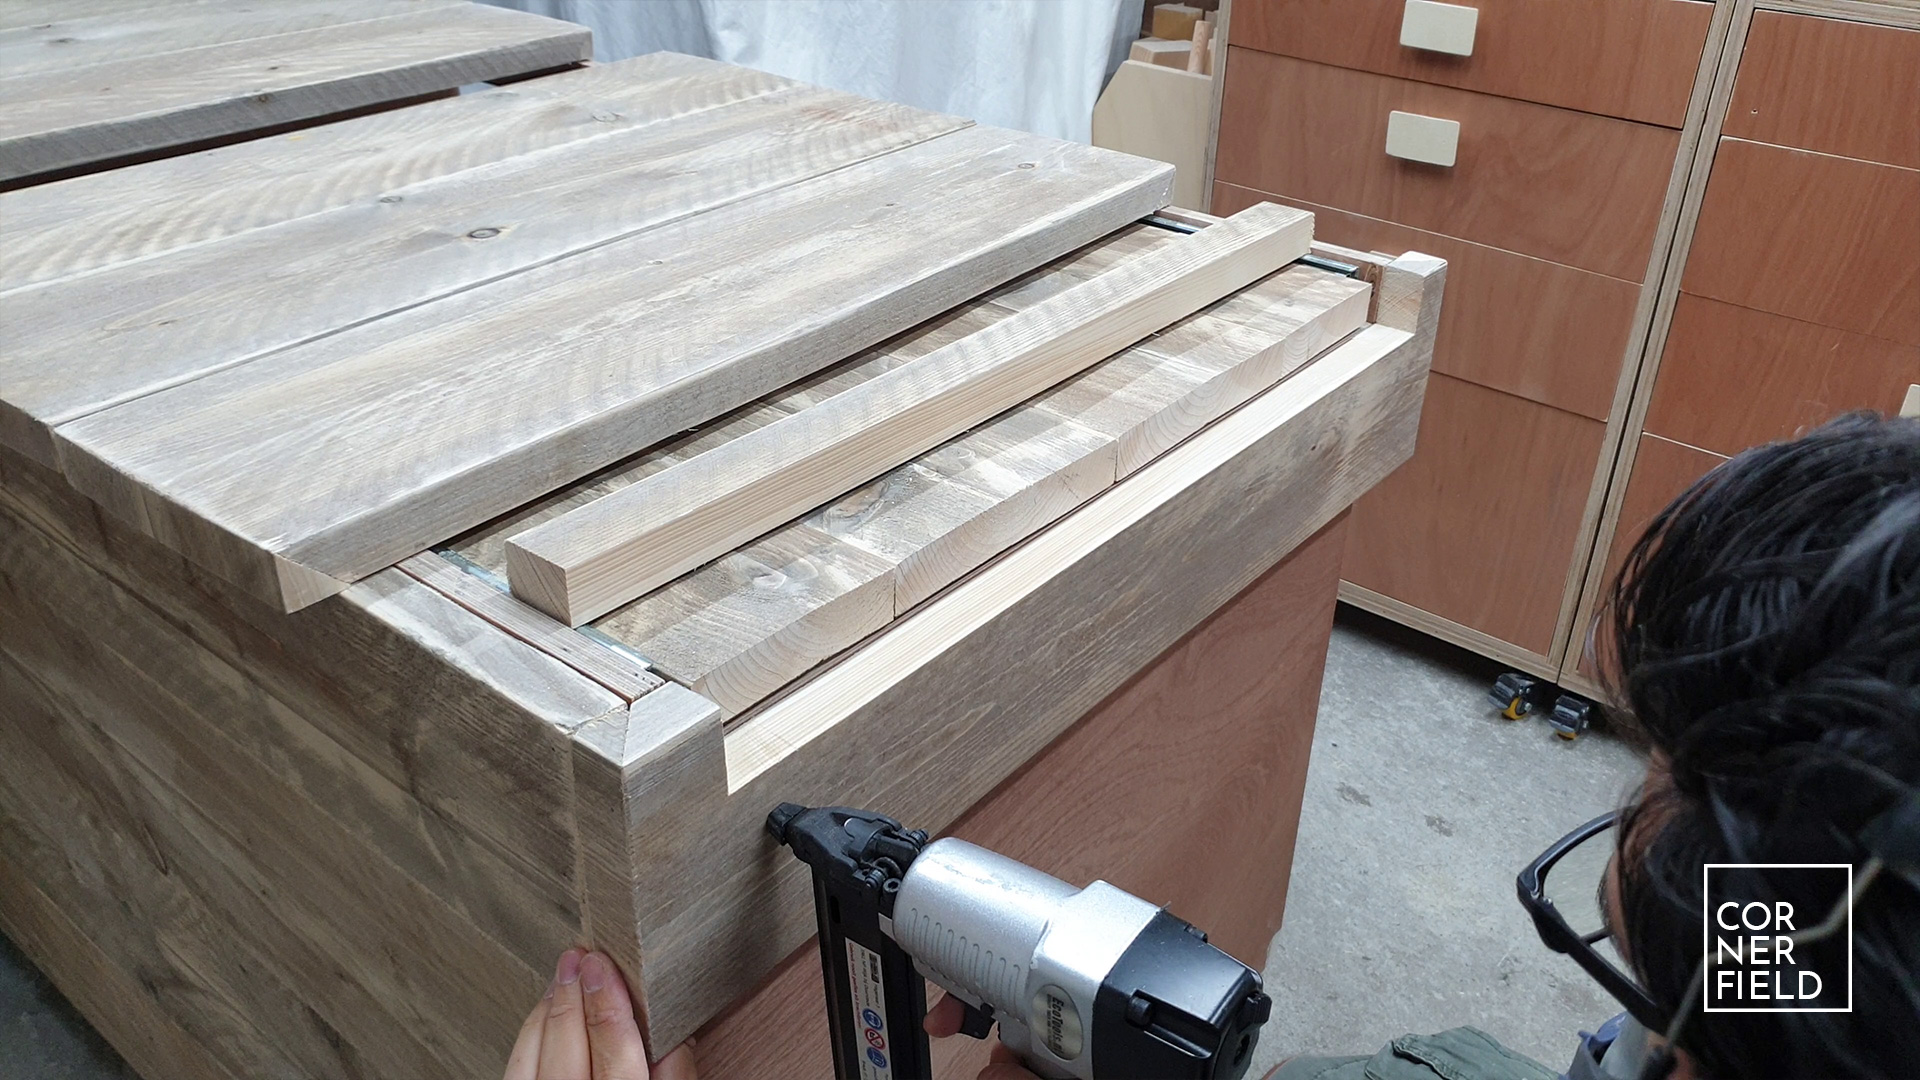
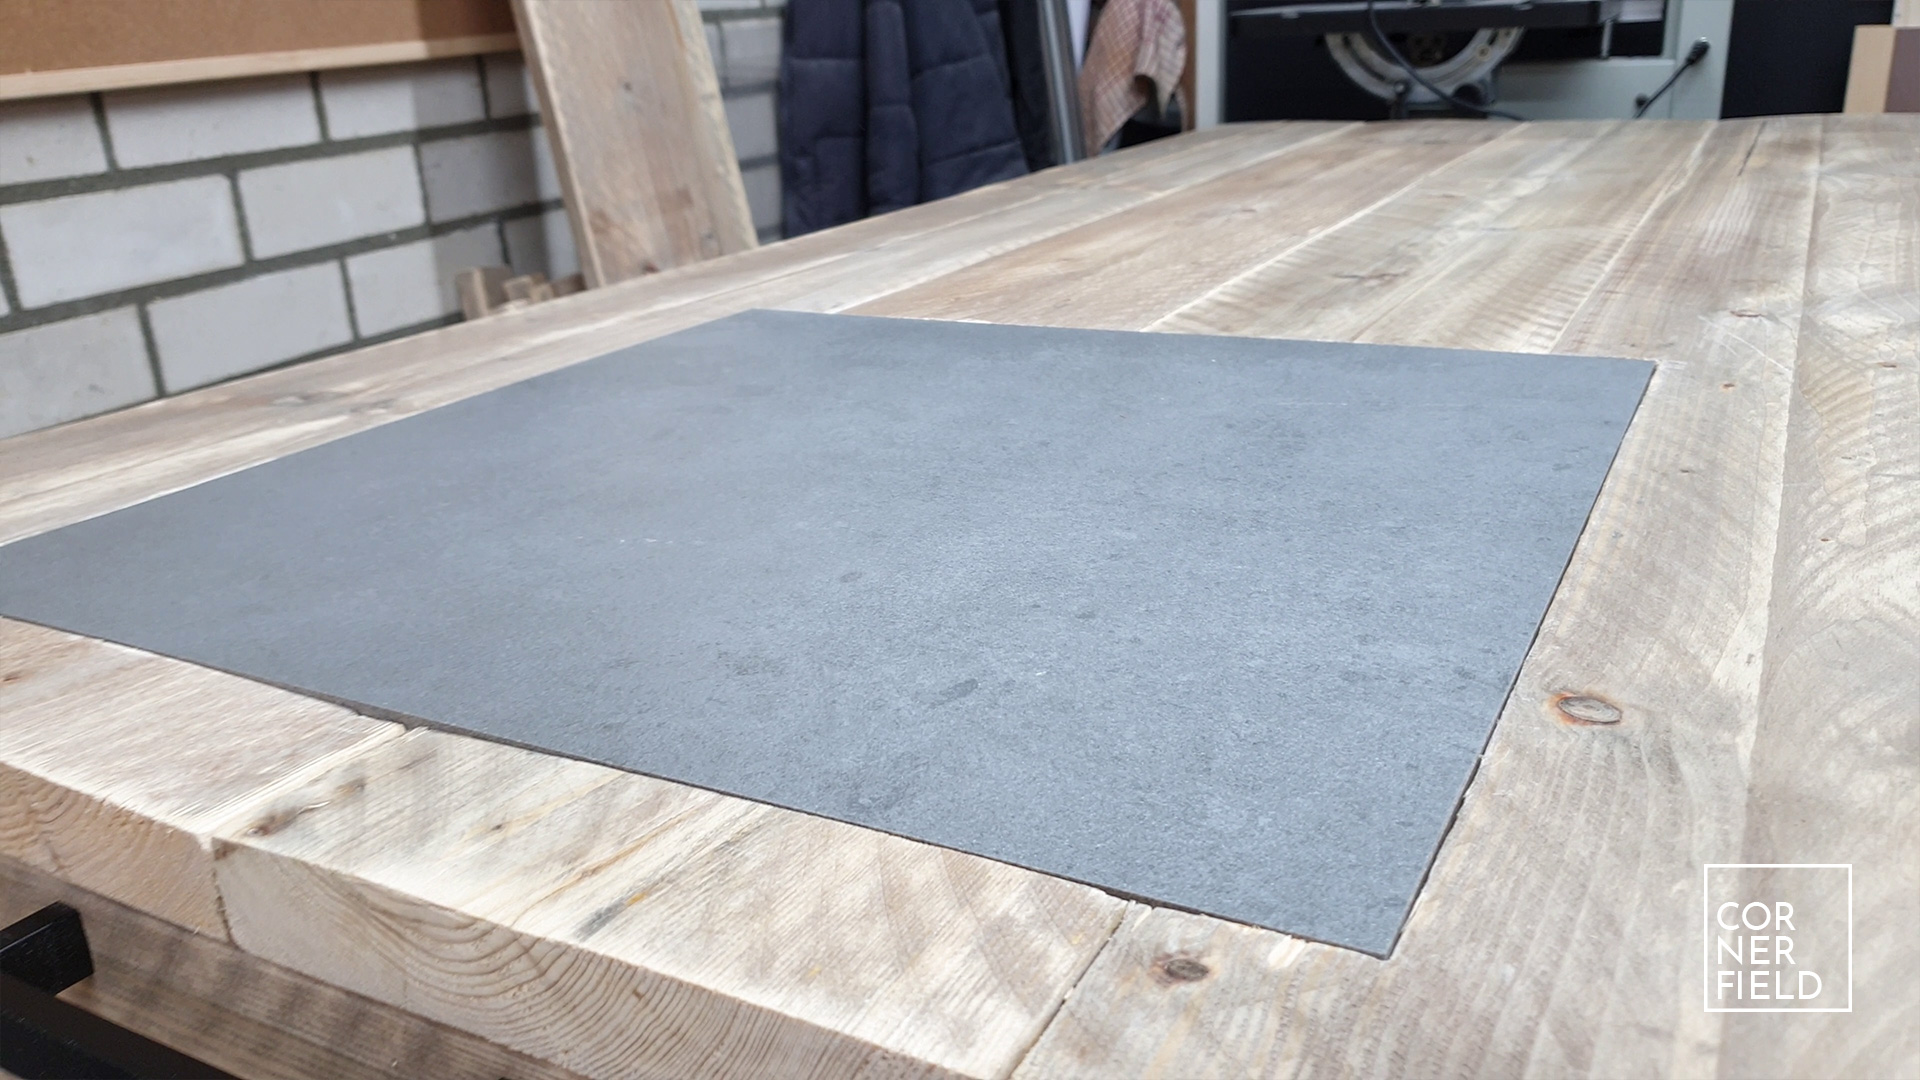
Worksurface
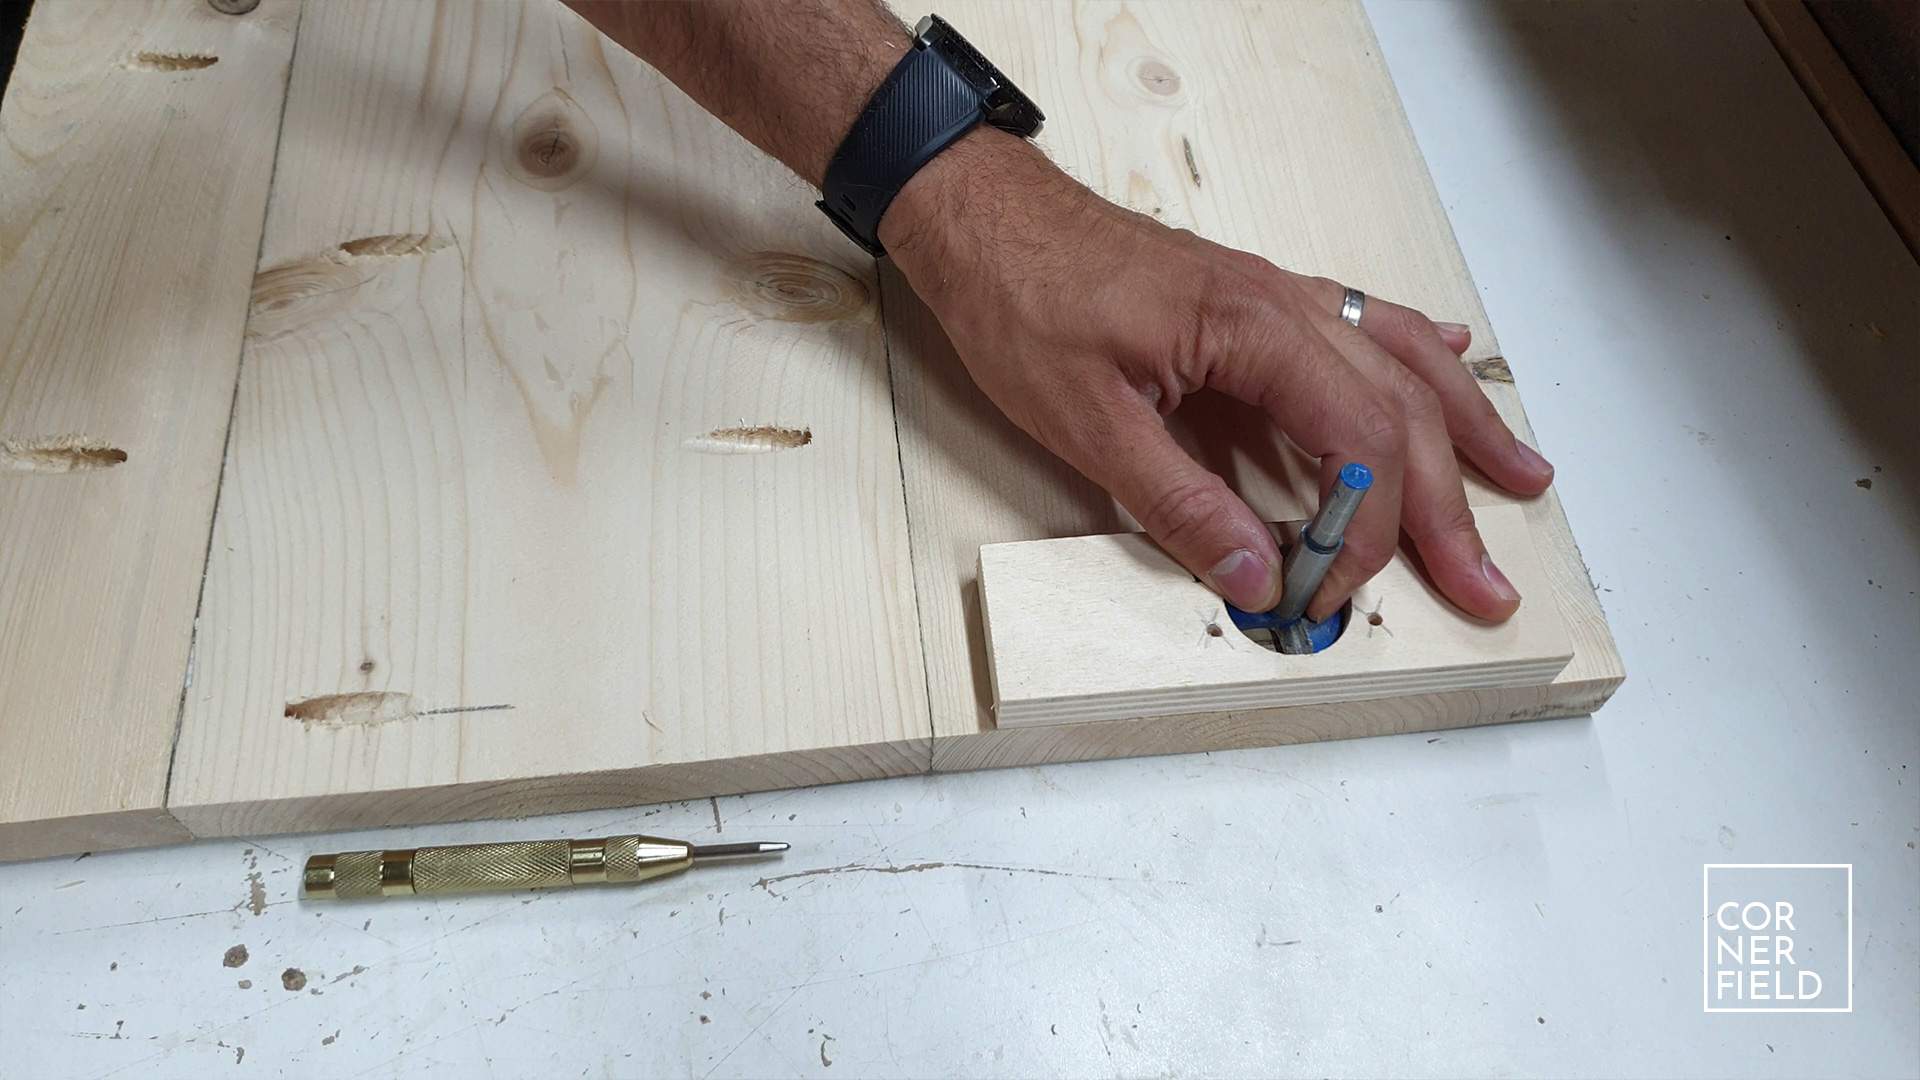
The last part is the worksurface. It’s made from 4 boards that I also join together with glue and pocket screws. In the middle, I leave the screws out because that gets cut out later. With the boards joined together I space the top evenly around the base and fasten it from below. I predrilled some pocket holes in the vertical pieces to allow me to do this. Next where the tiles that needed to be recessed. I laid them out and marked the outside with a knife. Then it was a matter of removing the thickness of the tiles from the top. I did this with a plunge router but that wasn’t ideal. The material didn’t remove easily with this method so I switched to a drill and a large Forstner bit with a depth stop to do the bulk. I later came back with a router and a sled to remove the last bumps. It took some doing but I got the tiles in eventually.

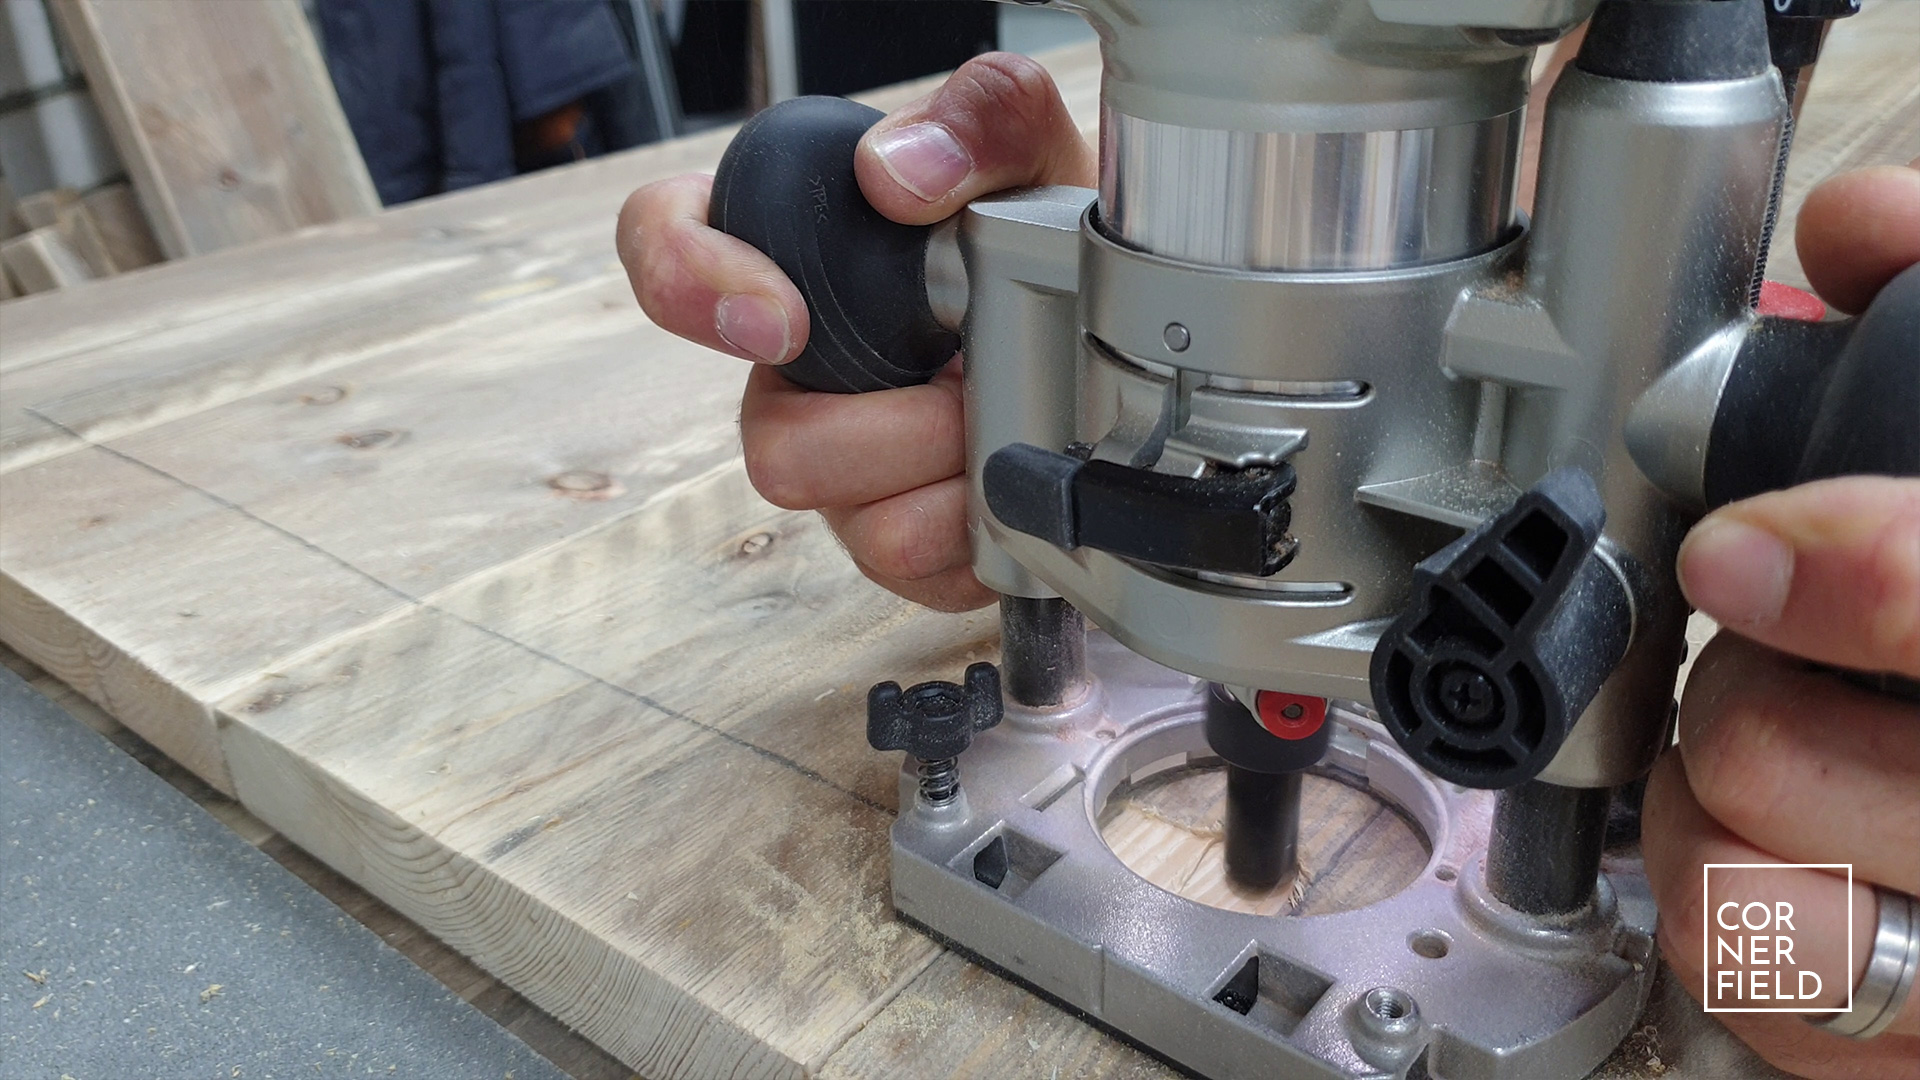
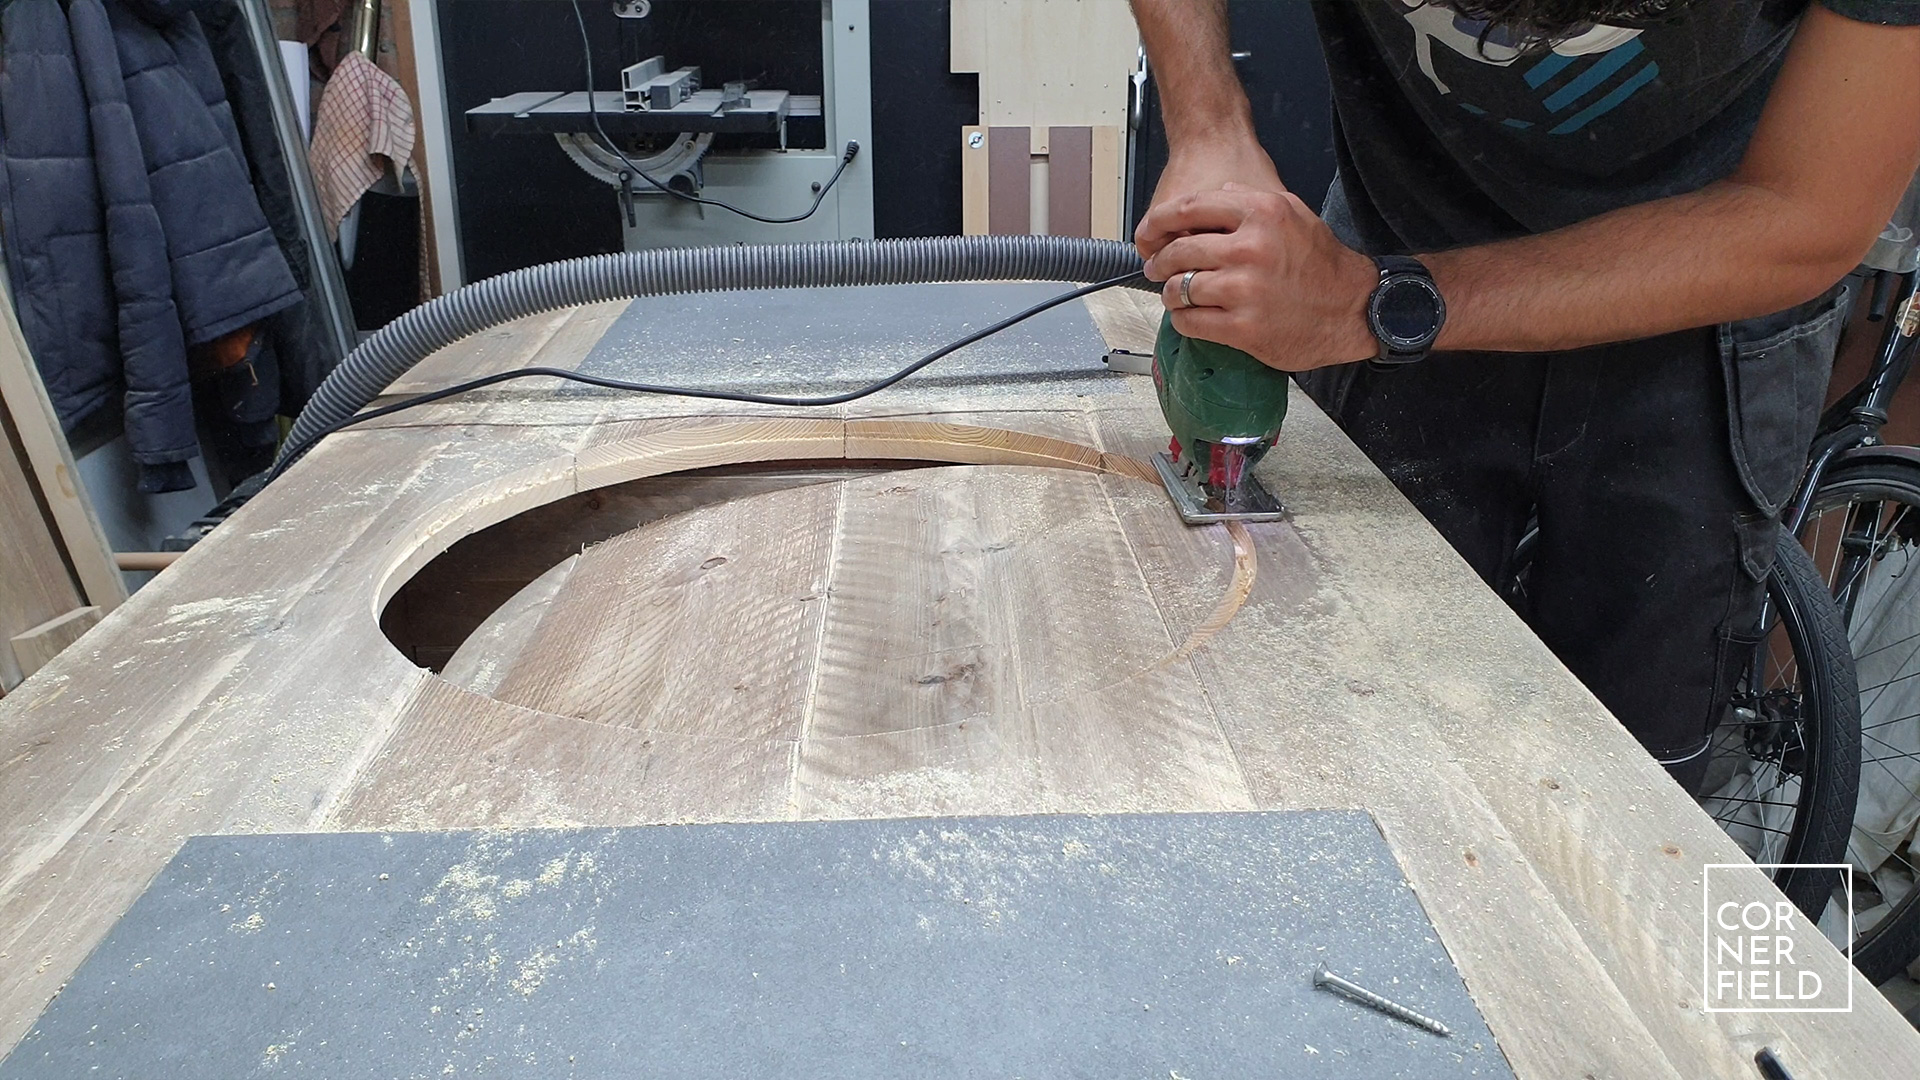
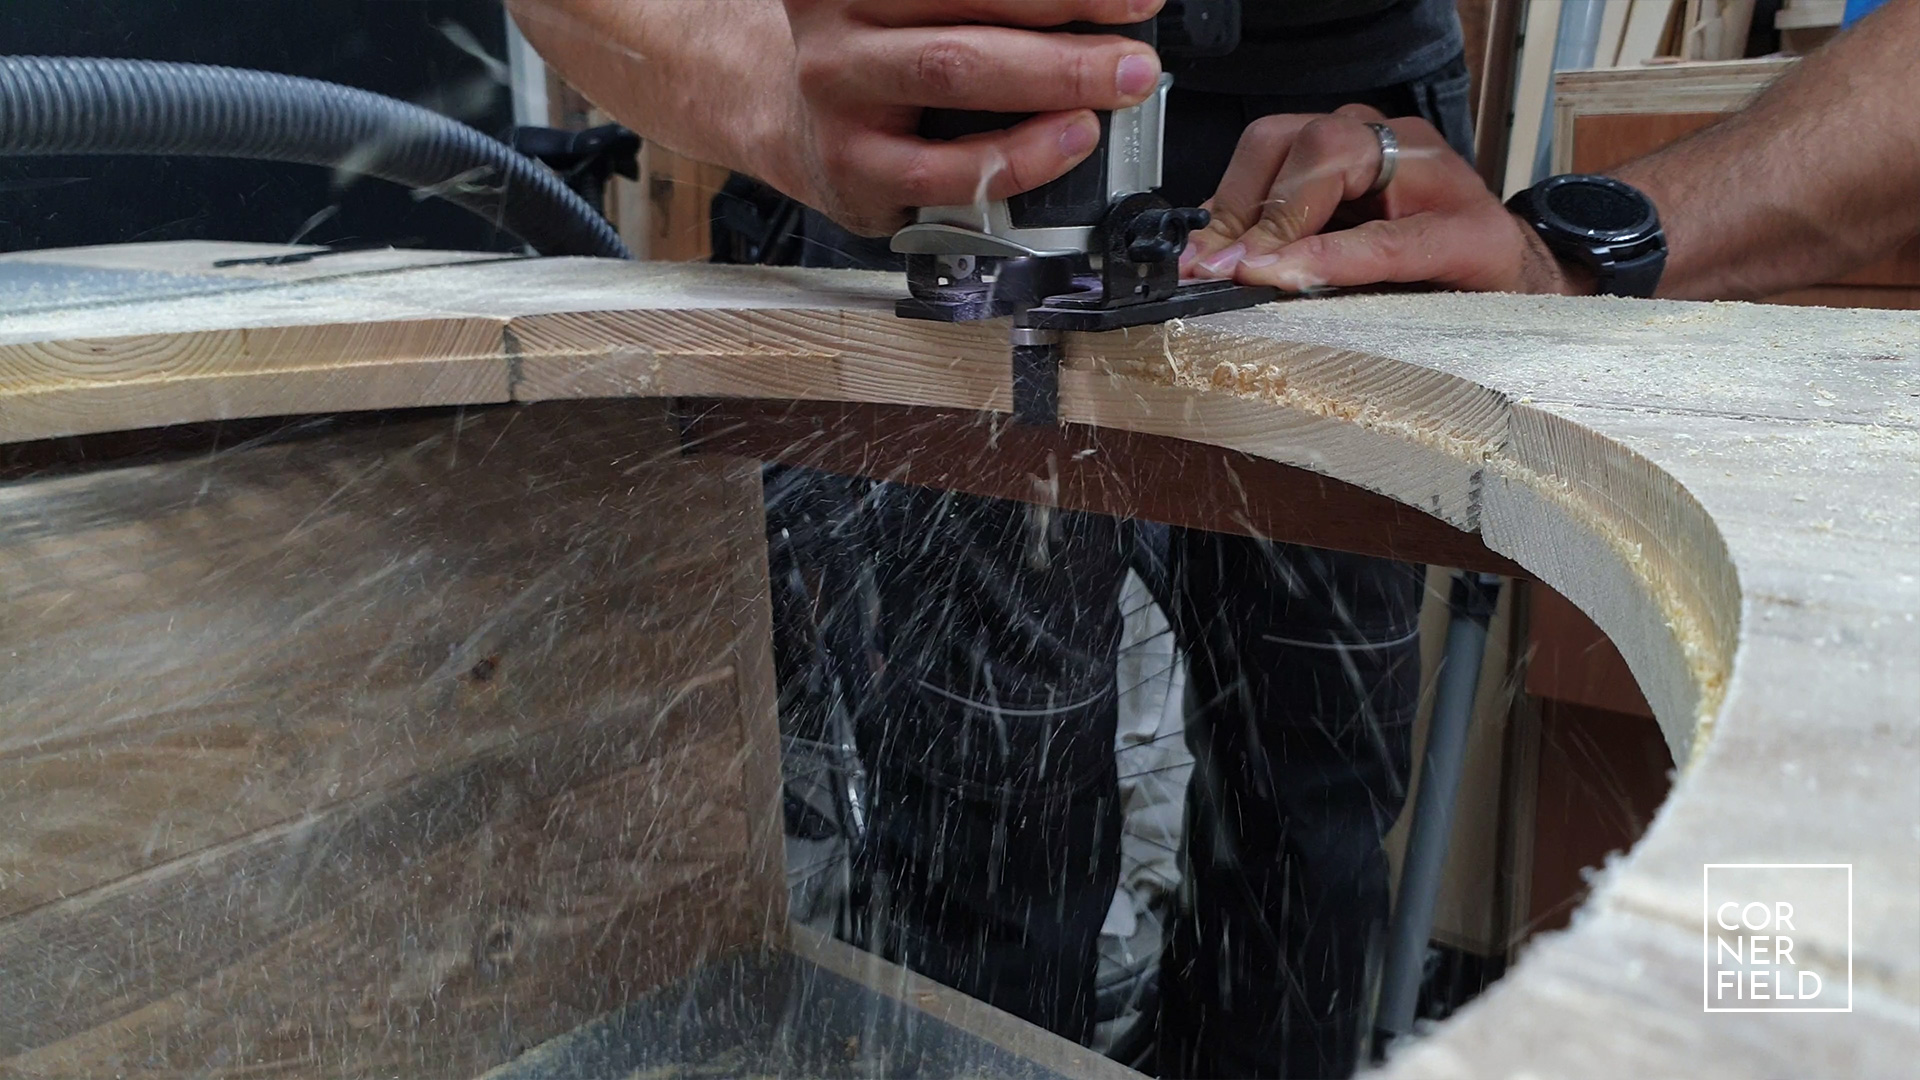
Lastly, the hole for the Big Green Egg BBQ. First I marked out the center of the hole. Then I made a circle jig for my router to cut it out. The jig consists of a piece of plywood with a router base attached to it. At the correct distance from the bit, I drove in a screw with partial thread into the top. This allowed me to rotate around a fixed point and make a perfect circle. My bit wasn’t long enough so I finished the cut with a jigsaw and finished the lower part later on with a flush-trim bit.

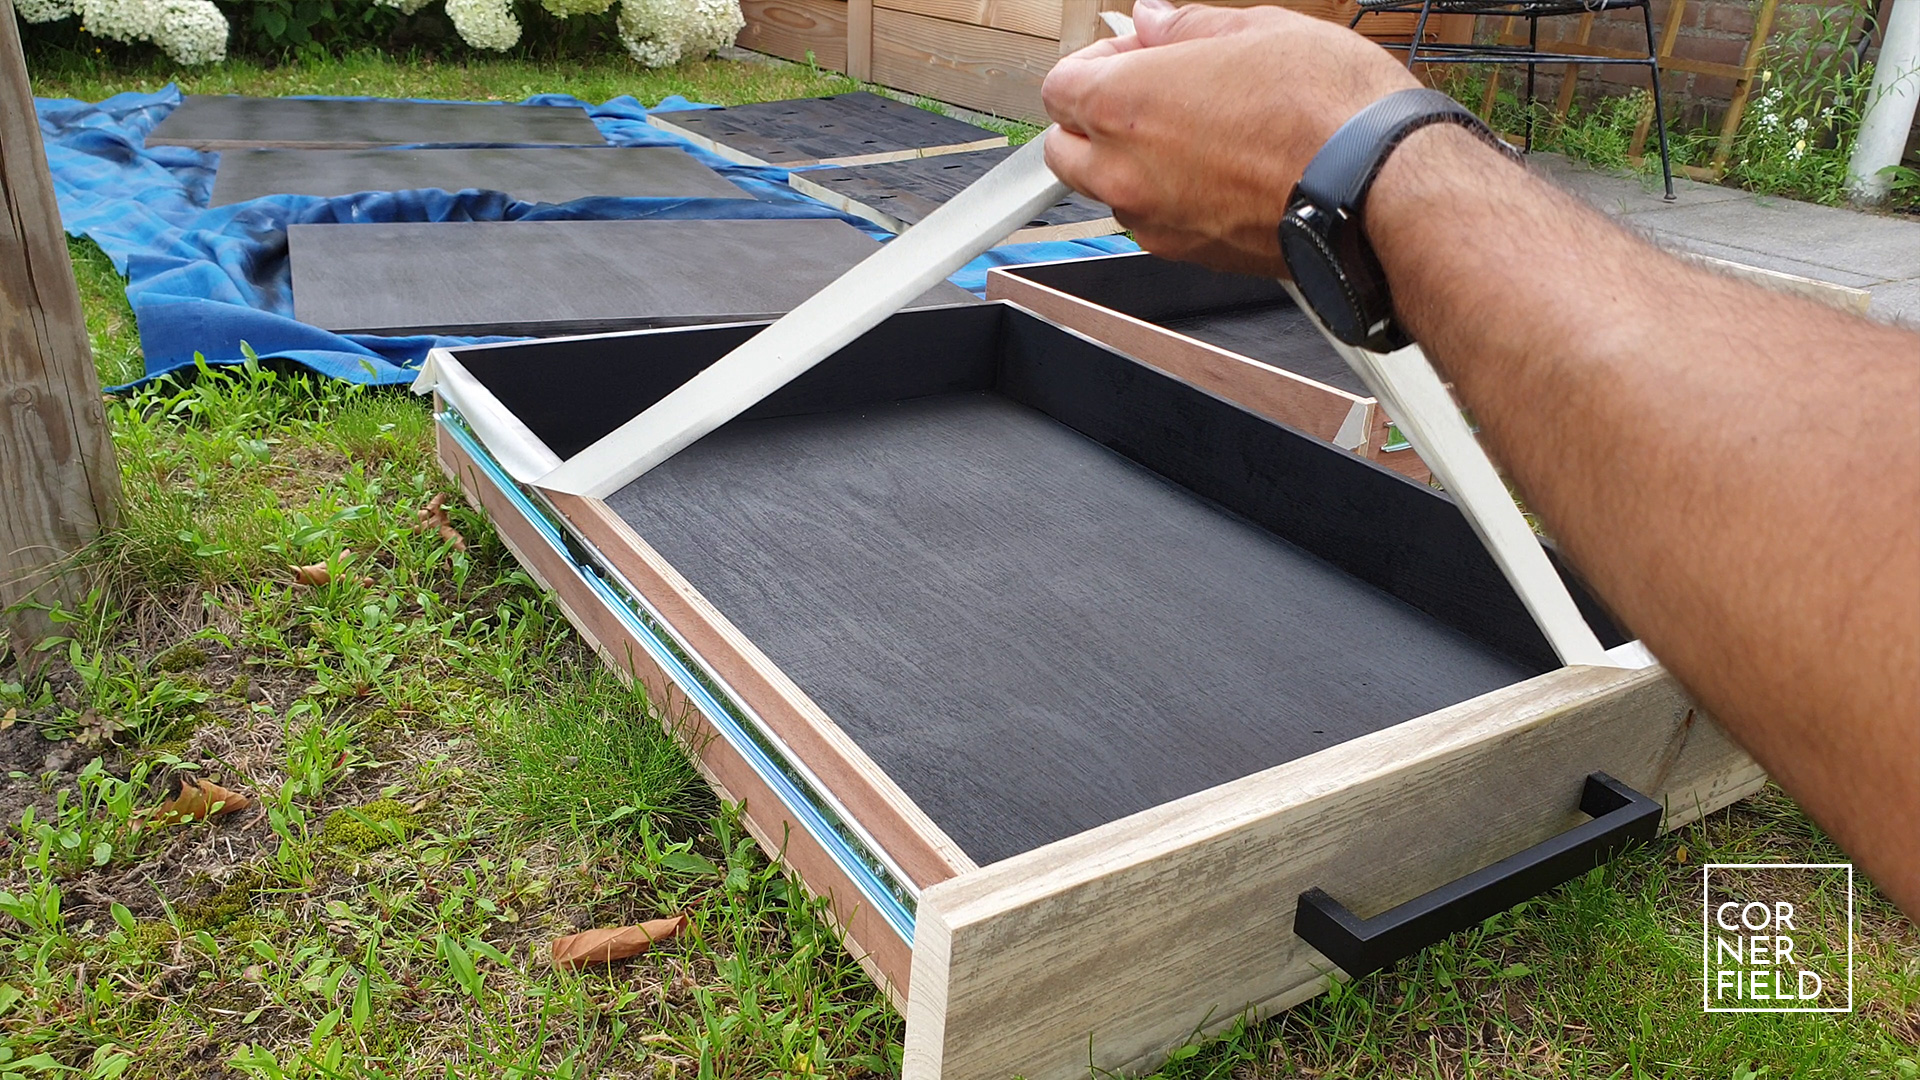
Paint & finishing
Since this outdoor kitchen will be used mainly for barbecuing, I decided that a black interior would help to hide any stains made by the coal. It was my first experience using spray cans and I’m really positive about the end result. It is tricky to not overspray parts by pressing too hard or getting too close to the wood. But with some practice, it’s fairly easy to get the hang of it. I finished my freshly painted panels with a spray varnish which was also a first. The amount of shine is perfect and it’s very hard so that also was a nice improvement to my normal procedure.


Result
Looking back at the entire project there are some things I would have done a little differently but they are mostly time-saving changes. The build itself turned out exactly how I hoped it would. The client is really happy with it and started using it about a day after the installation. I had a blast building this project, especially because of all the different components that went into it. Having everything come together so neatly and making a family a little bit happier is the cherry on top!
Download & Links
If you want to make one for yourself I have my SketchUp model available as a download in the link below.
SketchUp 3D-model | Exploded view
Instagram 1 | 2 | 3 | 4 | 5 | 6 | 7 | 8 | 9 | 10 | 11 | 12 | 13 | 14 | 15 | 16
I hope this post has inspired you to make something!
Don’t forget to follow your excitement  .
.
– Rico

“My bit wasn’t long enough so I finished the cut with a jigsaw and finished the lower part later on with a flush-trim bit”
This is how I do it always even if my bits were long enough. If you cut at full lenght, by the end of the cut, the circle starts to sag and so does the circle cutting jig, not to mention the end when the circle comes loose and your reference center is free to move.
So basically, much safer and nicer cut:-)
As a real beginner, I’m have a lot of fun building this kitchen. Could it be right that I’m missing some short (30 & 34mm) thin strips for the frame? On the cutlist there are 8, and I need 12.
Thanks for all your info and drawings!