

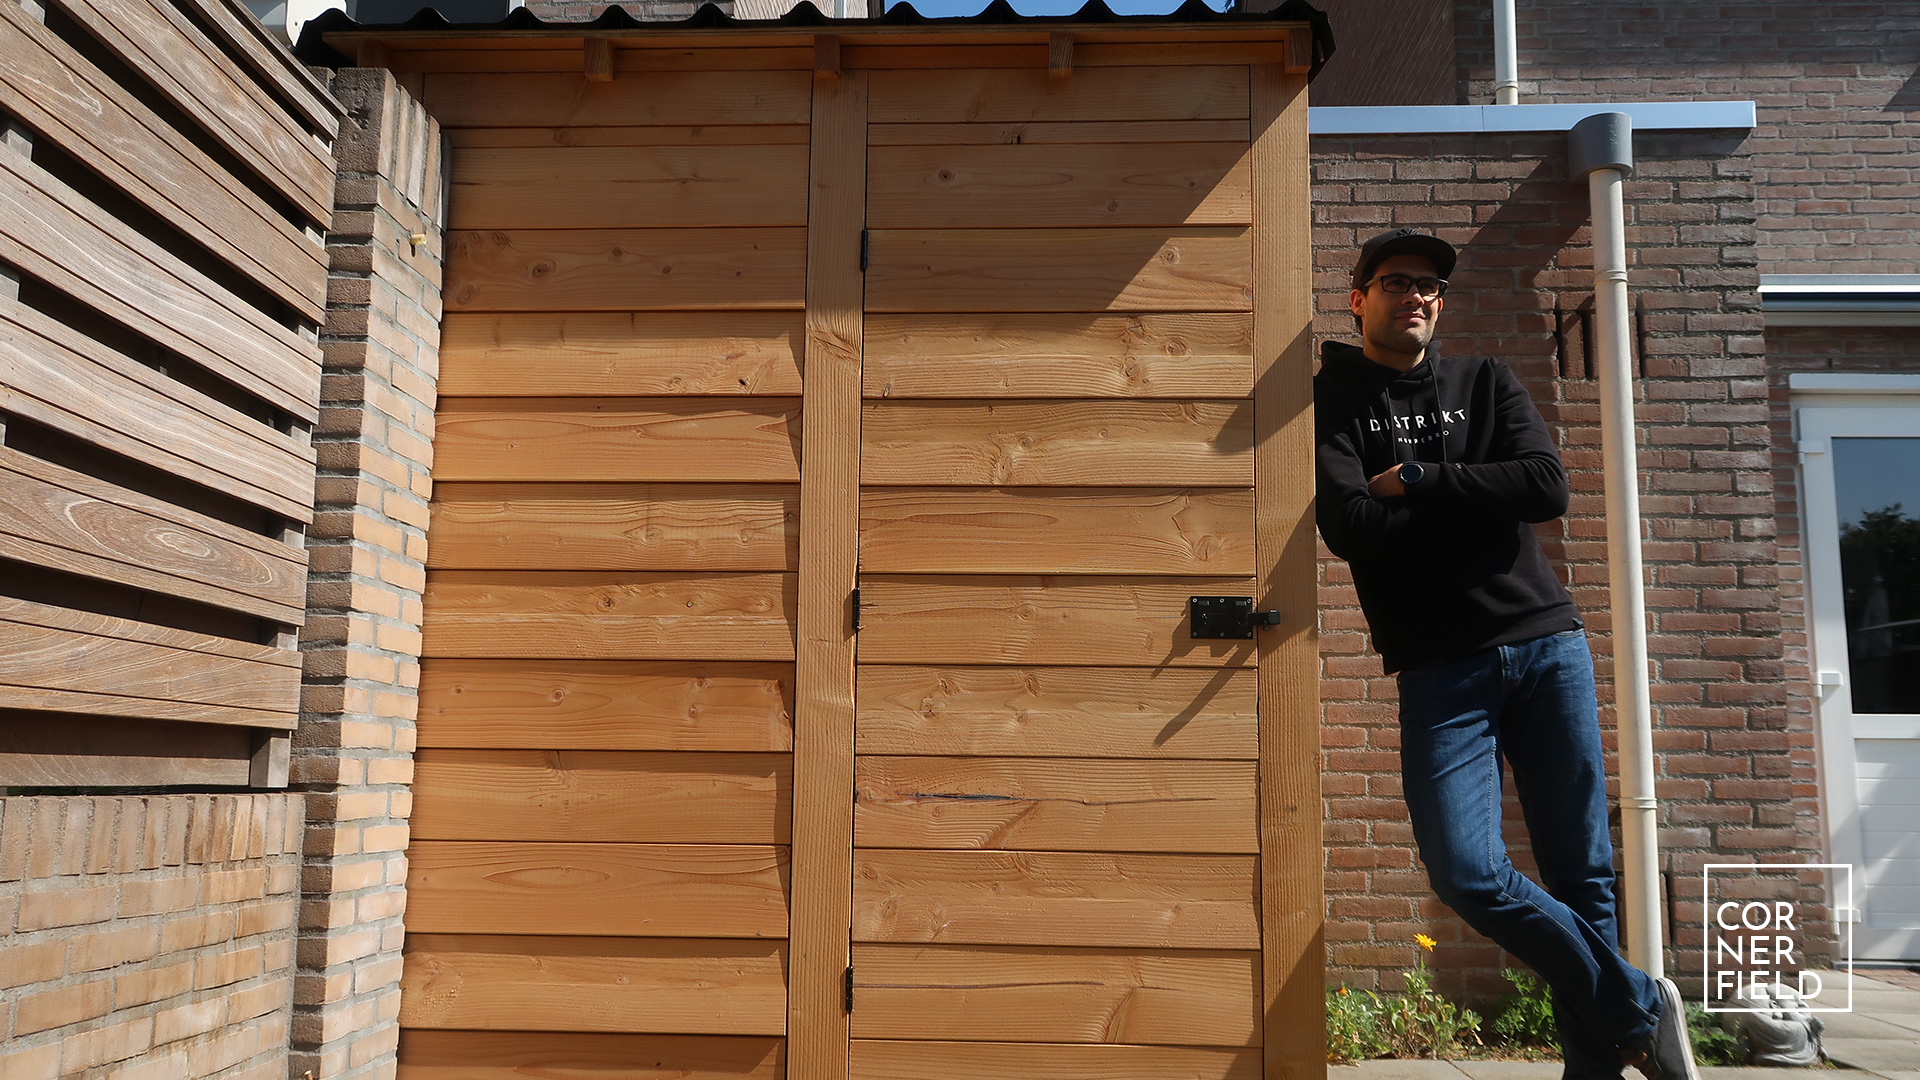
Our garden was in desperate need of some storage so I made this garden shed.
Design
Our garden isn’t very big so I wanted this shed to be inconspicuous. However, I do like things that are sturdy. After some research online I found some inspiration and made my own design. I decided to use thick posts in the corners and to keep it low-key, wrapping the siding all the way around.

Build
Since this garden shed is a pretty large project I like to simplify first. Let’s start by splitting this project into a few manageable steps.
- Frame
- Walls
- Siding
- Roof
- Door & lock
Frame
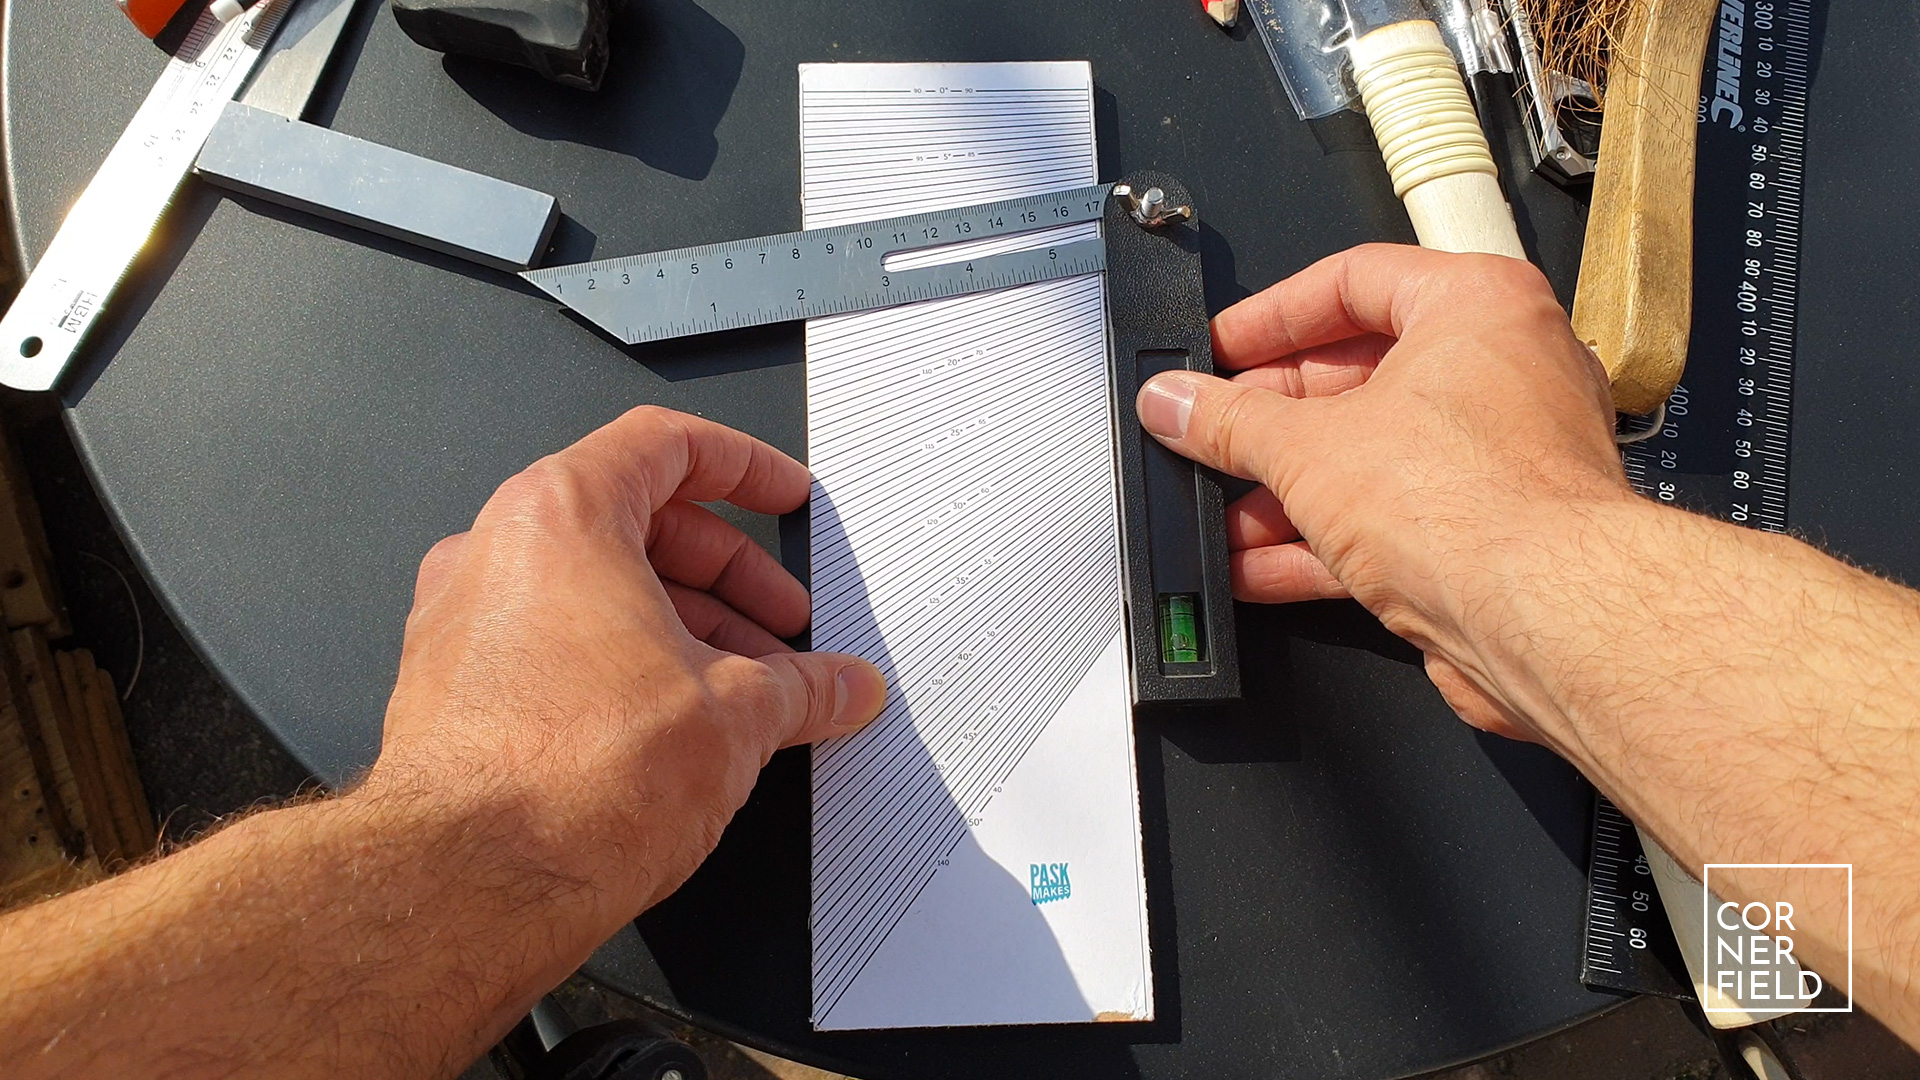
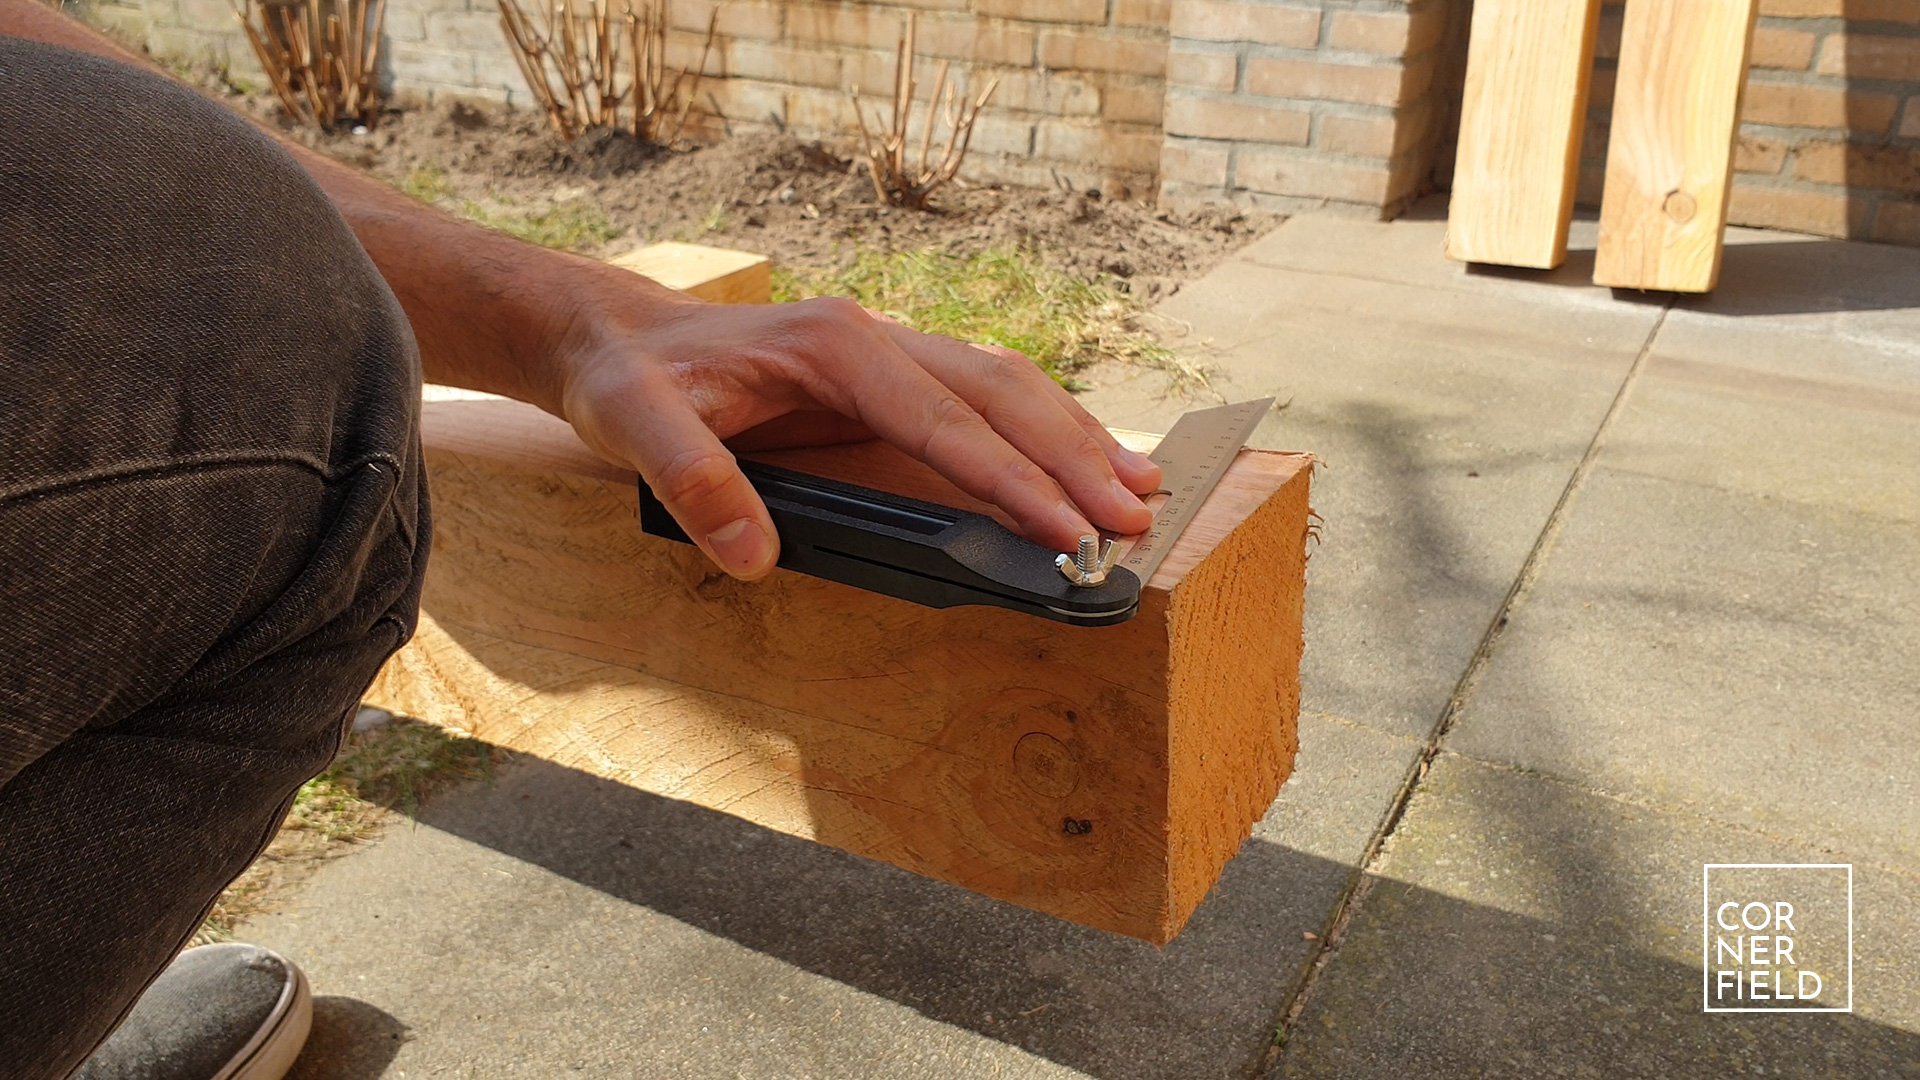
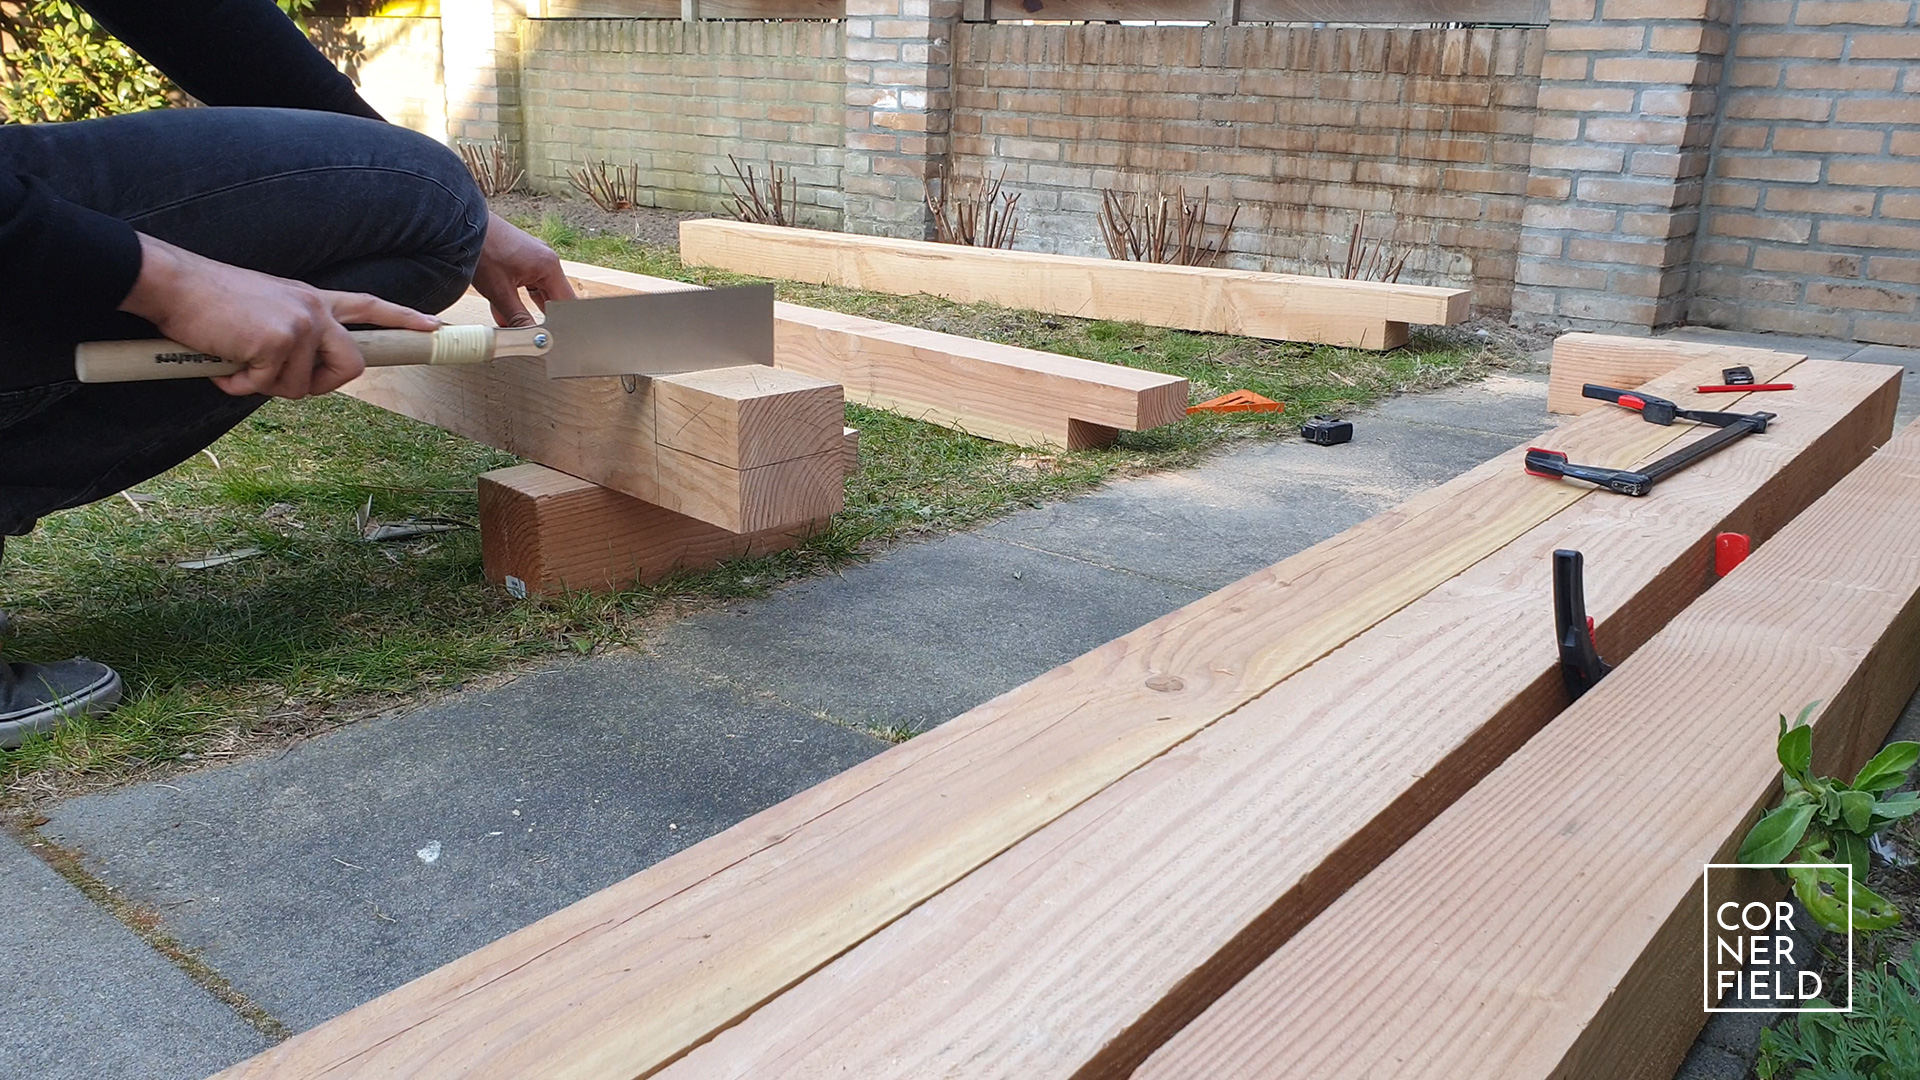
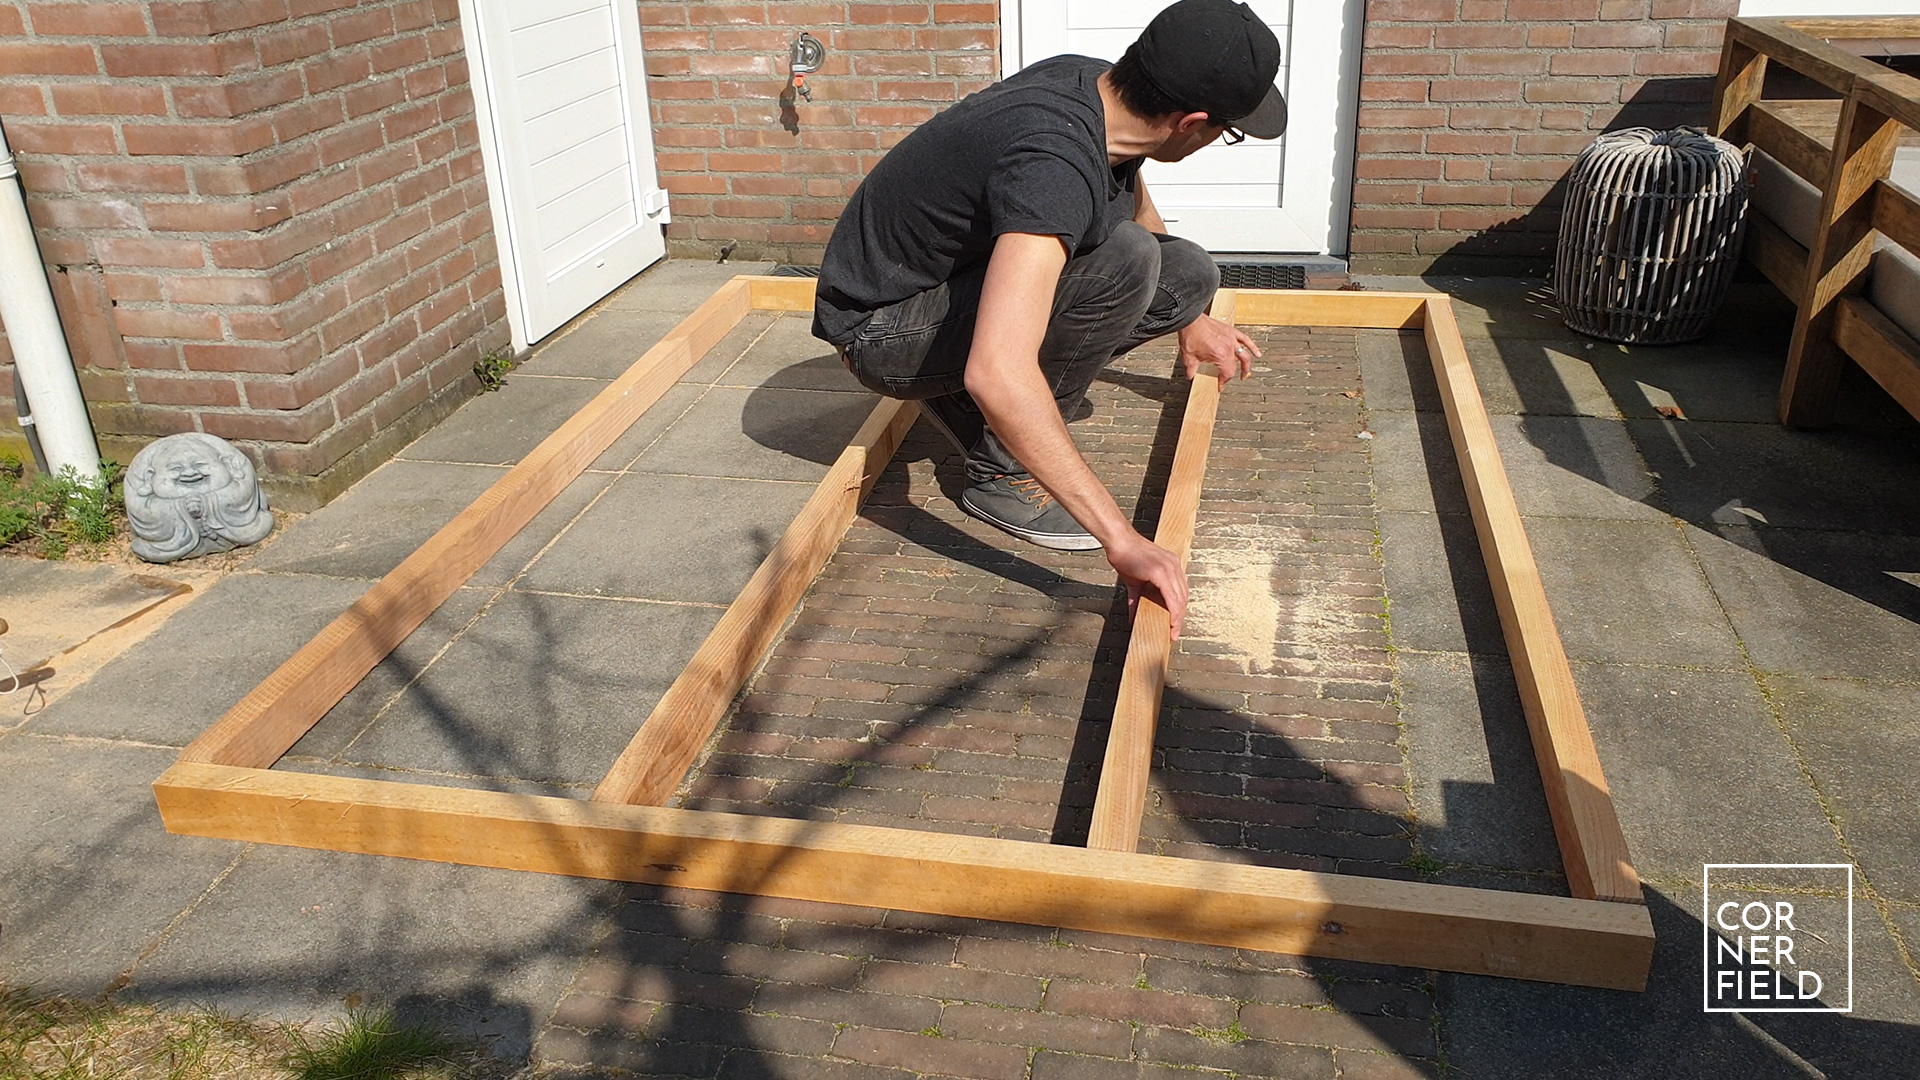
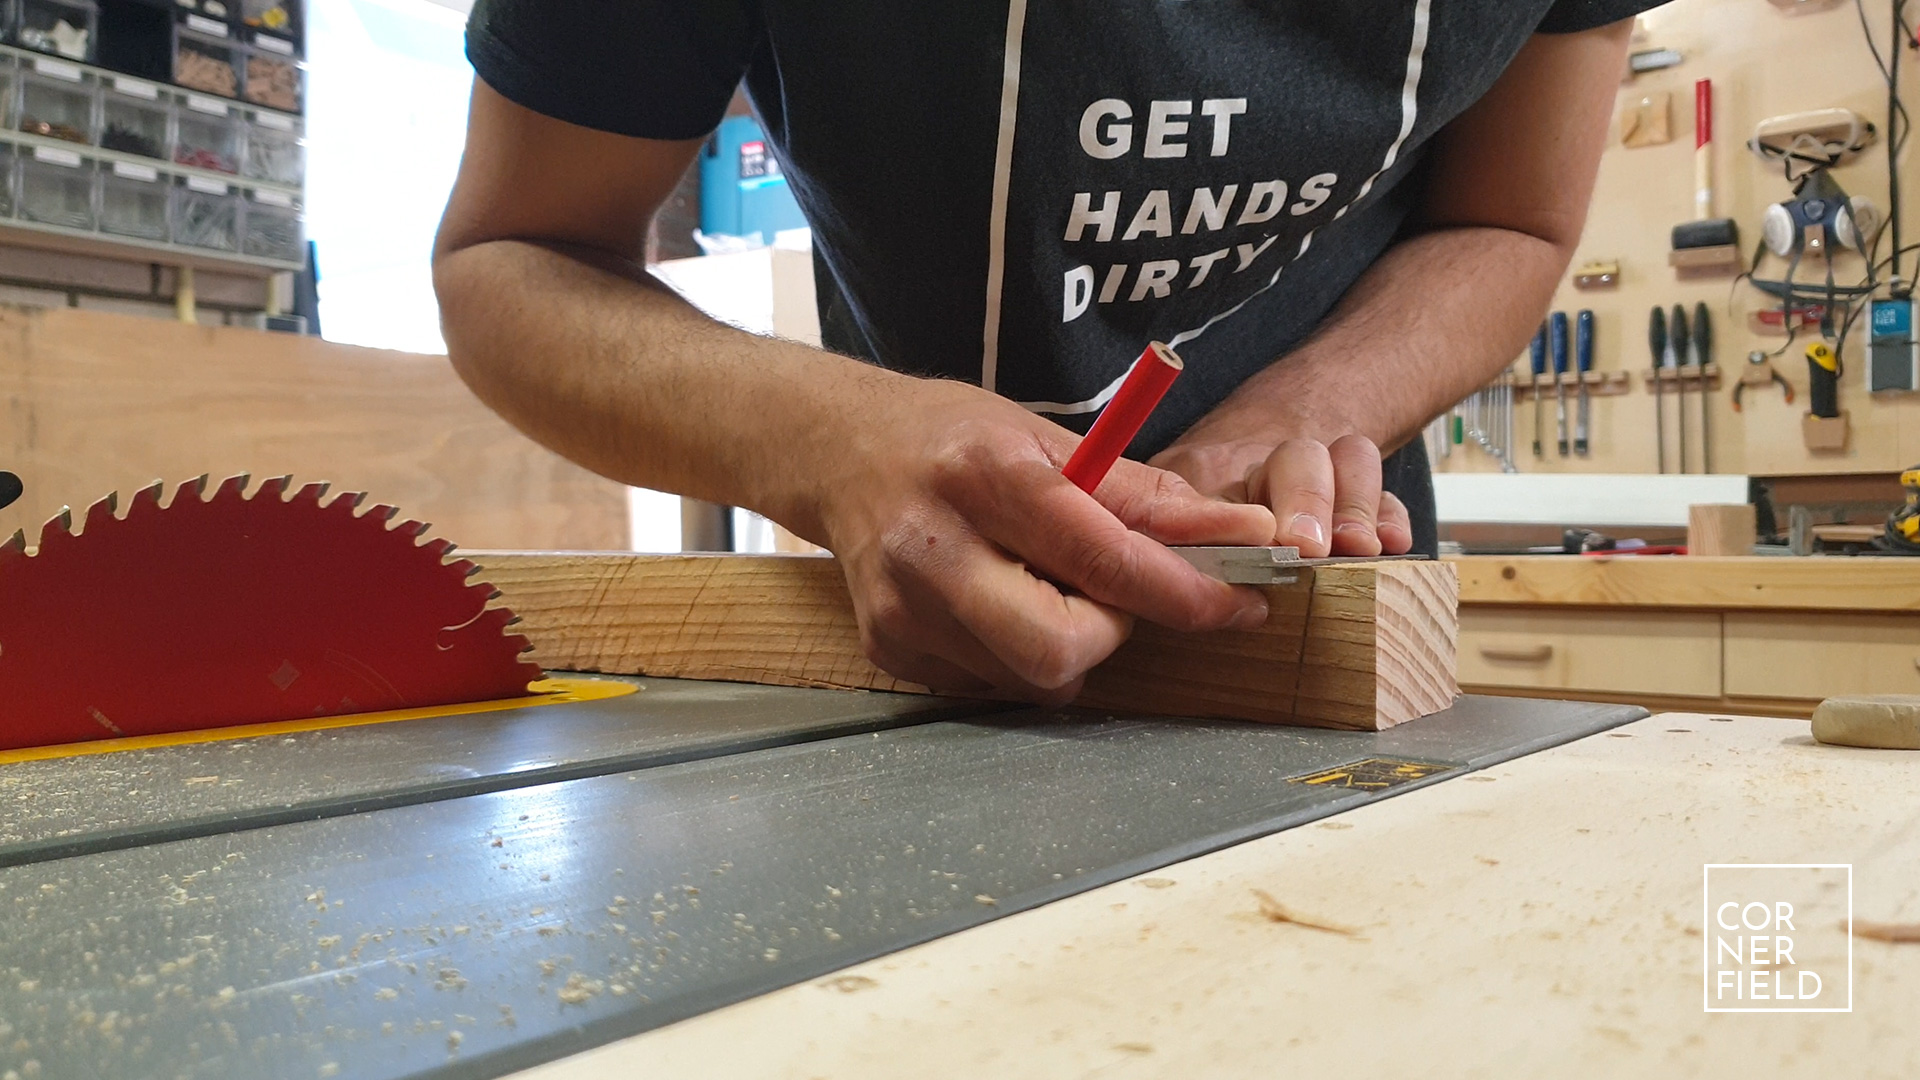
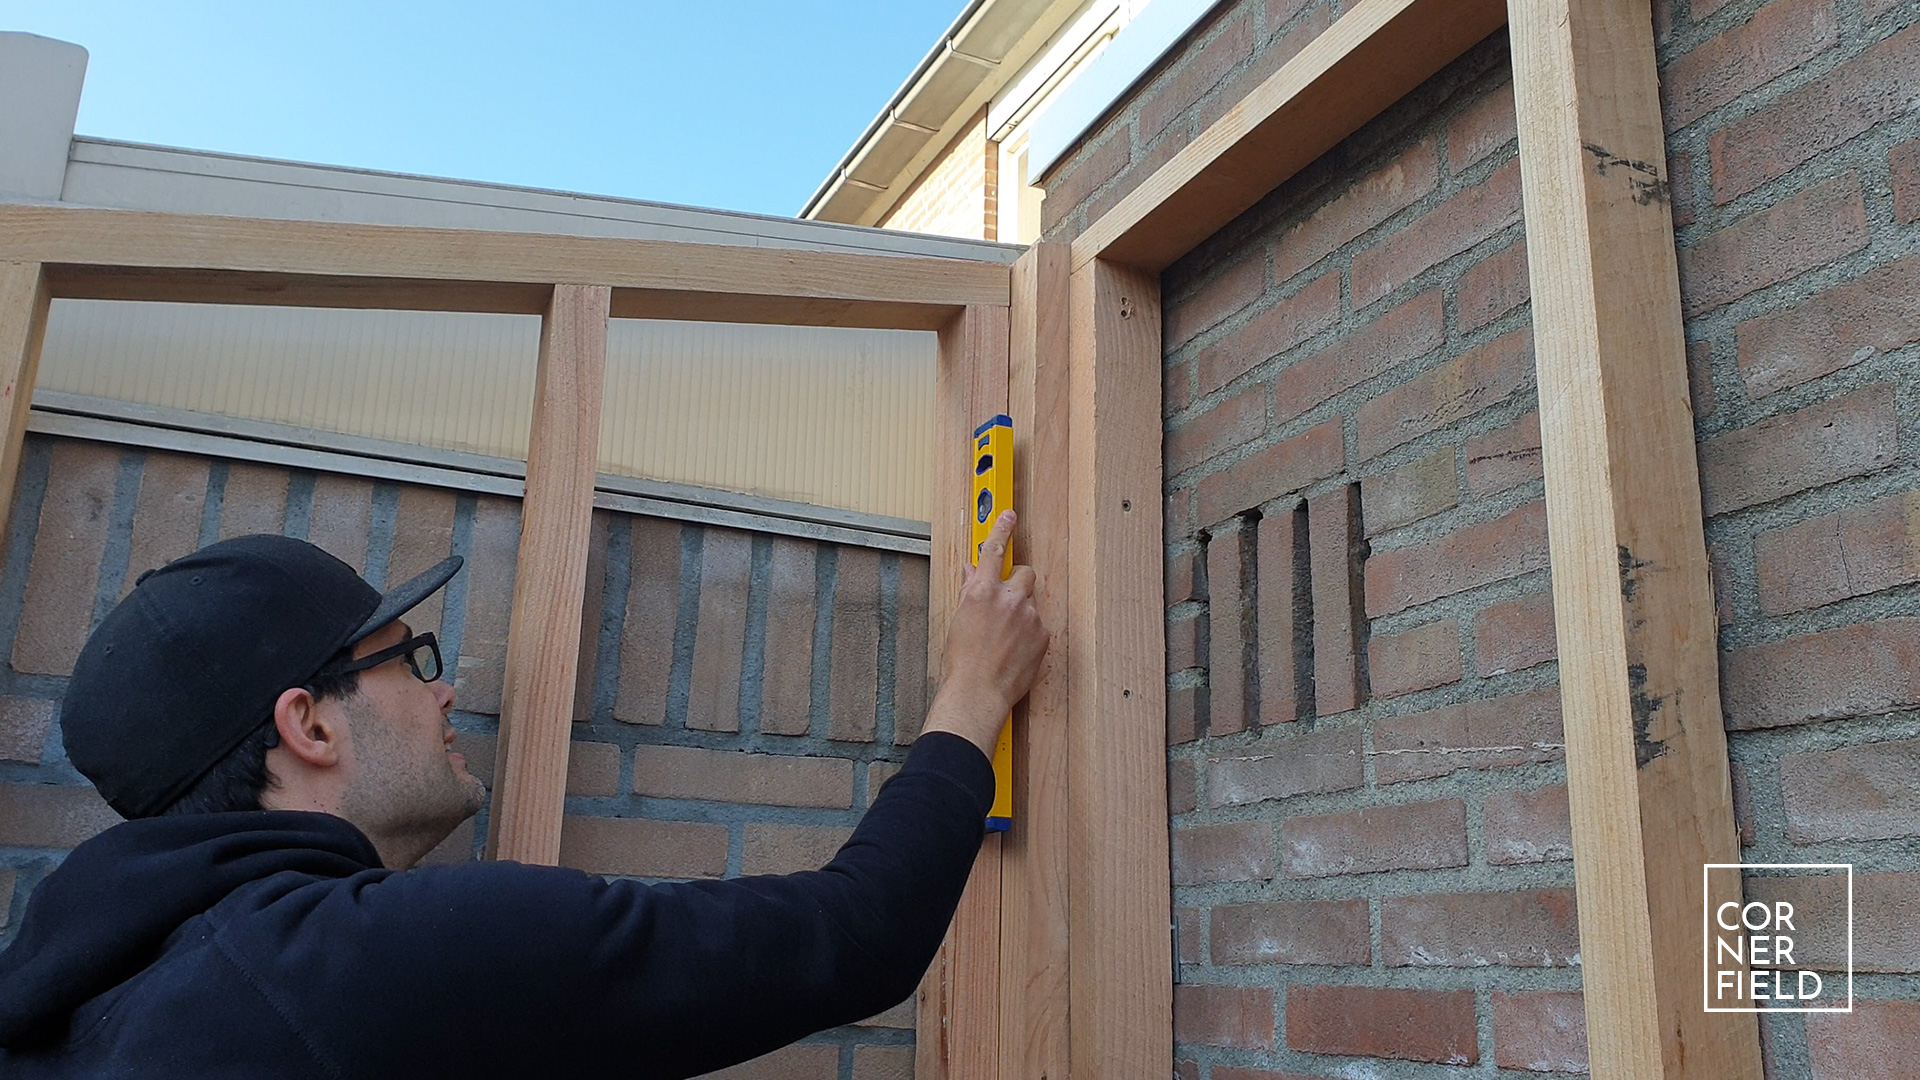
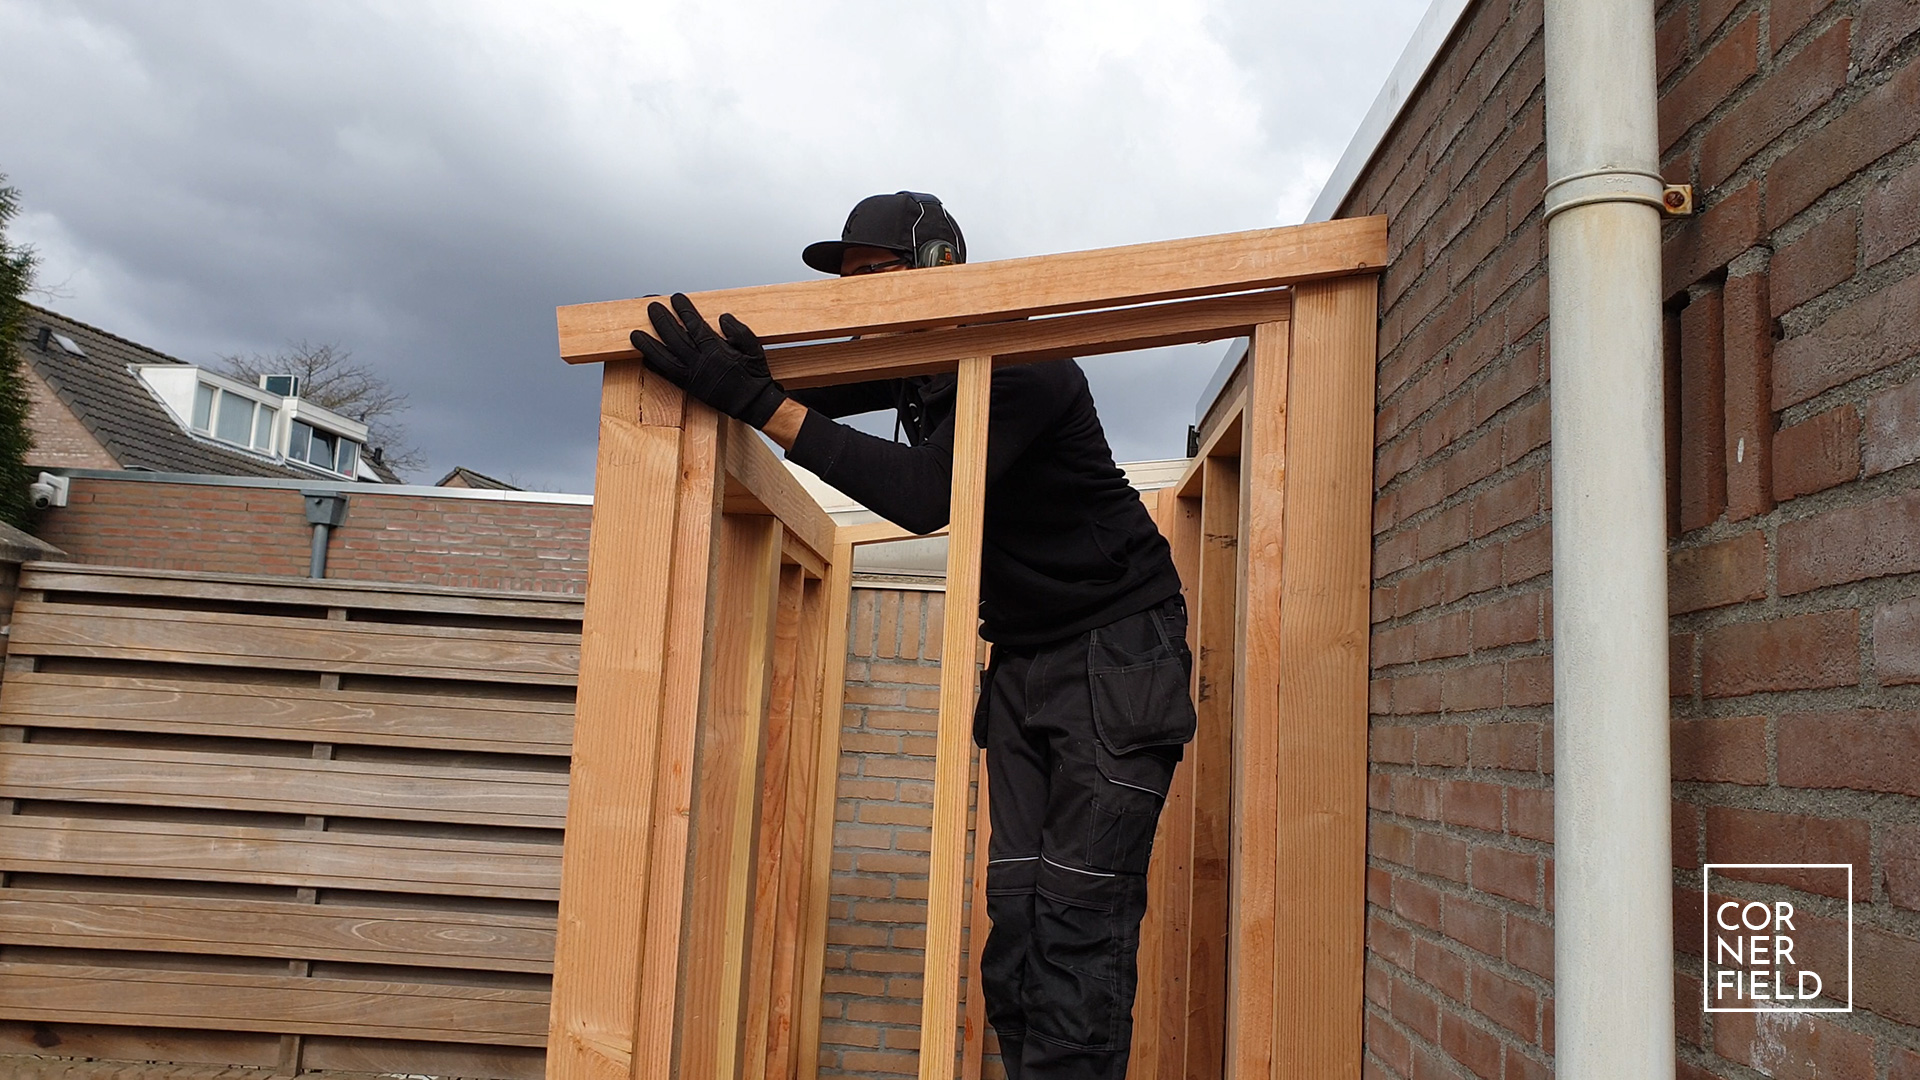
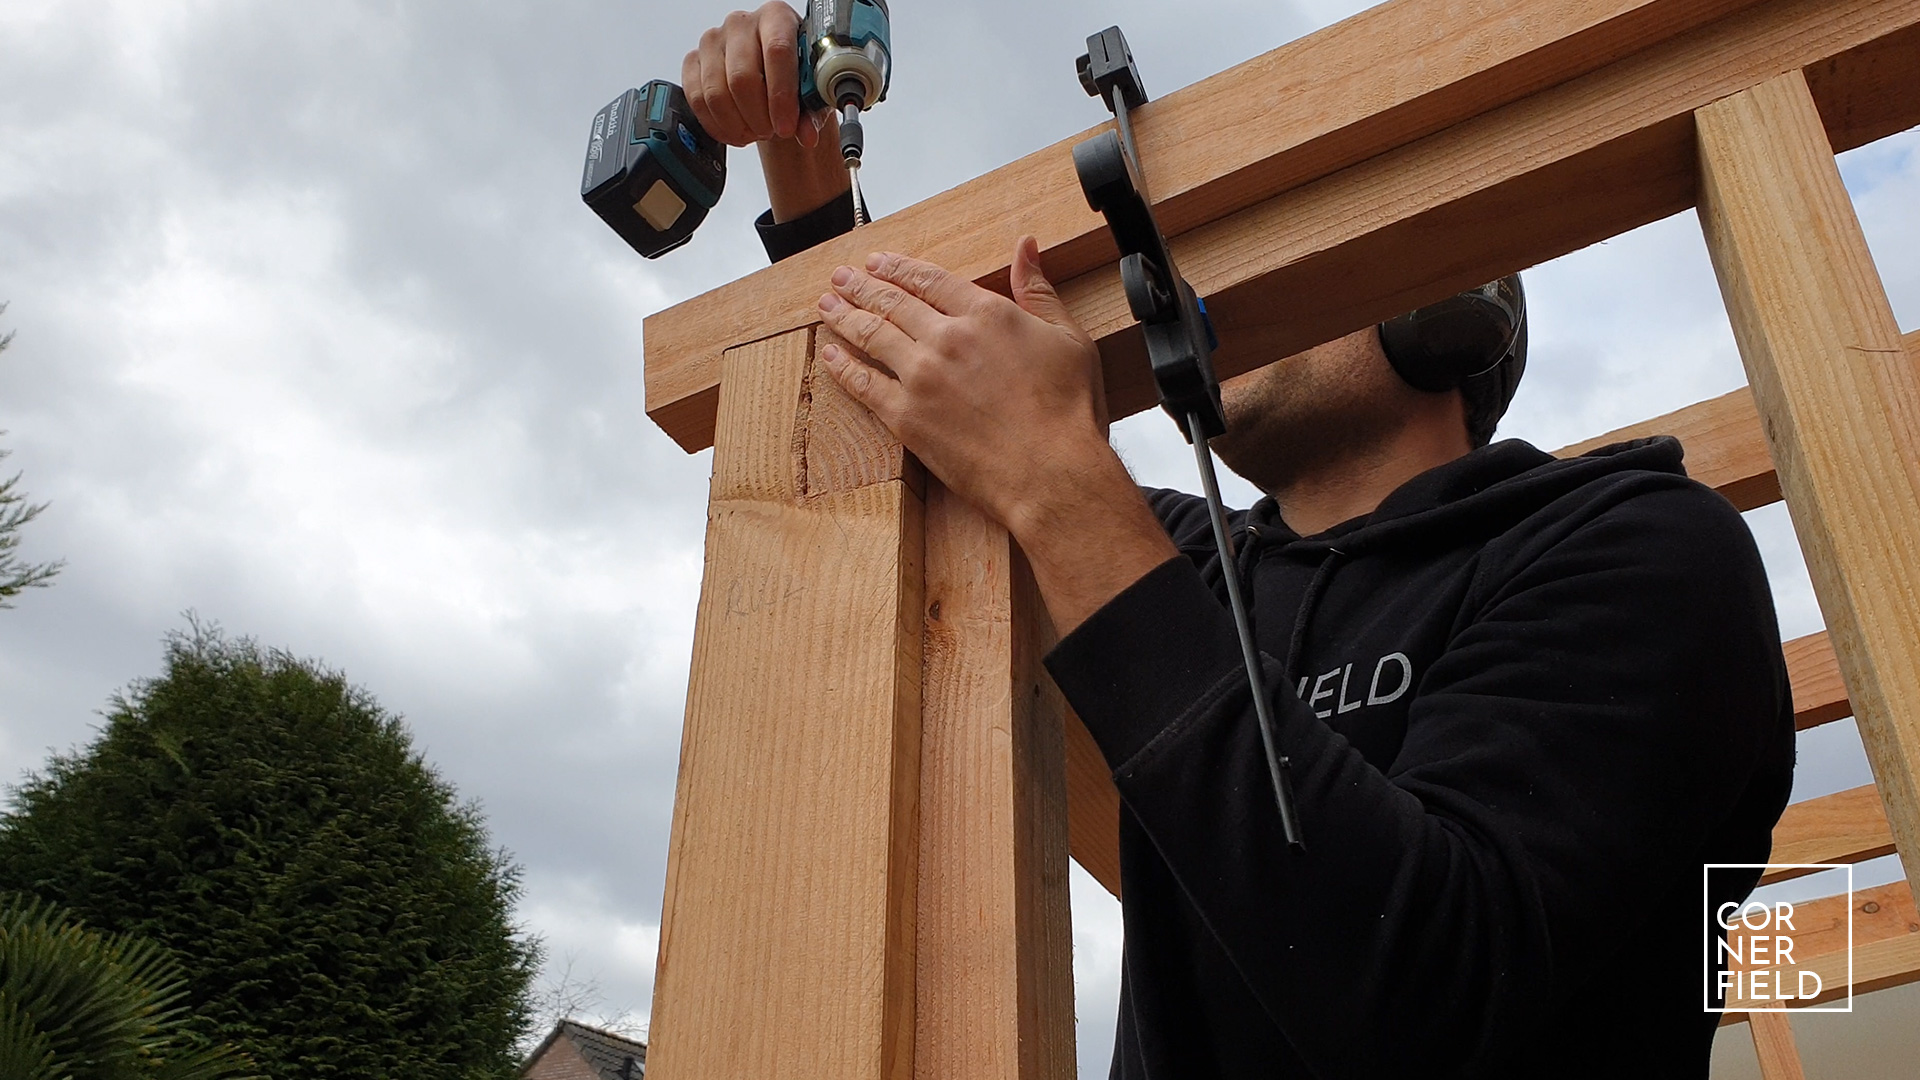
The front part of my frame is completely made from 120 x 120mm thick stock. The back and sides only have these posts in the corners with a wall in between. My roofing material needs a 9-degree slope to function properly and since that is tricky to get right I’m starting there. This means first cutting the top of the back two posts. I’m using my bevel gauge and a print-out I got from Neil Pask’s website to mark the angle. The cut is made using a handsaw. Once I have these cut, I cut the front three posts to length. This height is important for the door opening, so make sure it’s tall enough to walk through.
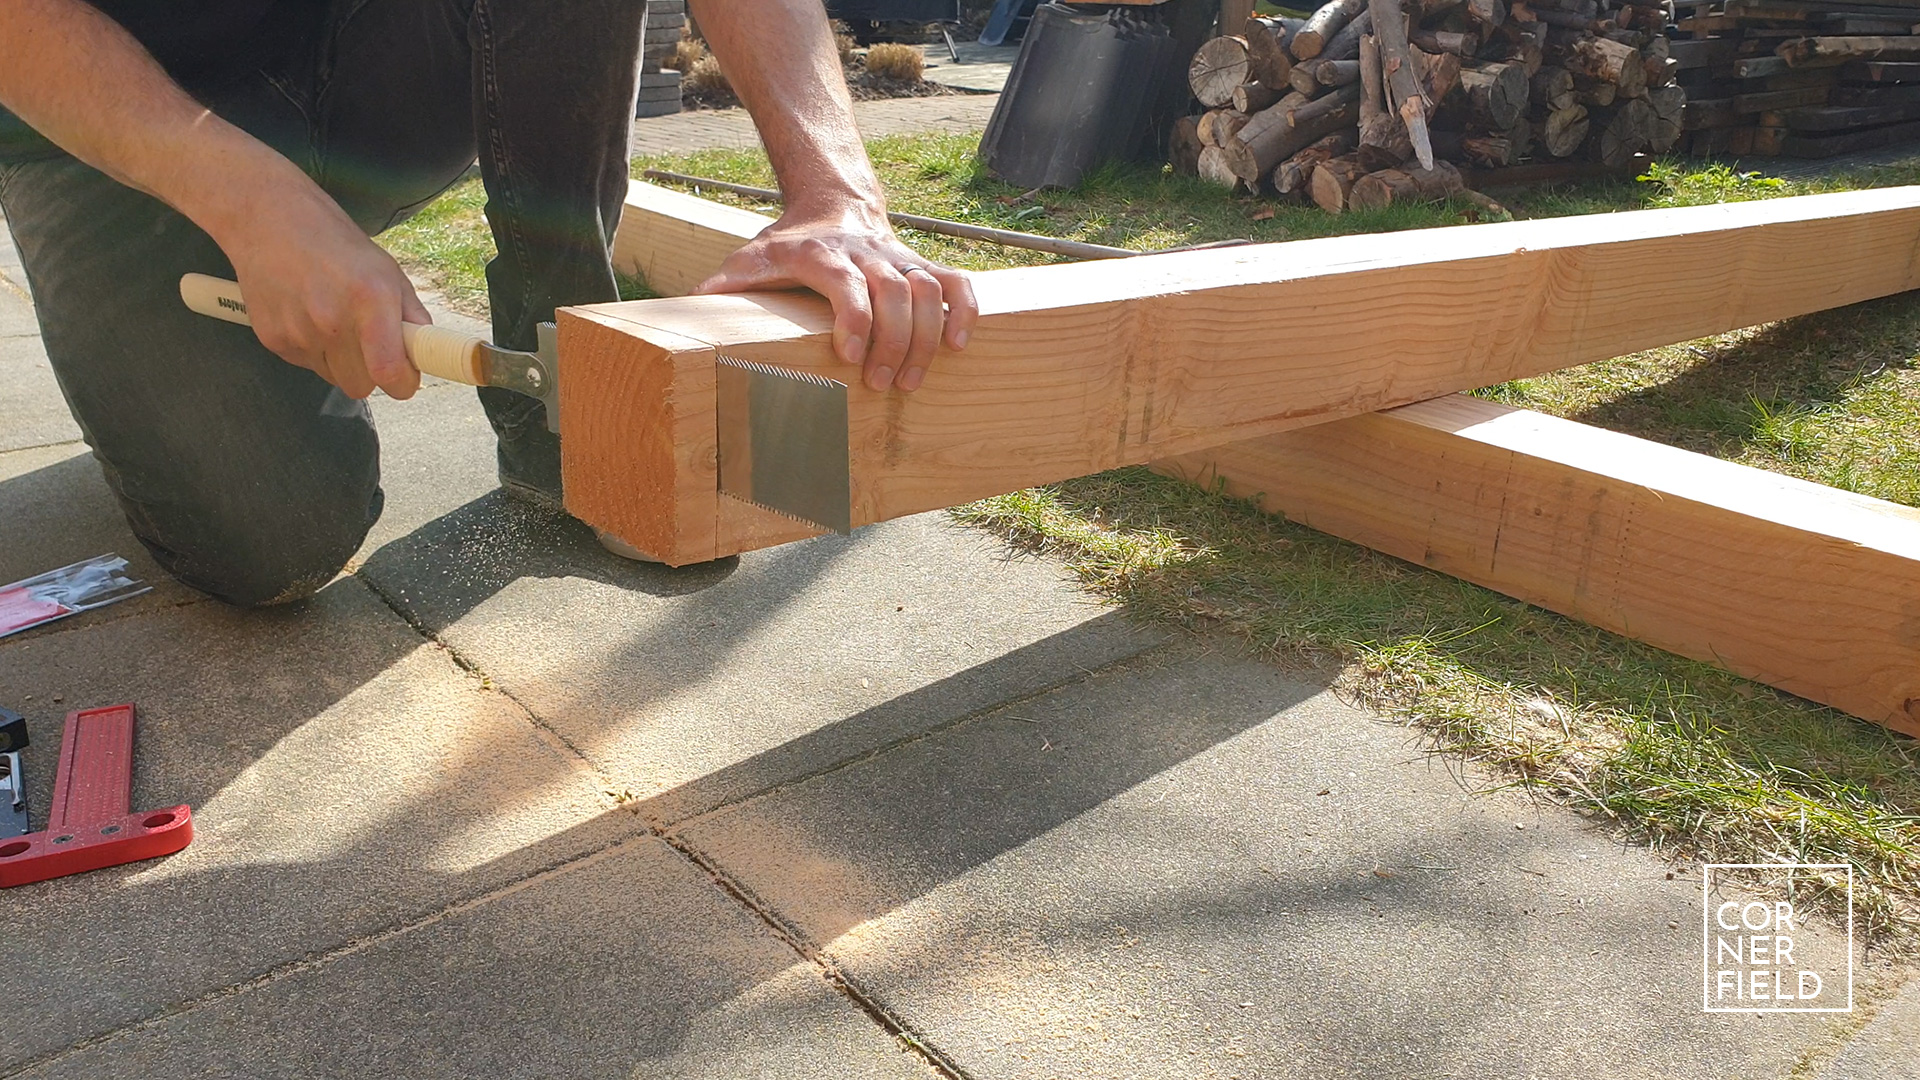
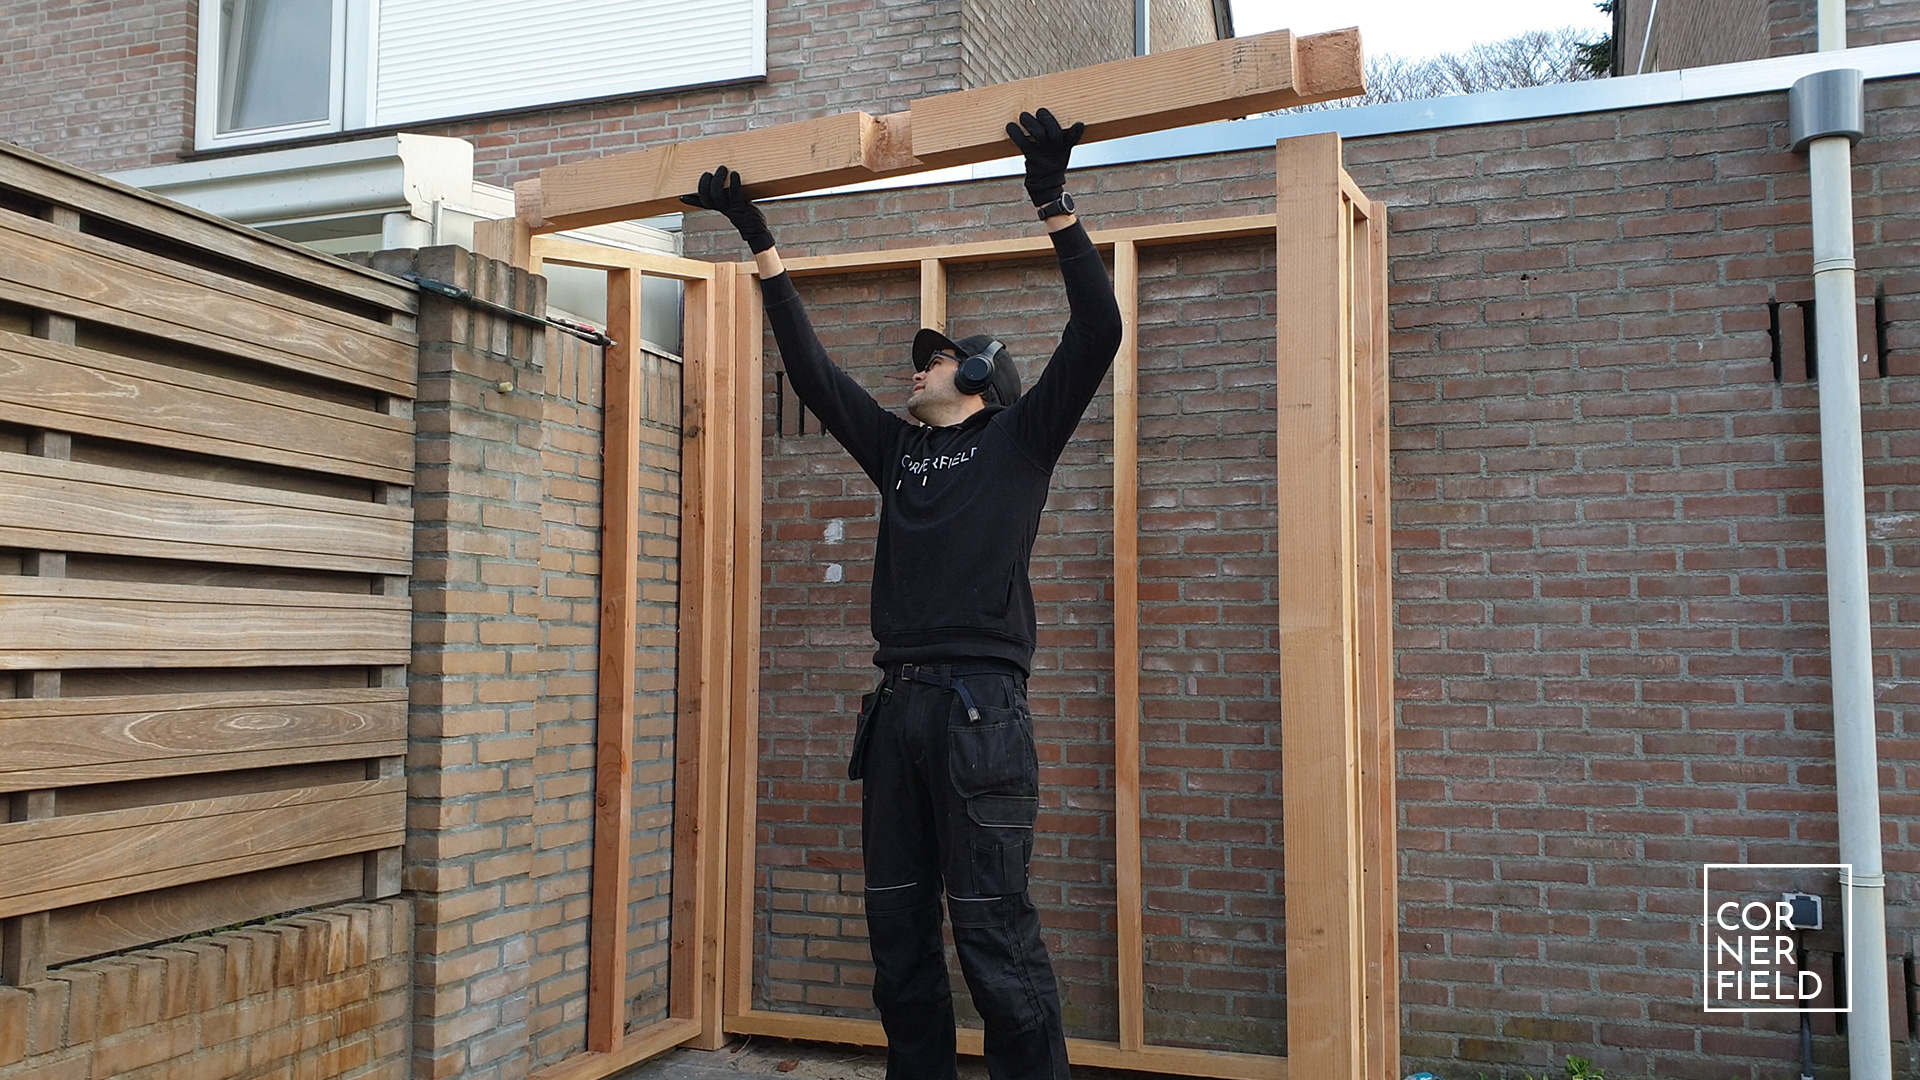
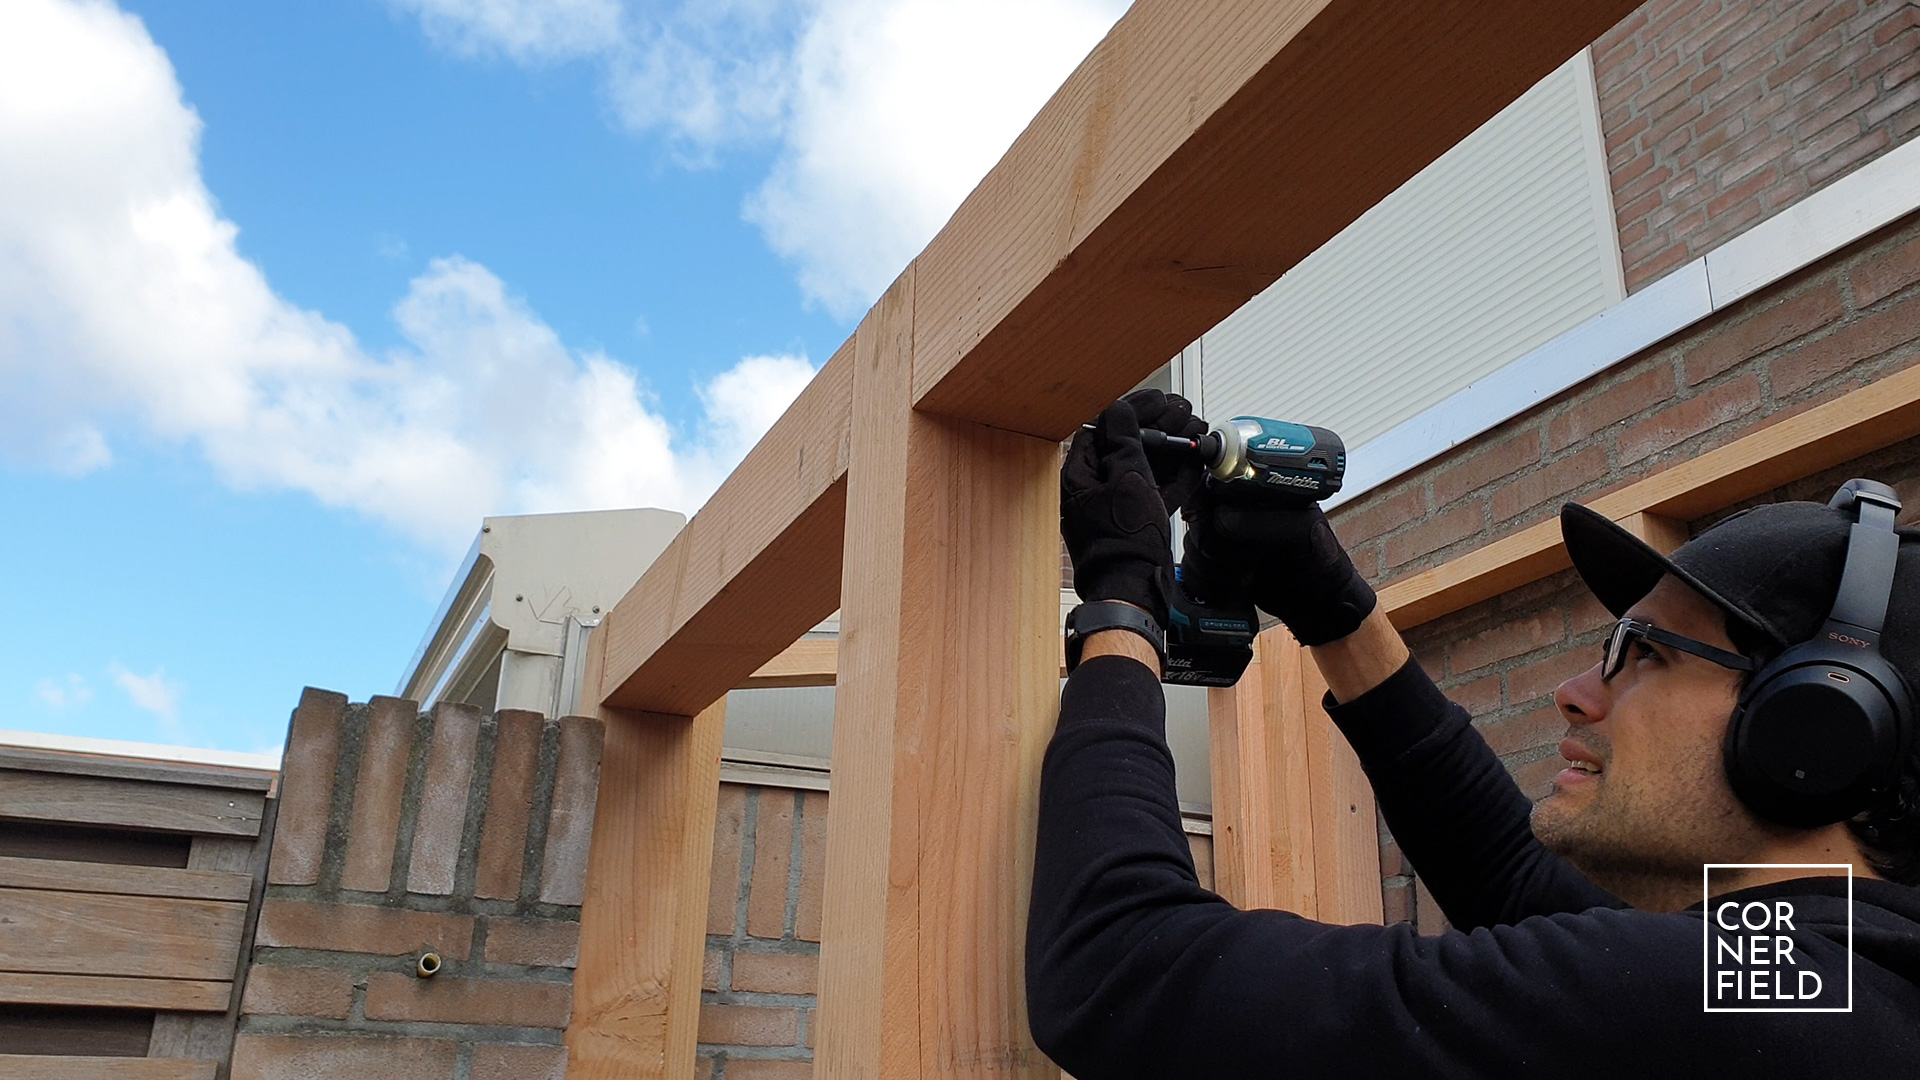
Next is the beam that connects the front three posts. I chose to make half-lapse joints to connect everything, those are cut next. I used my circular saw for that since it could cut to just about halfway through. Last up is the length for the back posts. For the height of the back posts, simply set one of the front posts upright, angle a piece at 9 degrees and measure down from where you want the shed to end. With that cut to the correct height, the posts are done and we can move on to the walls.

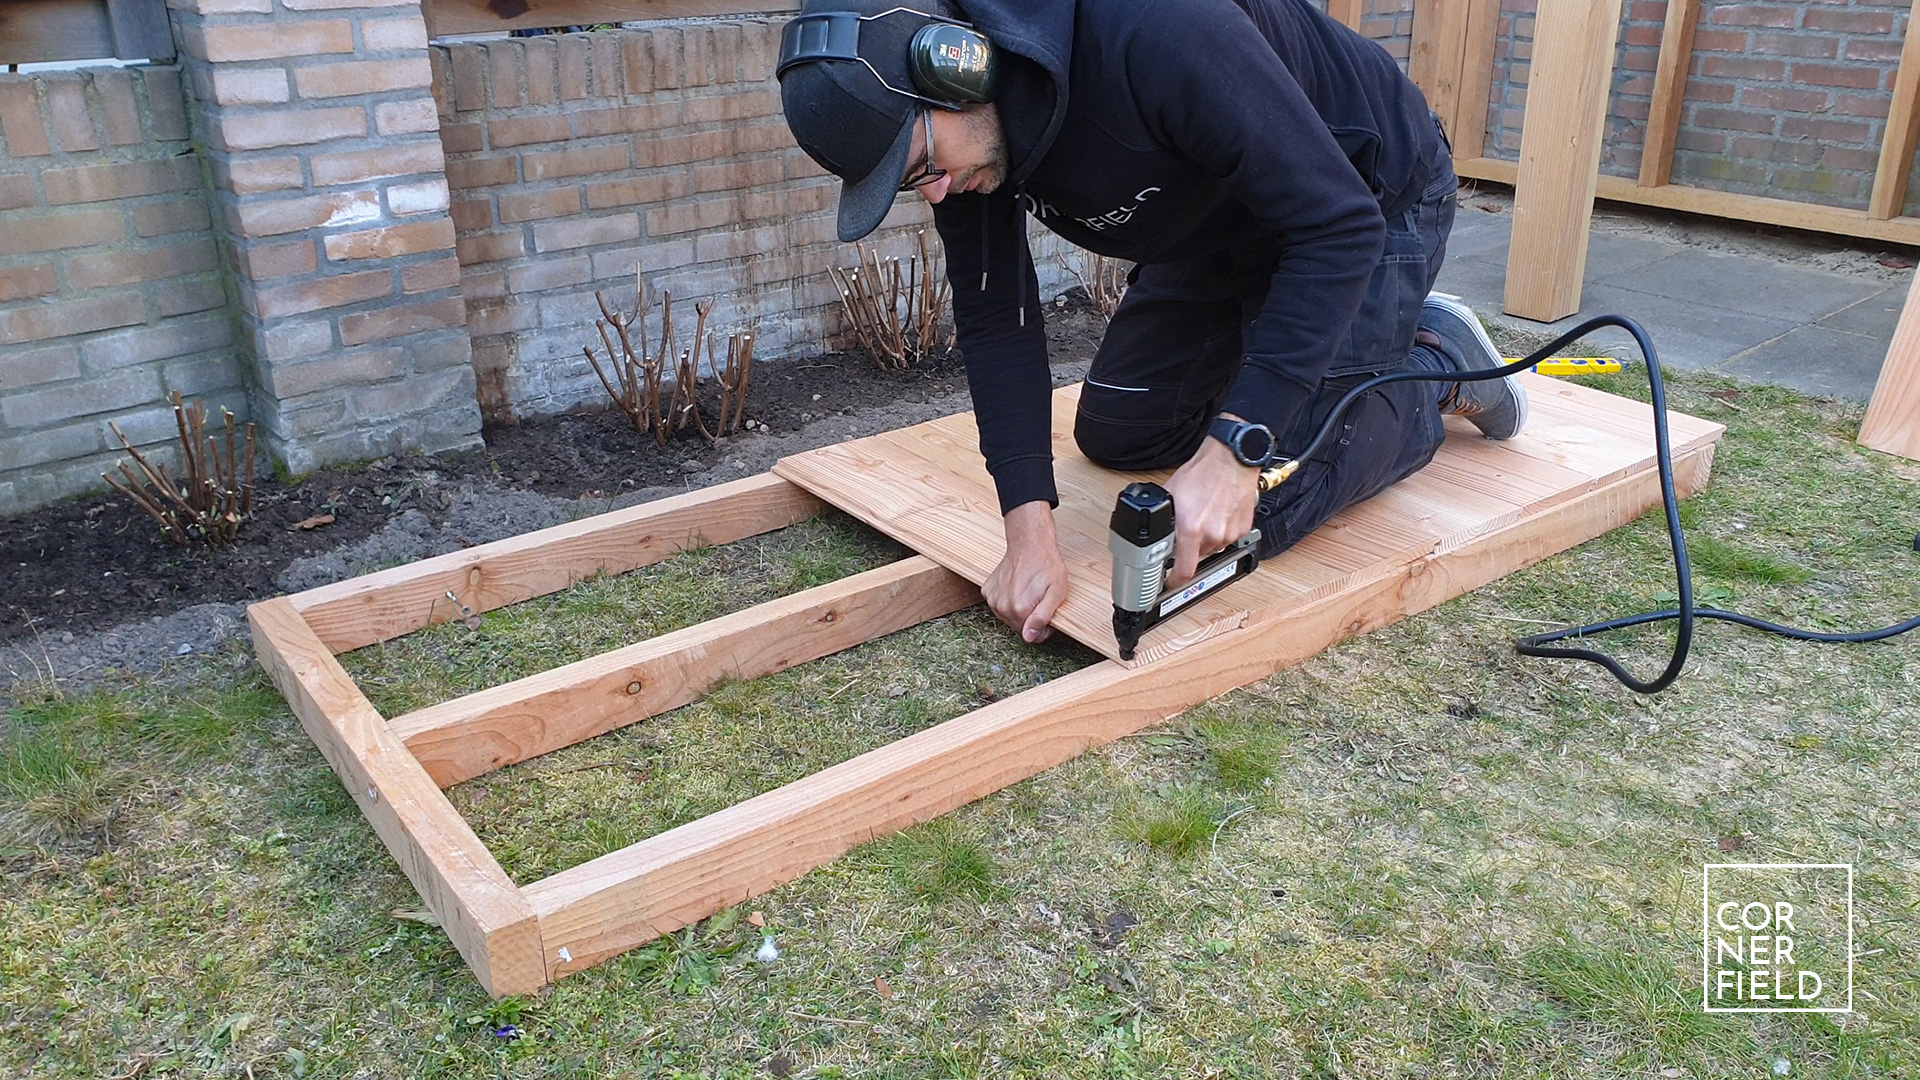
Walls
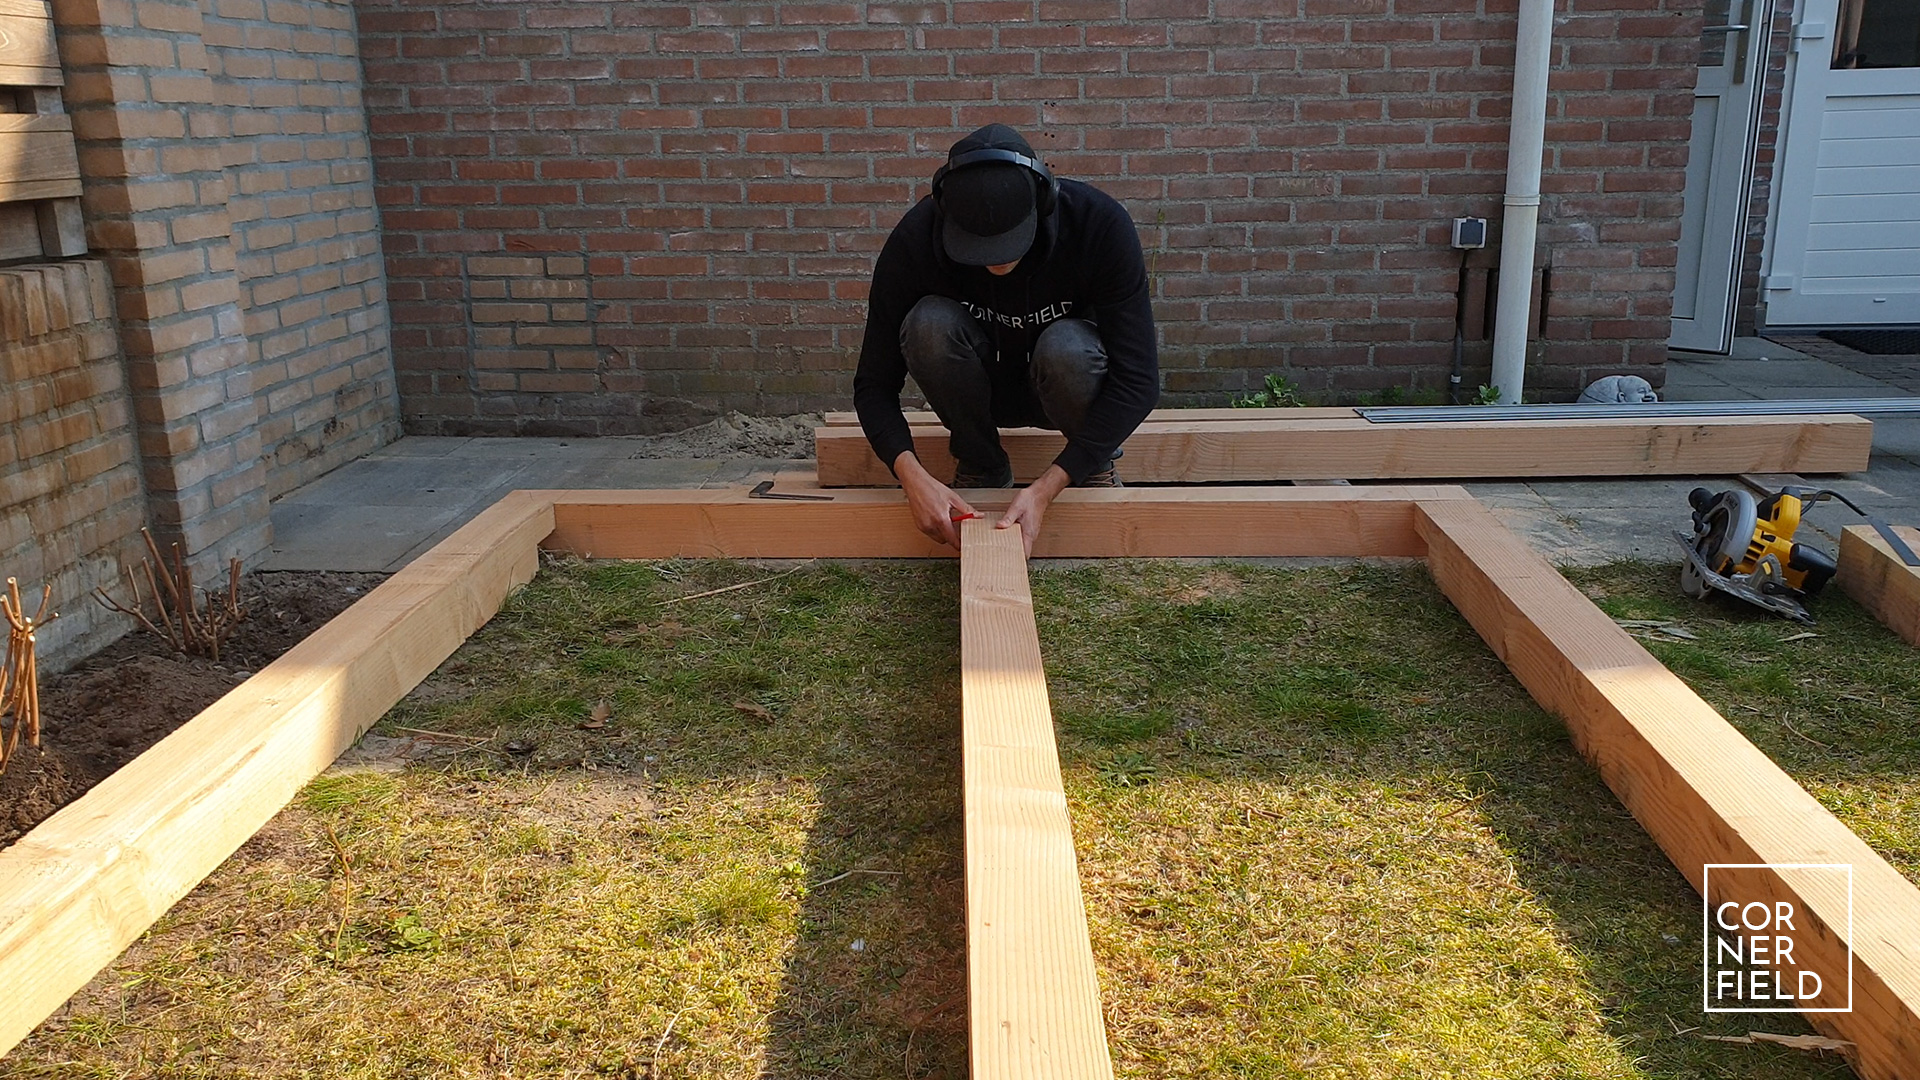
The first wall I constructed is the one between the back two posts. This is a simple frame made from 2 by 4’s, except for the top. This needs to have a 9-degree angle cut into it so it matches up with the angle on the posts. I did this on my table saw. Once that was done I constructed the frame using simple butt joints and screws. This frame is placed with the top aligned to the top of the back posts and screwed in between the posts. If you want to add siding to the back, make sure to leave an overhang. In my situation, there is a wall there so it’s not needed. You can do this with the posts upright, or flat on the ground and set them upright later. If you want to do the last, be sure you aren’t alone.
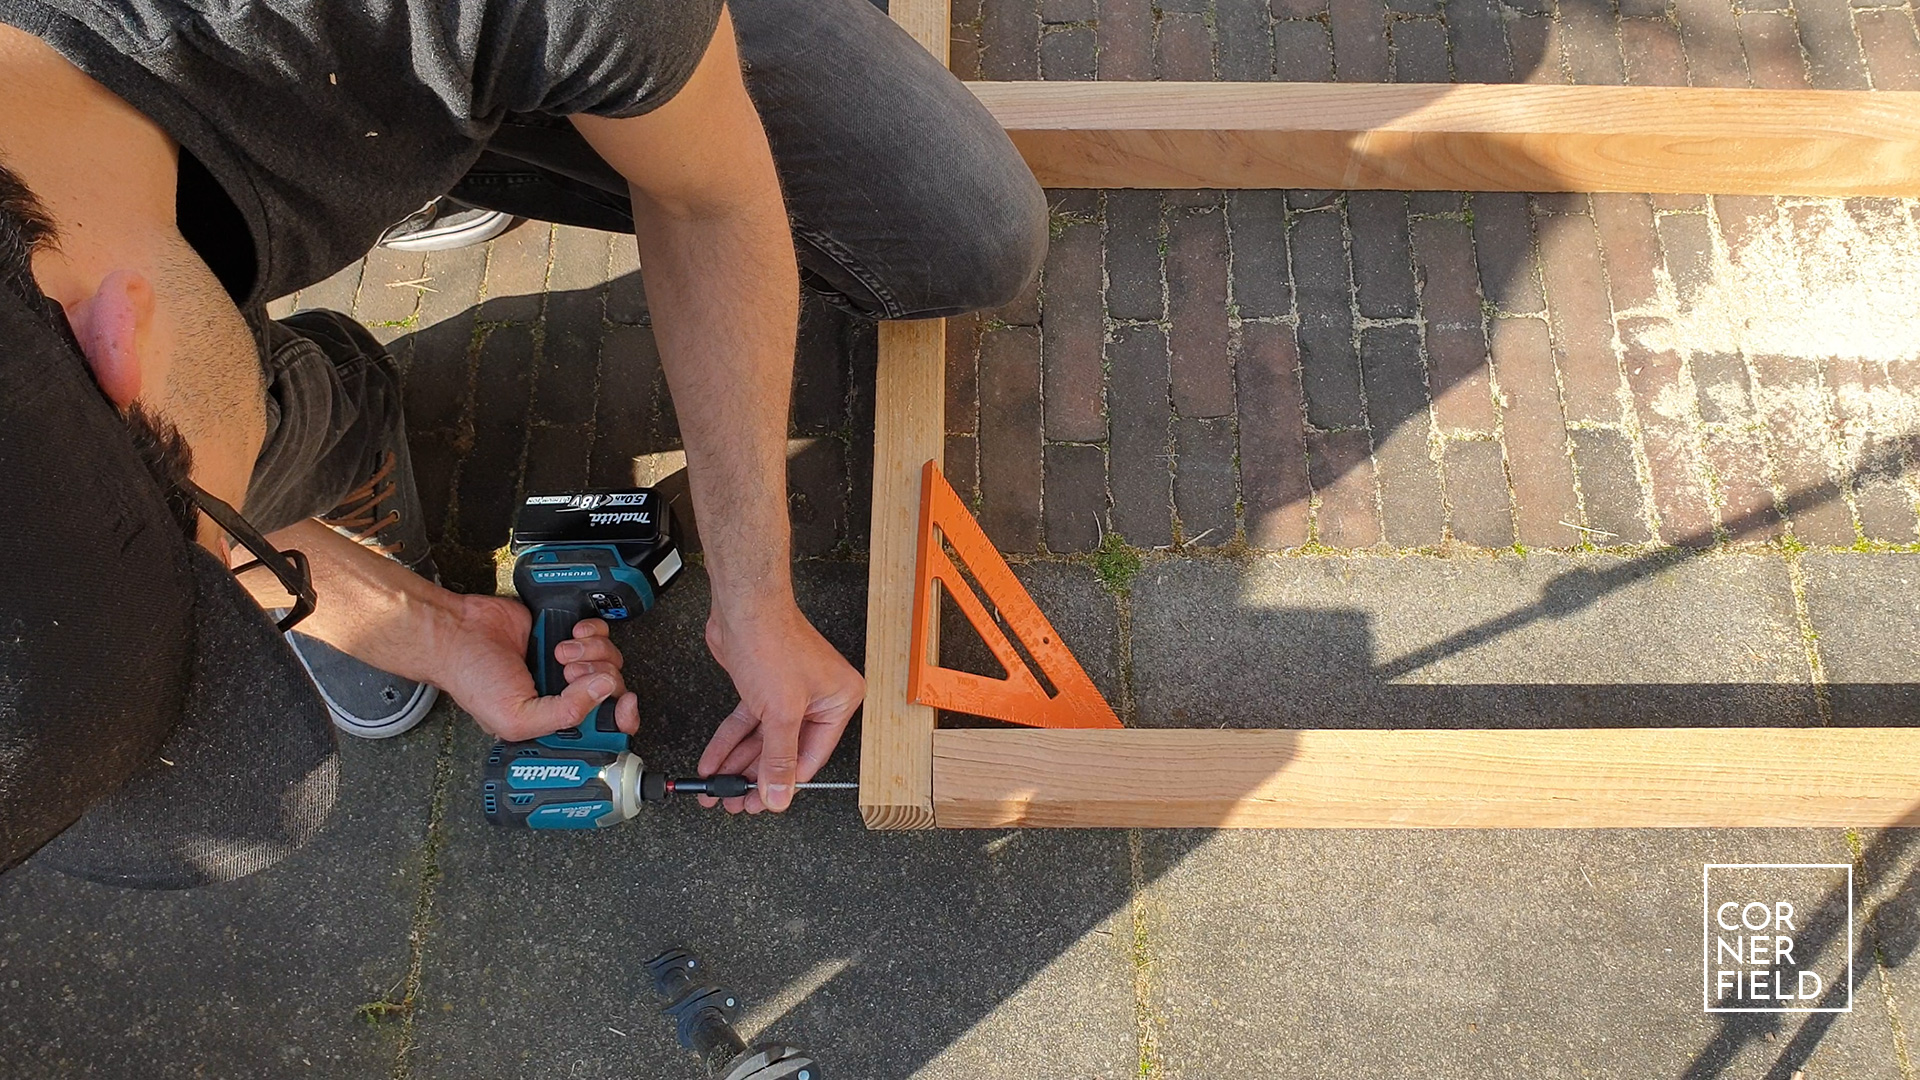
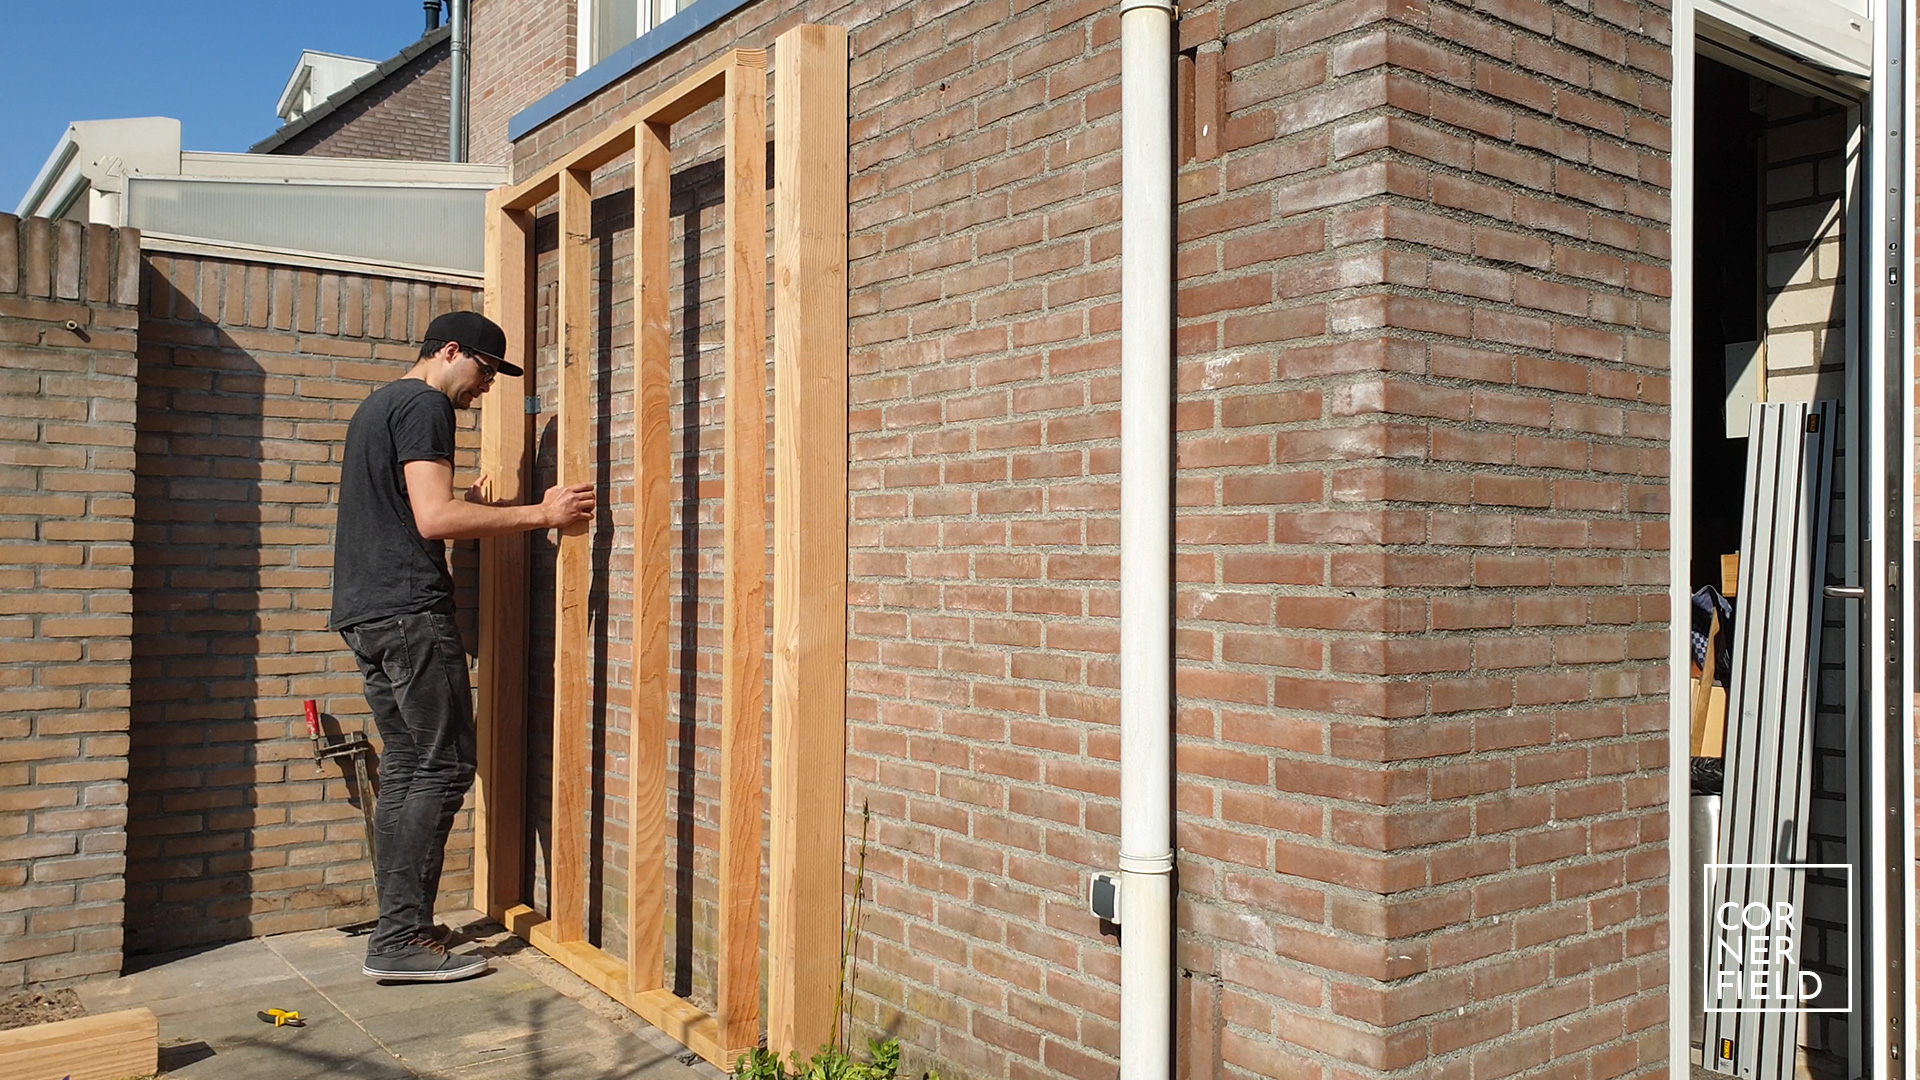
The next steps are constructing and fastening the side walls. These are made the same way as the back except that the tops are angled downwards. This means vertical pieces all have different lengths. I sorted this out by first cutting them to rough length with the angle at the top. Then I set them in place, measuring the excess and cutting that off. The piece at the top needs the angle on both ends to fit in between the two posts. Make sure these are cut the right way around, or it gets too short very quickly. Once you have the sides completed, you can screw them to the posts in the back. Also, the posts for the front can be fastened. Make sure the overhang for the siding is the same here for both posts.
Stretchers
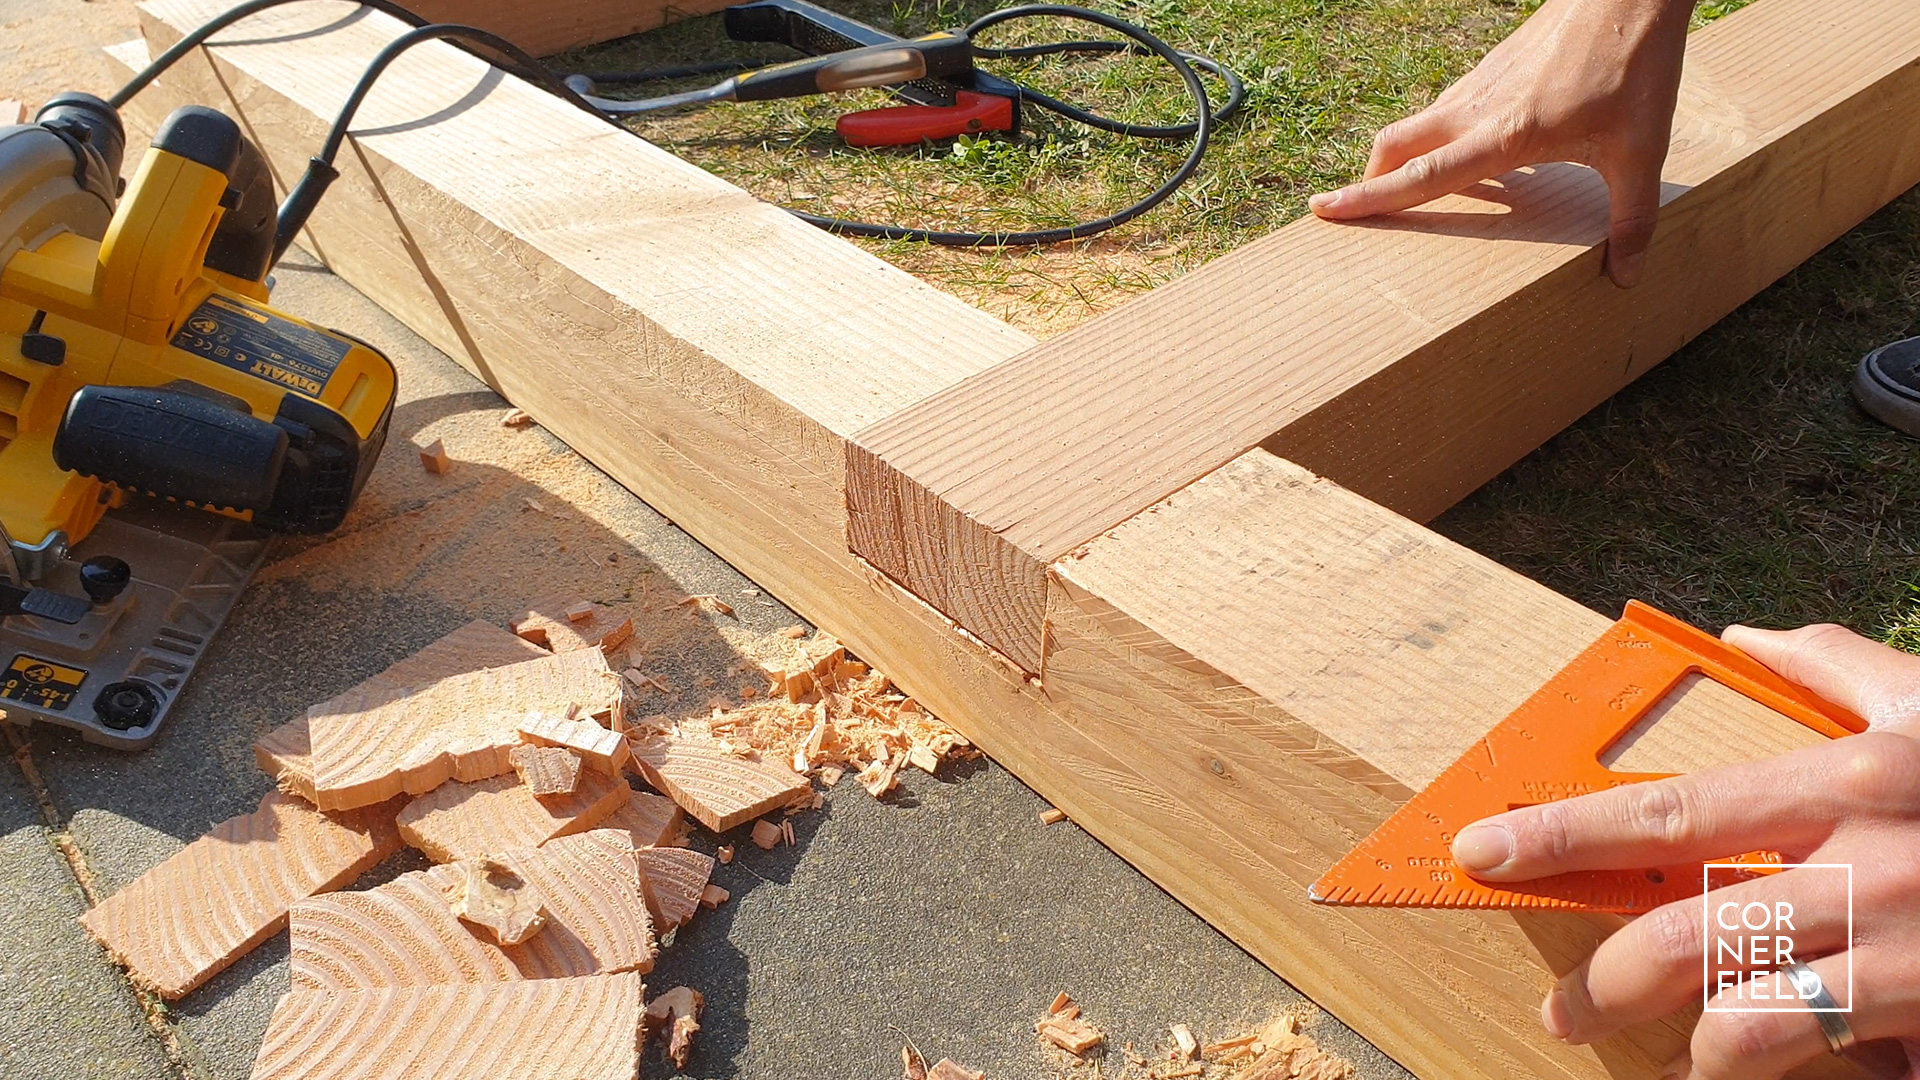
The stretcher can now be placed inside the half-lapse cut-outs that were made earlier and fastened using screws. After that, the last post can be installed. This post will be part of the door opening so make sure it’s parallel with the opposing post. Only one frame is now left to be made. This is a straightforward square frame. No angles required ;-). Once you have that installed, the bottom part of the frame is completed and we can move on to the siding.
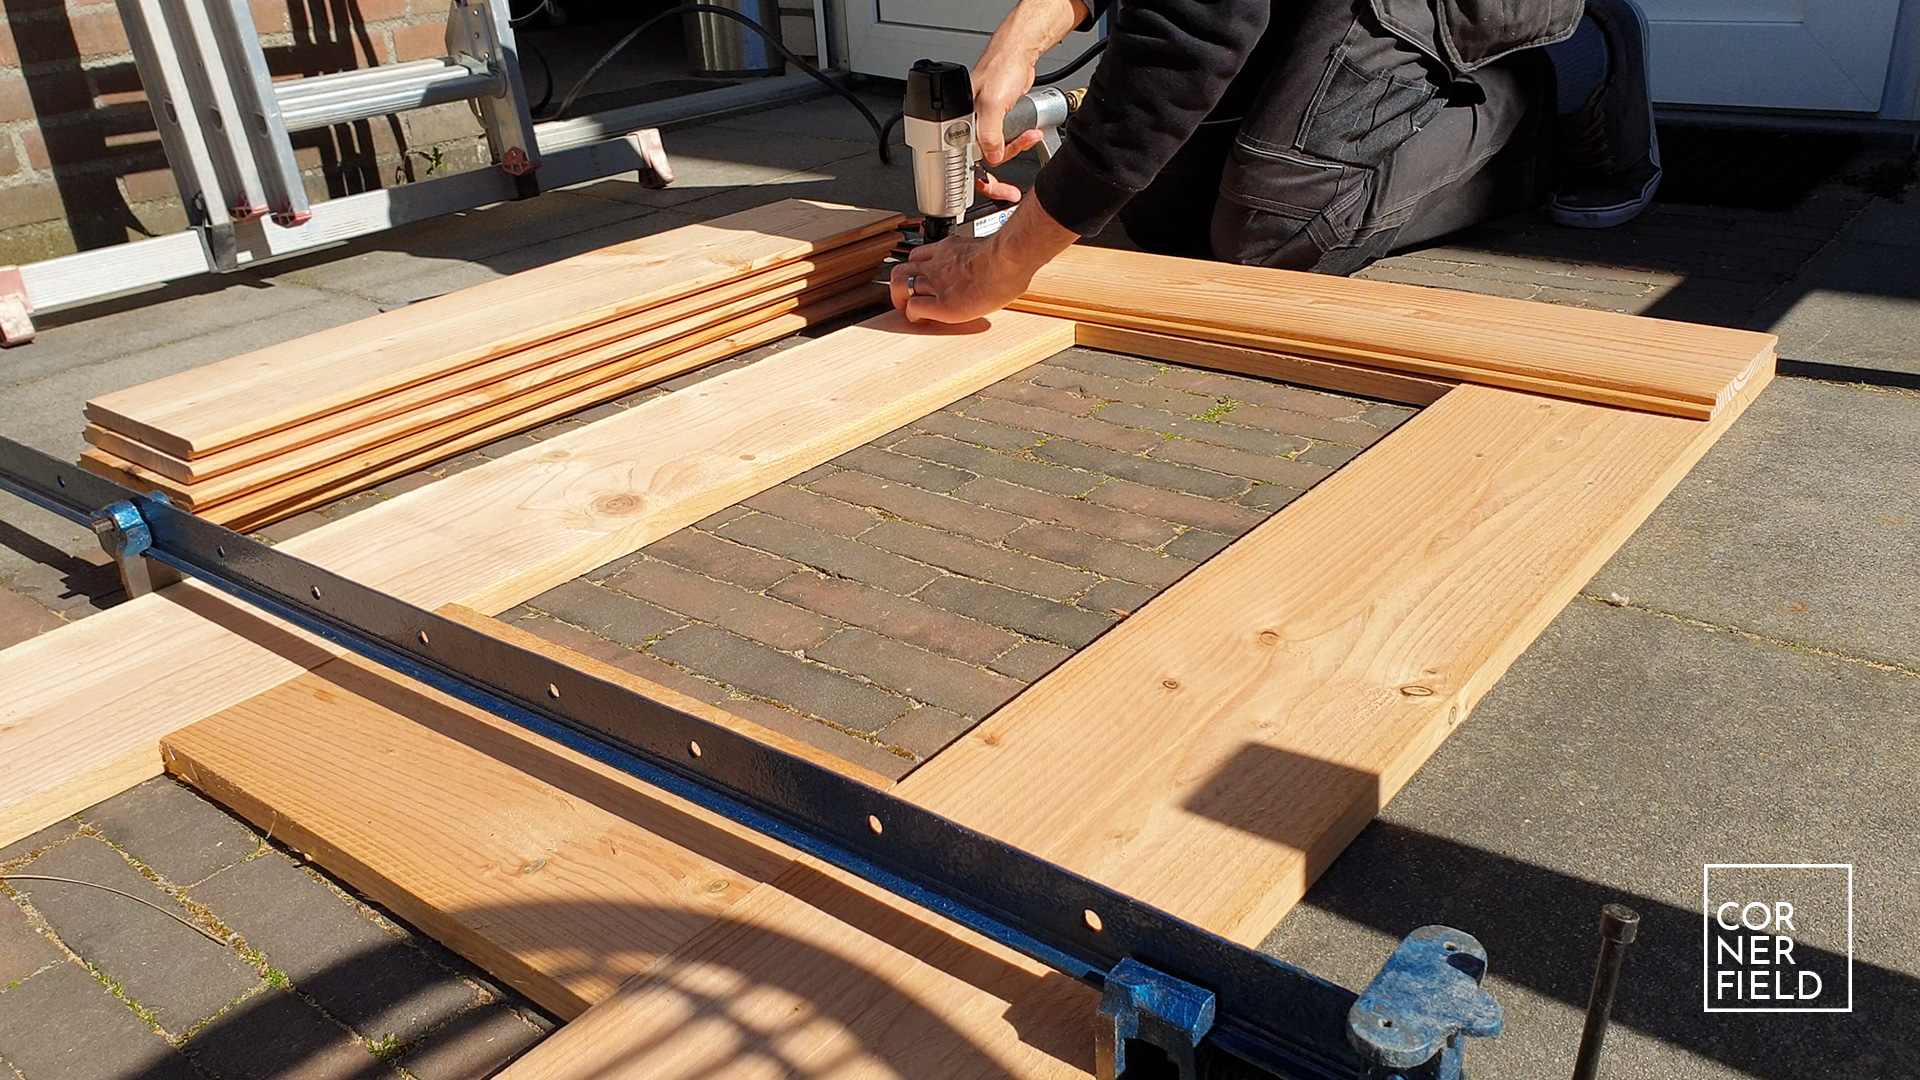
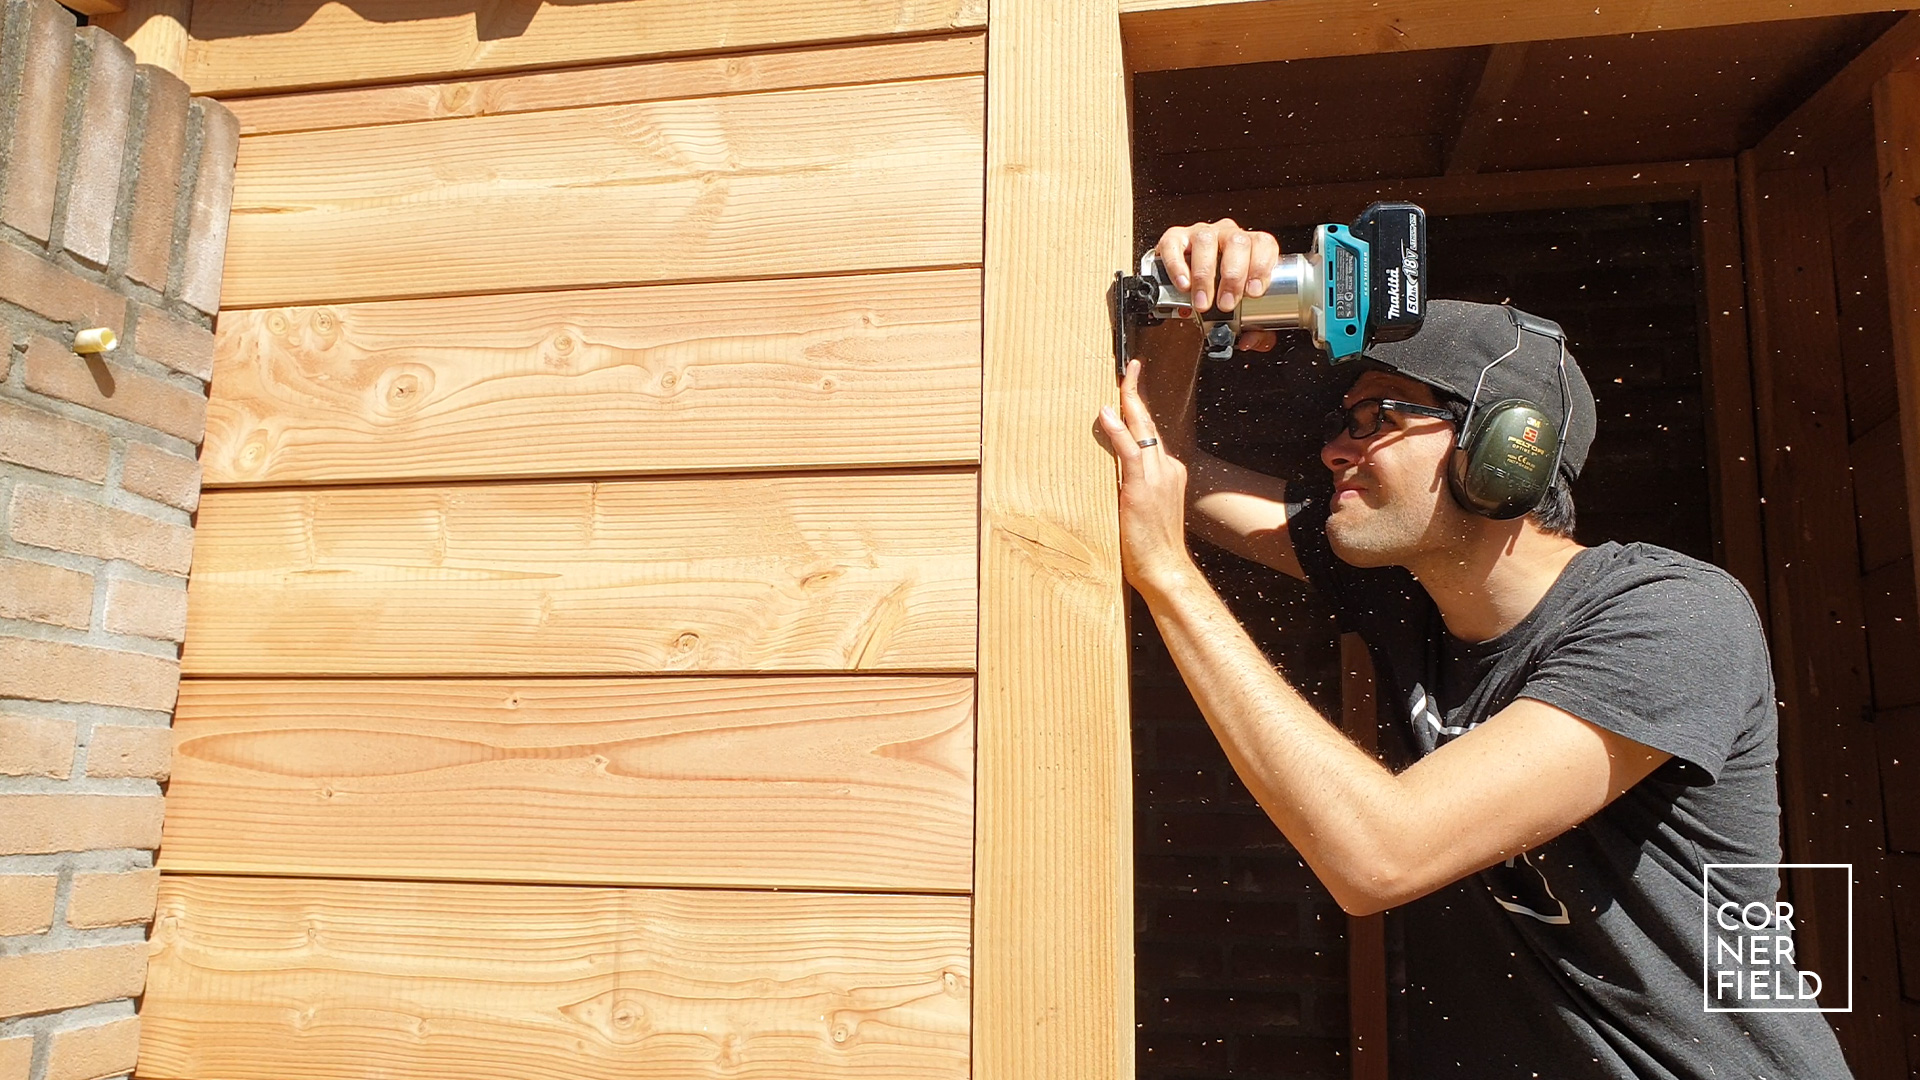
Siding
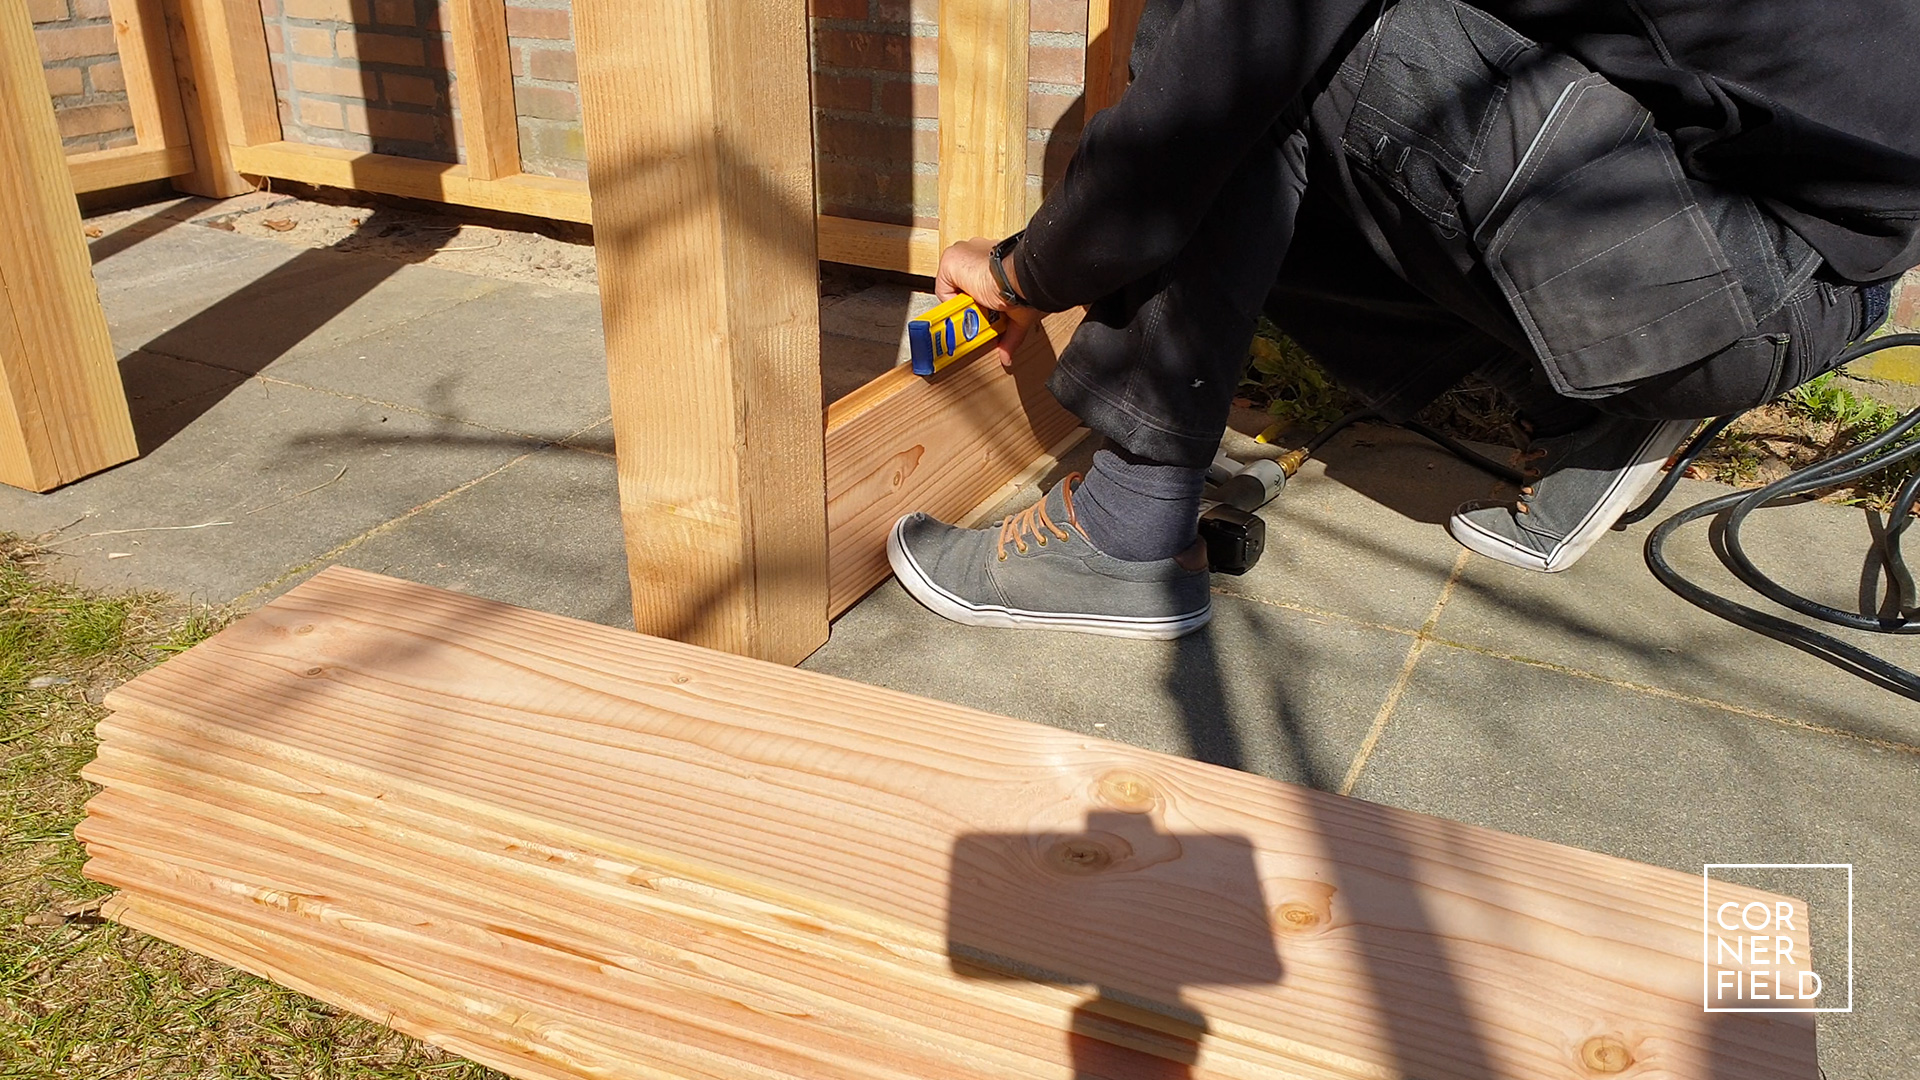
The material I’m using for the side has a tongue and groove. This not only makes it easy to install it also helps to keep the rain out. For the installation, I’m using an 18 Ga nailgun and stainless steel pins. The pins are shot into the tongue so you won’t even see them. There are only a few things to keep in mind for the panels that go onto the walls and that is extra space. Space for the wood to move. That means leaving a gap at the very bottom, top, and sides of each board. The boards should be stacked against each other so those don’t need a gap at the bottom. Besides that it’s a matter of measuring, cutting to size and installing them. Next up is the roof.

Roof
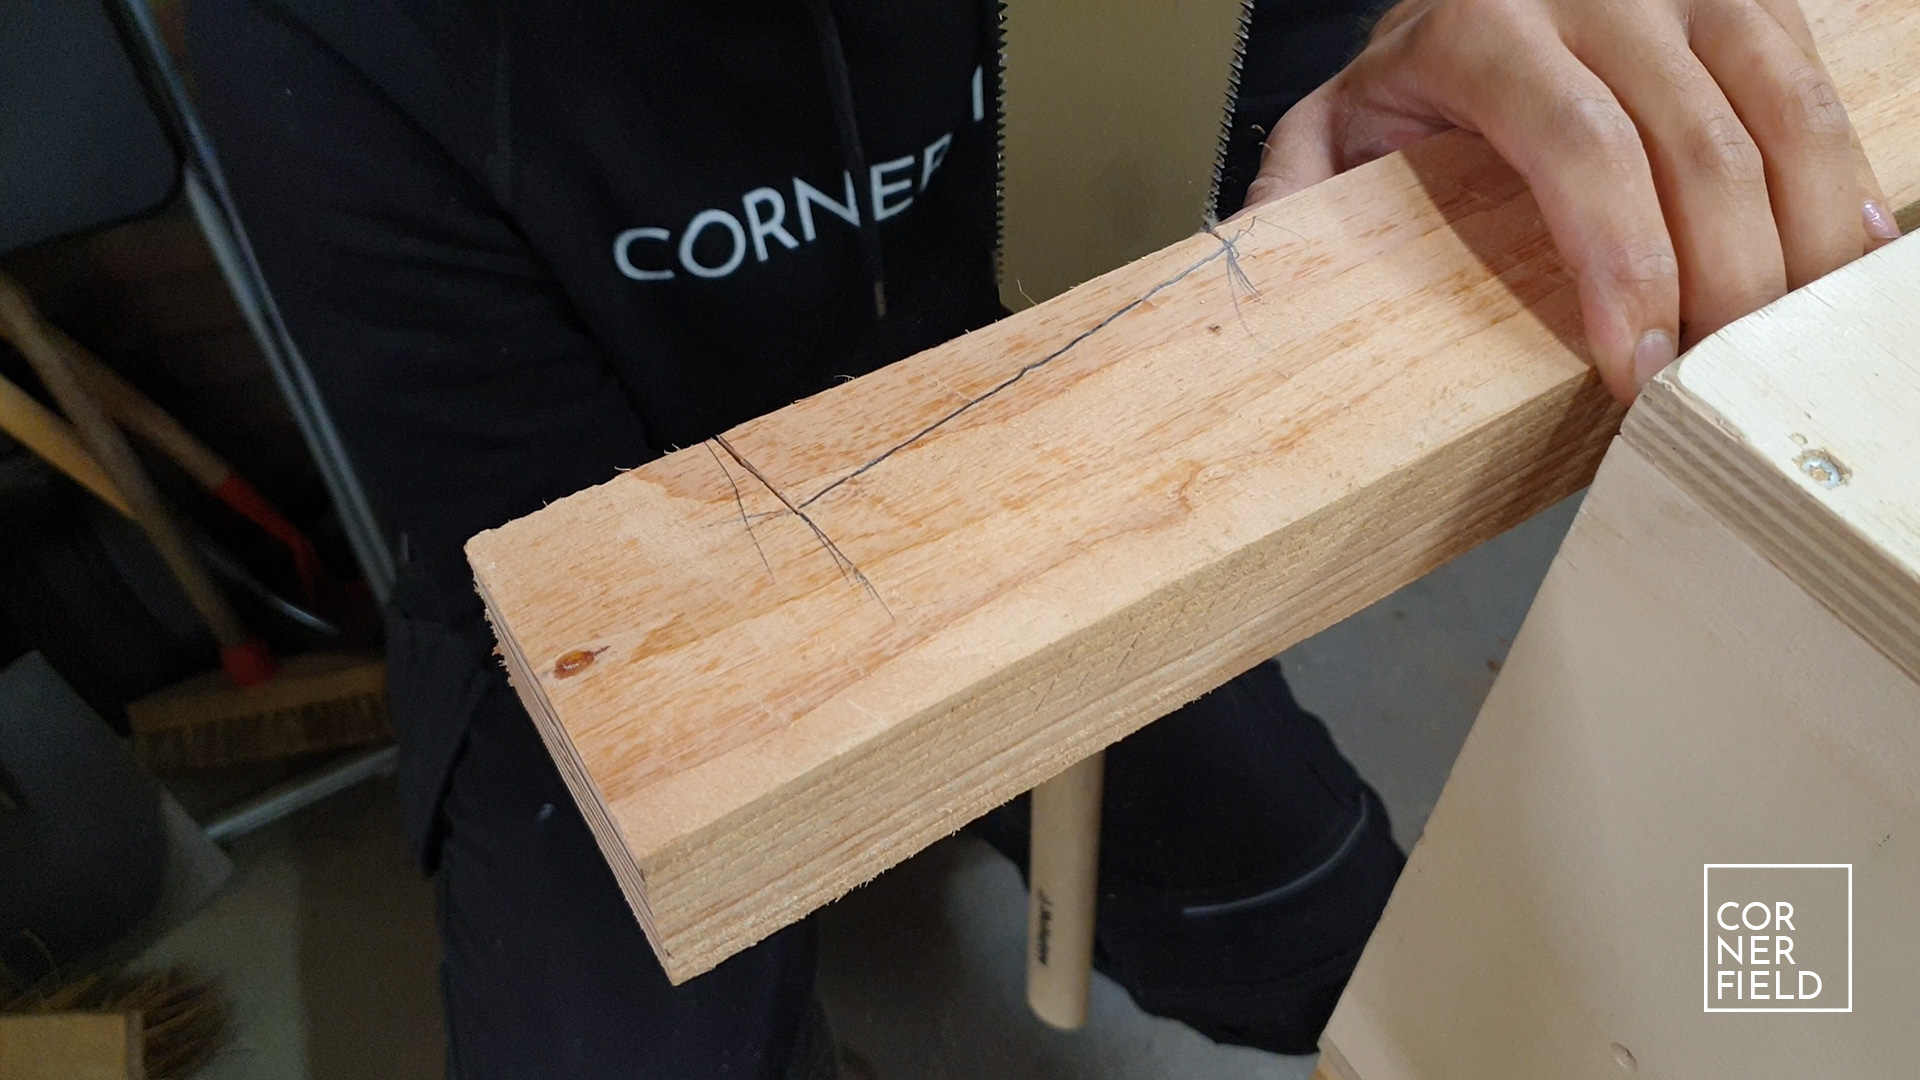
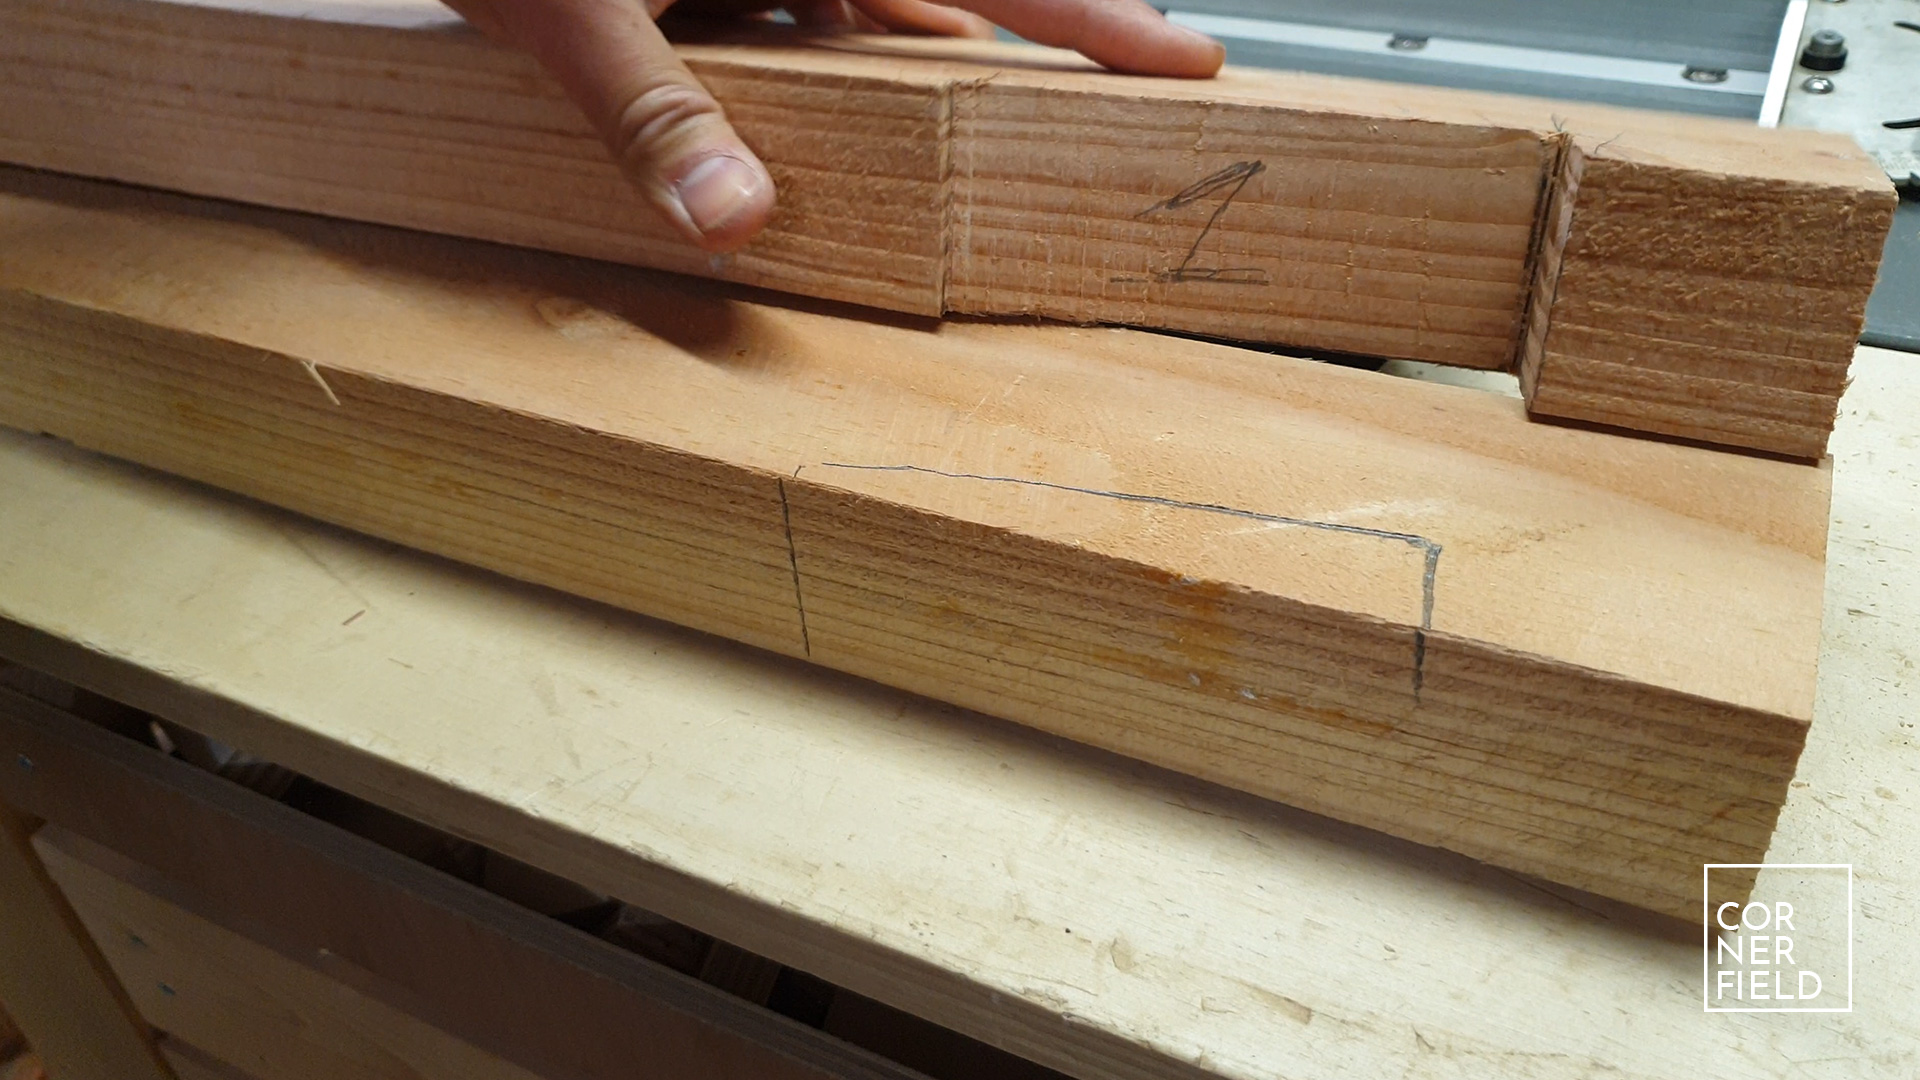
With the frame assembled we can now cut the rafters to length. I did this by first roughly cutting a piece of 2 by 4, adding a 9-degree angle to the back of it and then cutting it to its final length. Now the complicated bit of cutting out the birdsmouth. I made this simple for myself by using the frame to simply mark it out on the actual piece. Then carefully cutting material away and check the fit as I went. Once you have one piece that fits, use that mark the rest and them as well.
To close the inside off you need to cut pieces for in between the rafters. It is easiest if these can all be the same length. My trick for this was to install the outside two rafters to the frame. Then put all the remaining rafters against one side and measure the distance. Divide that distance by the number of gaps you have and this gives you the width of the pieces that go in between. When you first cut those pieces and then install the rest of the rafters, this should go smoothly. Installing them is as easy as putting in screws from the top.
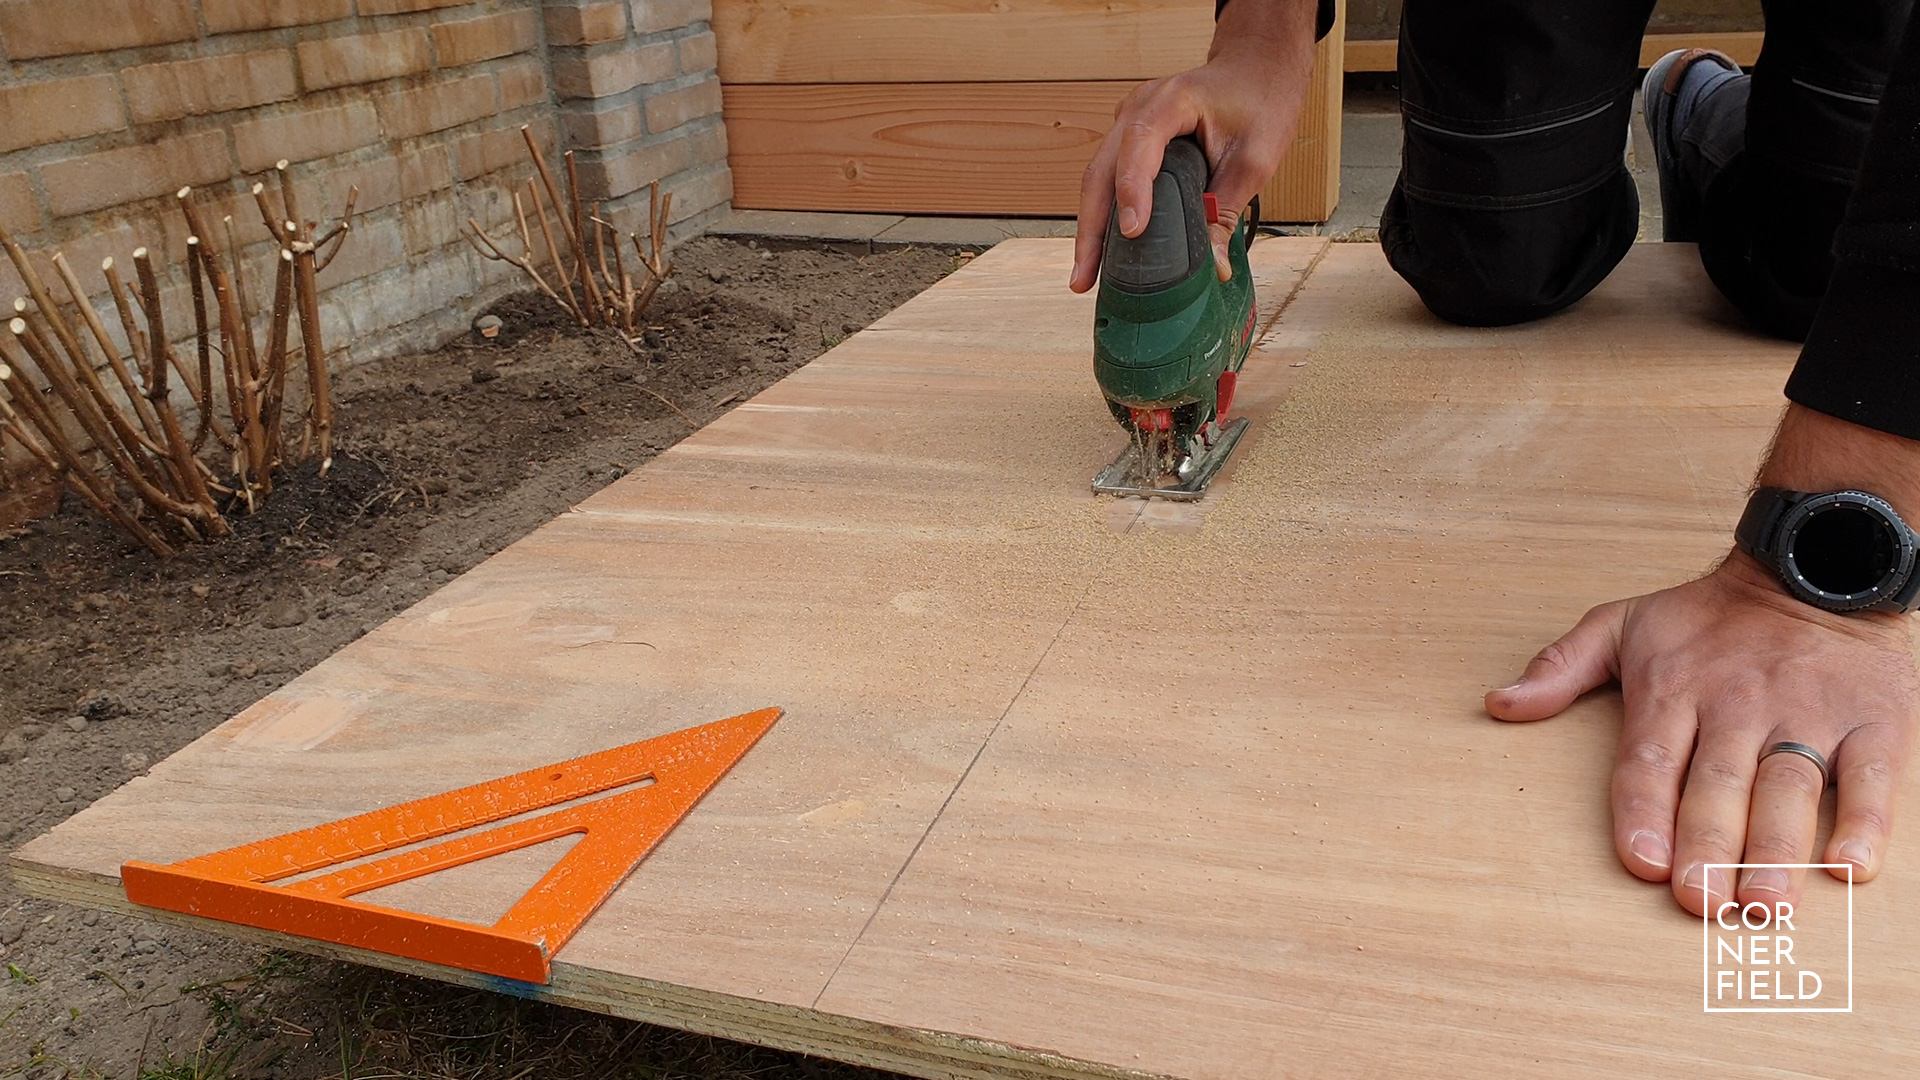
Plywood cover
Next is the sheet of plywood that covers the rafters. The first step is to cut that down to the size of your roof. If you can’t manage with one full sheet I recommend getting OSB. This has a tongue and groove that allows for multiple pieces to be used. Once you have it cut to size, you can go extra fancy like me and put a 9-degree angle on the side that faces the back. But to honest, this is completely optional. The shed will look the same if you don’t do this.
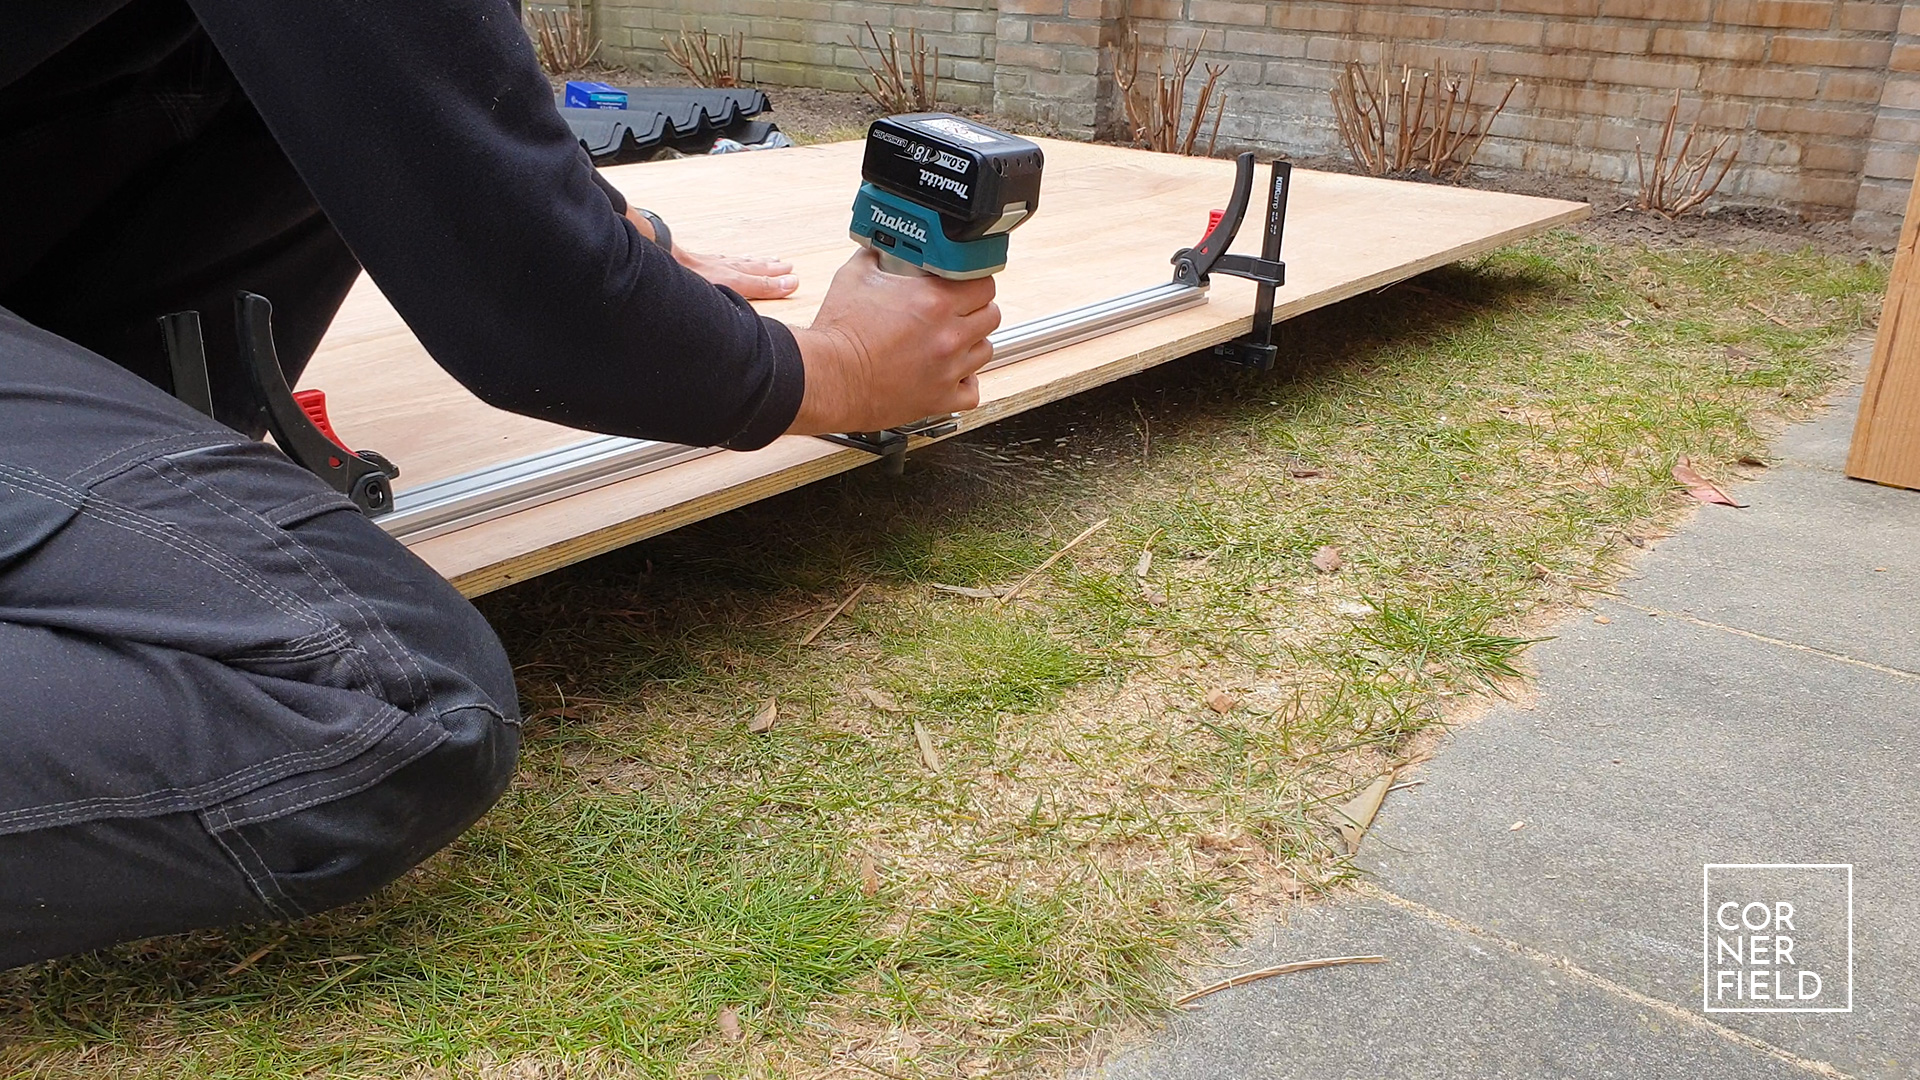
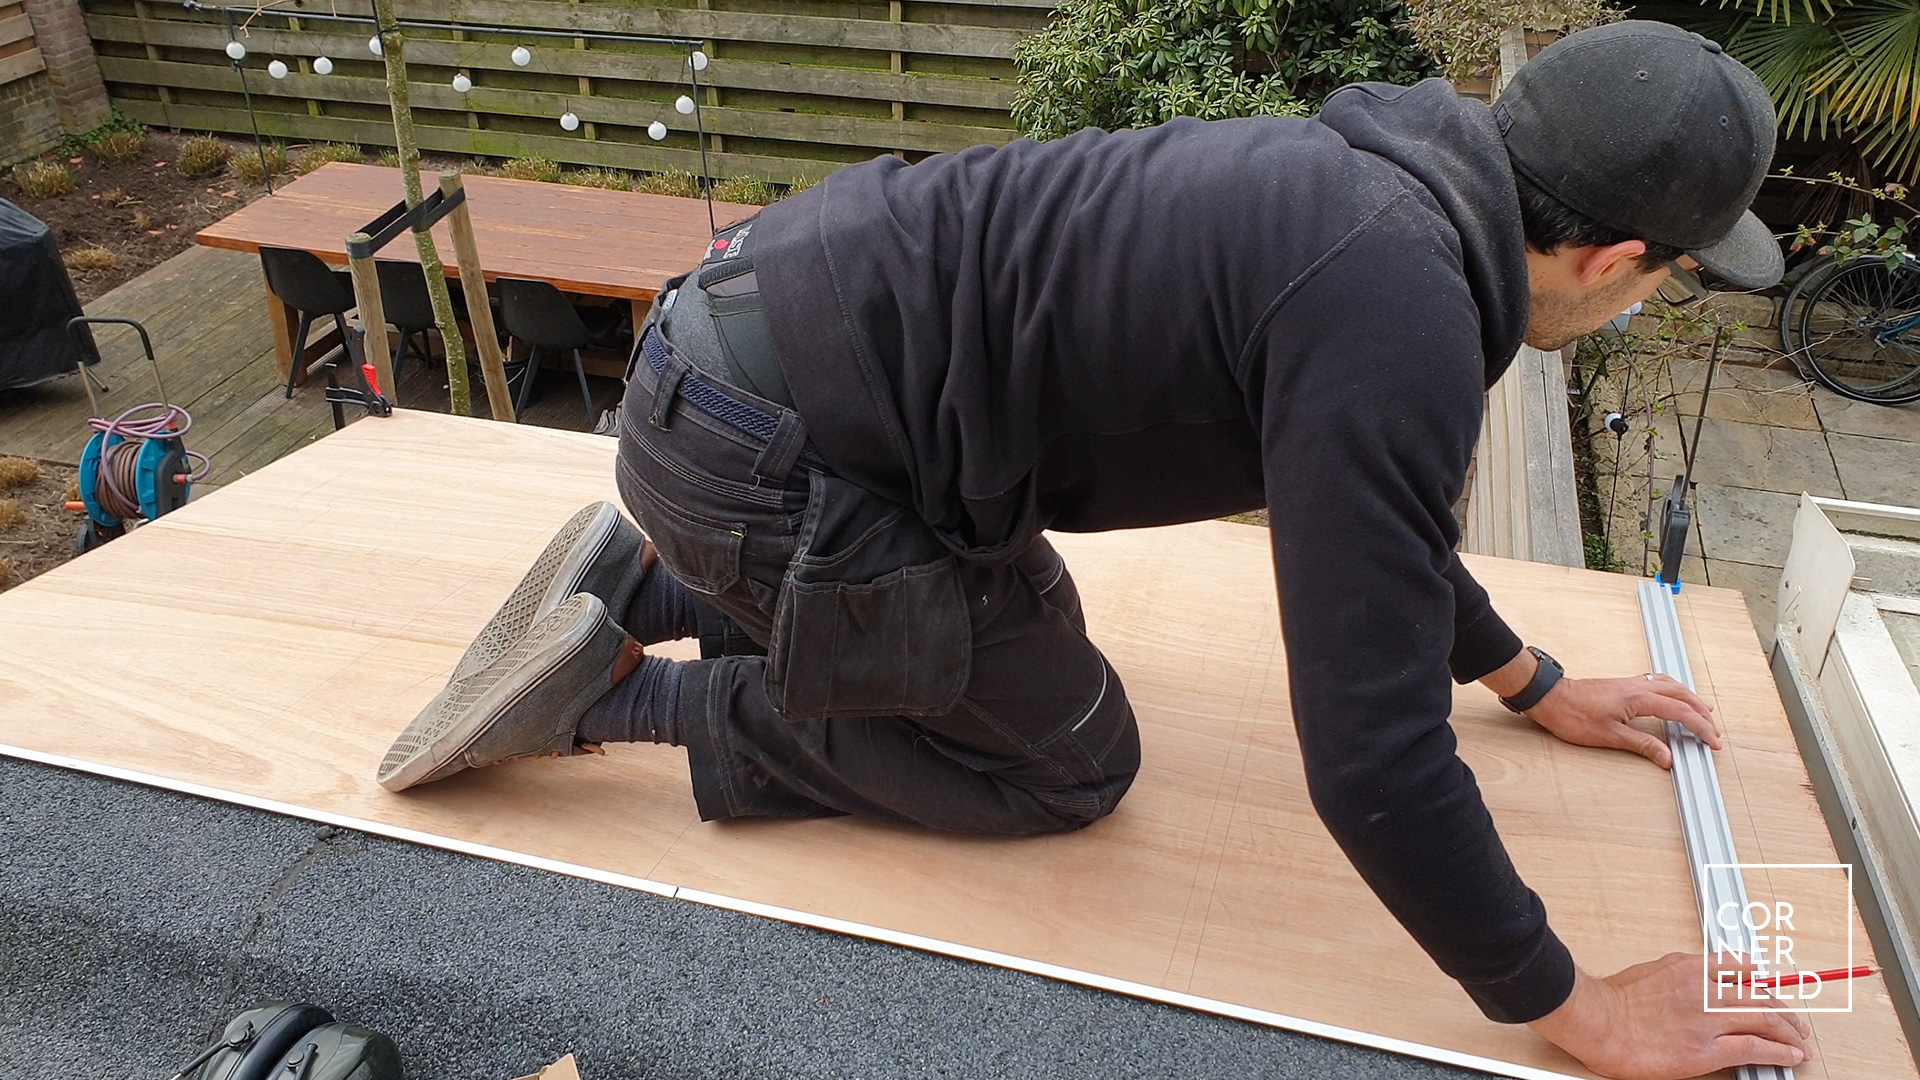
Next, it’s time to put the sheet on top of the rafters. Once you have it on the rafters clamp it down in a few places so it’s safe to sit on. You don’t want to slide off your rafters sitting on a sheet of plywood… To know where to put the screws mark out some lines on top of the center of your rafters. Put in plenty of screws and the roof is closed. From here on out it’s a bit of a bespoke step since everyone has their own roofing material. Mine was installed by cutting it to length with a knife and fastening it with special screws. Pretty simple.

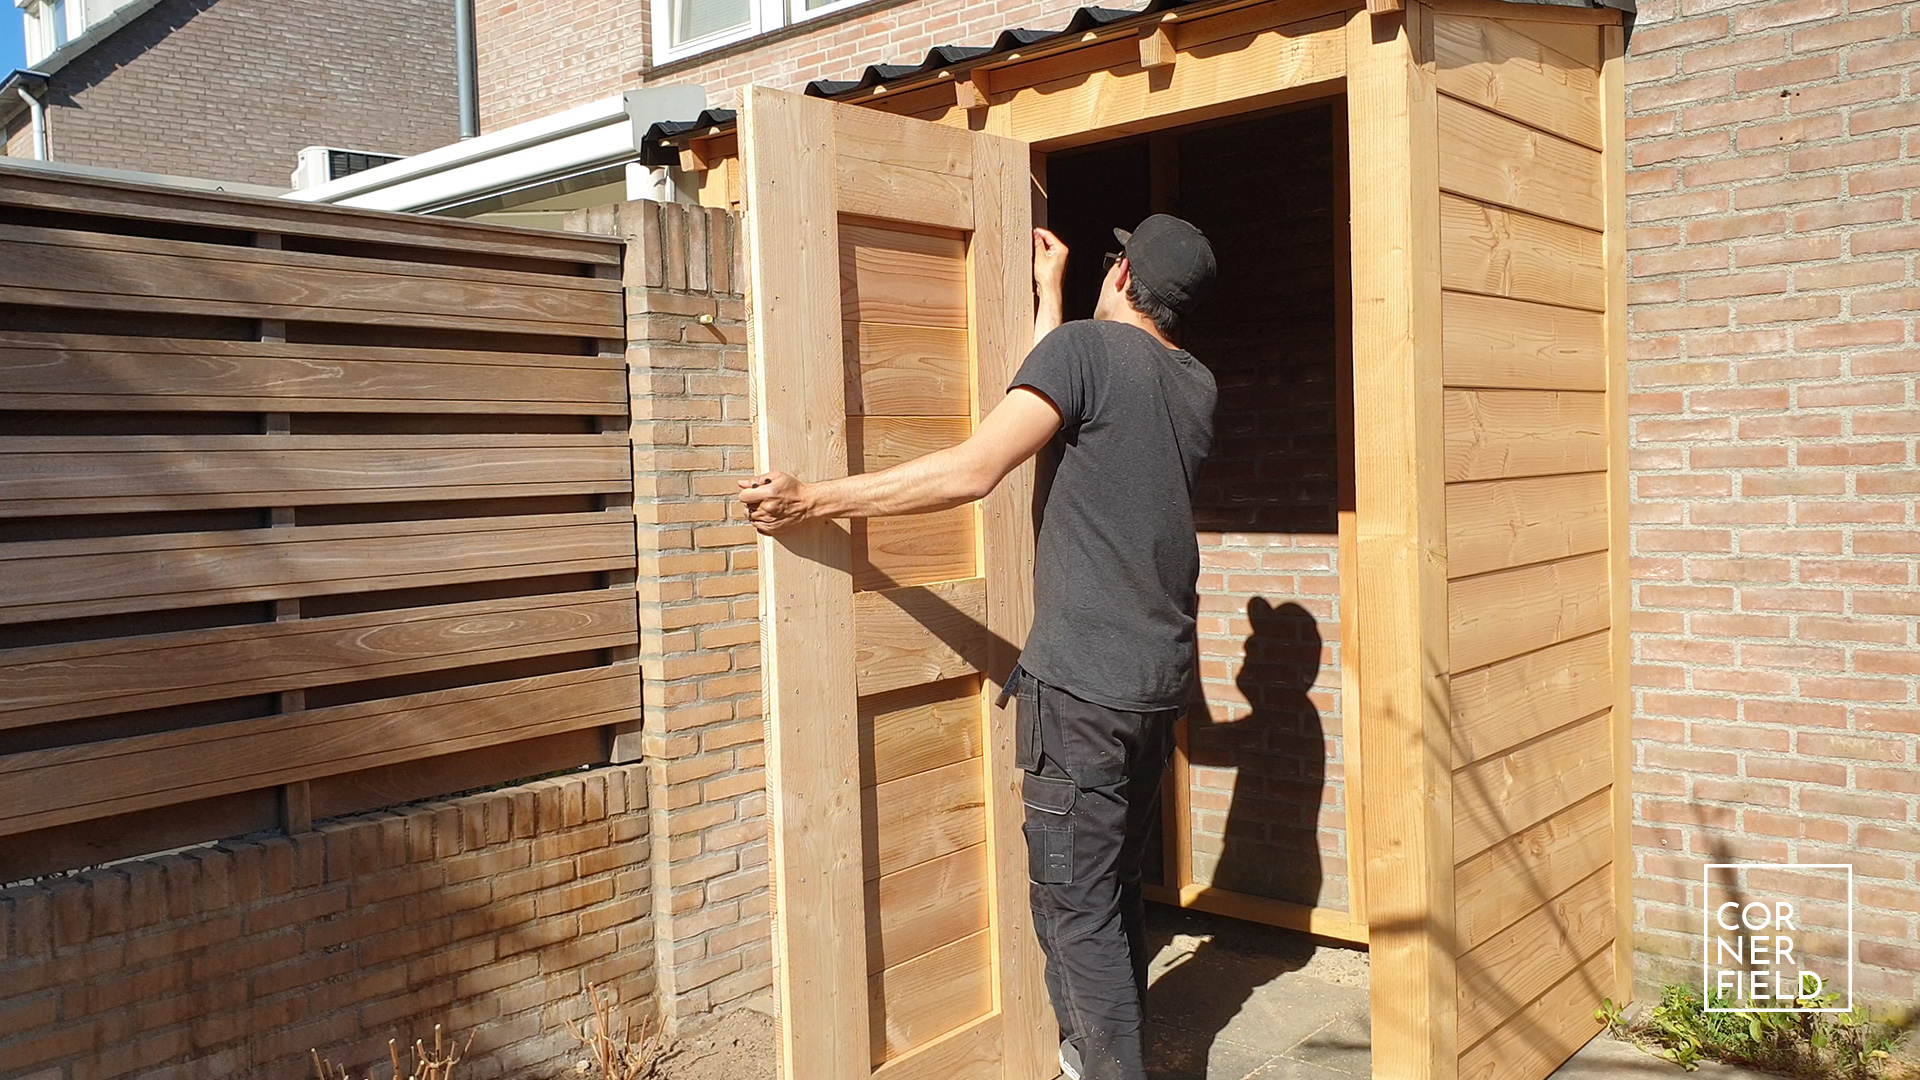
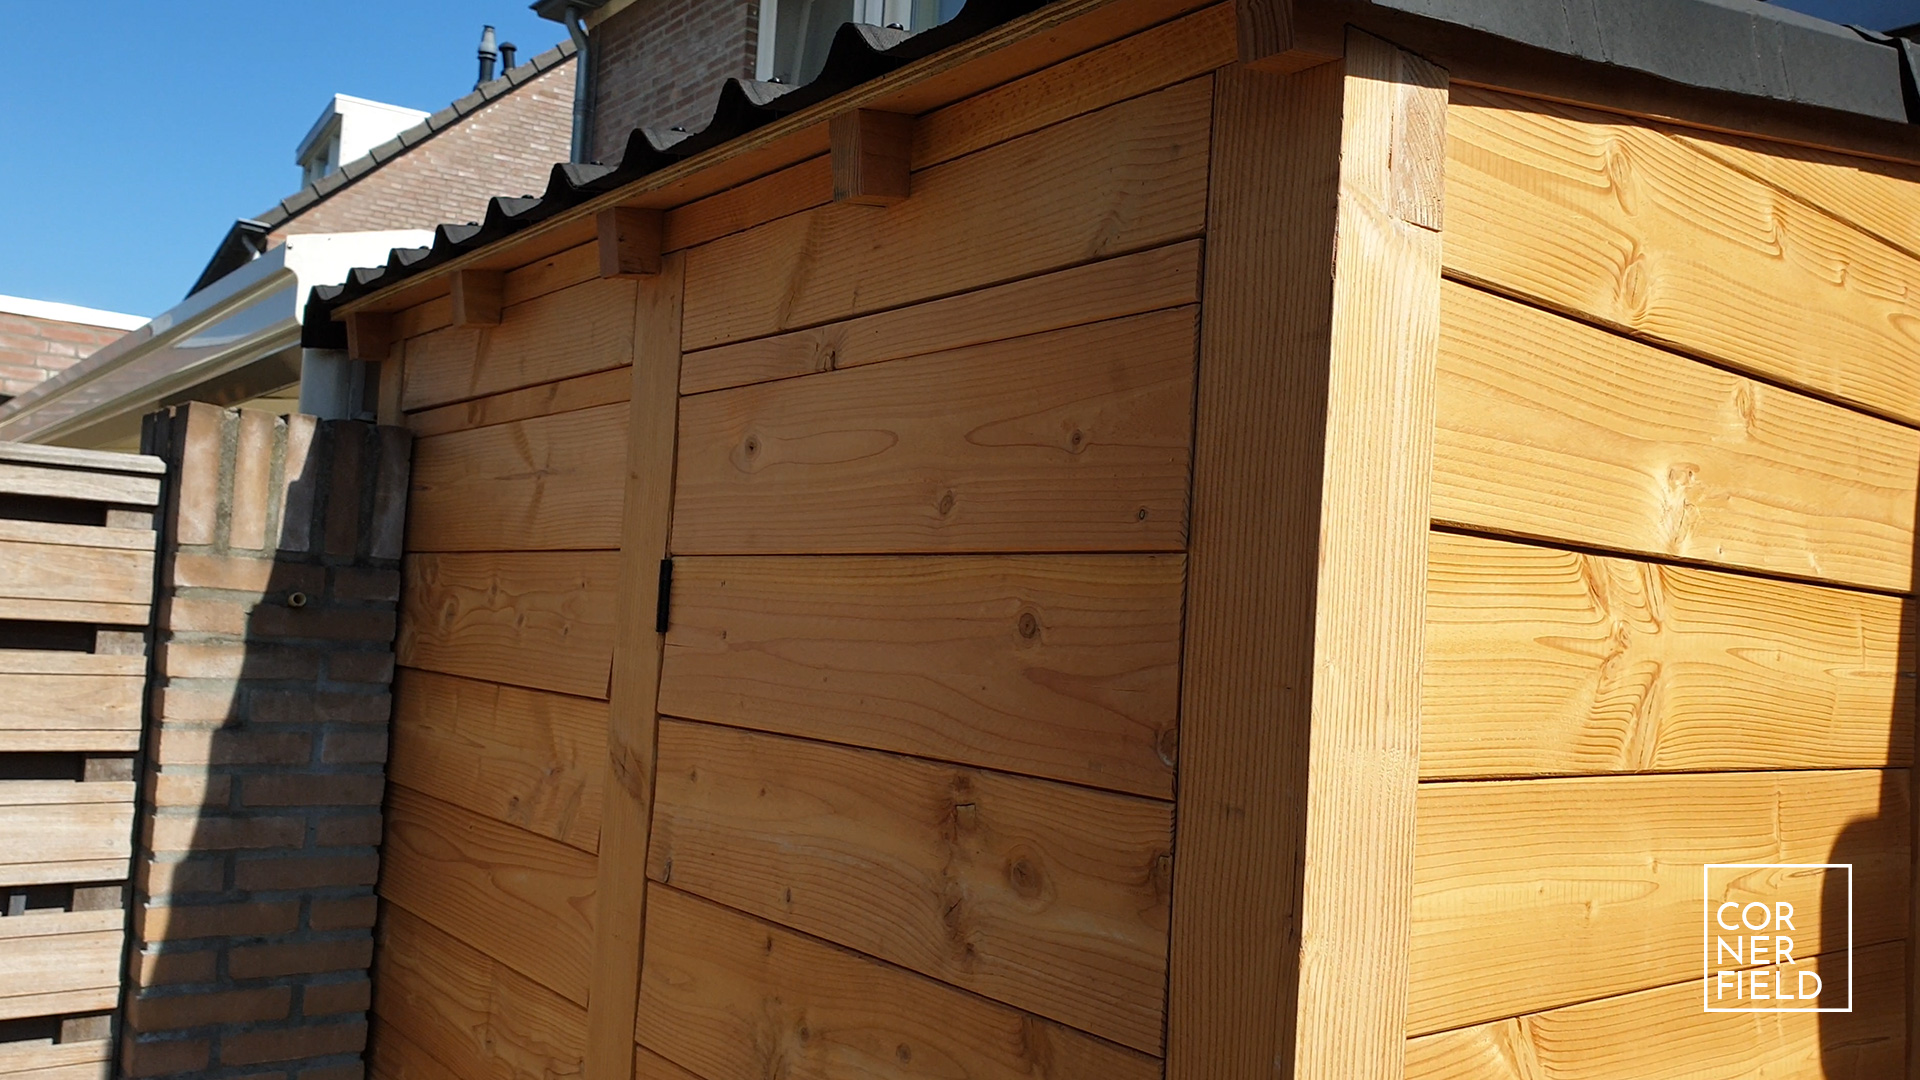
Door
The construction of my door is fairly simple. The back is made up of two long vertical, and three shorter boards in between. The front is made from the same boards as the siding. Determining what you need is a matter of measuring the opening in a few places and cutting the material to size. Make sure the opening is parallel both vertically and horizontally. This will make your life easier moving forward. Also, leave plenty of space for the hinges and the door to move freely. Once you have all your pieces cut lay the back pieces on the ground and clamp them together temporarily. Next lay the first front board on it and nail it place. Making sure everything is nice and square. Work your way up to the top and cut the last piece to size. Now flip it over and drive in screws from the back.

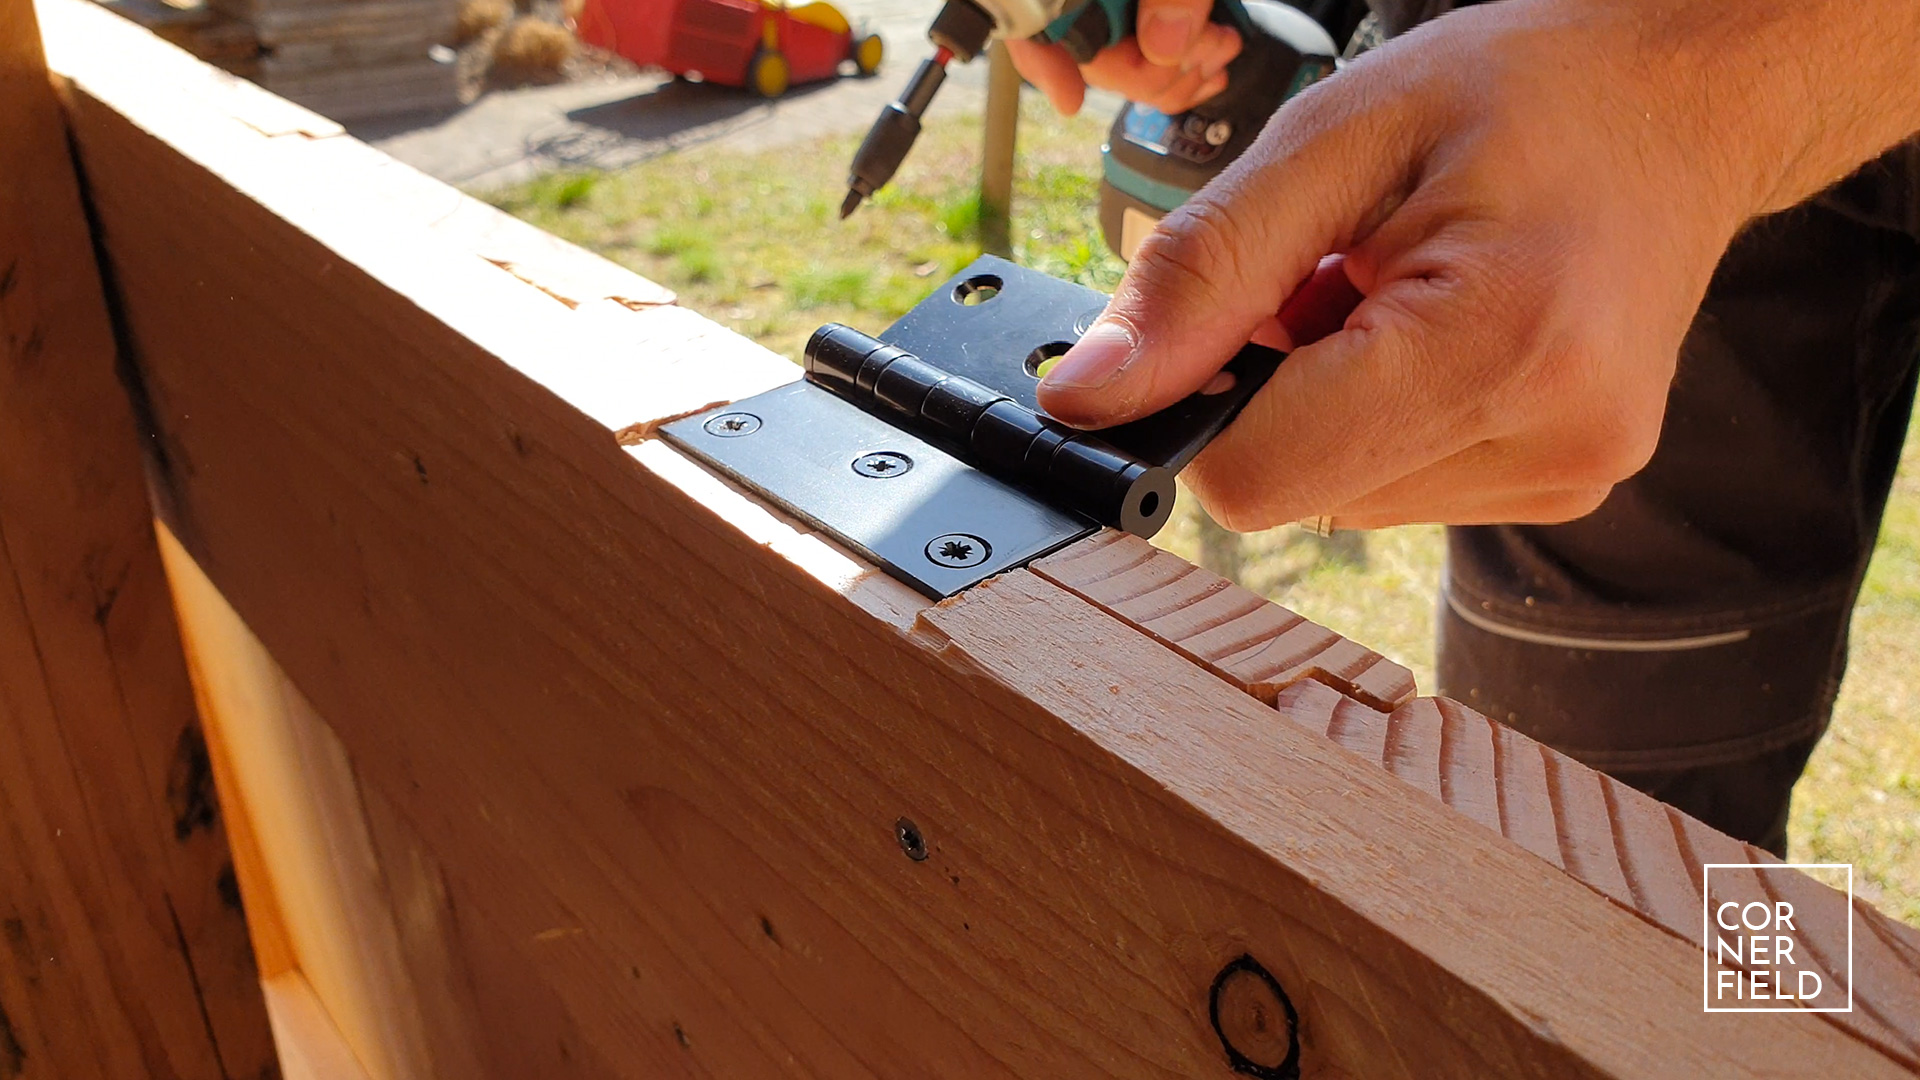
Hinges
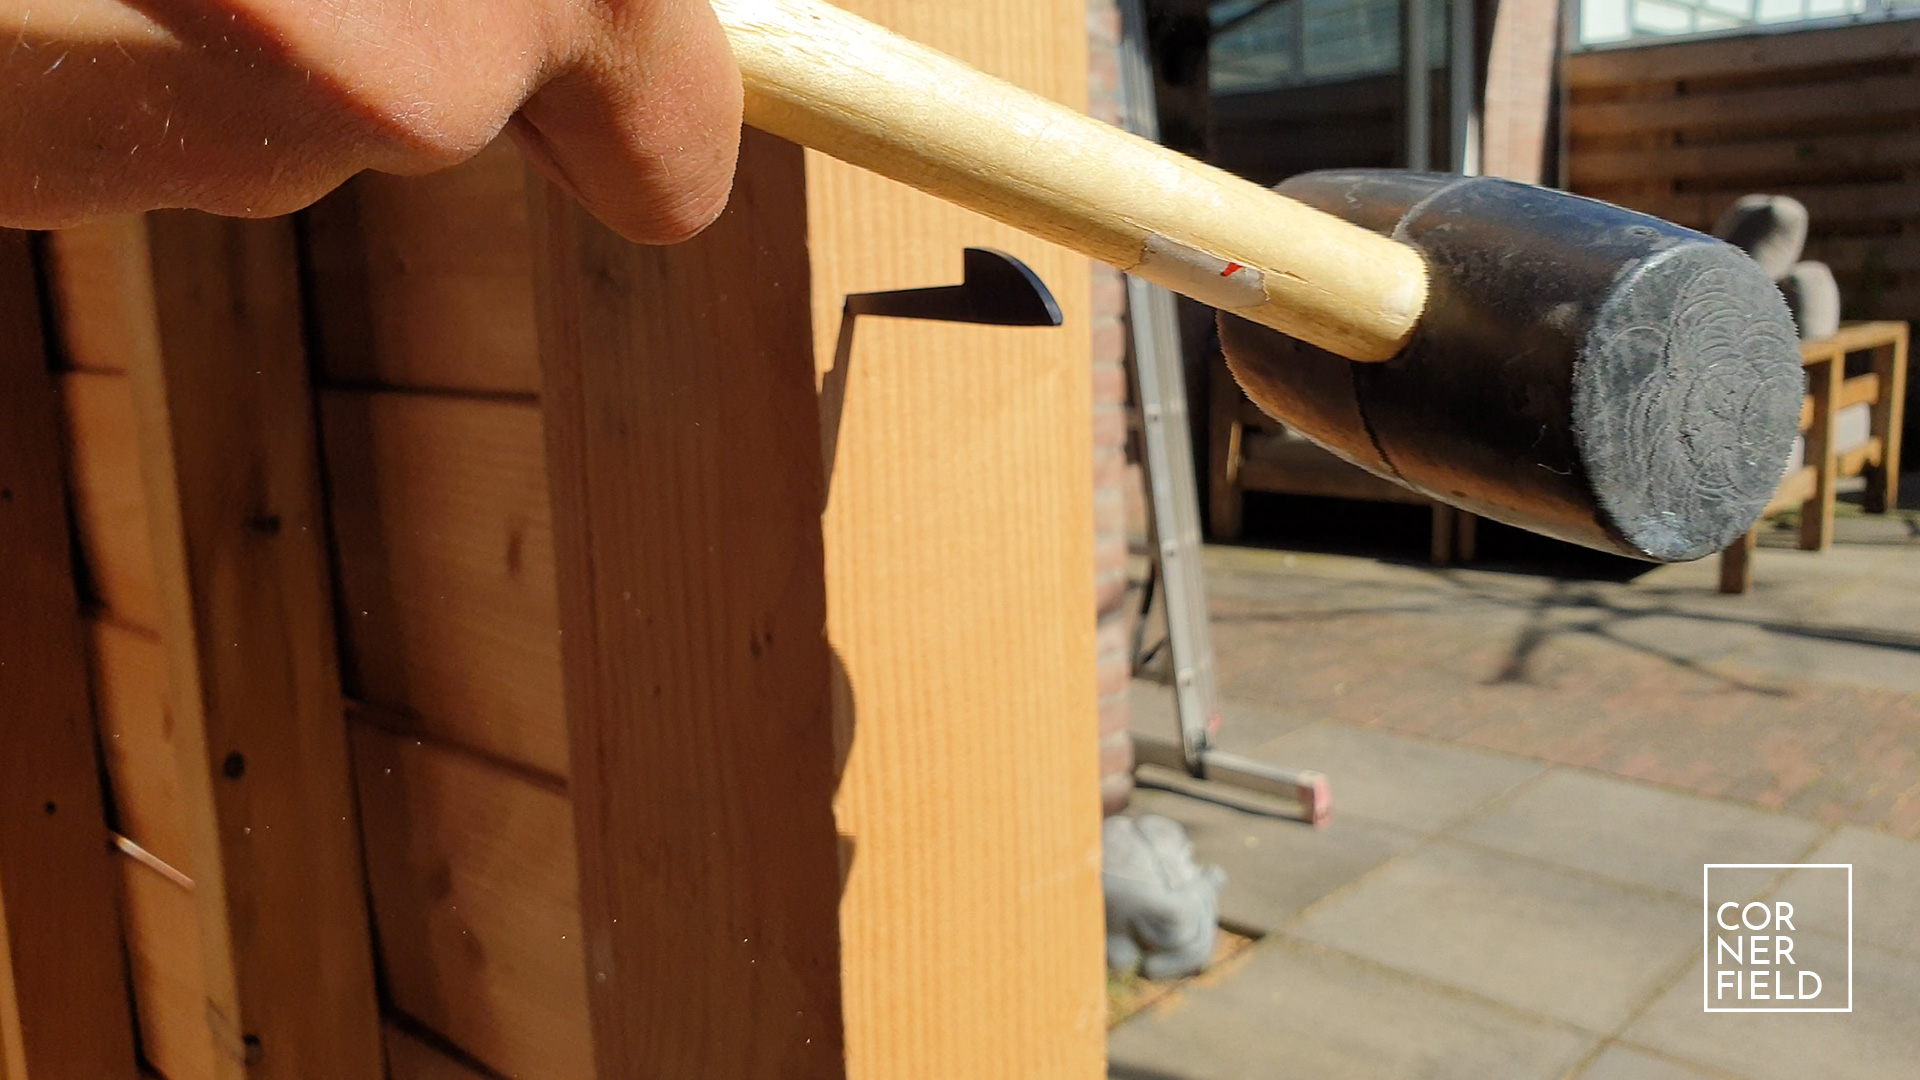
Moving on to the hinges. Make sure you buy heavy-duty outdoor hinges. Especially the heavy-duty part is important! If the door sags over time it’s a real pain in the butt to fix. For a shed that lasts, don’t save money on these. The best hinges to get are ones that don’t need a mortise. I couldn’t find those locally so I used regular ones. This meant I had to cut mortises in both the door and one post. I did this using a chisel and my router. It’s a timeconsuming job that needs a steady hand. It’s very easy to cut away too much, so take your time.

With the mortises cut you should be able to install the door. I’m no expert in this step so don’t look to me for advice. I still have to find a good way to install hinges. If anyone has tips, I’m happy to hear them. If your door hangs, it will need a stop on the inside to prevent it from swinging inwards. I fixed this by screwing in a strip on the inside of the opposing post from the door.
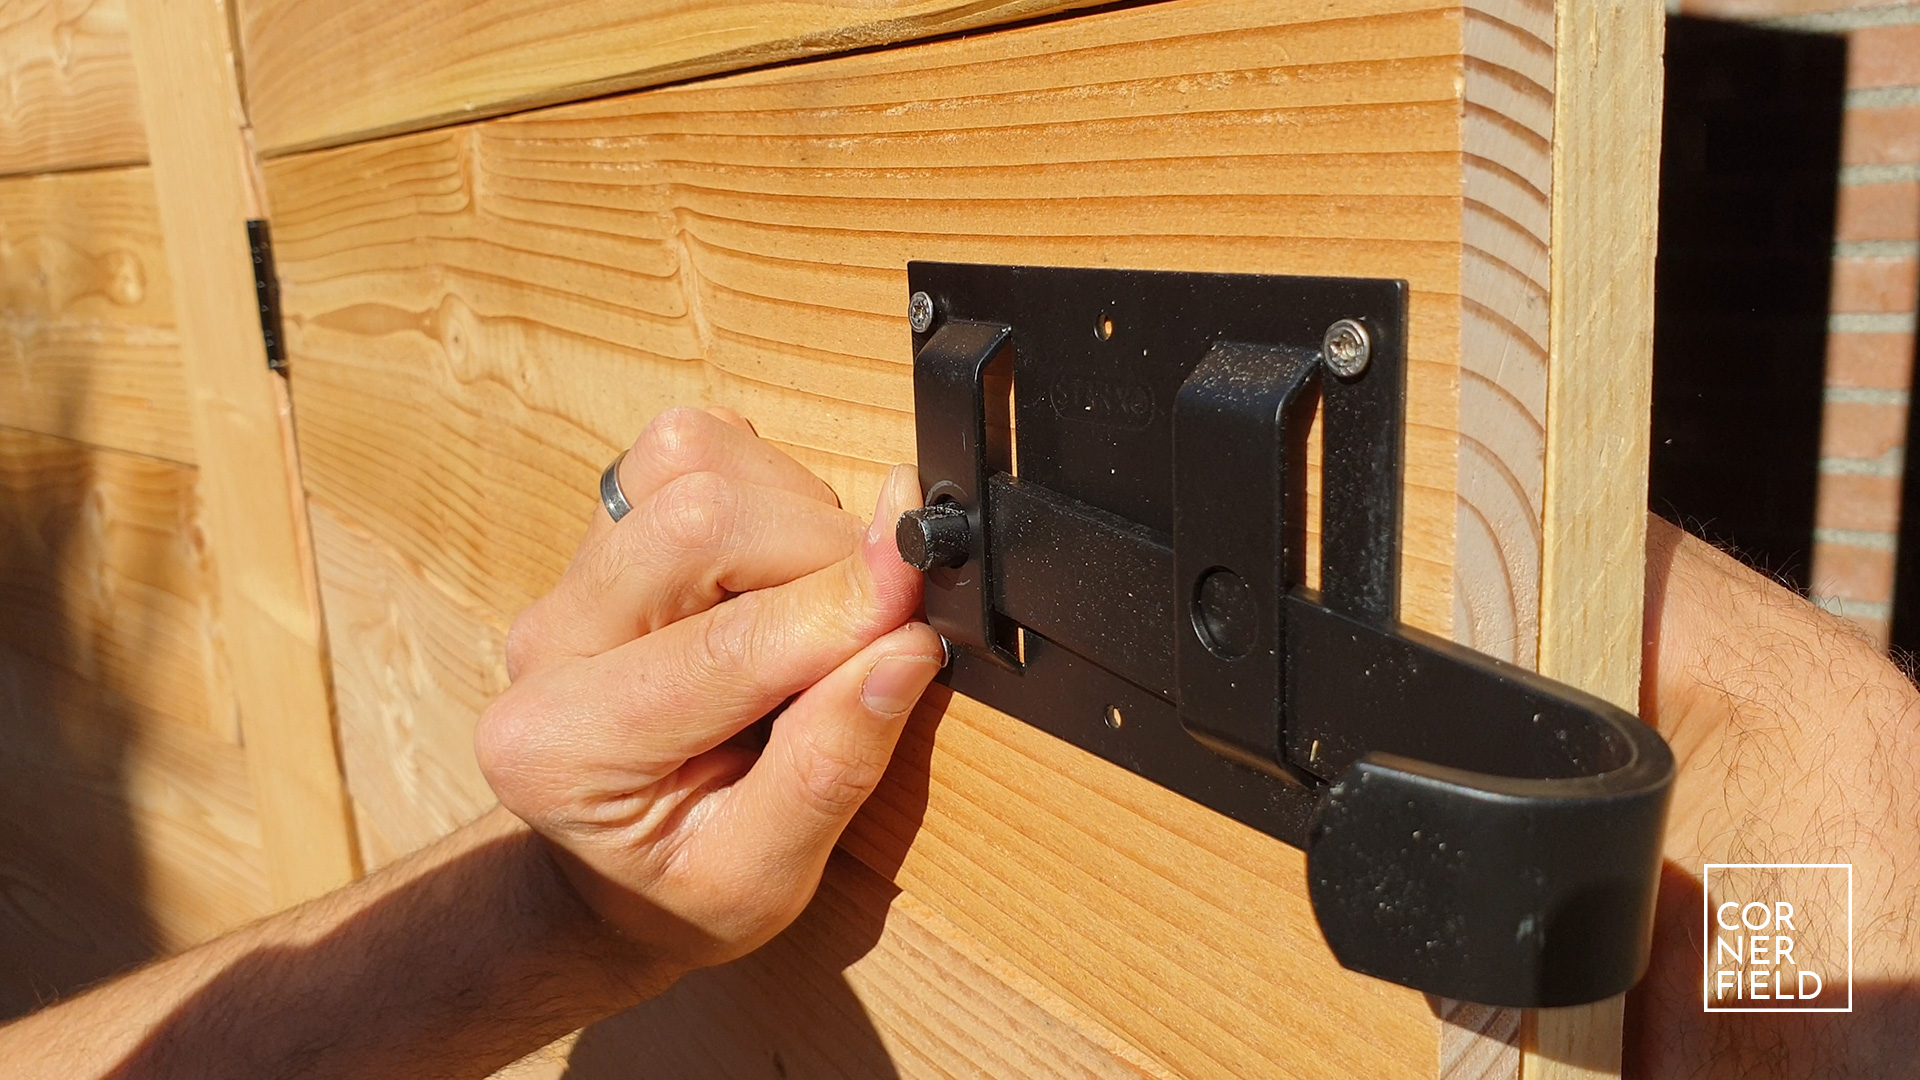
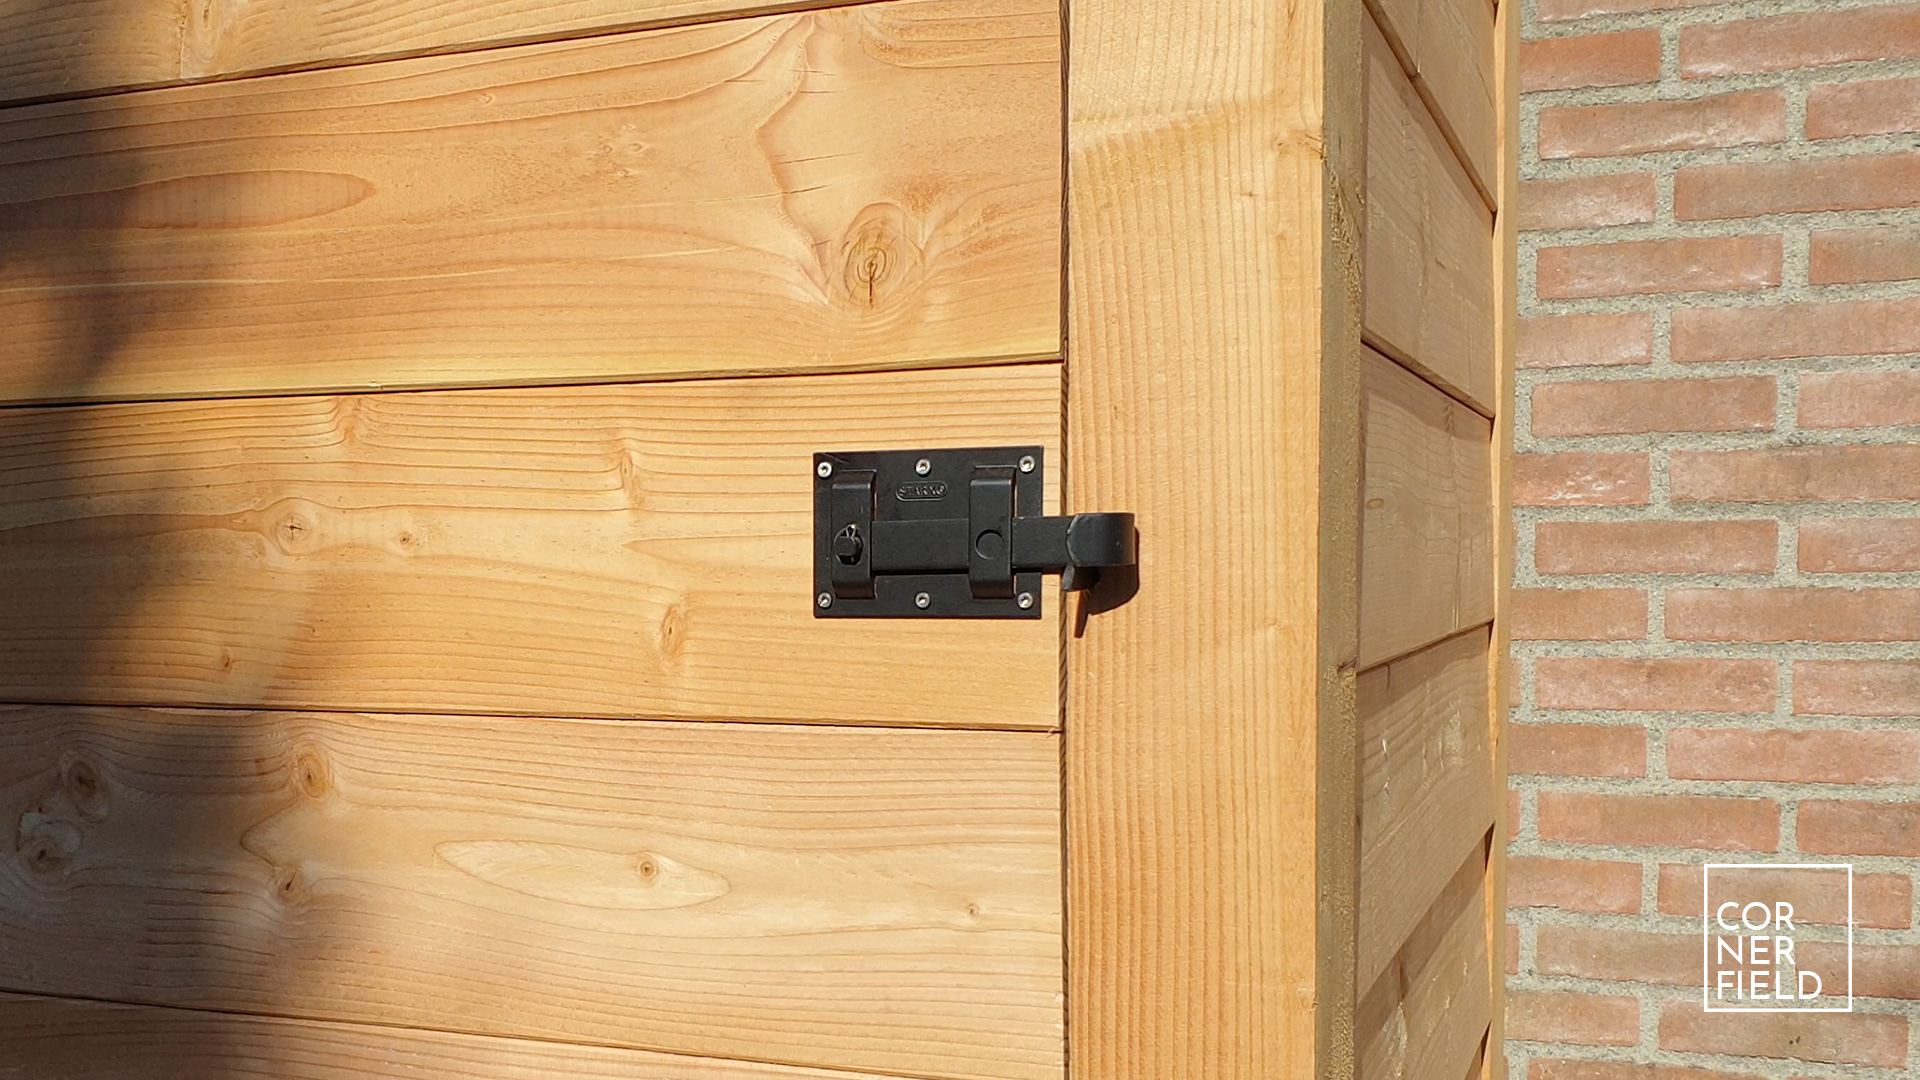
Lock
The very last step is installing a lock or pull of some kind. I chose a lock that is called a ‘farmers lock’. At least that is what it’s called over here. It’s basically a plate that you fasten the front of the door, drill a through-hole for the handle and place a hook in the post next to the door. That’s it. Installation took about 10 minutes and it works like a charm. I can recommend using one of these for sure!
Result
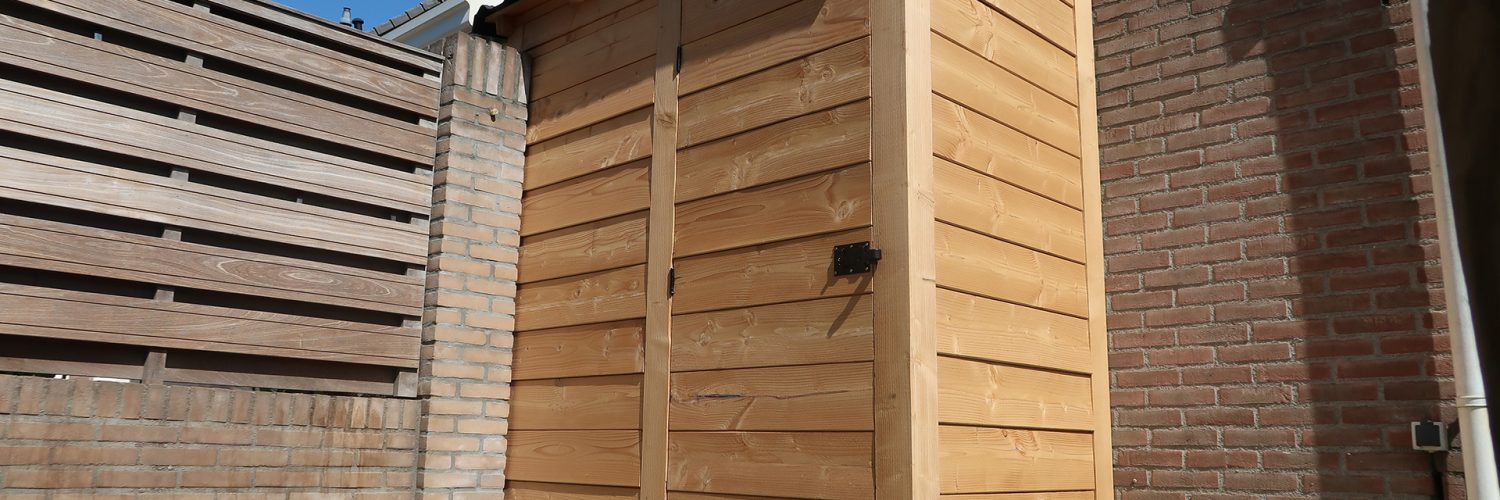
The last shed I build was a hot mess. This one is a very big improvement on that! The door runs nice and smooth, I can stand up straight in it and it holds all my garden tools plus more. The look of the shed is exactly what I was looking for. Even though it’s much larger than the last one, it feels smaller due to the design. Very pleased with this indeed. If you like to build one yourself and have any questions just leave a comment and I will help you where I can.
Links & Download
If you want to build something similar I’ve linked my 3D model of the shed below as a download.
SketchUp 3D-model
Instagram 1 | 2 | 3 | 4 | 5 | 6 | 7
I hope this post has inspired you to make something!
And don’t forget to follow your excitement 

Very nice post. I simply stumbled upon your weblog and wished
to say that I’ve really loved surfing around your blog posts.
In any case I will be subscribing to your rss feed and I hope you write once more very soon!
Thanks Jon!
Hello! I just would like to give huge thumbs up for the great info you have here on this post. I will be coming back to your blog for more soon. Thanks for sharing!
Thank you Gary! Much appreciated!