

For making floating frames I wanted a faster way to make the 45-degree cuts. This miter sled will do just that.
Design
There is no real design that went into this project. Partly because I already had a design I wanted to make from another maker. William Ng’s, 2 cuts to a perfect miter sled. The other reason is that the build was dictated by the things I had available for it. Due to the COVID-19 lock-down shopping for materials still isn’t very fun, so I wanted to make do with what I had on hand.
Build
Even though the miter sled is a small project, I wanted to talk about the individual parts first. Starting with the runners.
Runners
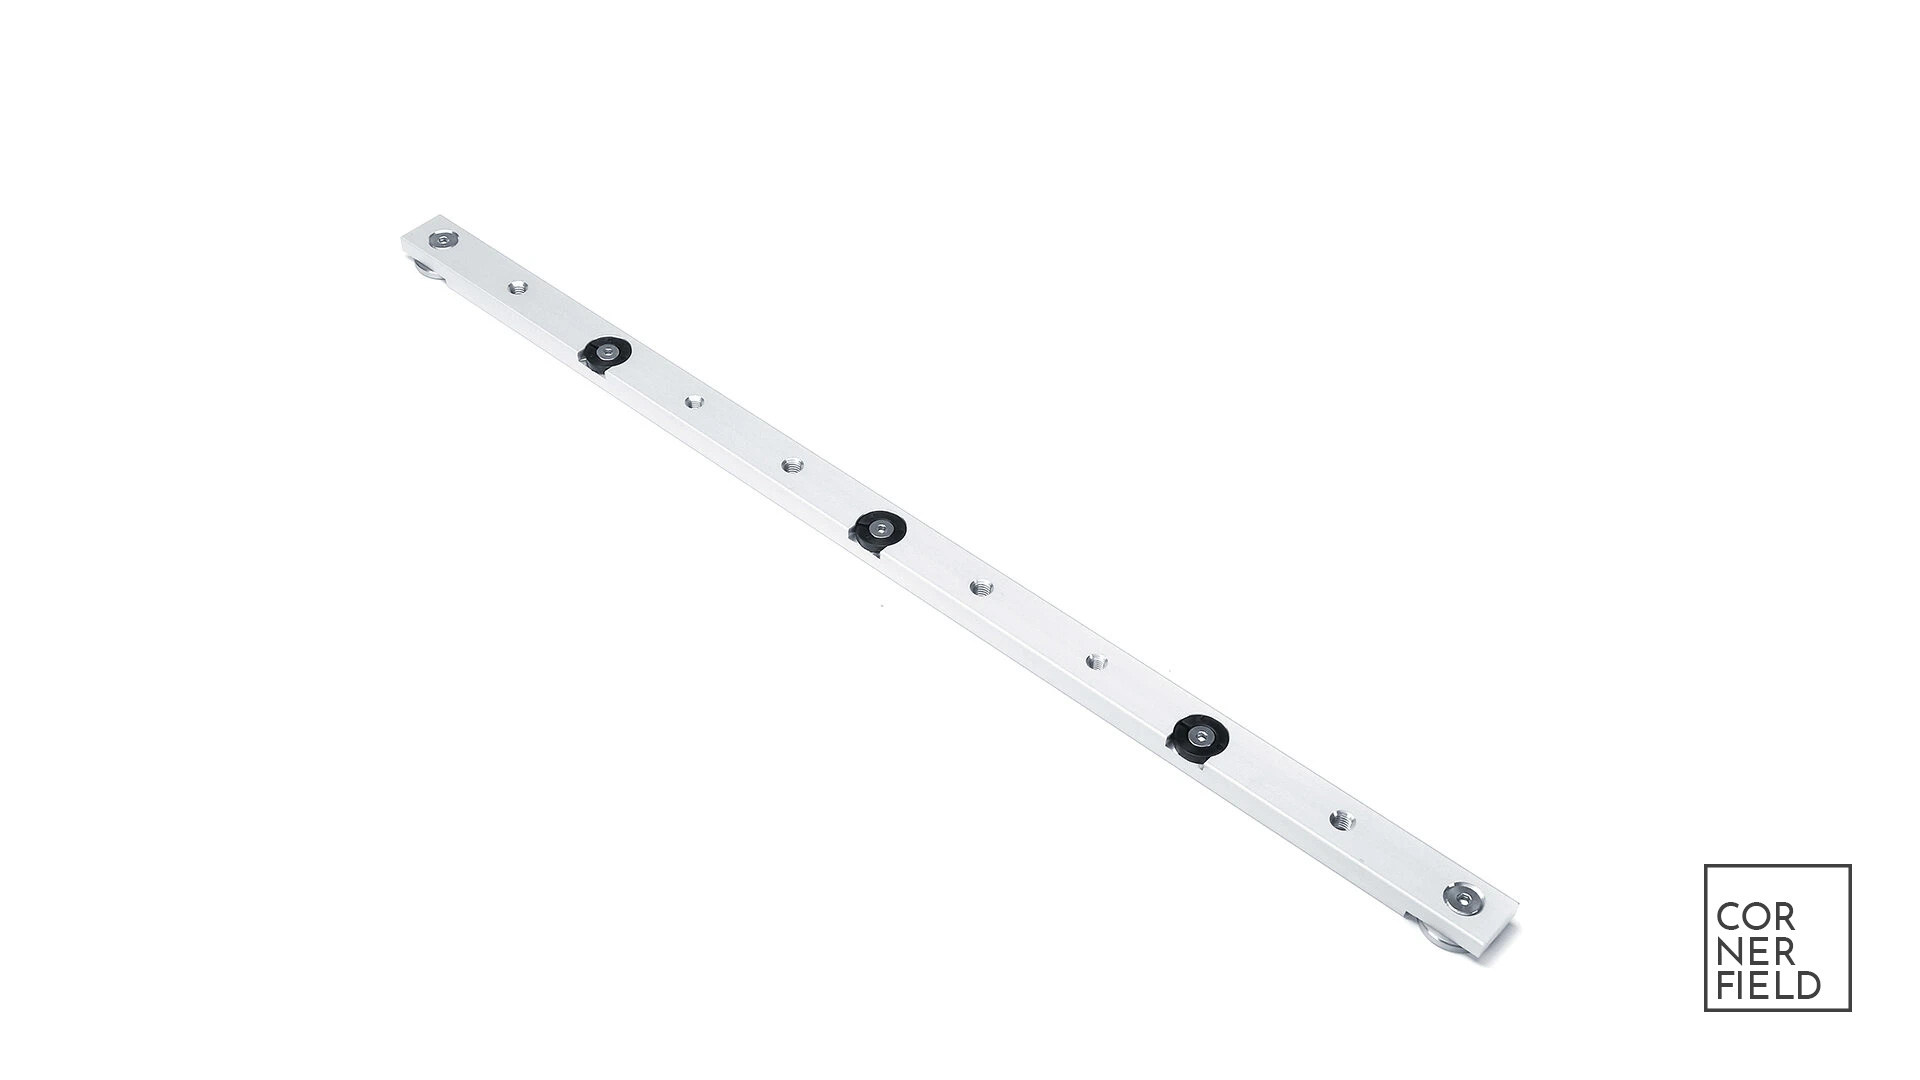
For the runners, I’m using aluminum once that you can buy in most commercial woodworking shops. Some brands have specific ones but there are also general-purpose ones. I went with the general-purpose kind. They can be adjusted to fit your T-slot and can be fastened to a base with M6 machine screws (in my case). Alternatively, you can cut your own runners from hardwood or plastic. Preferably a material that doesn’t expand and contract. I’ve made my own runners in the past with projects like the cross-cut sled build. I know now after doing this project that it’s a lot easier to fasten home-made runners, compared to the aluminum ones. But we will get to that later.
Base
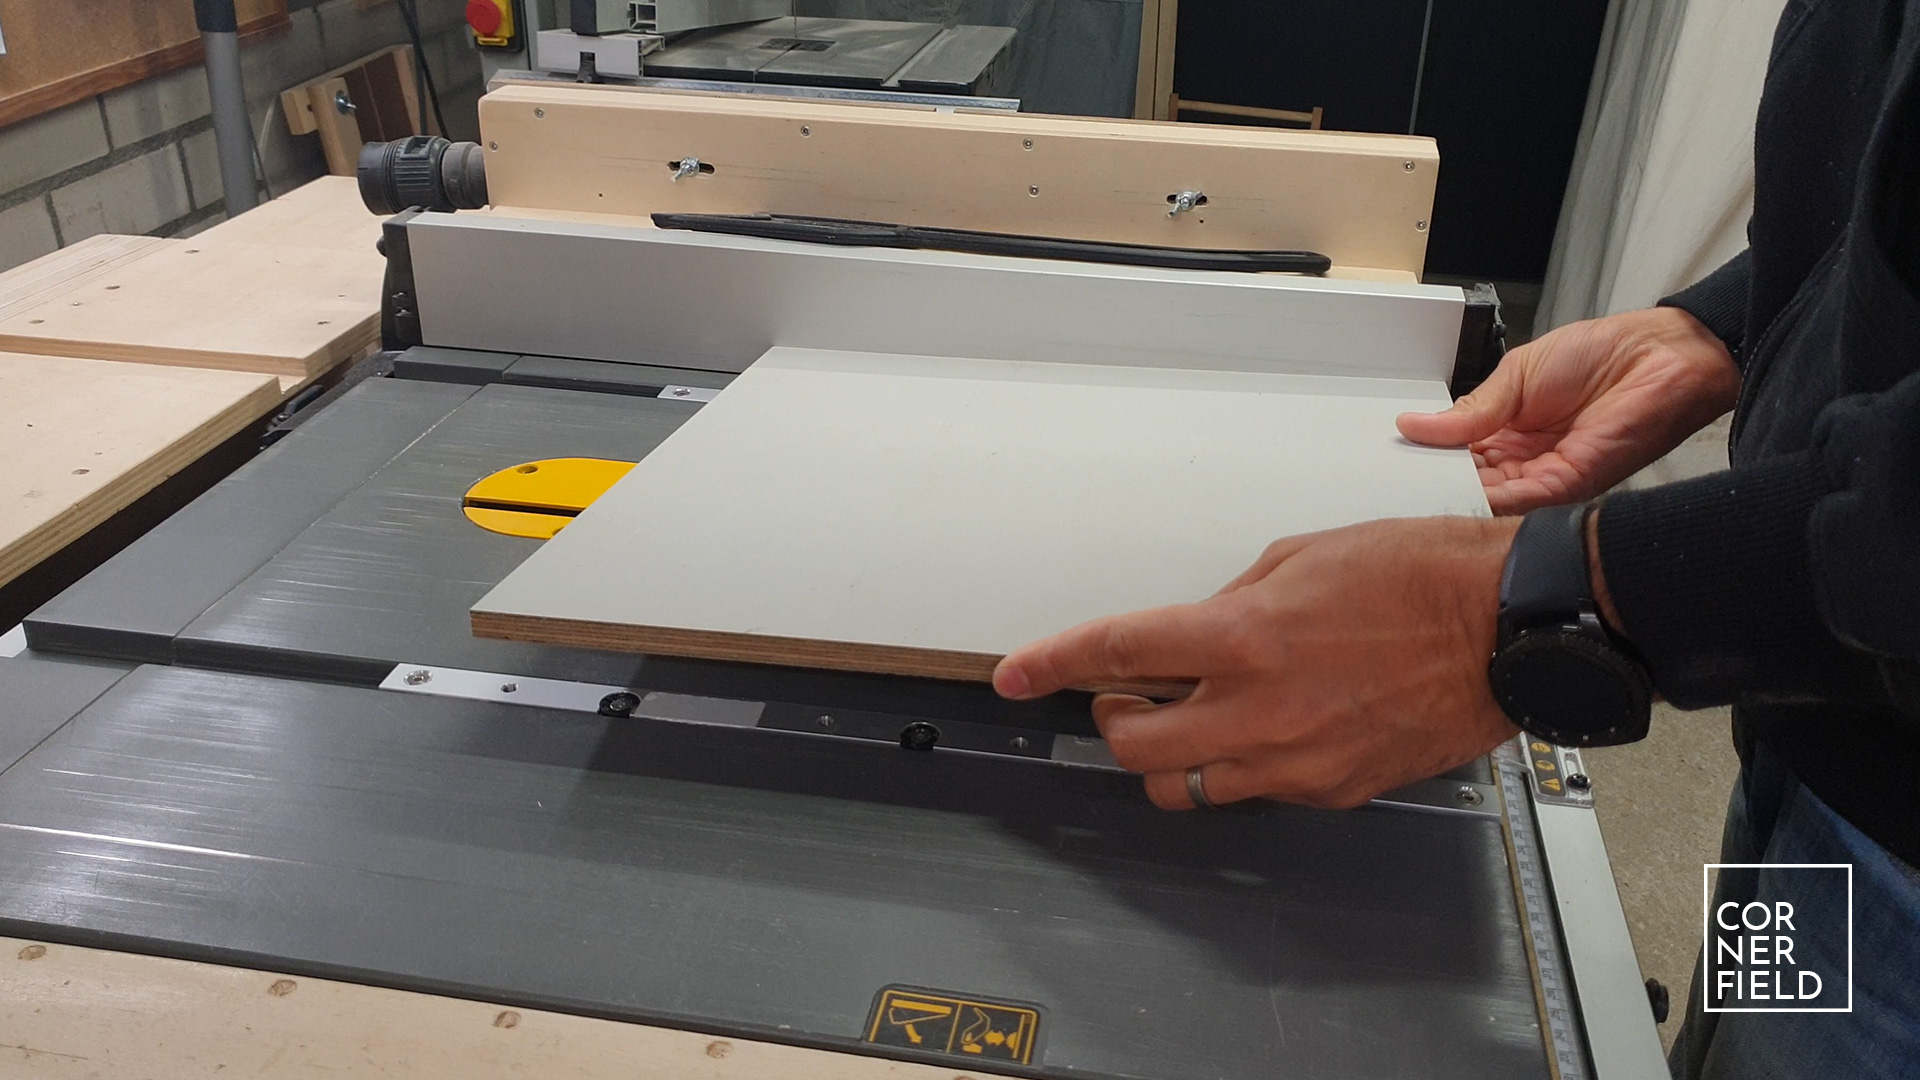
For this part of the miter sled, the most common material is plywood. As far as dimensions, you can do whatever you like. If you have a big saw and cut large pieces, a bigger base makes sense. I usually cut long pieces but my saw is small so I went with a size that is fairly small. About 40cm square. One other thing to consider for your base is the thickness. Every mm of thickness that your base has, is lost in cutting capacity. That is why I went with 15mm (1/2) and not 18mm(3/4). It’s a small detail but sometimes it’s just enough to make a difference.
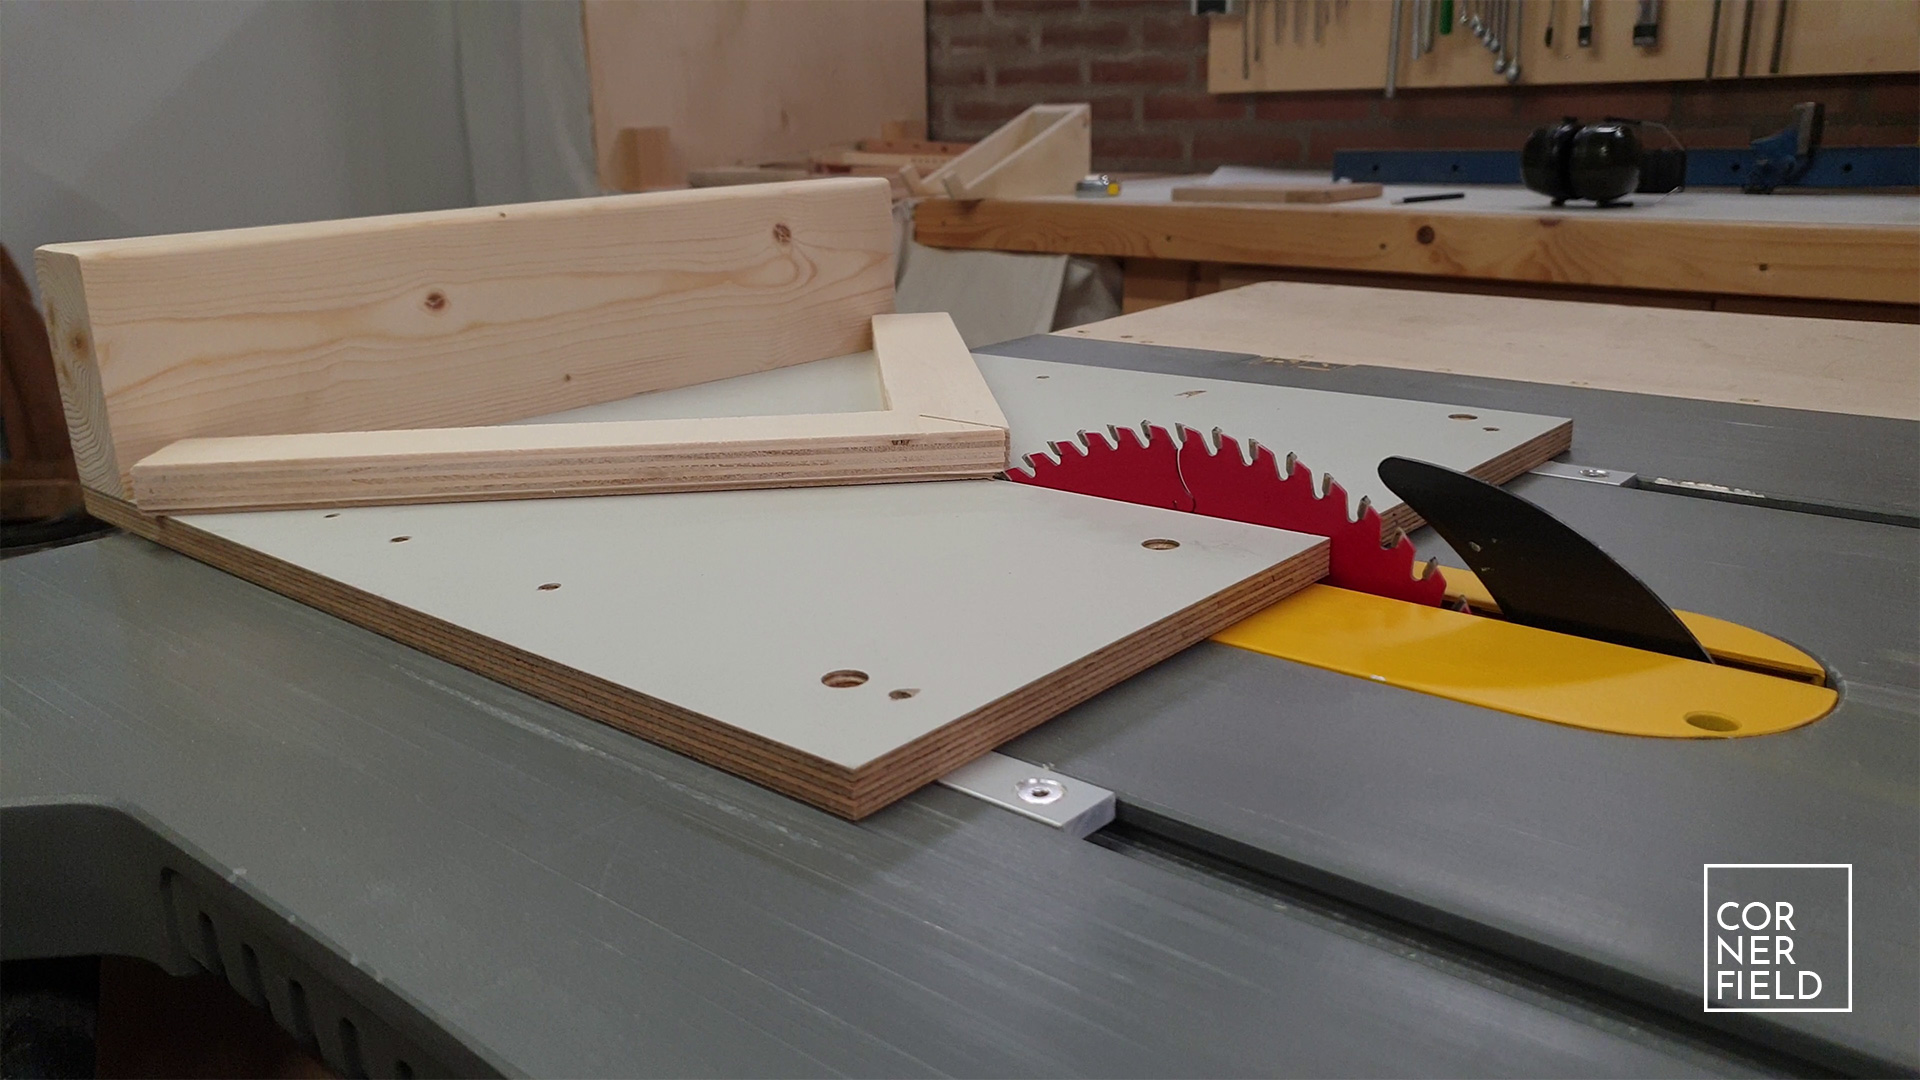
Front fence
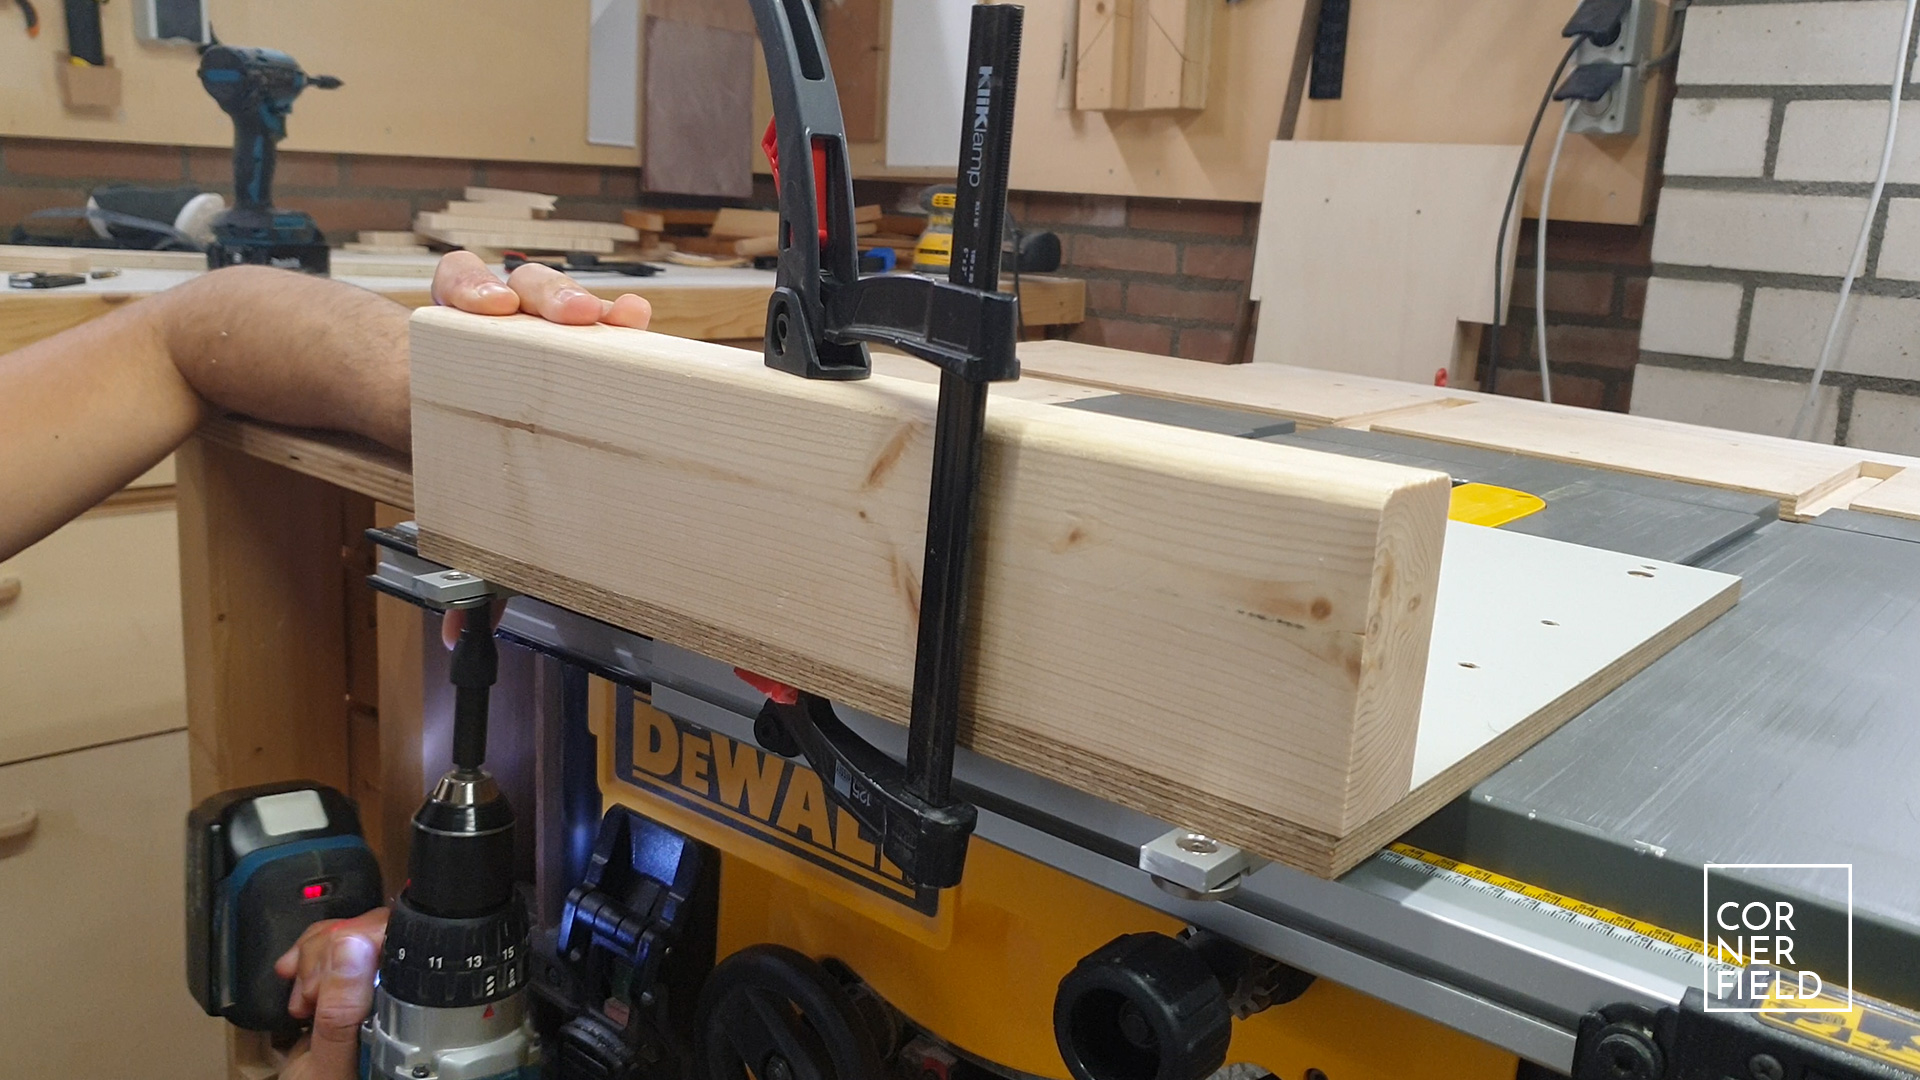
The front fence of the miter sled holds our miter fence in place. It also provides a handle for the sled itself. I used a 2 by 6 where I cut off one face and one side. This gives it a flat surface to fasten it to the base that is square with the support for the miter fence. Mine is the same width as the sled, about 40 cm.

Miter fence
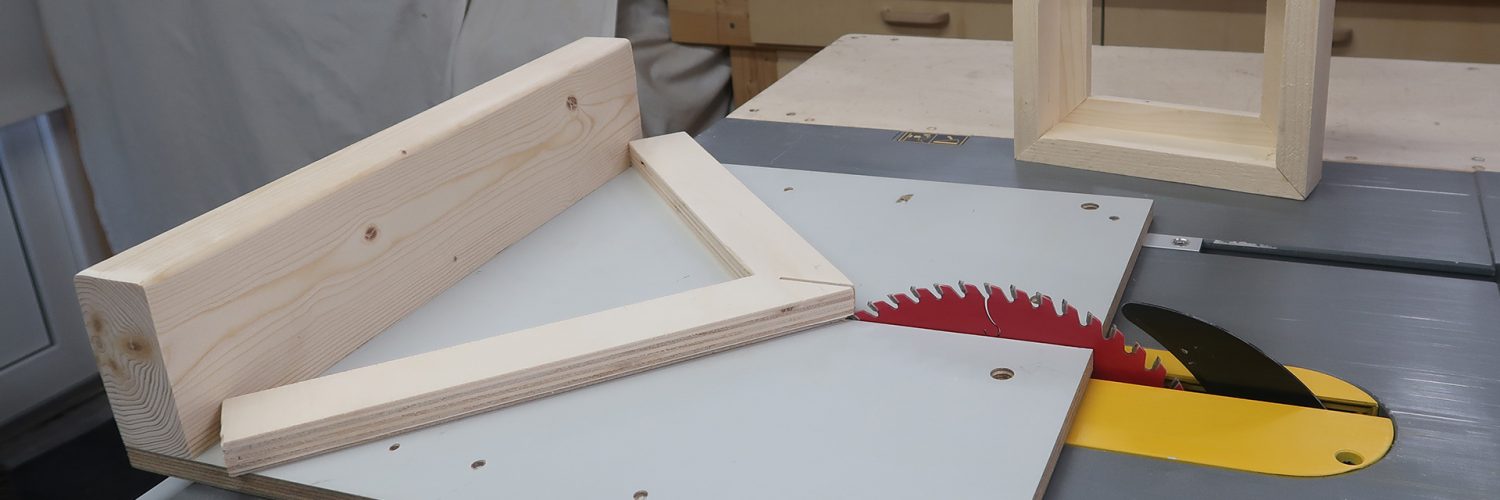
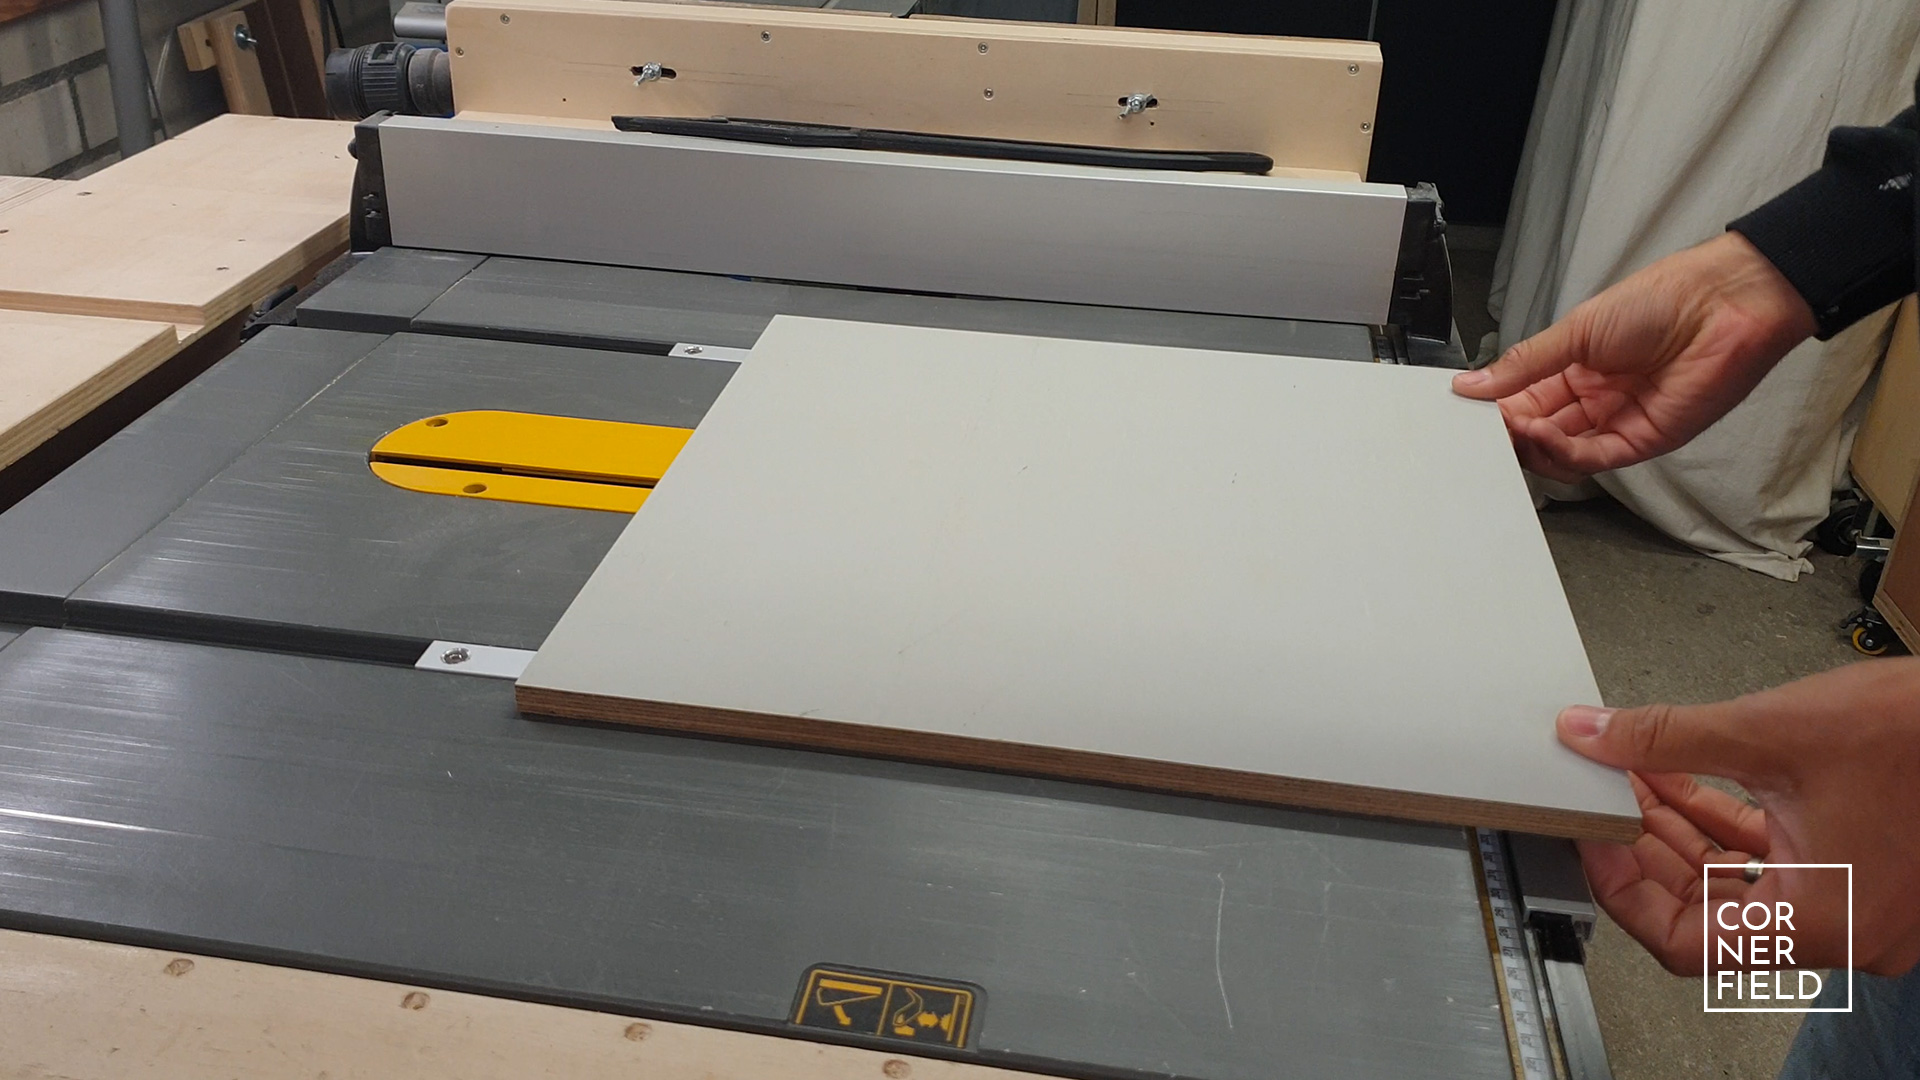
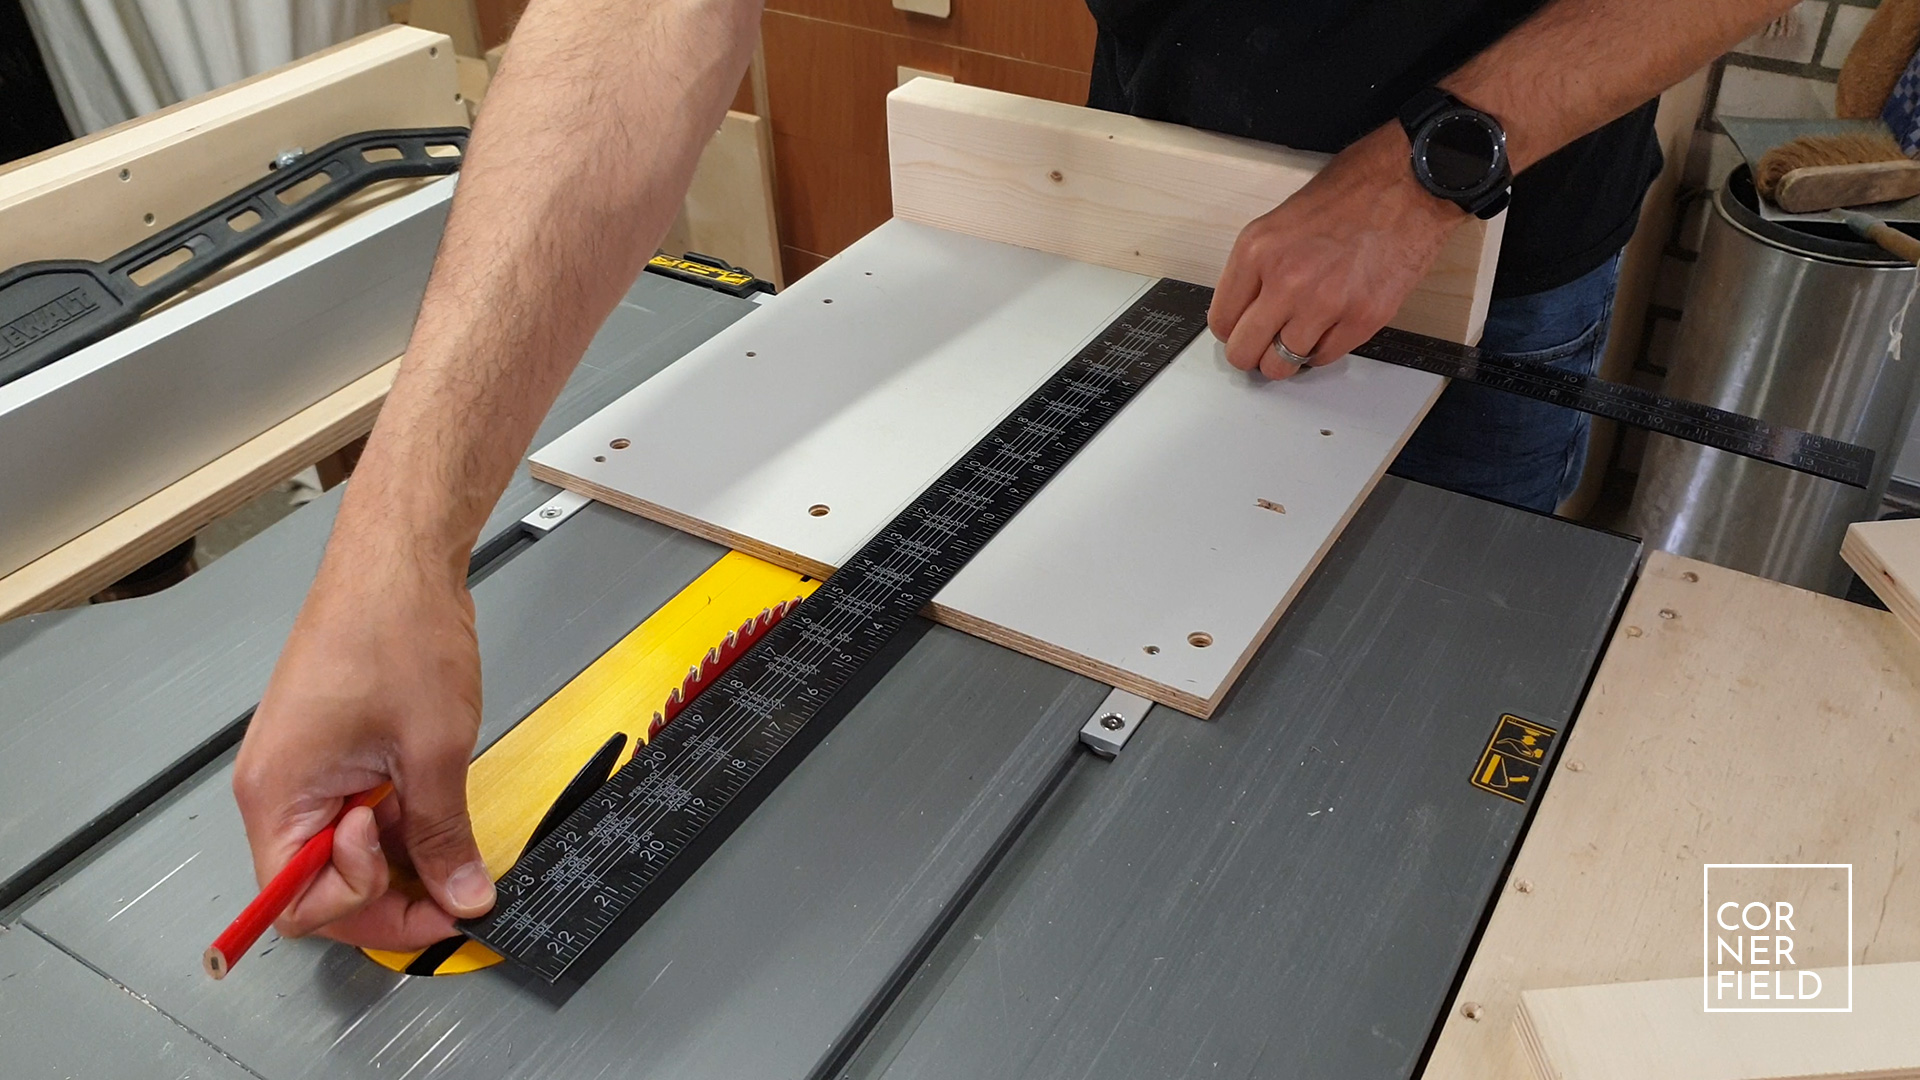
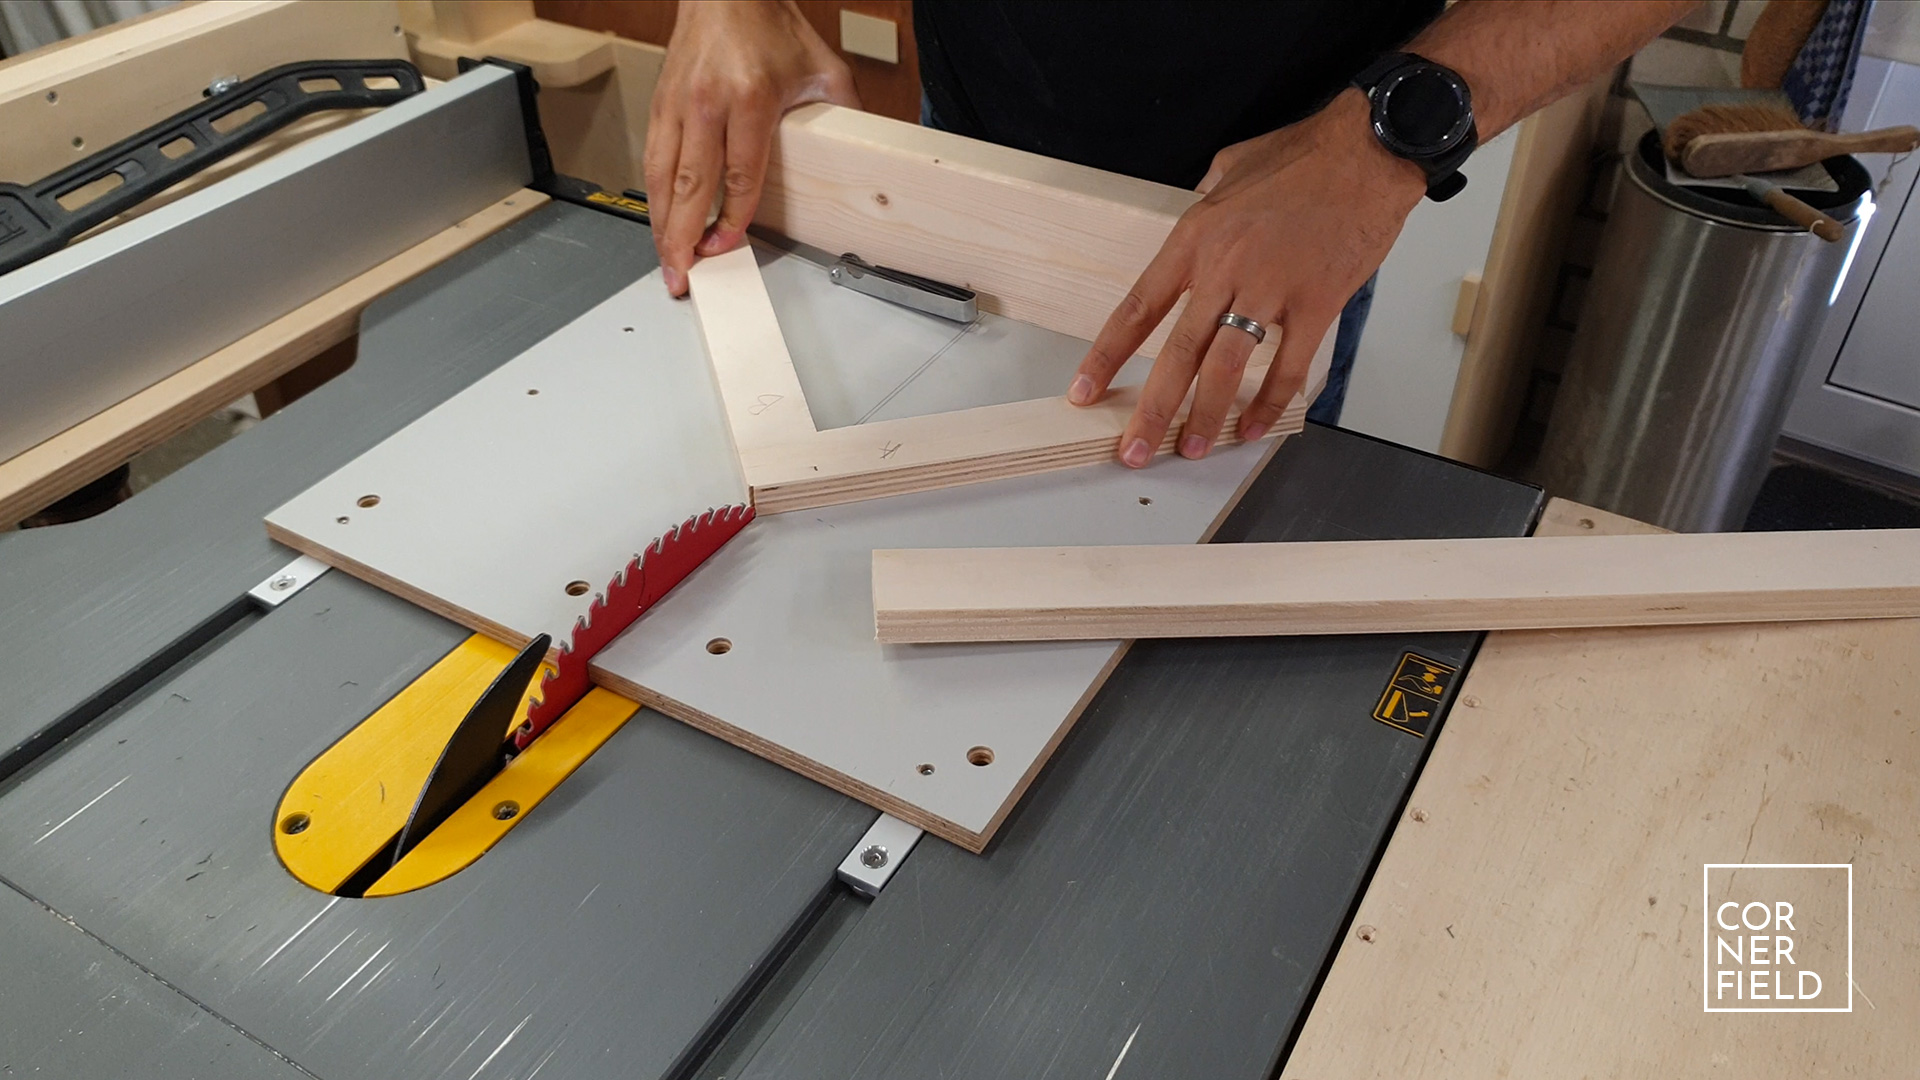
What is a miter fence? It is the piece that holds the material you want to cut at a 45-degree angle. In this case, it’s made from 18mm (3/4) plywood. Making this part is surprisingly easy. First, you cut a piece that is about the width of your sled, measured diagonally. This measurement matters because it determines if the fence will fit properly on your sled. Also, it’s critical that it is exactly (or as much as possible) square. If you get this right it will be easier to make the sled cut accurately.
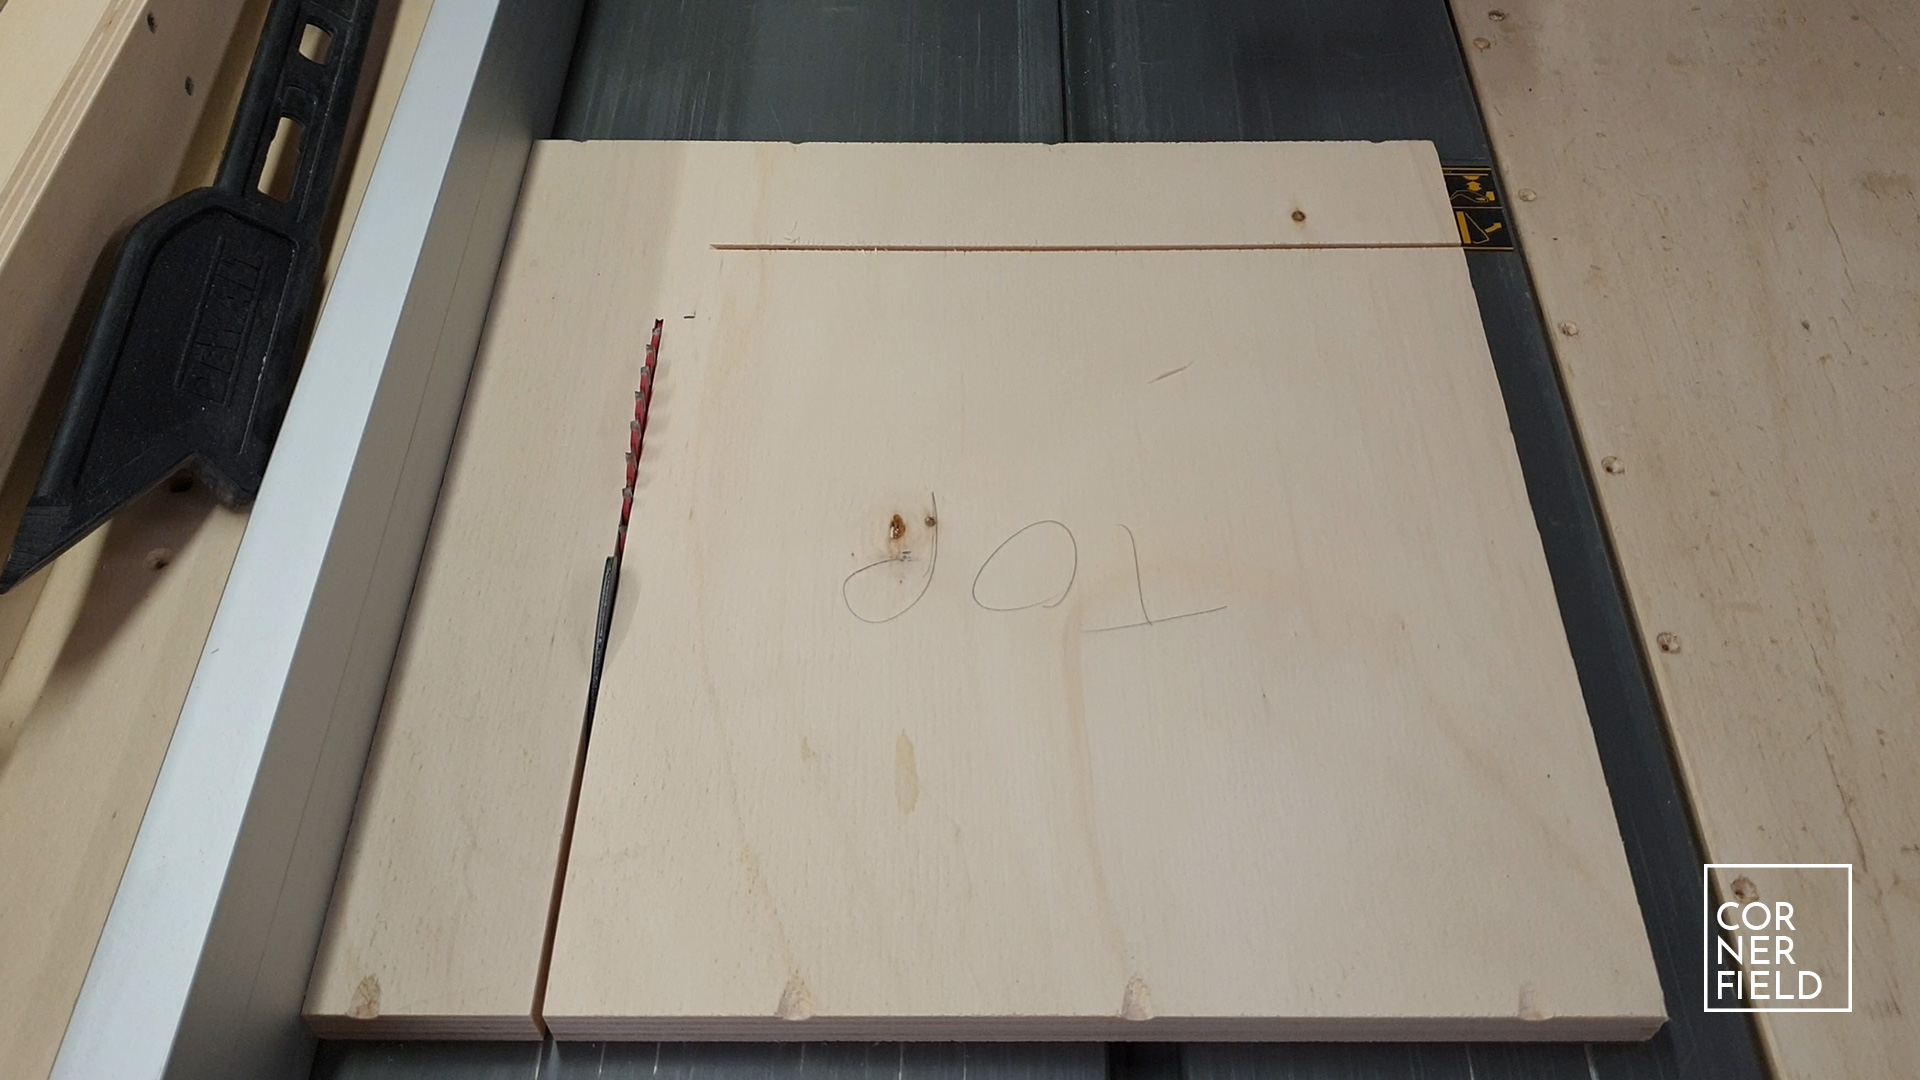
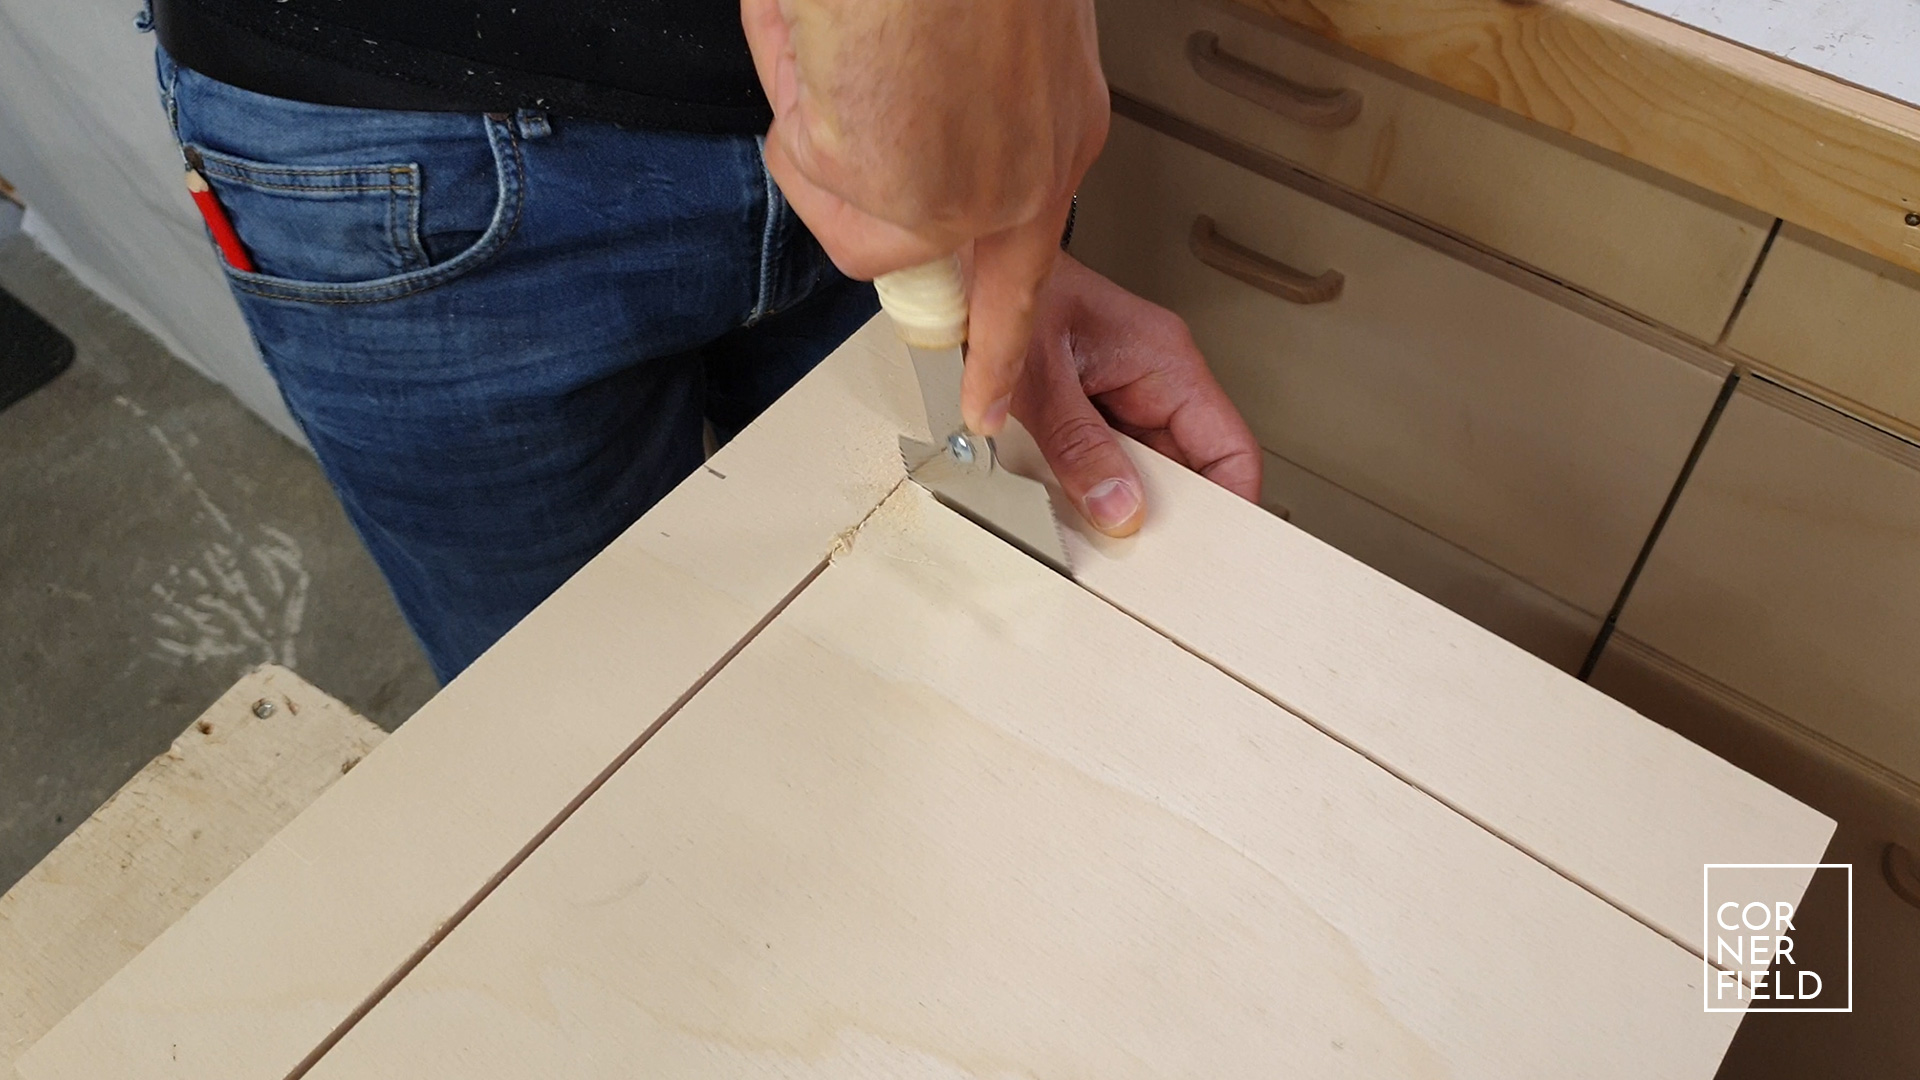
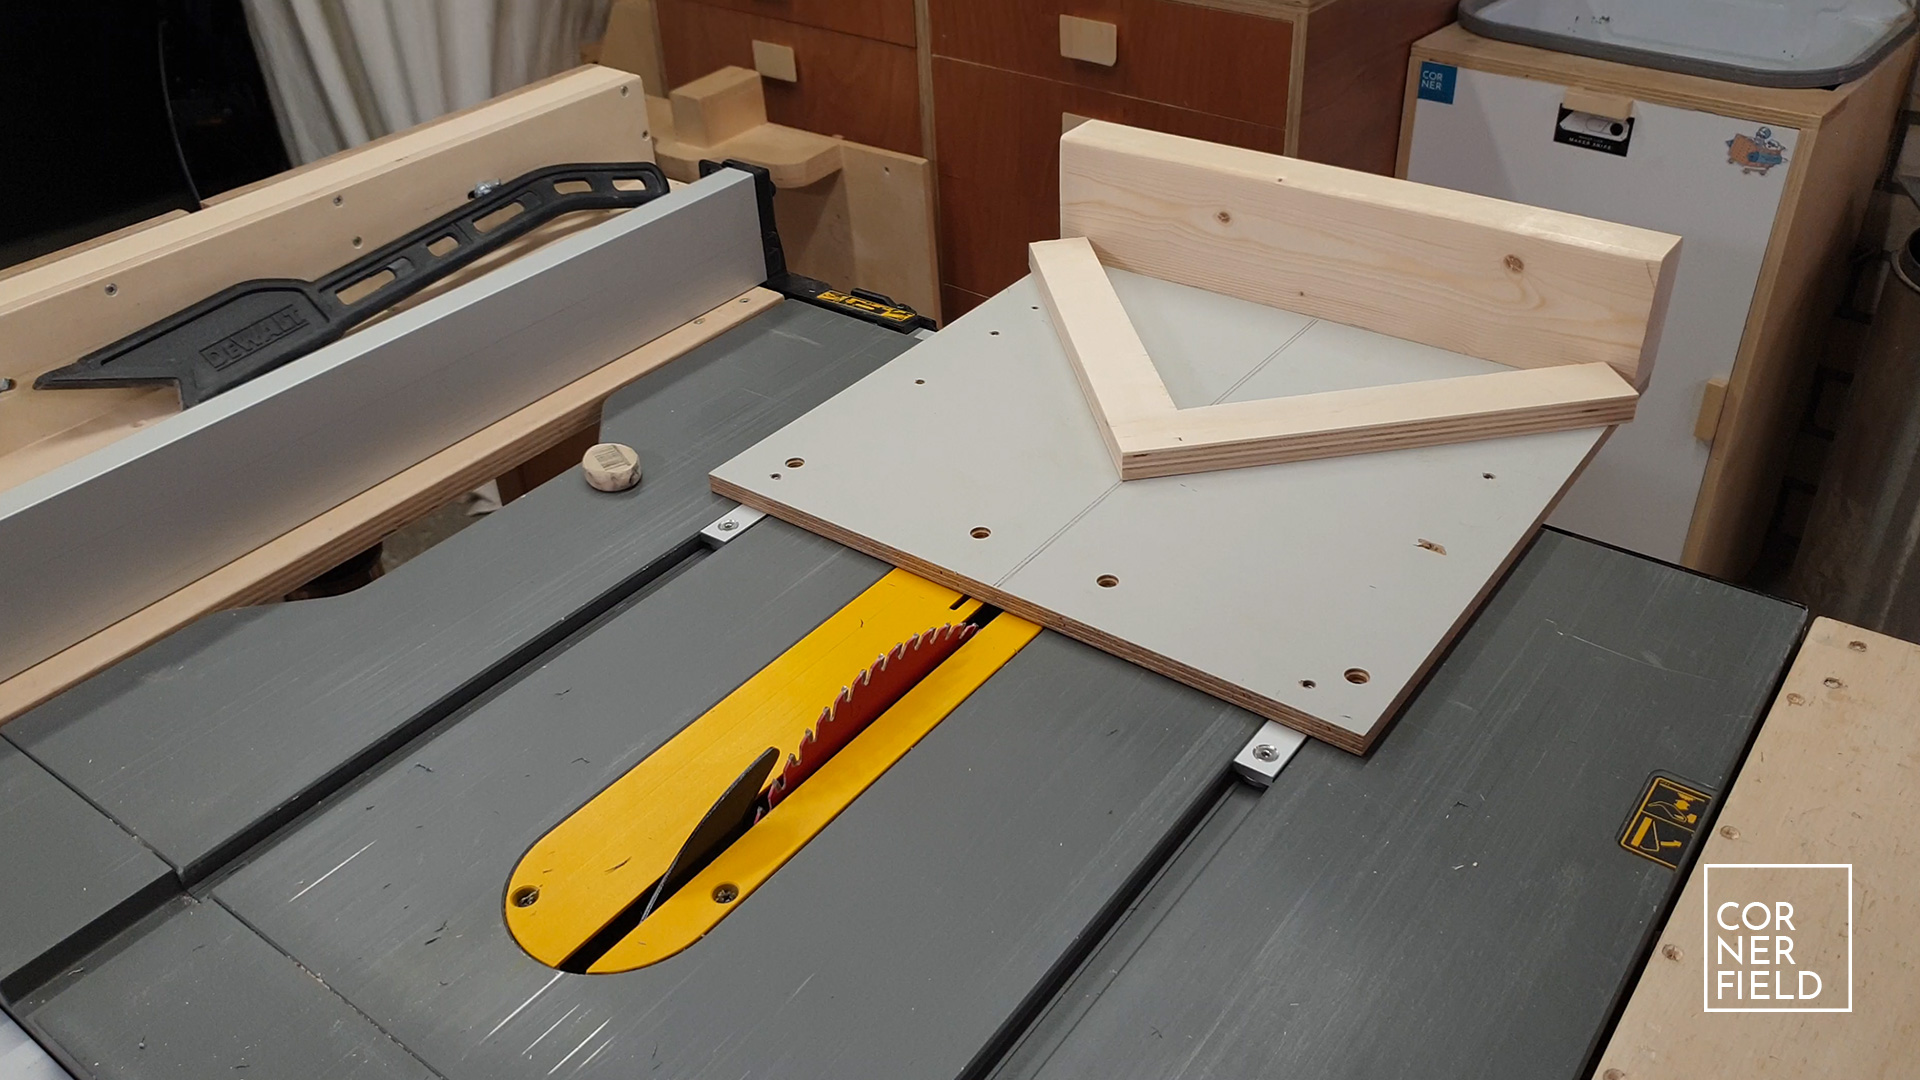
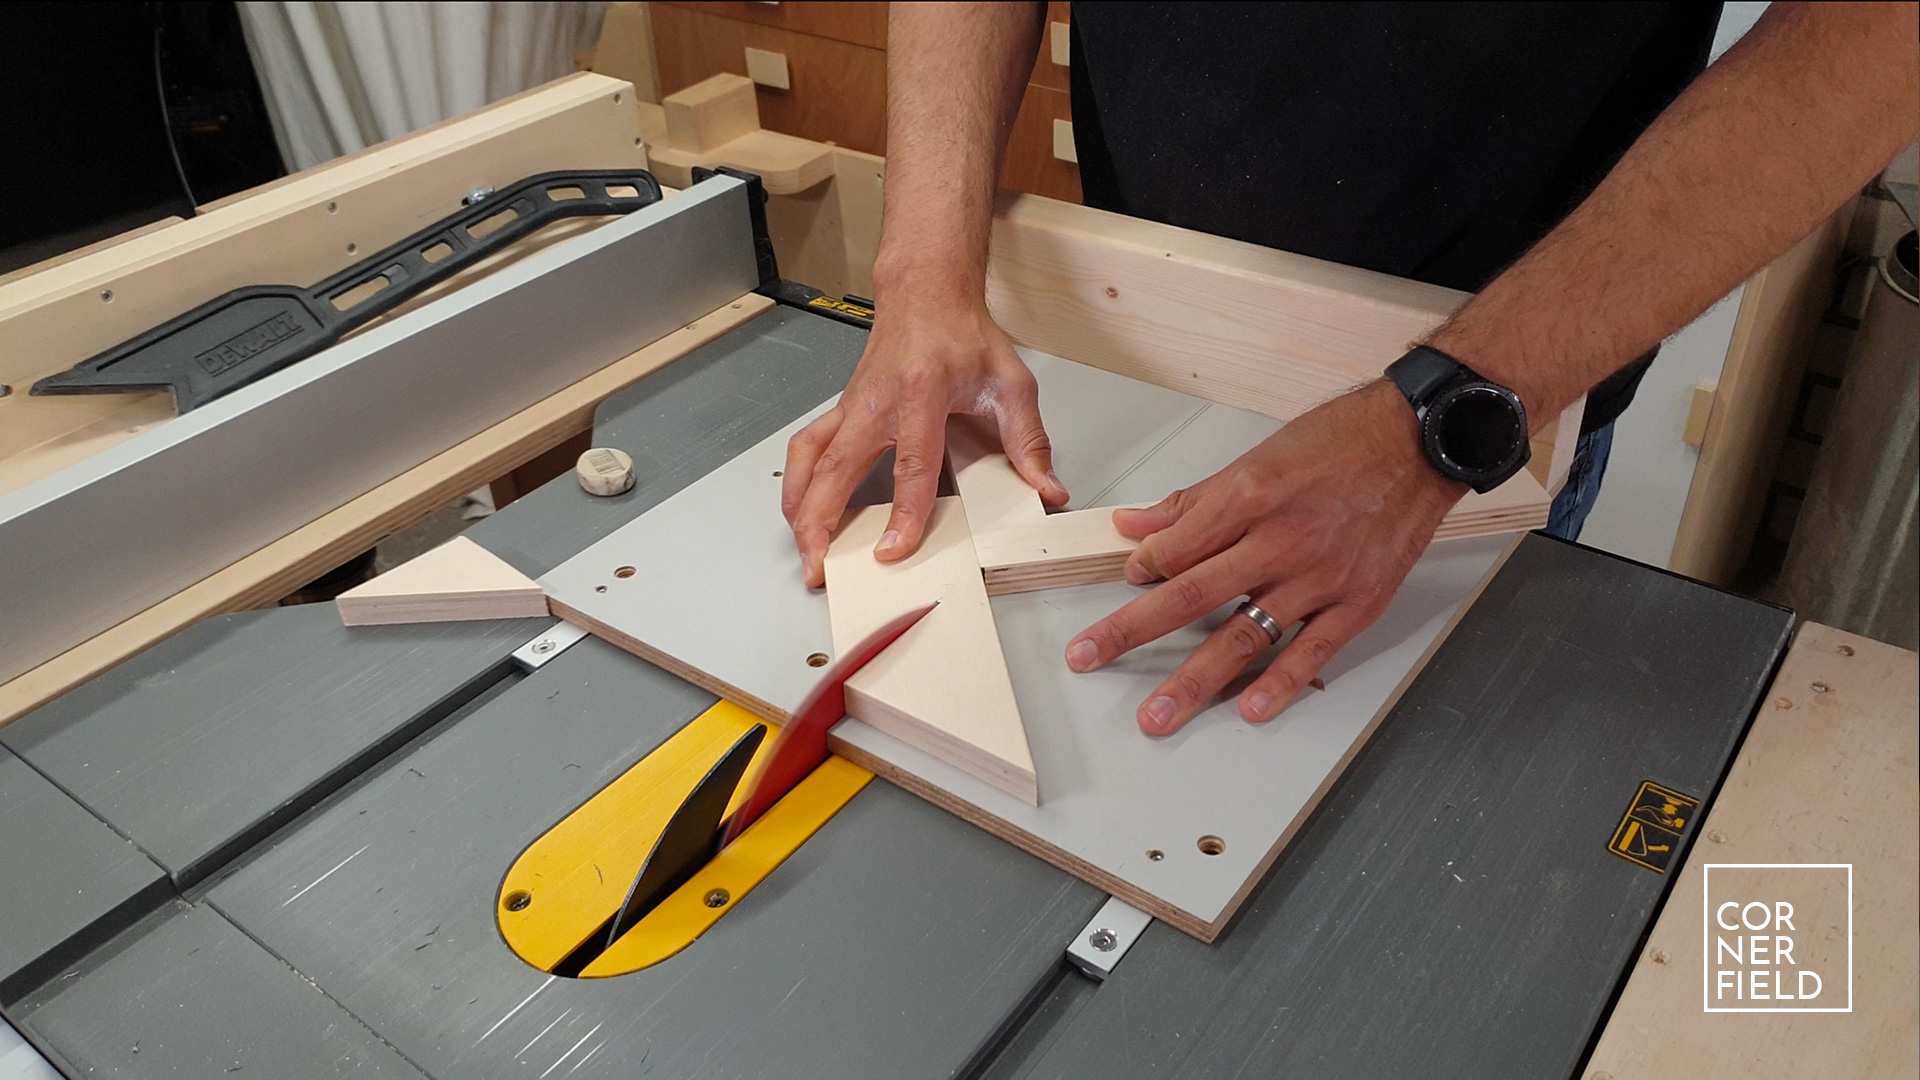
This square is now partially cut on the table saw. Set your fence to about 6 cm (2″) and make one cut, staying about 10 cm (3.5″) away from the end. Then flip the piece over, rotate 90-degrees, then make another cut. You should now have a smaller square that has an L shape attached to it. Finish the cuts to free this shape with a handsaw. This piece is our miter fence. How? That’s up next.
Construction – Runners & Base
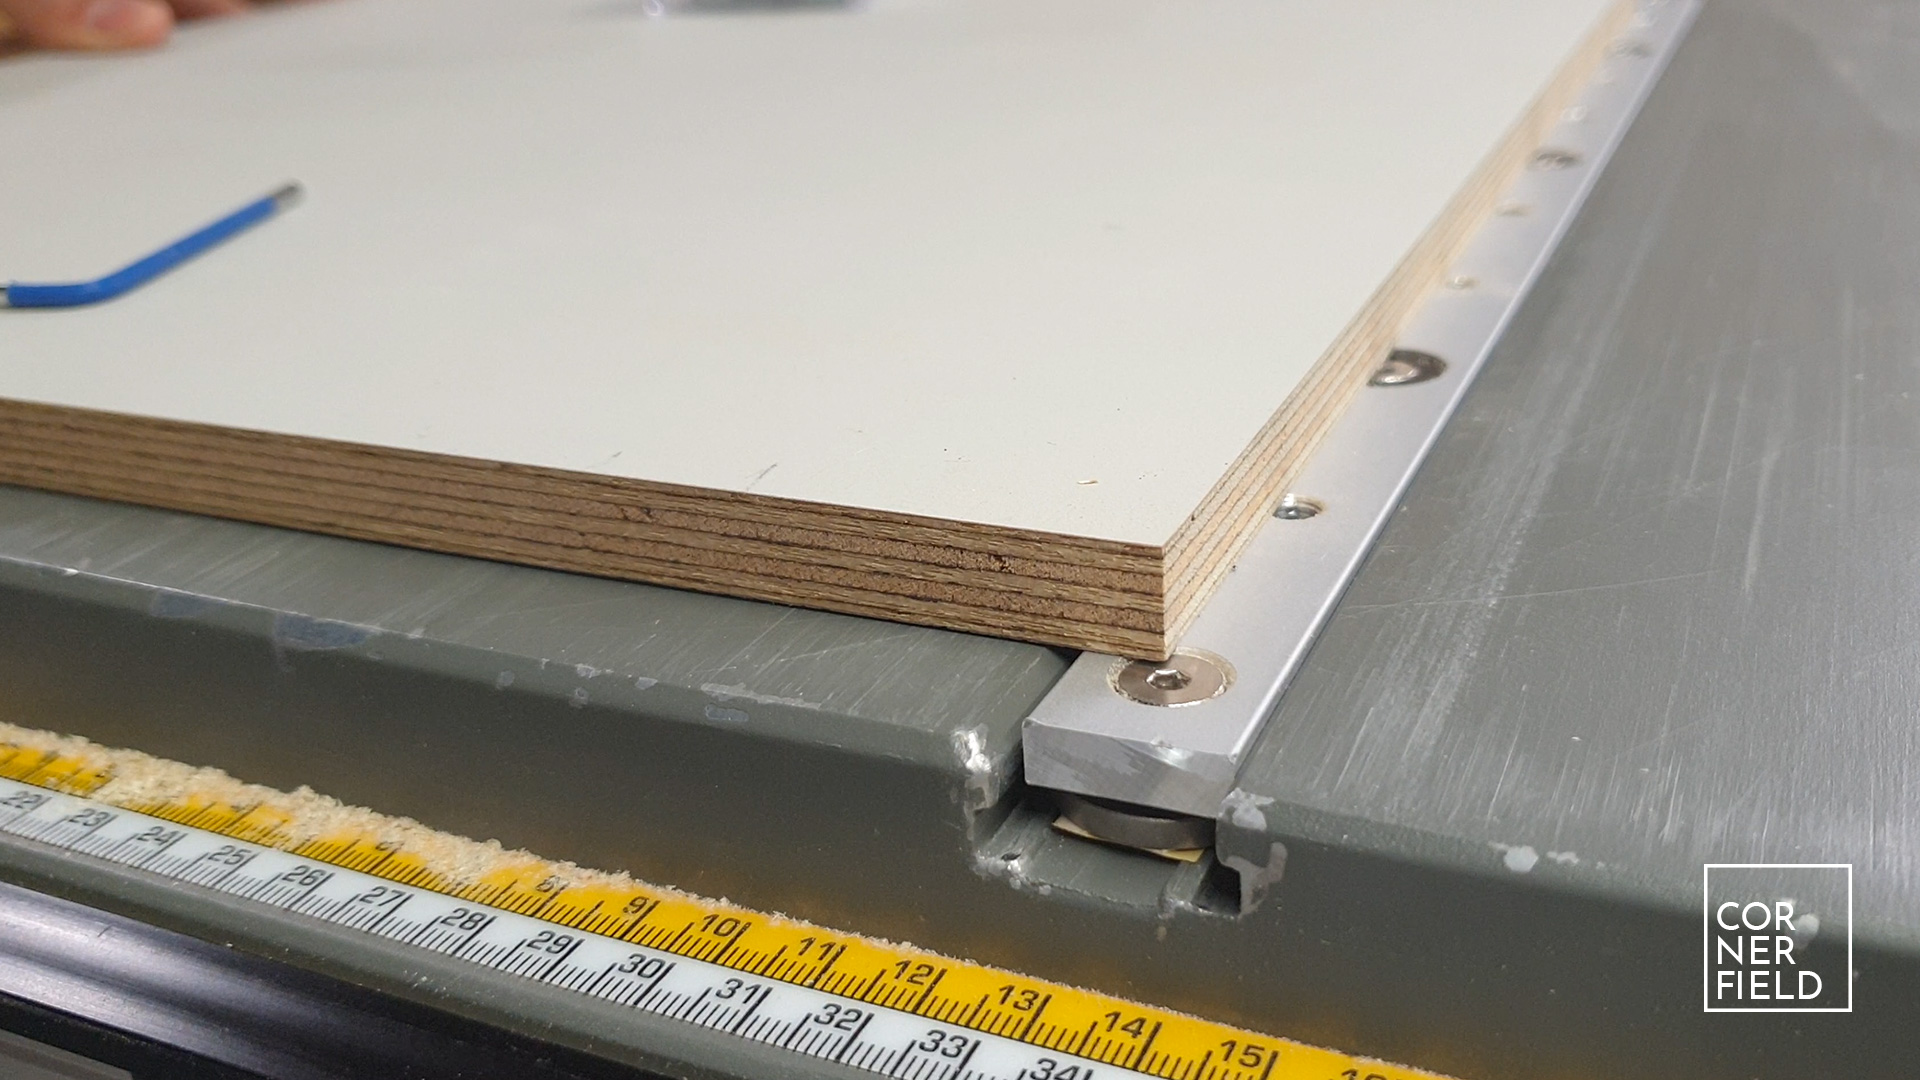
The first step in constructing the miter sled is attaching the runners. In my case, this was quite a battle. I will spare you the details but let’s just say it’s a lot easier if you have home-made runners. If you have the same runners I recommend the following technique to fasten them. First, have the top of the runner stick out slightly about the saw and apply some double-sided tape to the top. Set your fence to that base is square and aligned over the runners in the correct position. Attach the base to the tape and test if it runs smoothly. Next, you pull the sled back slowly making sure everything stays in position. Then pre-drill holes through the runners into the base, tap threads into those holes, and fasten with countersunk head machine screws from below.
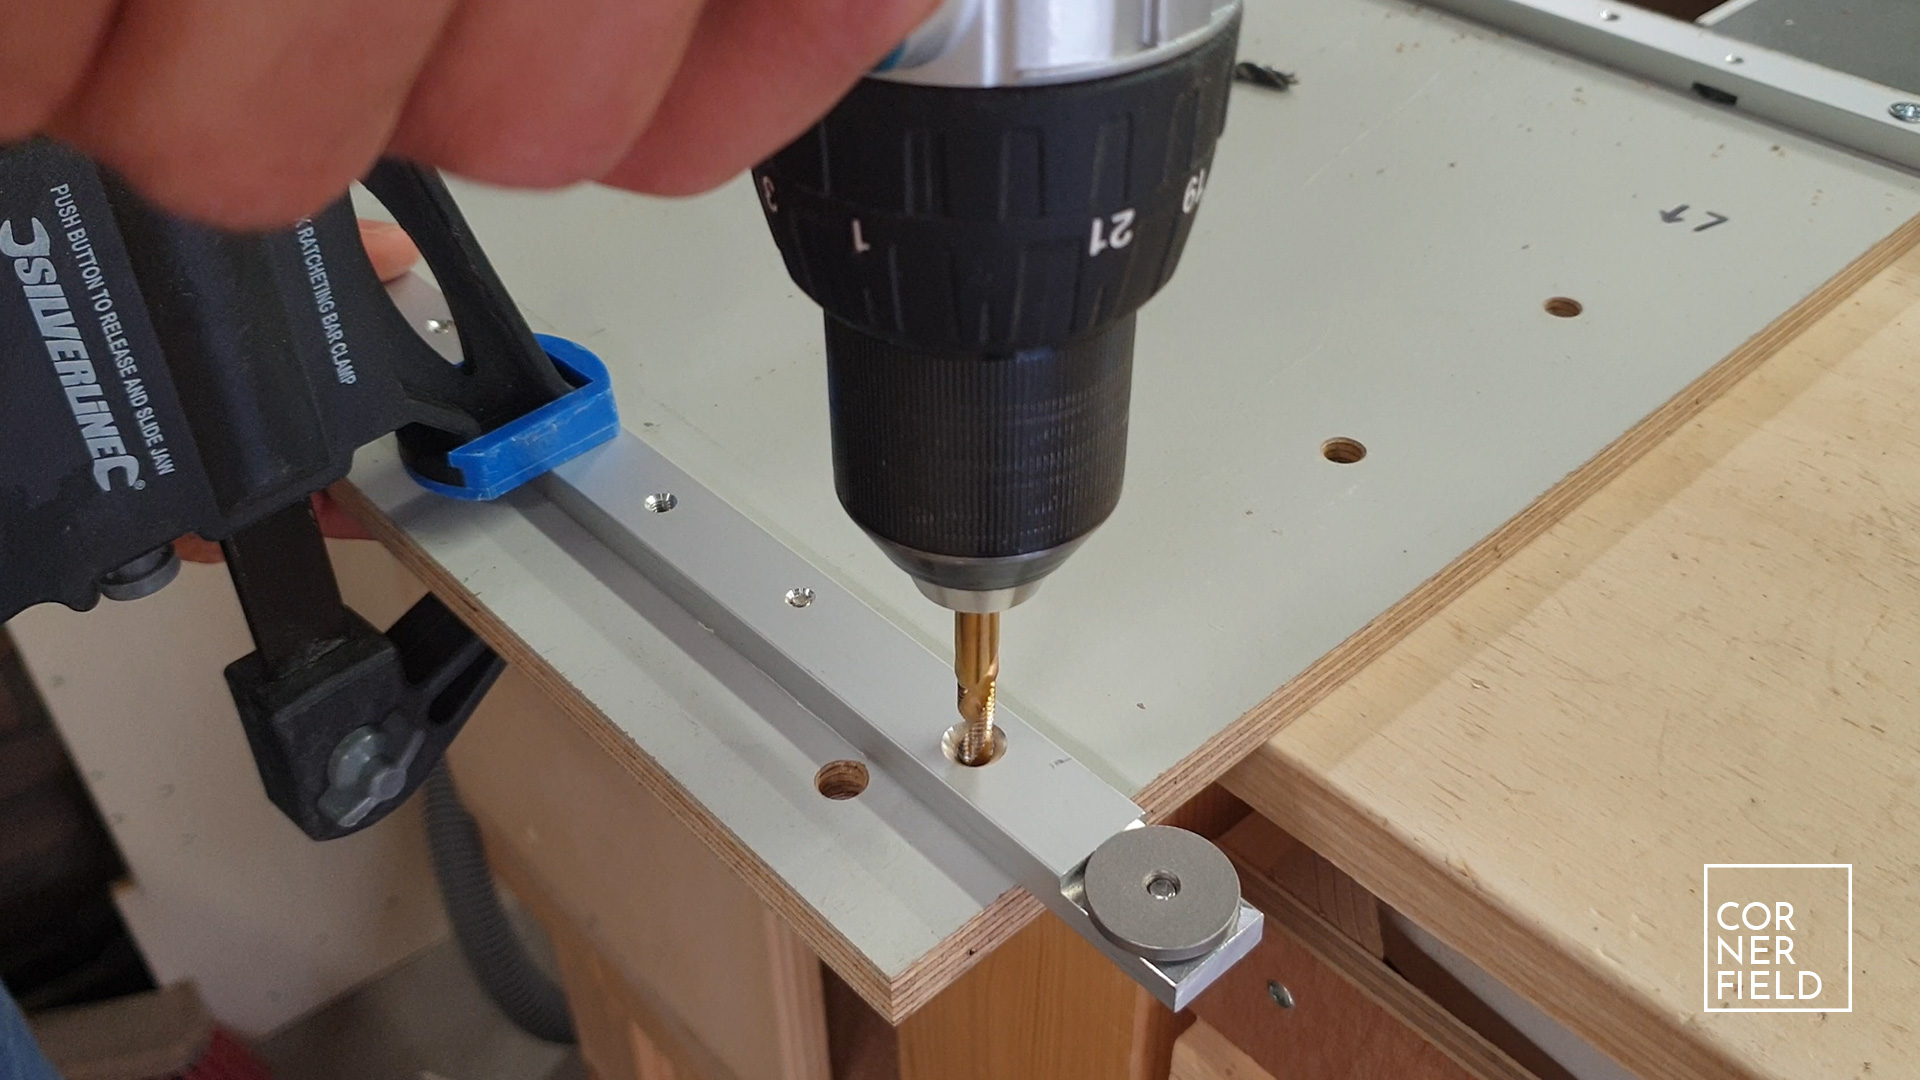
For home-made runners, it’s as easy as putting in screws from the top or bottom. The threads on the aluminum runners require very accurate fastening or they will move and cause binding in your saws tracks. Trust me on that…
Construction – Fences
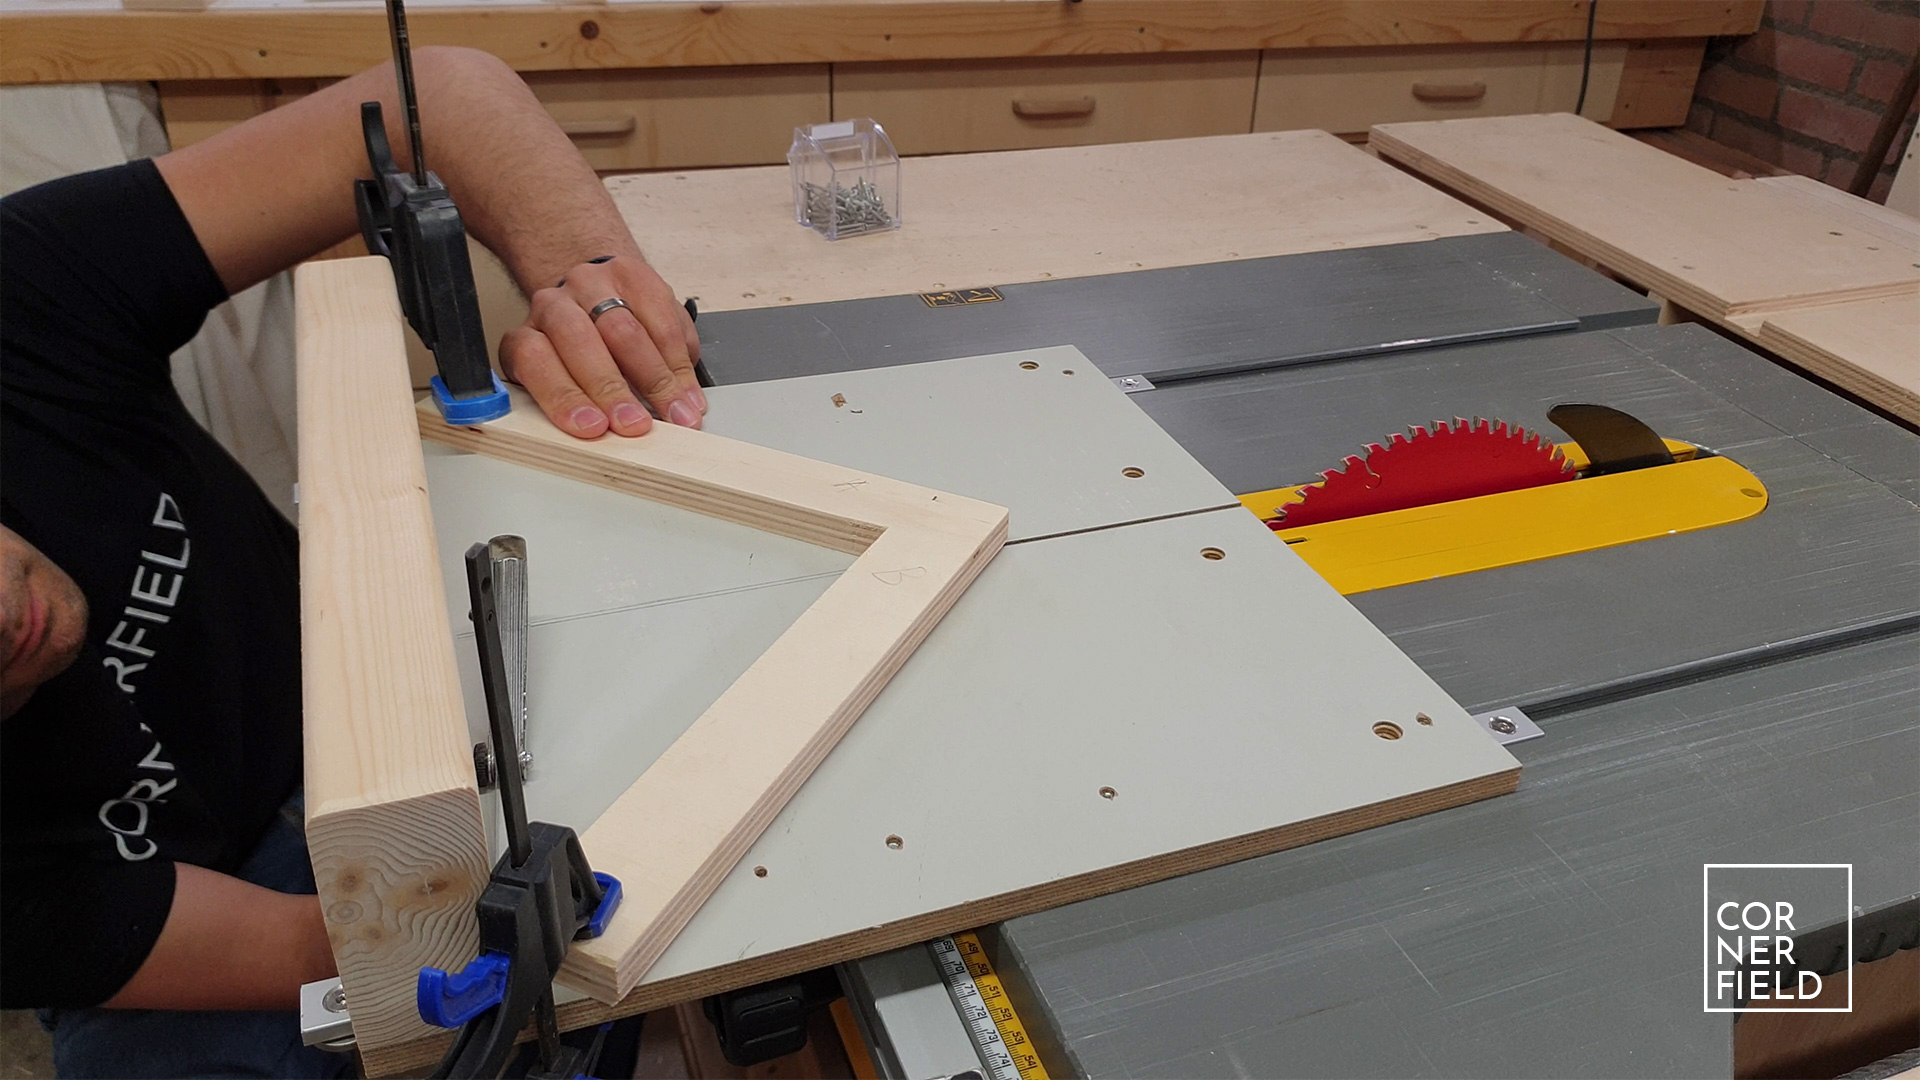
Attaching the front fence to the base is simple. Place it on the edge of the sled keeping it flush with the end and put one screw on the corner. Now slide the fence against the sled and take the biggest square you have and set it as square as you can. Now put another screw in the opposite corner. Add more screws in between the two and it’s done.
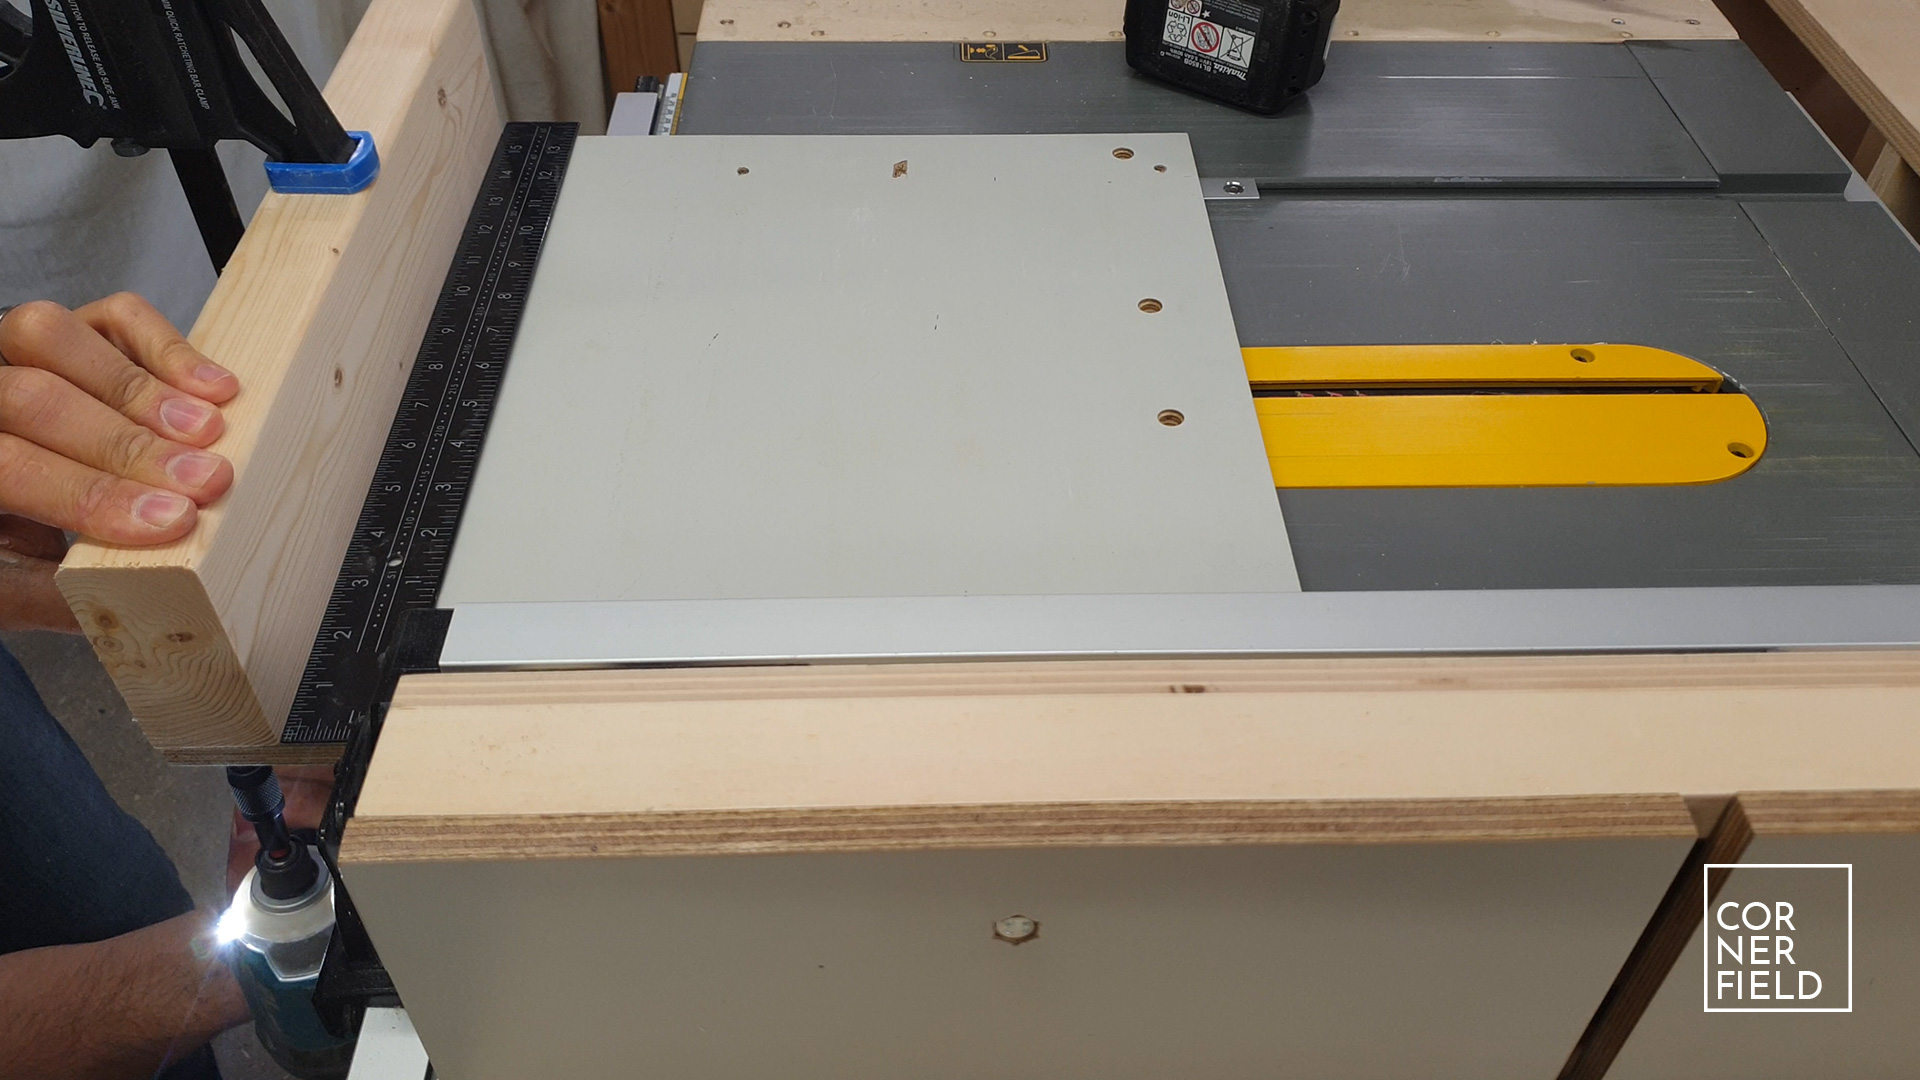
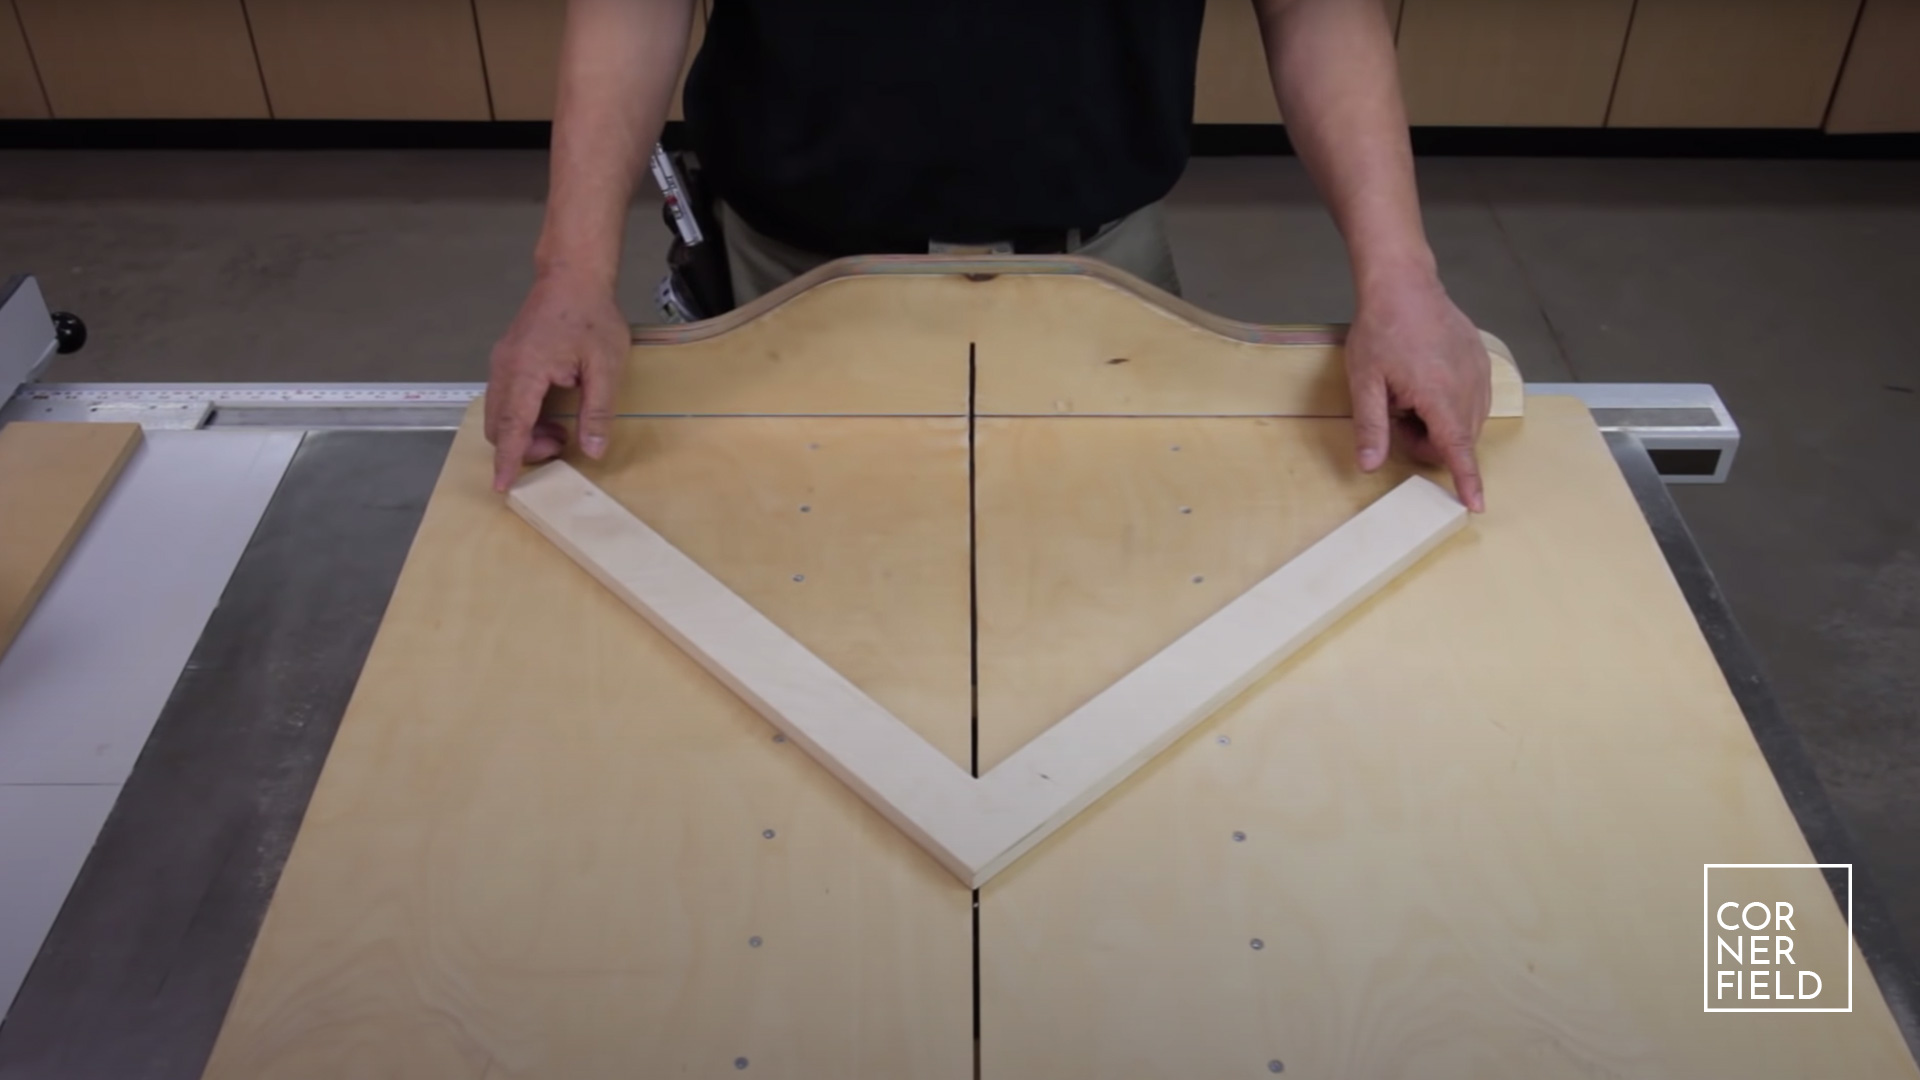
Next, draw a line on your base from your blade to the fence using a square. I made one on both sides of the blade since drawing one straight line in the middle is a challenge. Now take the miter fence and place the point between those lines and the two ends against the front fence. Essentially you can now screw this down and be done. However, it is in your best interest to first do some testing before doing that. It is possible you are not cutting exactly 45-degrees on both ends. Which means you need to keep track to cut miters on opposing sides of the sled to make it match. Let’s assume it’s off, then what?
Correcting the error
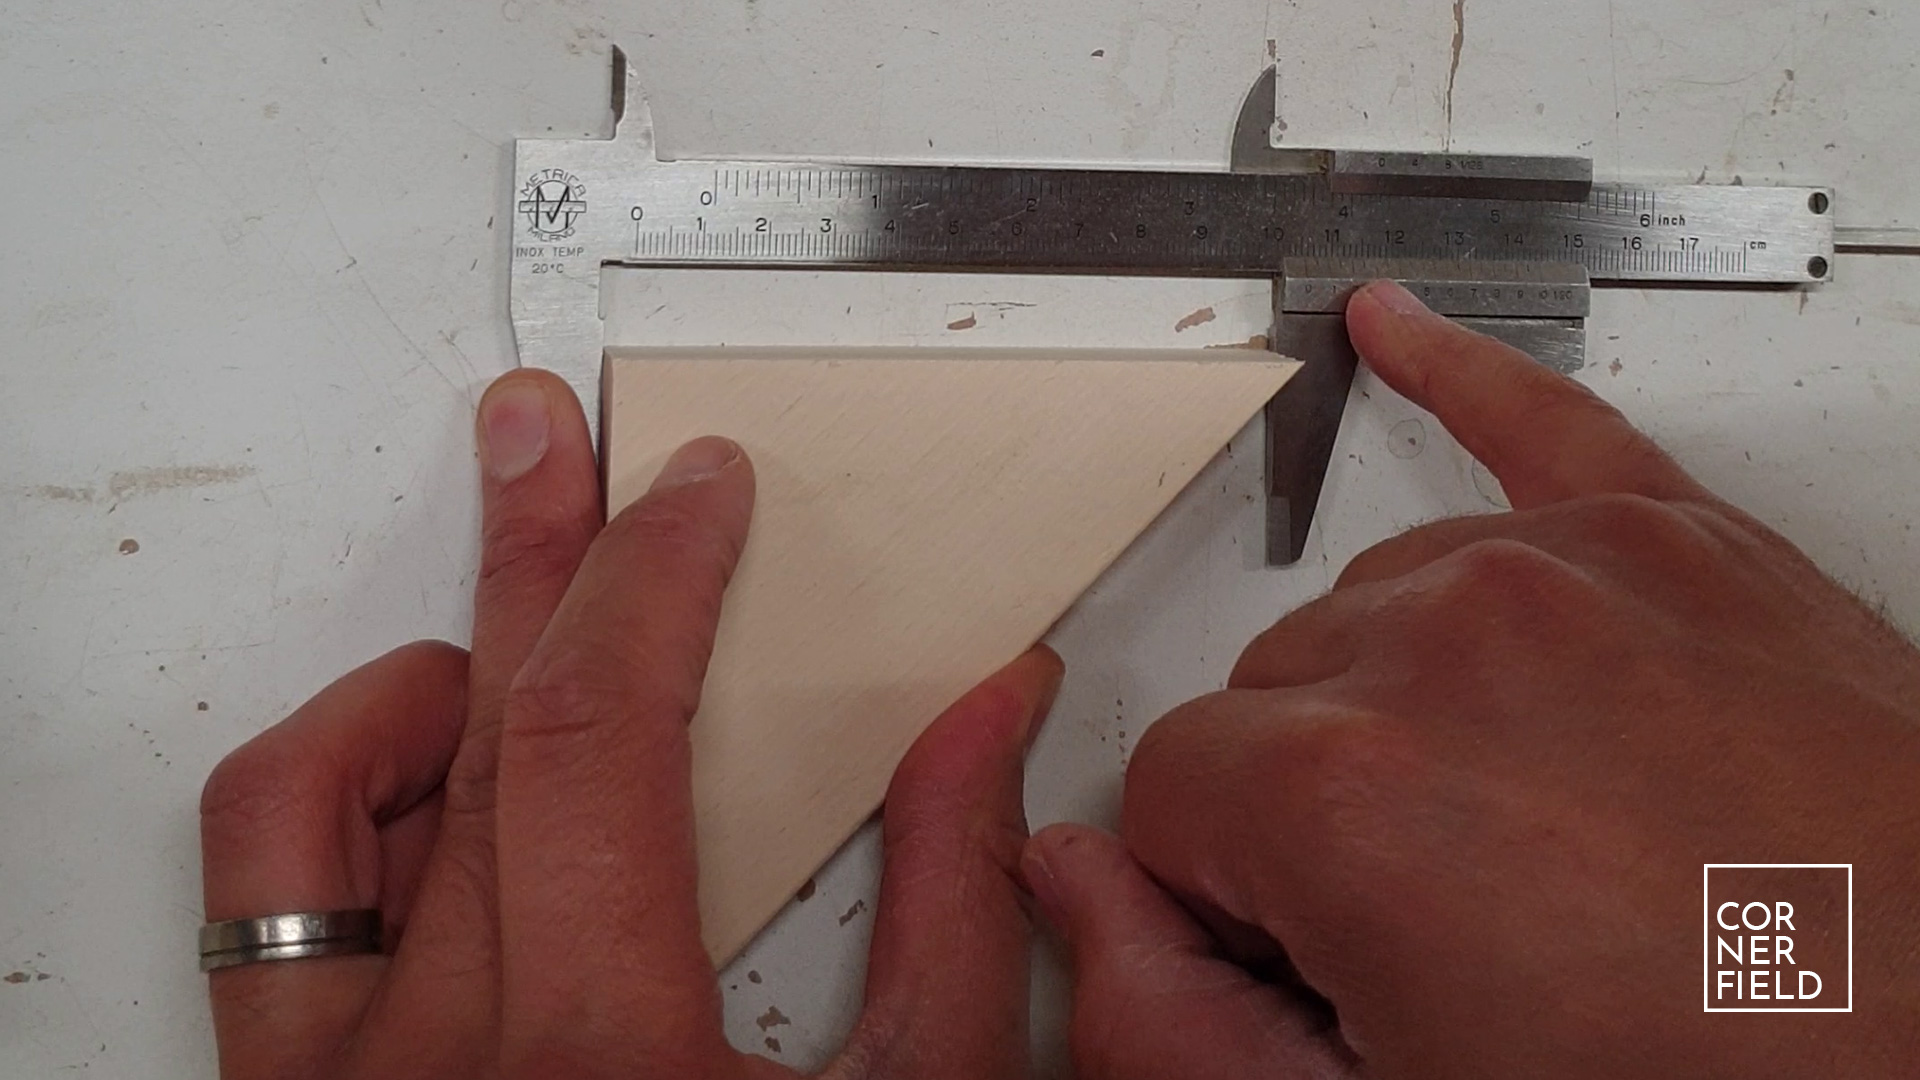
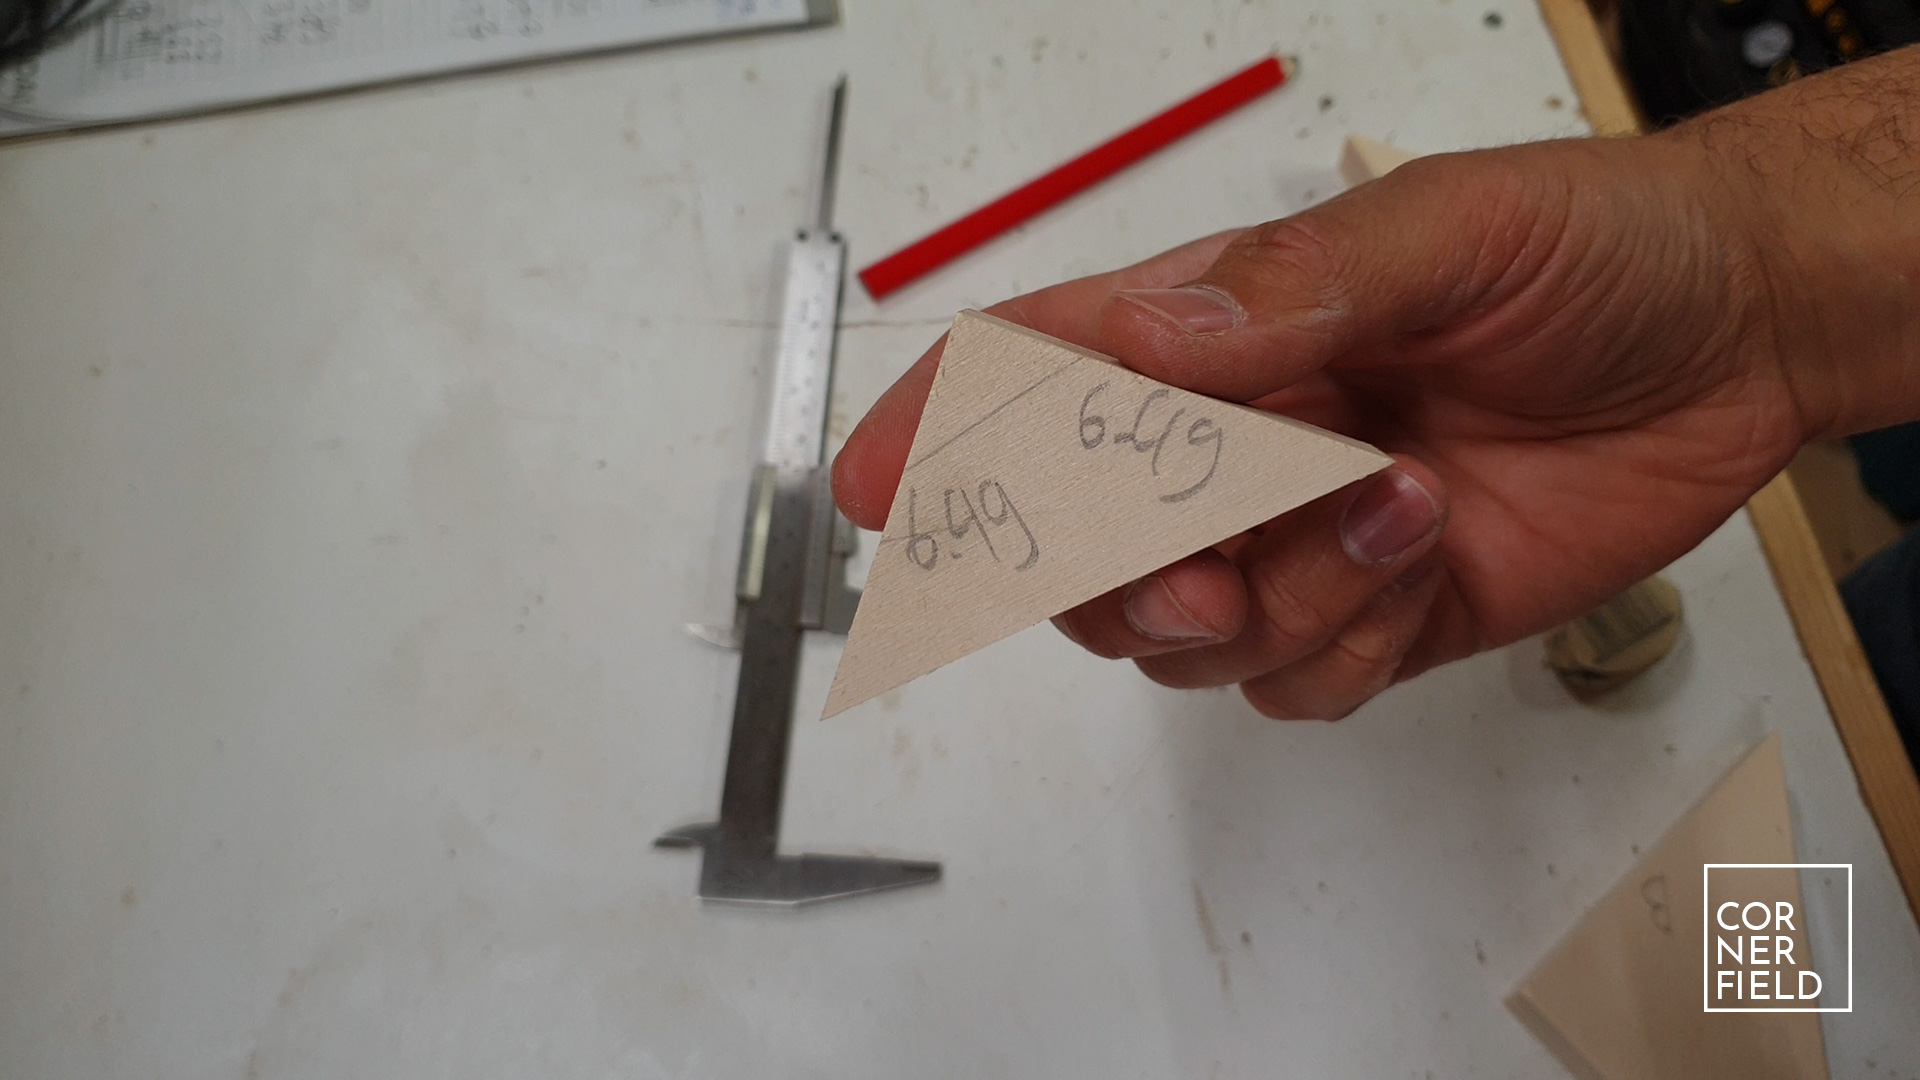
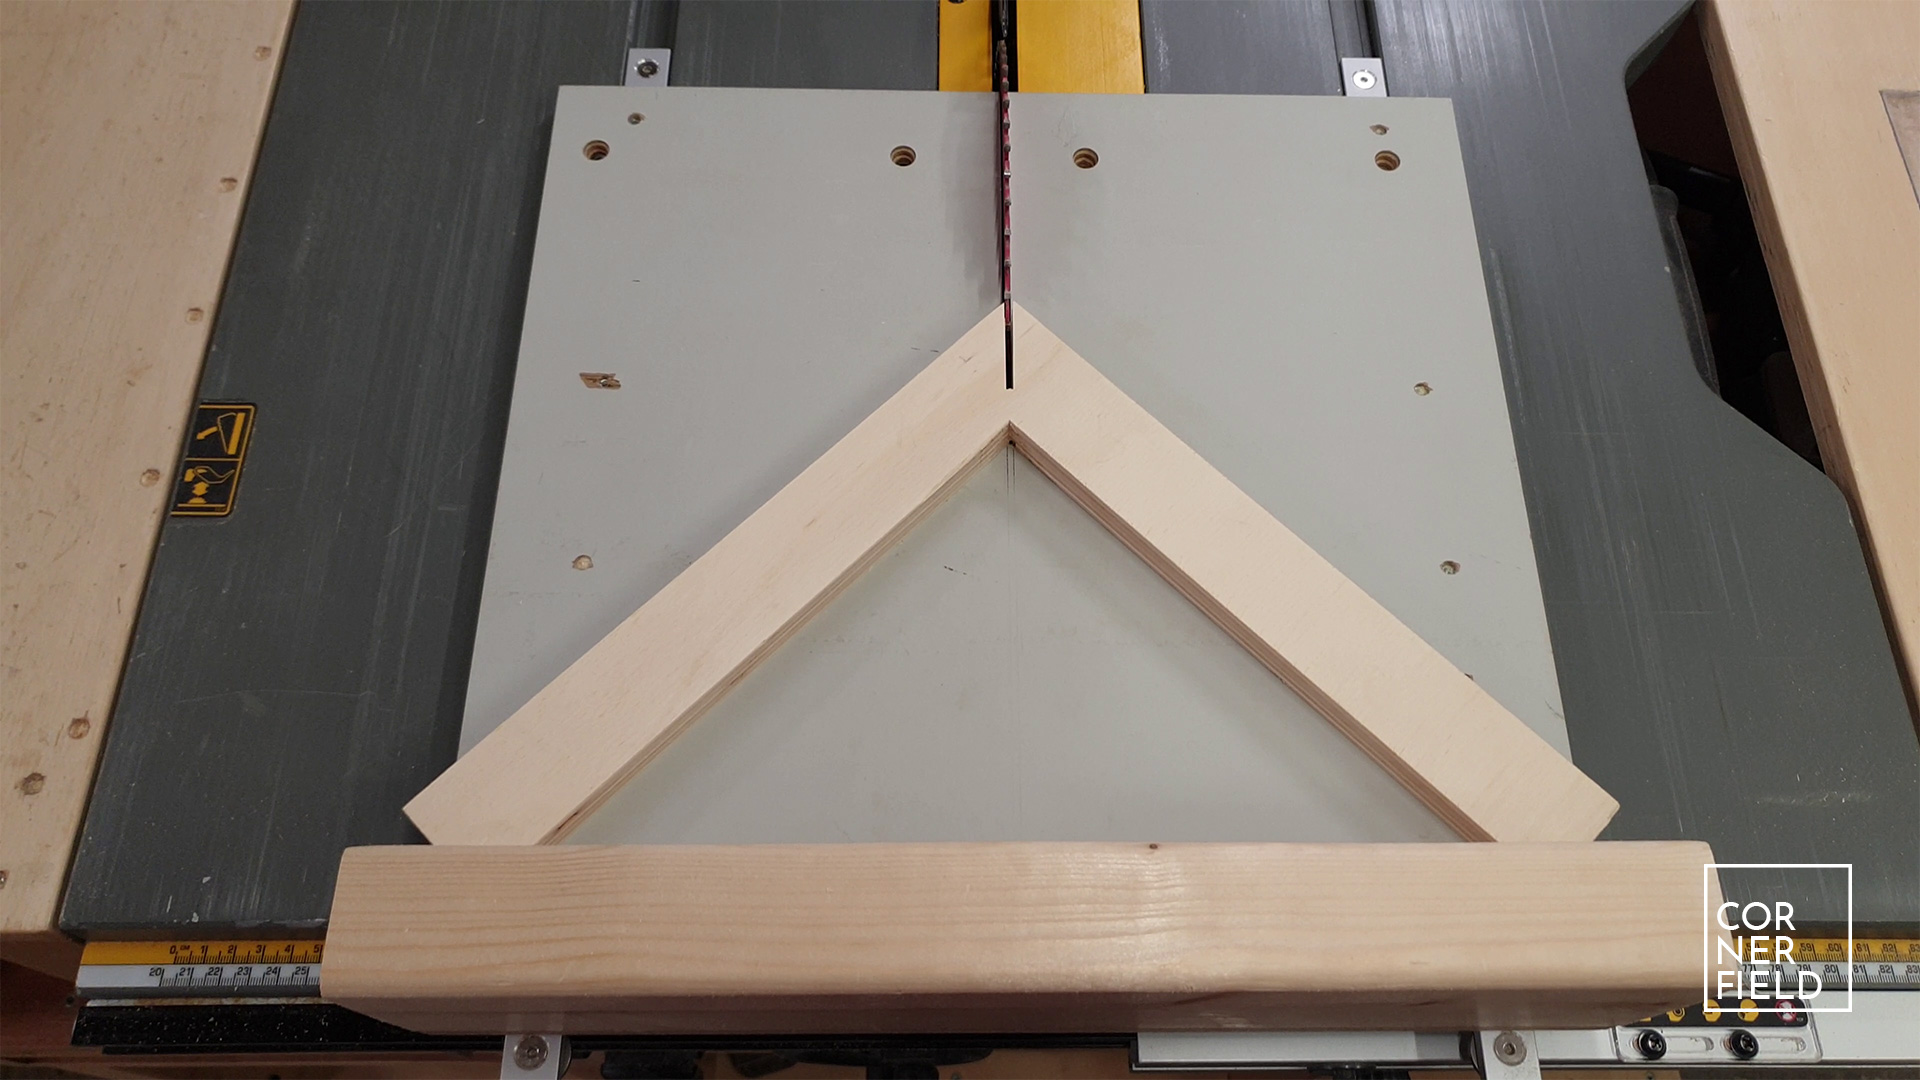
To check for the error you take a narrow strip of wood, about 2 inches wide. You cut that on both sides of the sled, leaving a triangular-shaped offcut. That offcut is measured on both ends from the tip down the sides that you cut. These measurements are called A and B. If there is an error in your sled it will show in these measurements. The formula for calculating the correction is: (A – B) / 2 angles / width of the test piece X length of your fence = error. A step by step instruction can be found in William’s video.
To correct this error you move on end of your fence up. If it’s negative the A side moves up if it’s a positive number you move the B side. Once you made the correction, cut again and you should see equal numbers. Hopefully, your sled is now correct and you can fasten the fence finishing the sled.
Result
My sled had a 100% accurate cut after one correction. Or least down to the 1000’s accurate, and I can’t measure more accurately. Hopefully, yours is as well! If you have any questions feel free to leave a comment or send me an email. Many thanks to William Ng for his great video and remarkable craftsmanship. I’m going back into the shop and make some more floating frames with my brand new miter sled. Have fun building and hopefully I will see you back at the Cornerfield Shop.
Links
For this project, there is no 3D model to download, just some Instagram shots.
Instagram 1 | 2
Hope this post has inspired you to make something!
And don’t forget to follow your excitement 

Add comment