

Everyone with kids will recognize the need for storage. I combined a place to store toys in this little bench for children to sit on. It’s an easy build that can be done with minimal tools, let’s get into it.
Design
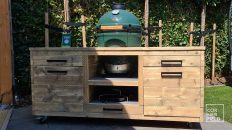
The first inspiration for this build came from a similar construction I saw a while ago in a lunchroom. It’s a very old piece of furniture but I liked the concept behind it.

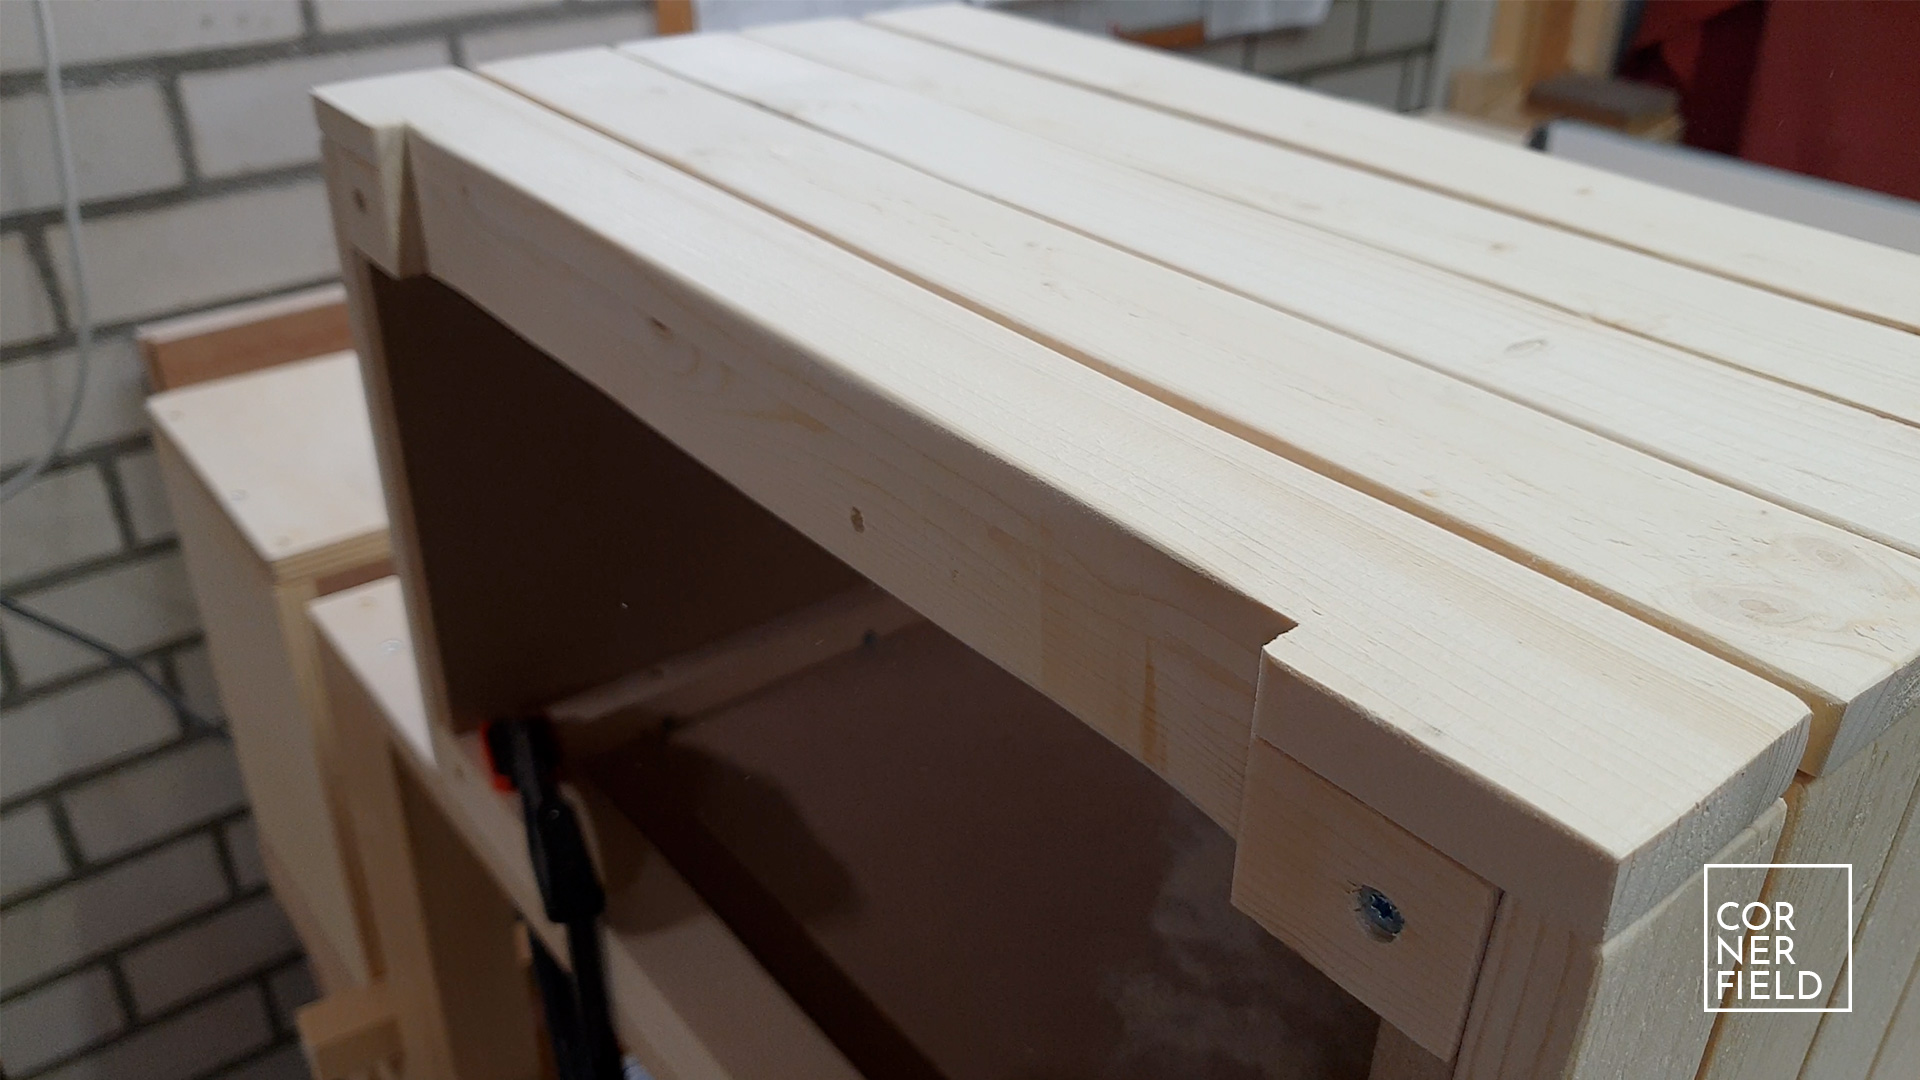
After seeing this I got a pile of construction wood from a friend. These long strips were my basis for this bench. Since this build is designed for children I wanted to hide most of the screws. Not only for aesthetic reasons but mostly for safety. Doing this made my construction a little more complicated than it needs to be. A simpler and equally good approach is simply to screw every strip from the outside to the frame. If you space the screws evenly this can look great as well.
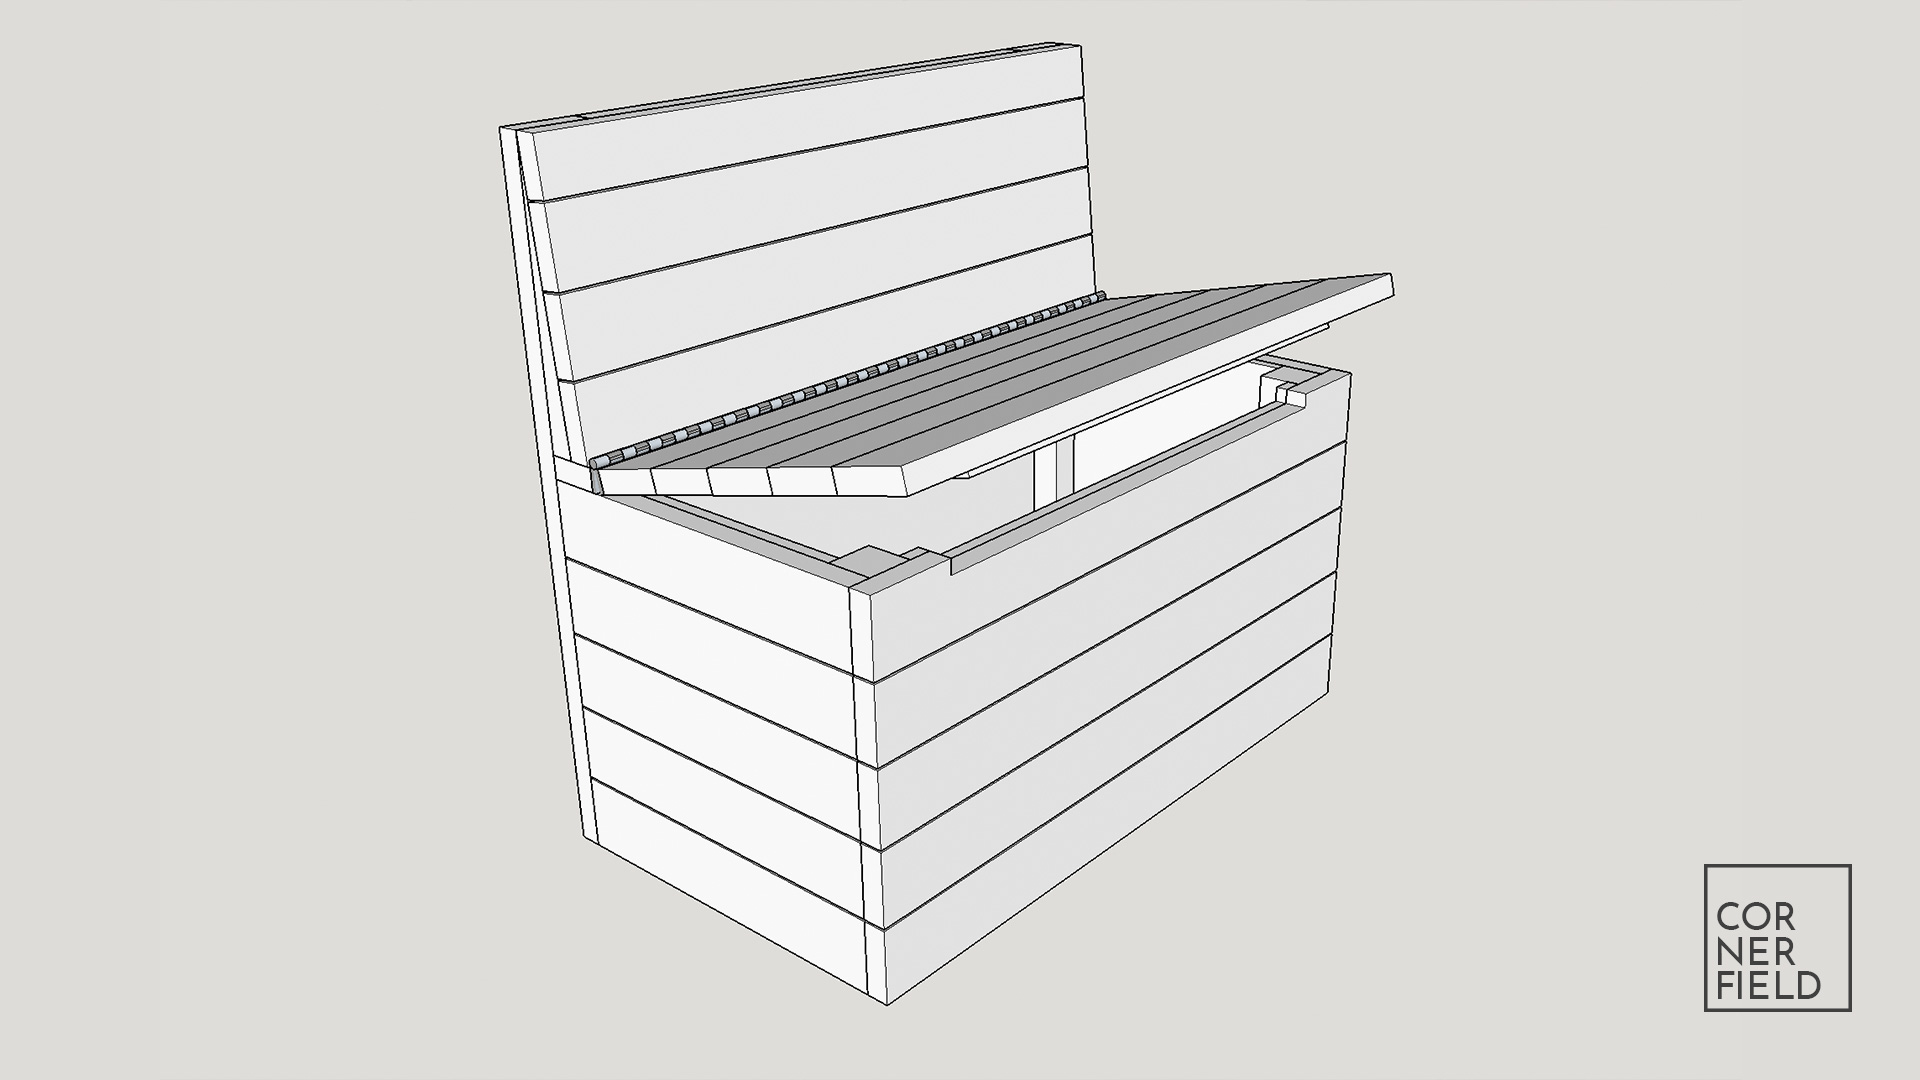
One additional thing I want to point out in this design is that I made the lid/seat from strips. This isn’t ideal but it was the material I had to work with. A better choice would be to use one solid piece. This makes the build process that much simpler.
Build
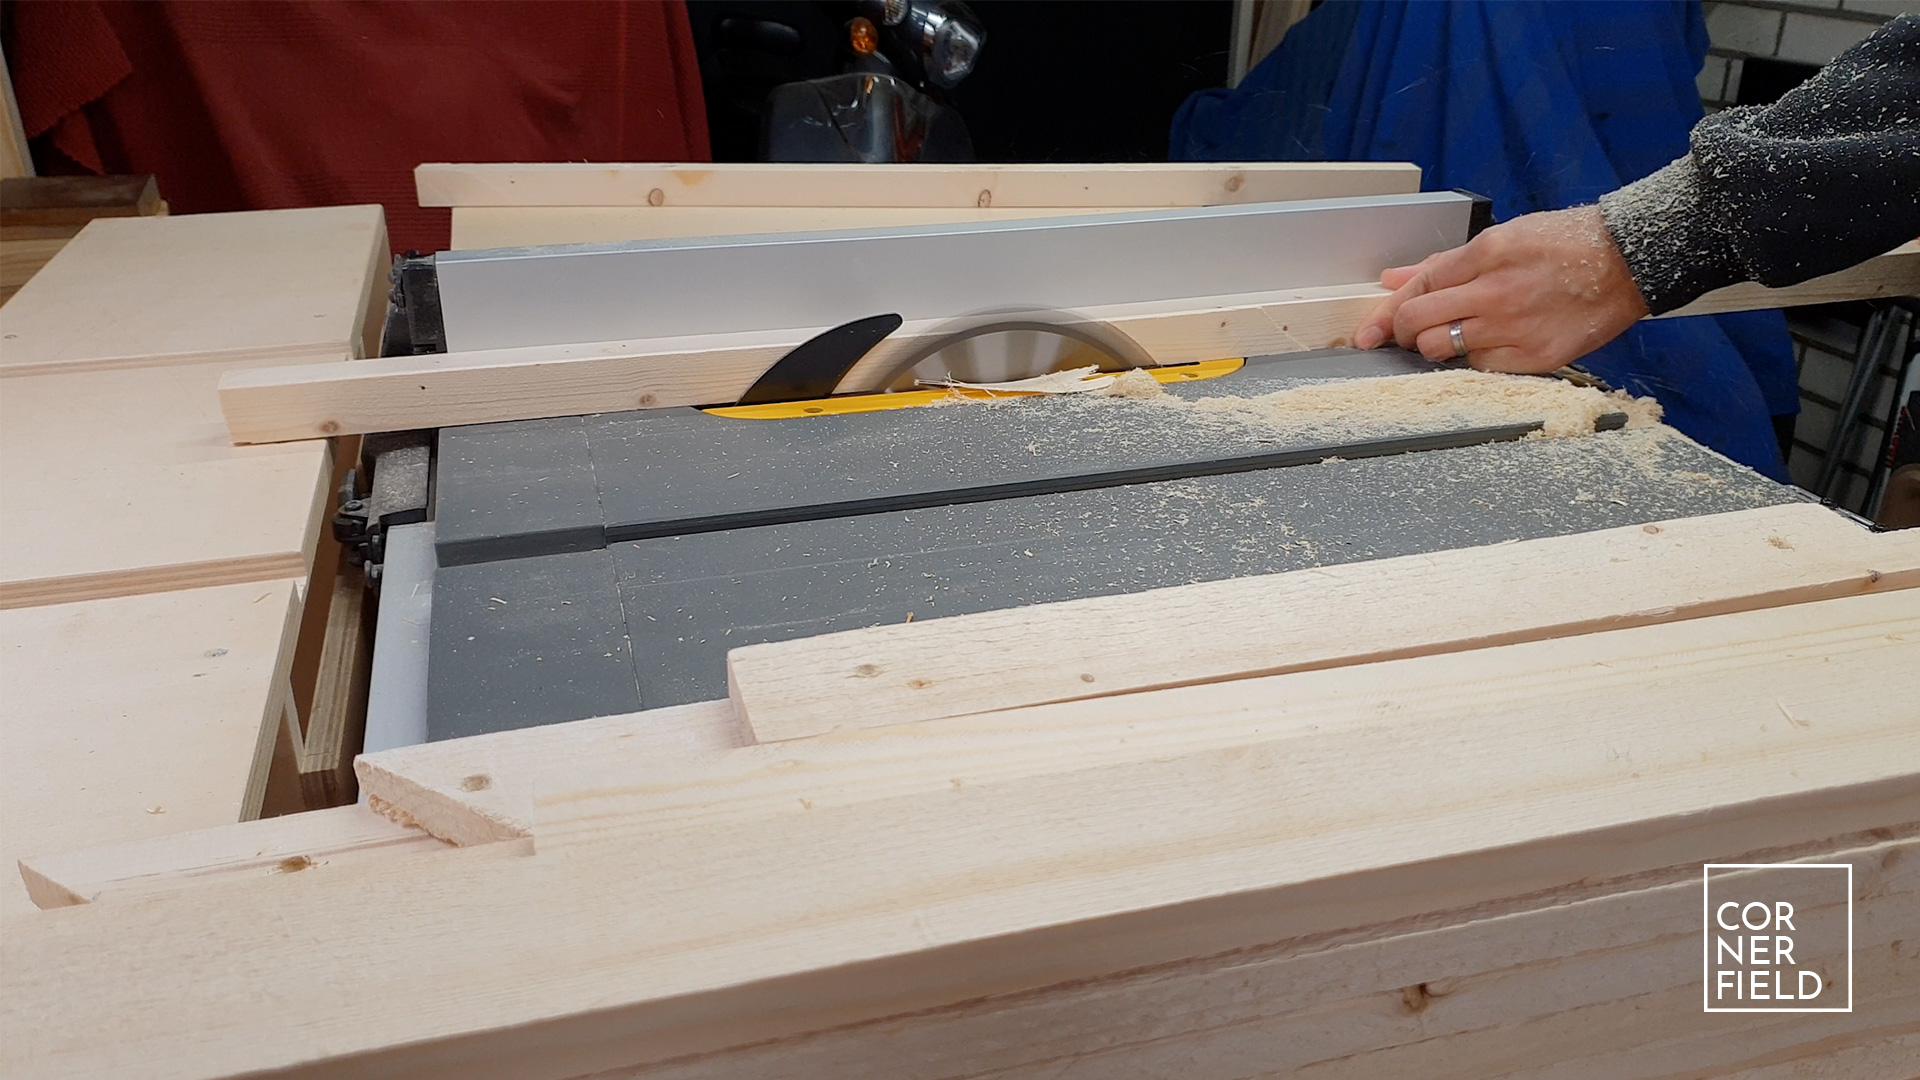
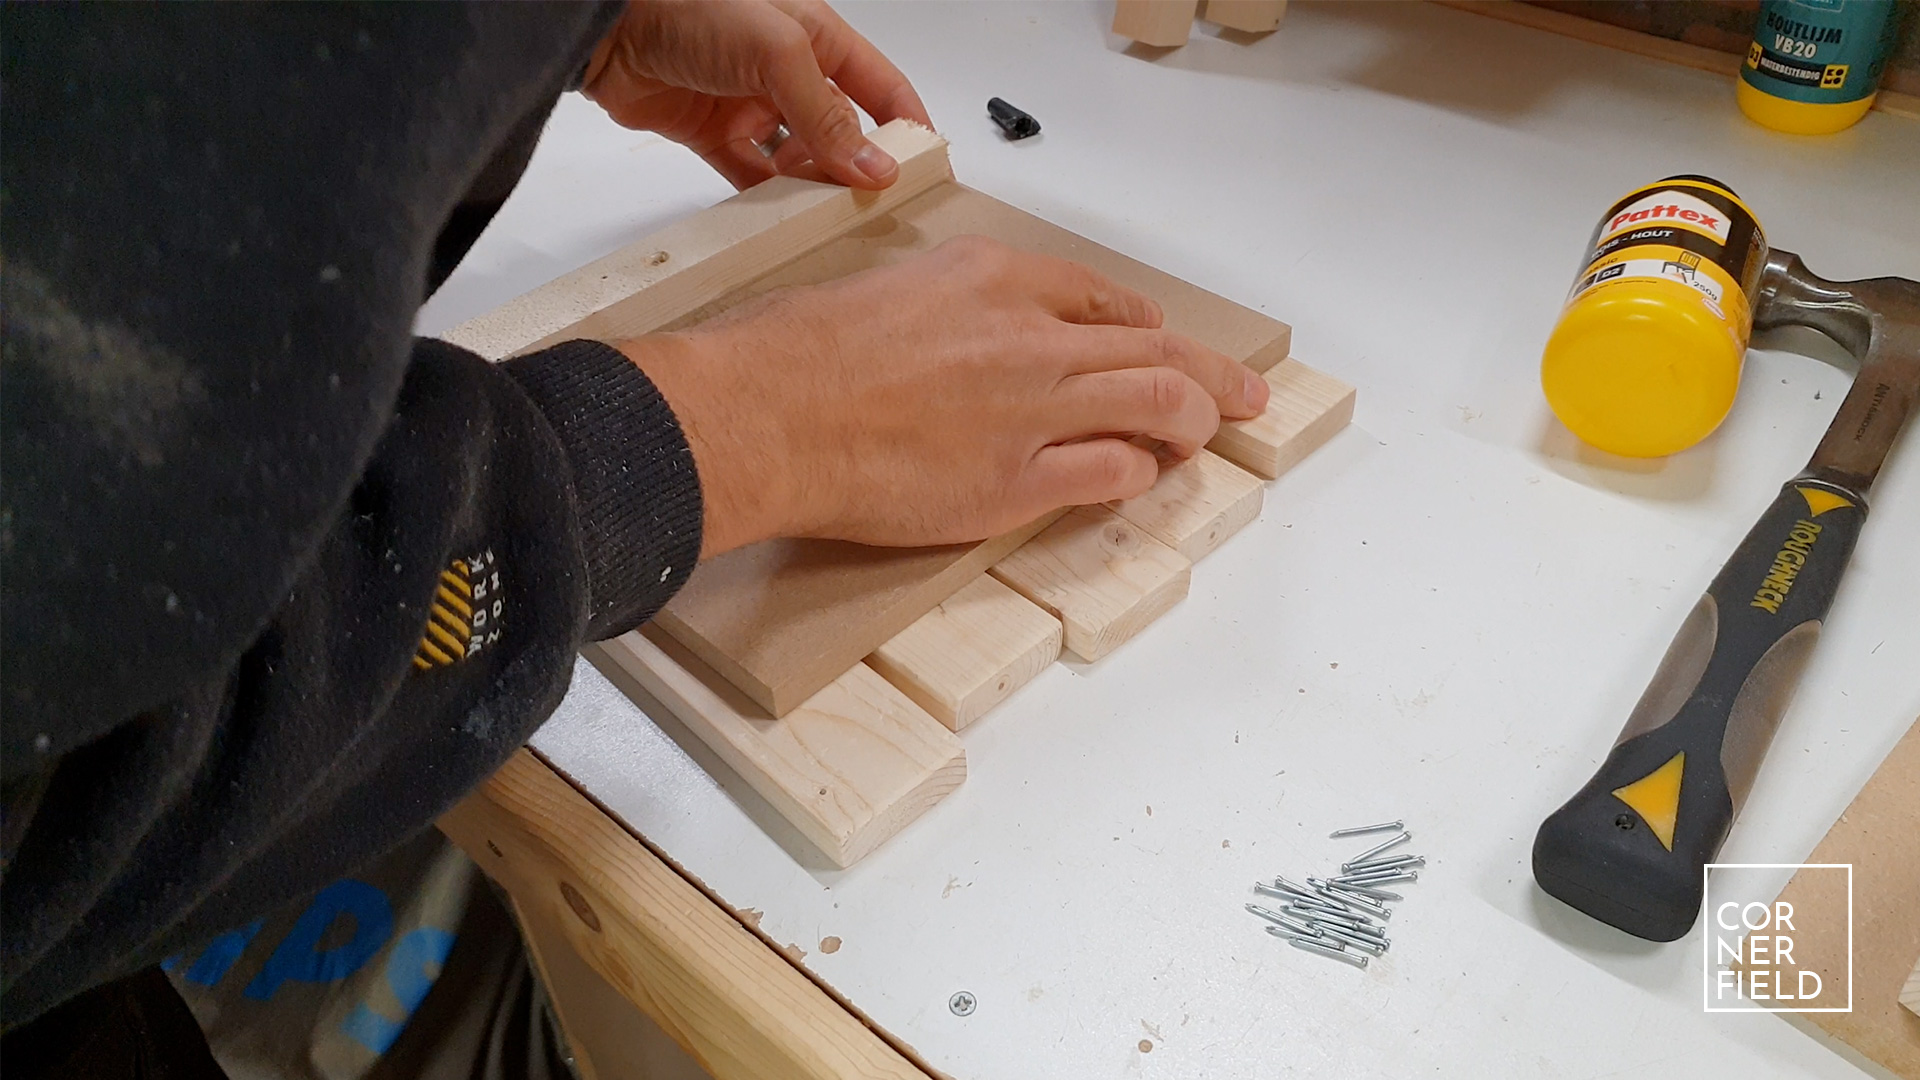
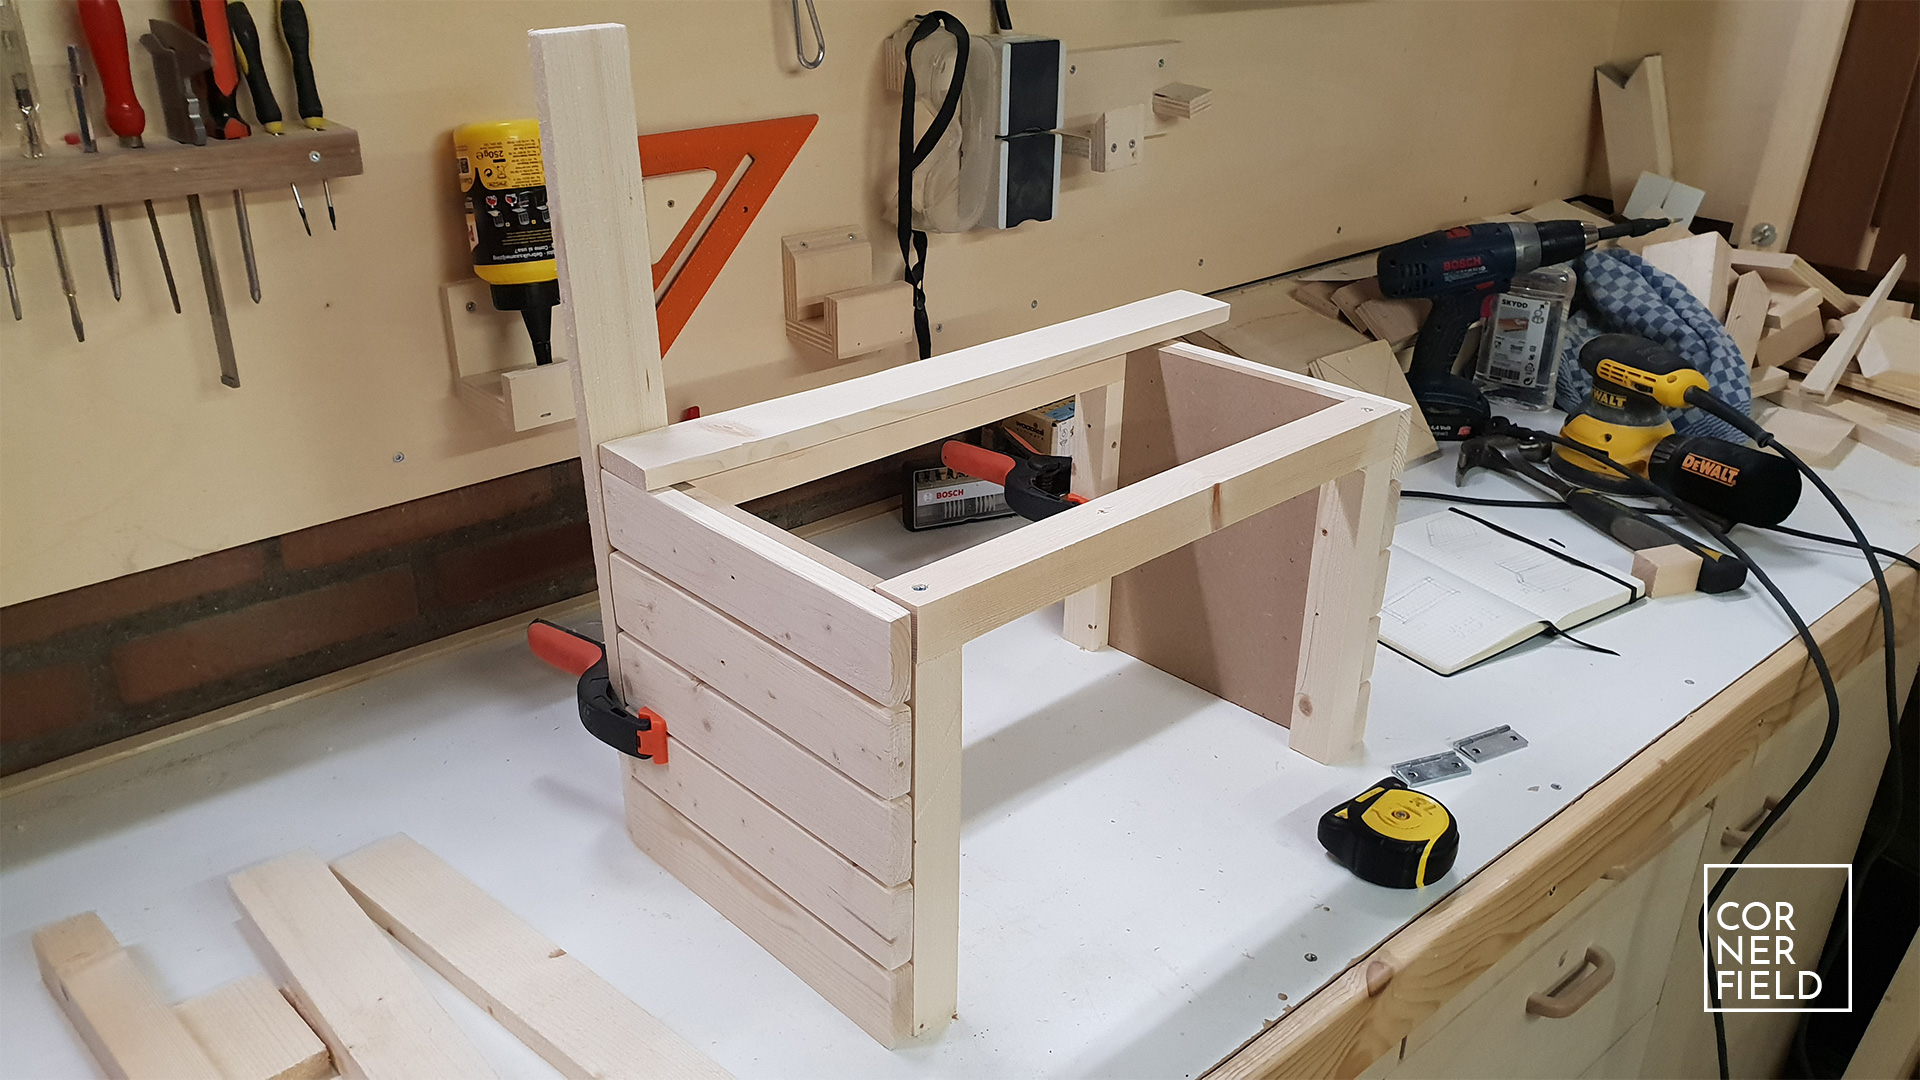
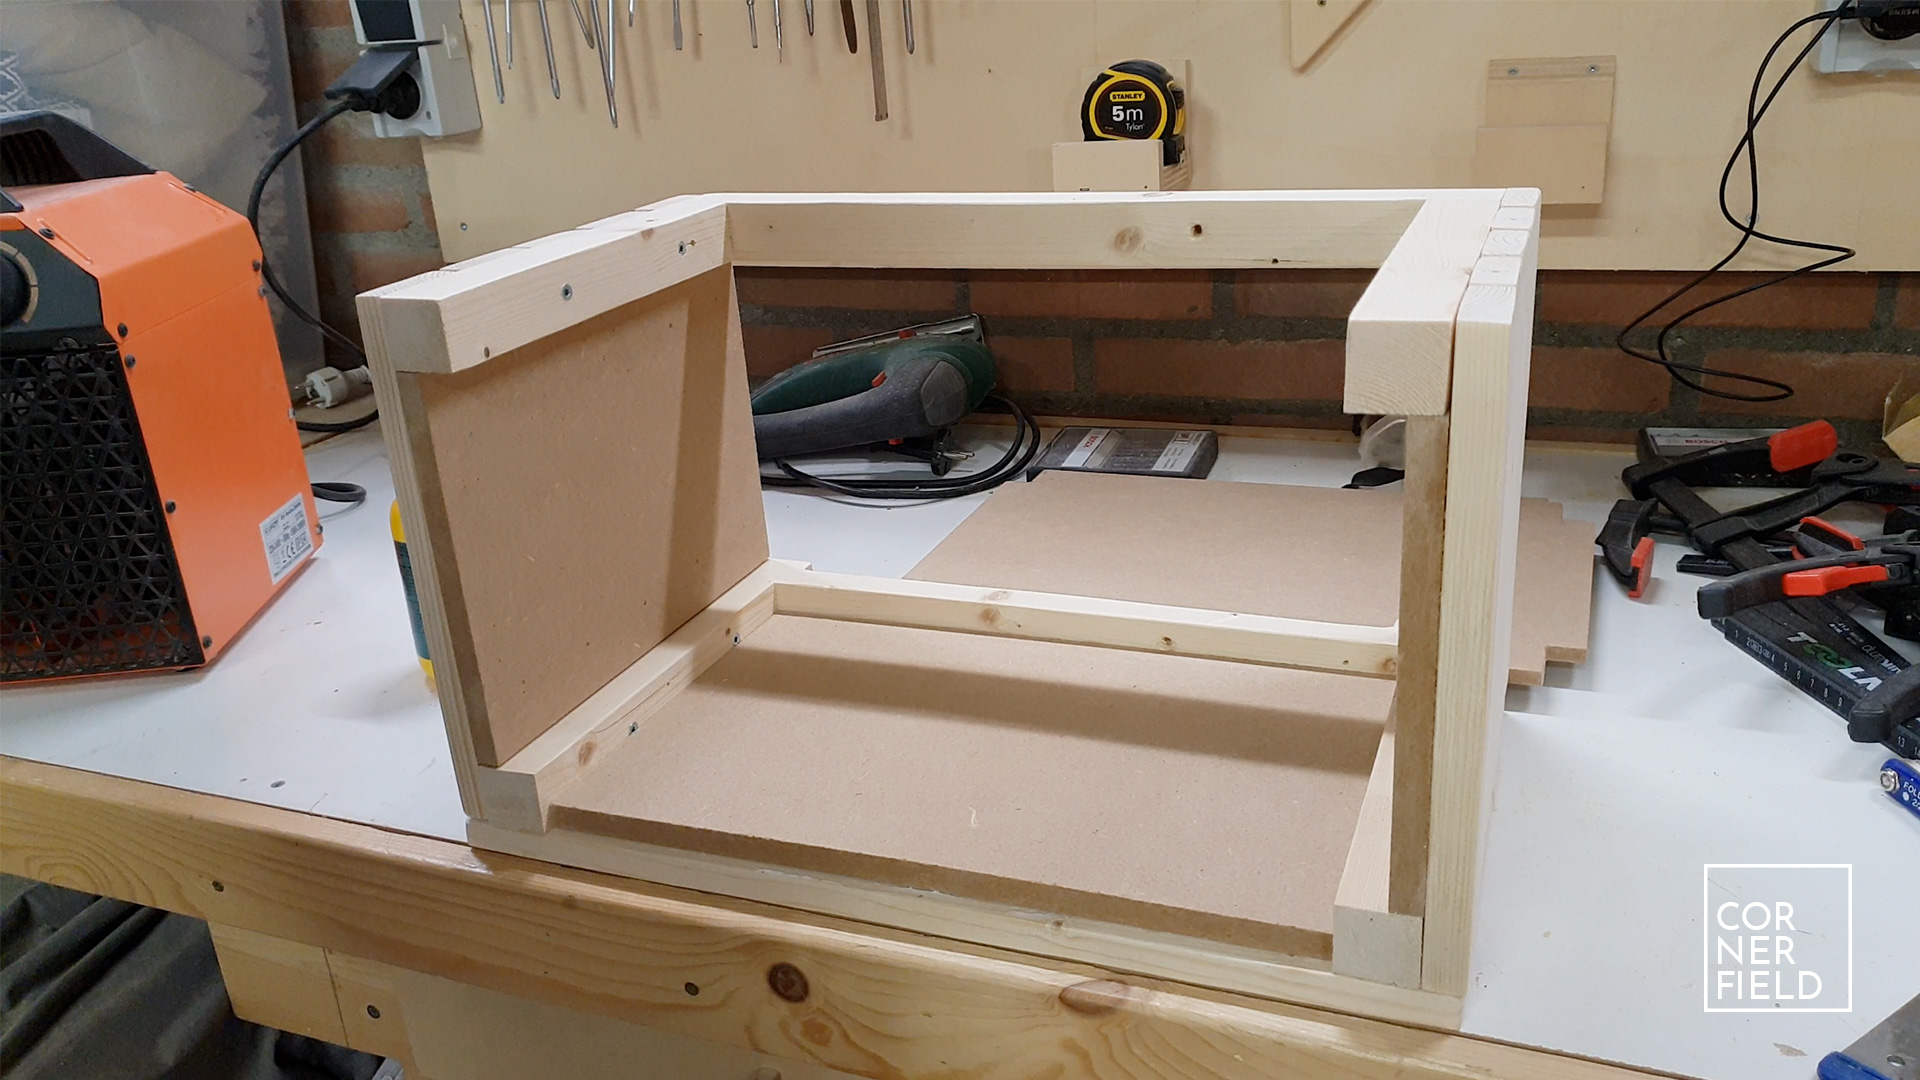
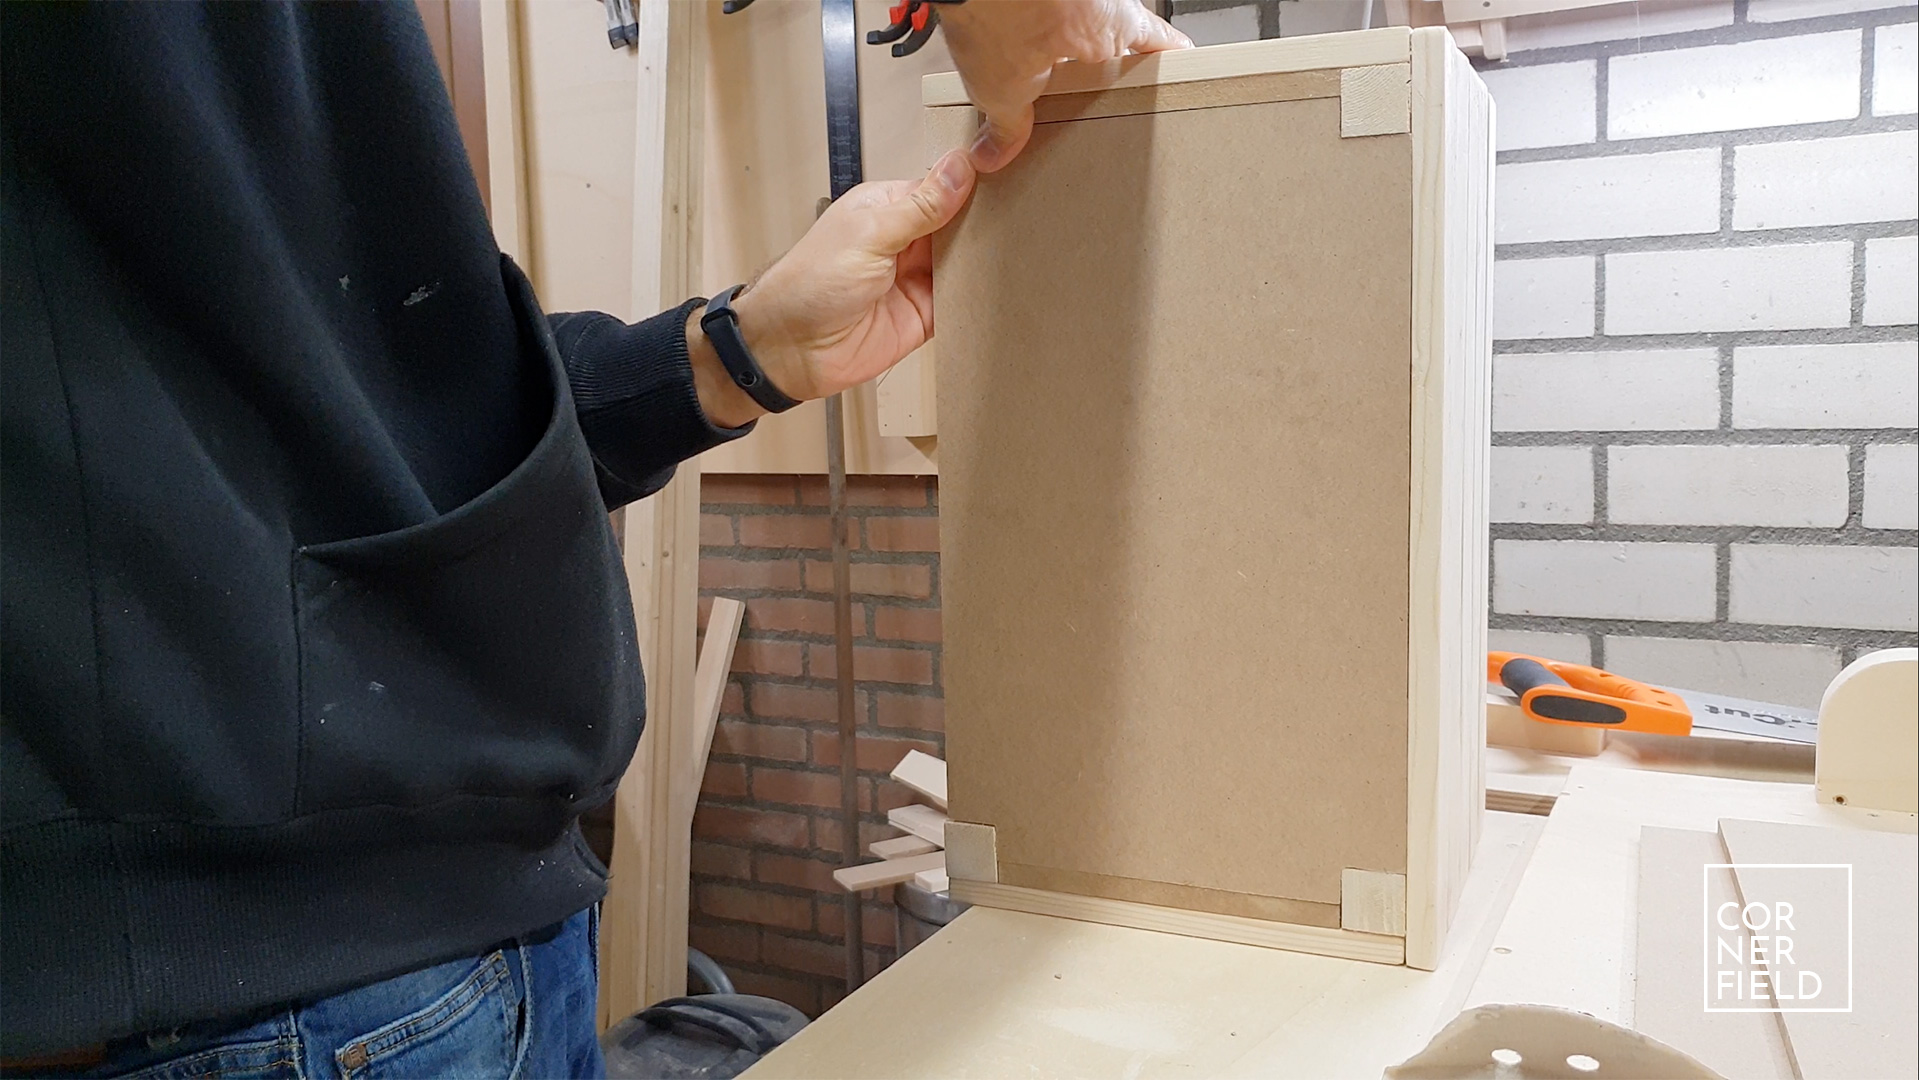
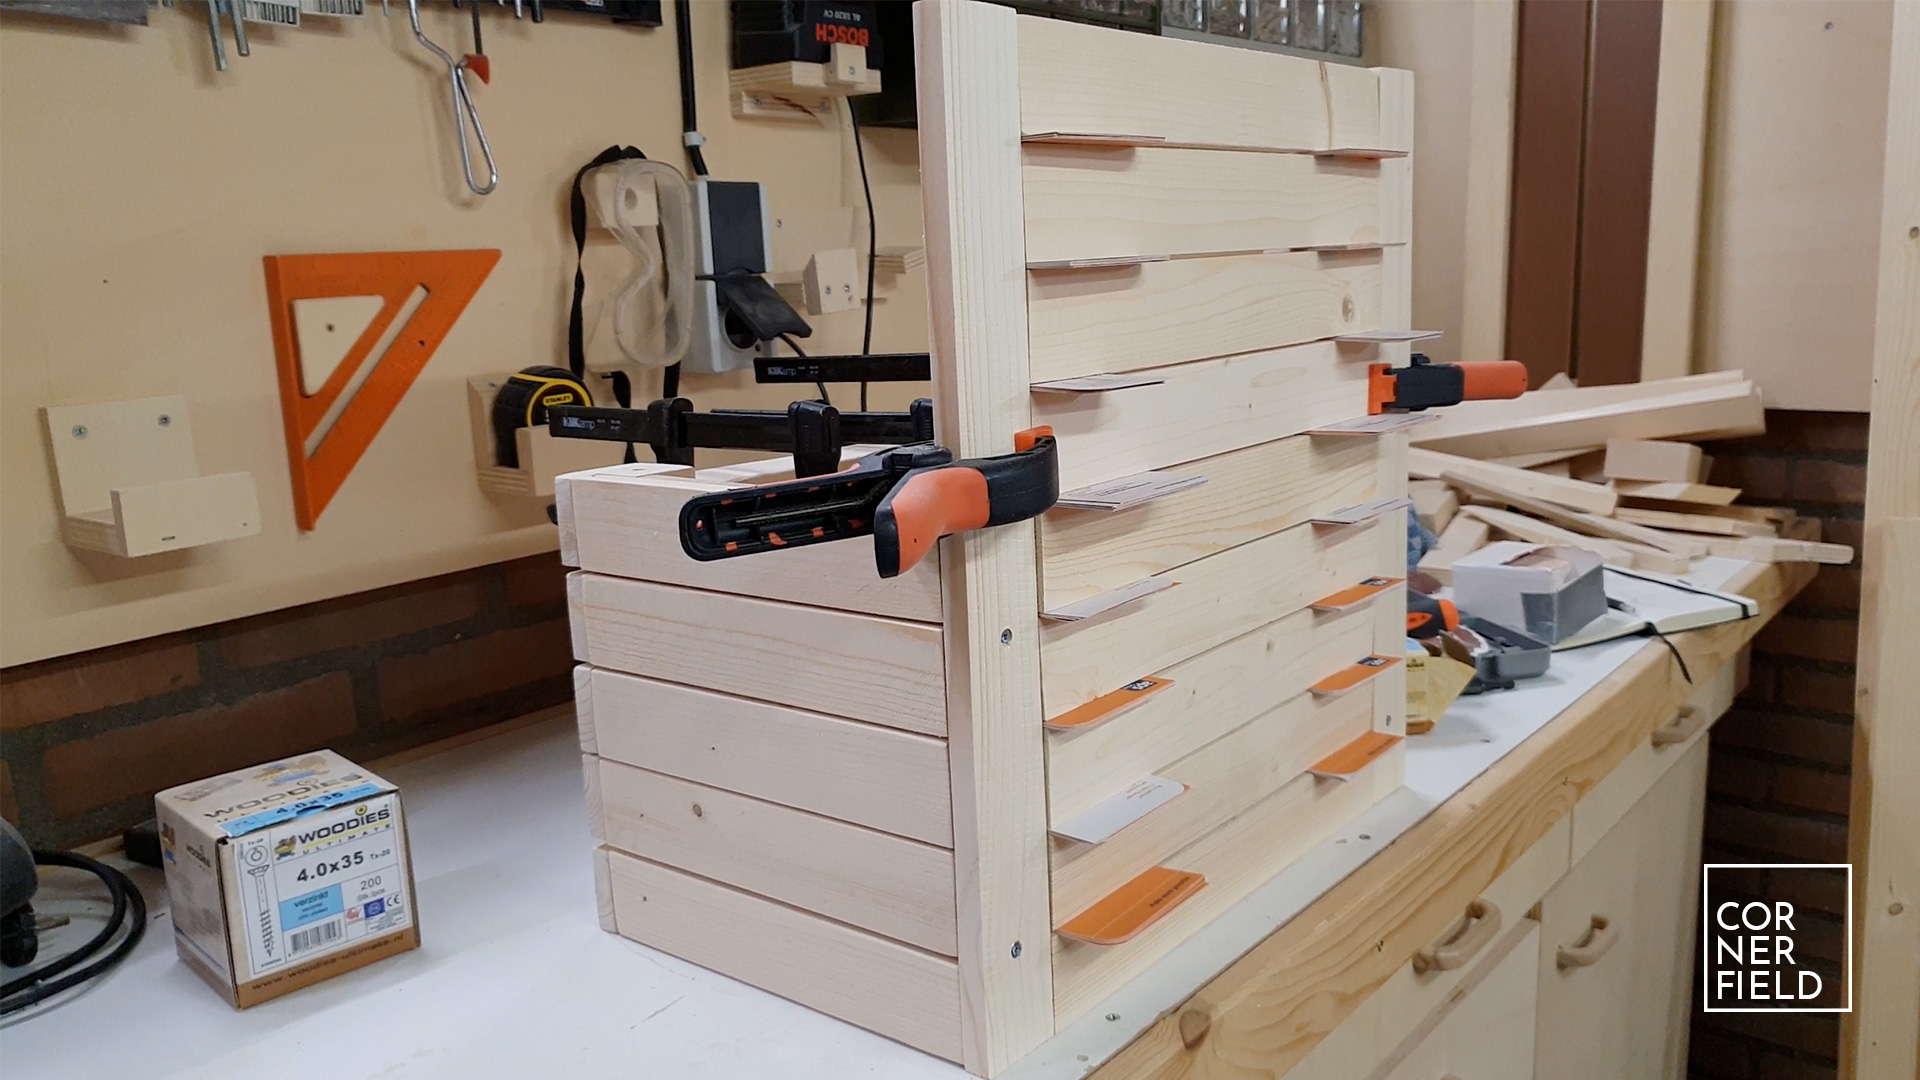
I started my build by cutting the rough lumber into straight pieces. Not only did I do this to straighten the pieces but it also gave the wood a much smoother surface. Once I had that done I could cut most of the pieces to length based on my 3D model. The first assembly I made were two simple frames that I’m going to connect with two side pieces. The side pieces are strips that are glued and tacked on a piece of MDF. On the complete assembly, the MDF will form a closed box to keep dust out of the box, the strips are mostly decorative. Once I had the frames and sides I did a quick dry assembly with some clamps to see the shape of the end result.
Inside of the chest
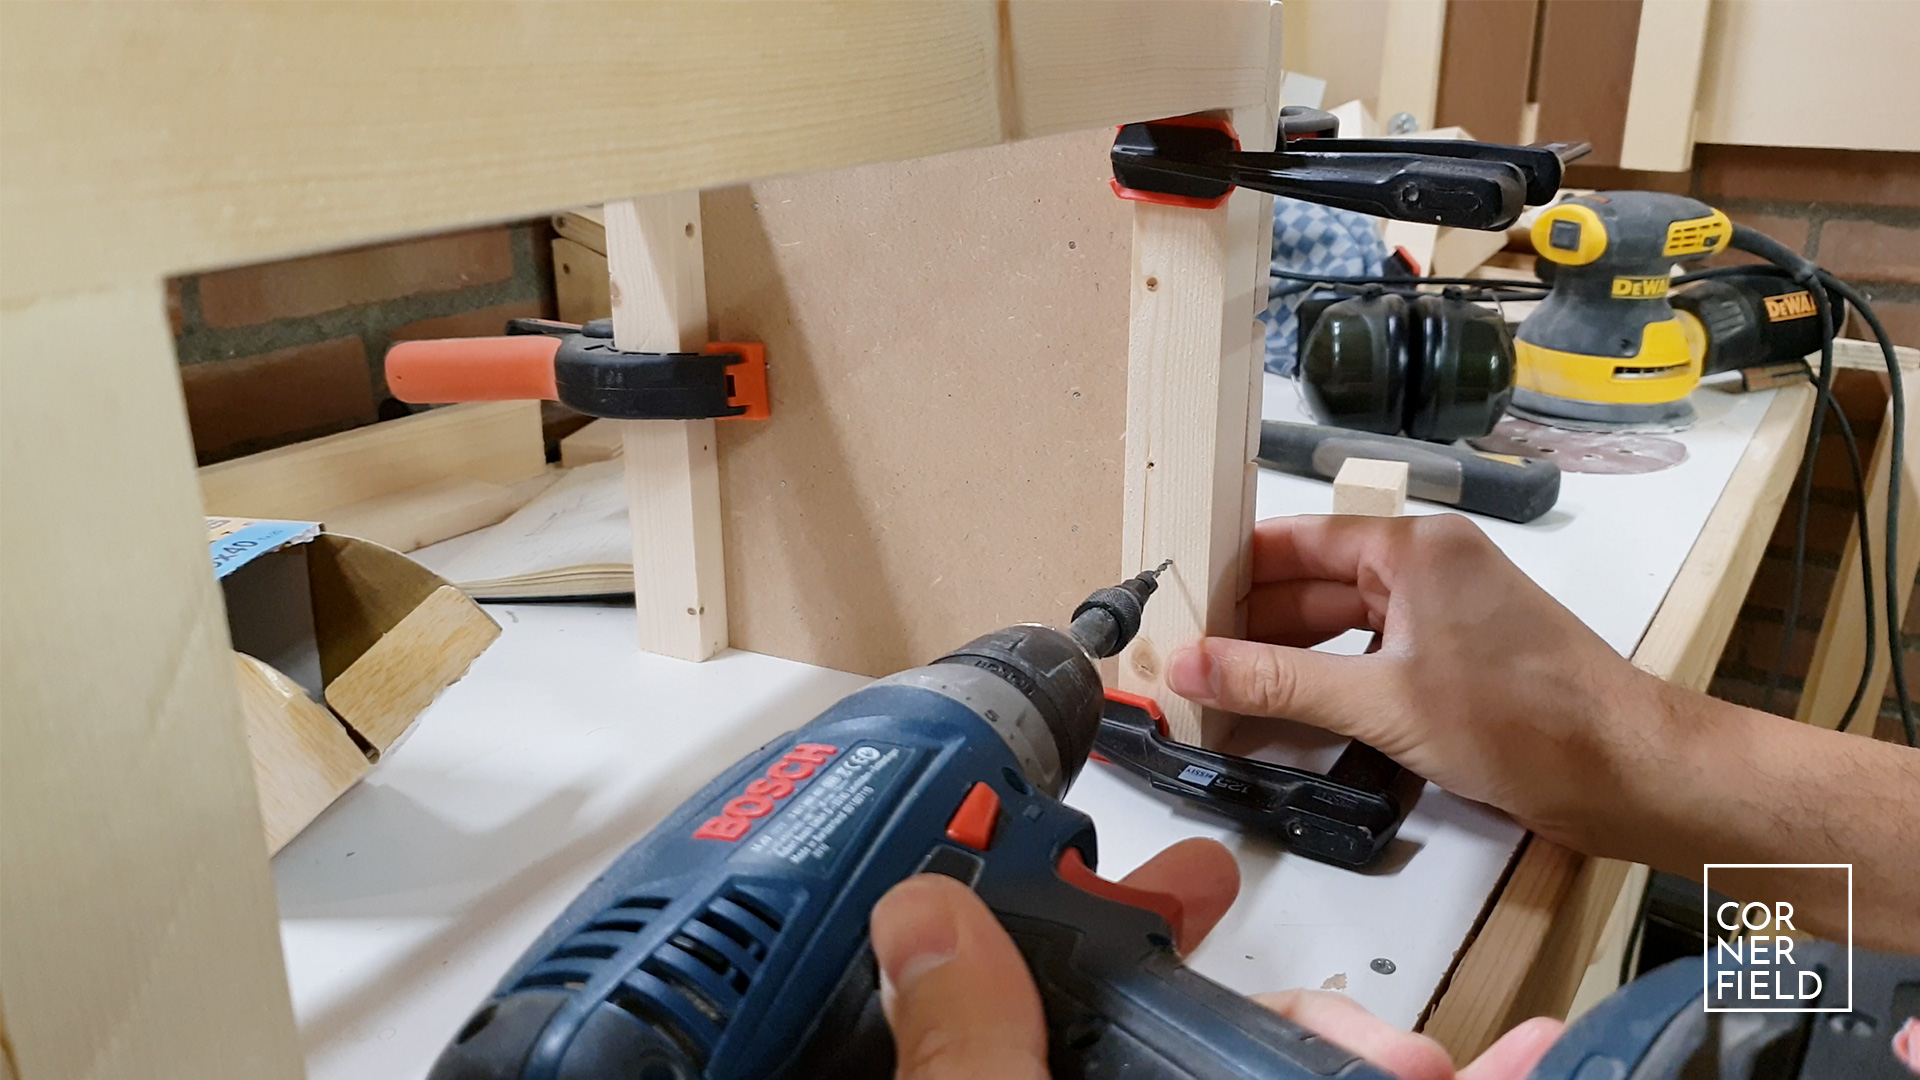
With the end-result checked I could fasten the sides to the frame on move on to the next step. This was attaching the front pieces to the assembled frame. Later I will glue the MDF inner piece in. If you prefer another approach is to first glue all the pieces to the MDF and attaching the complete side in one go. Whichever you prefer will work just fine.
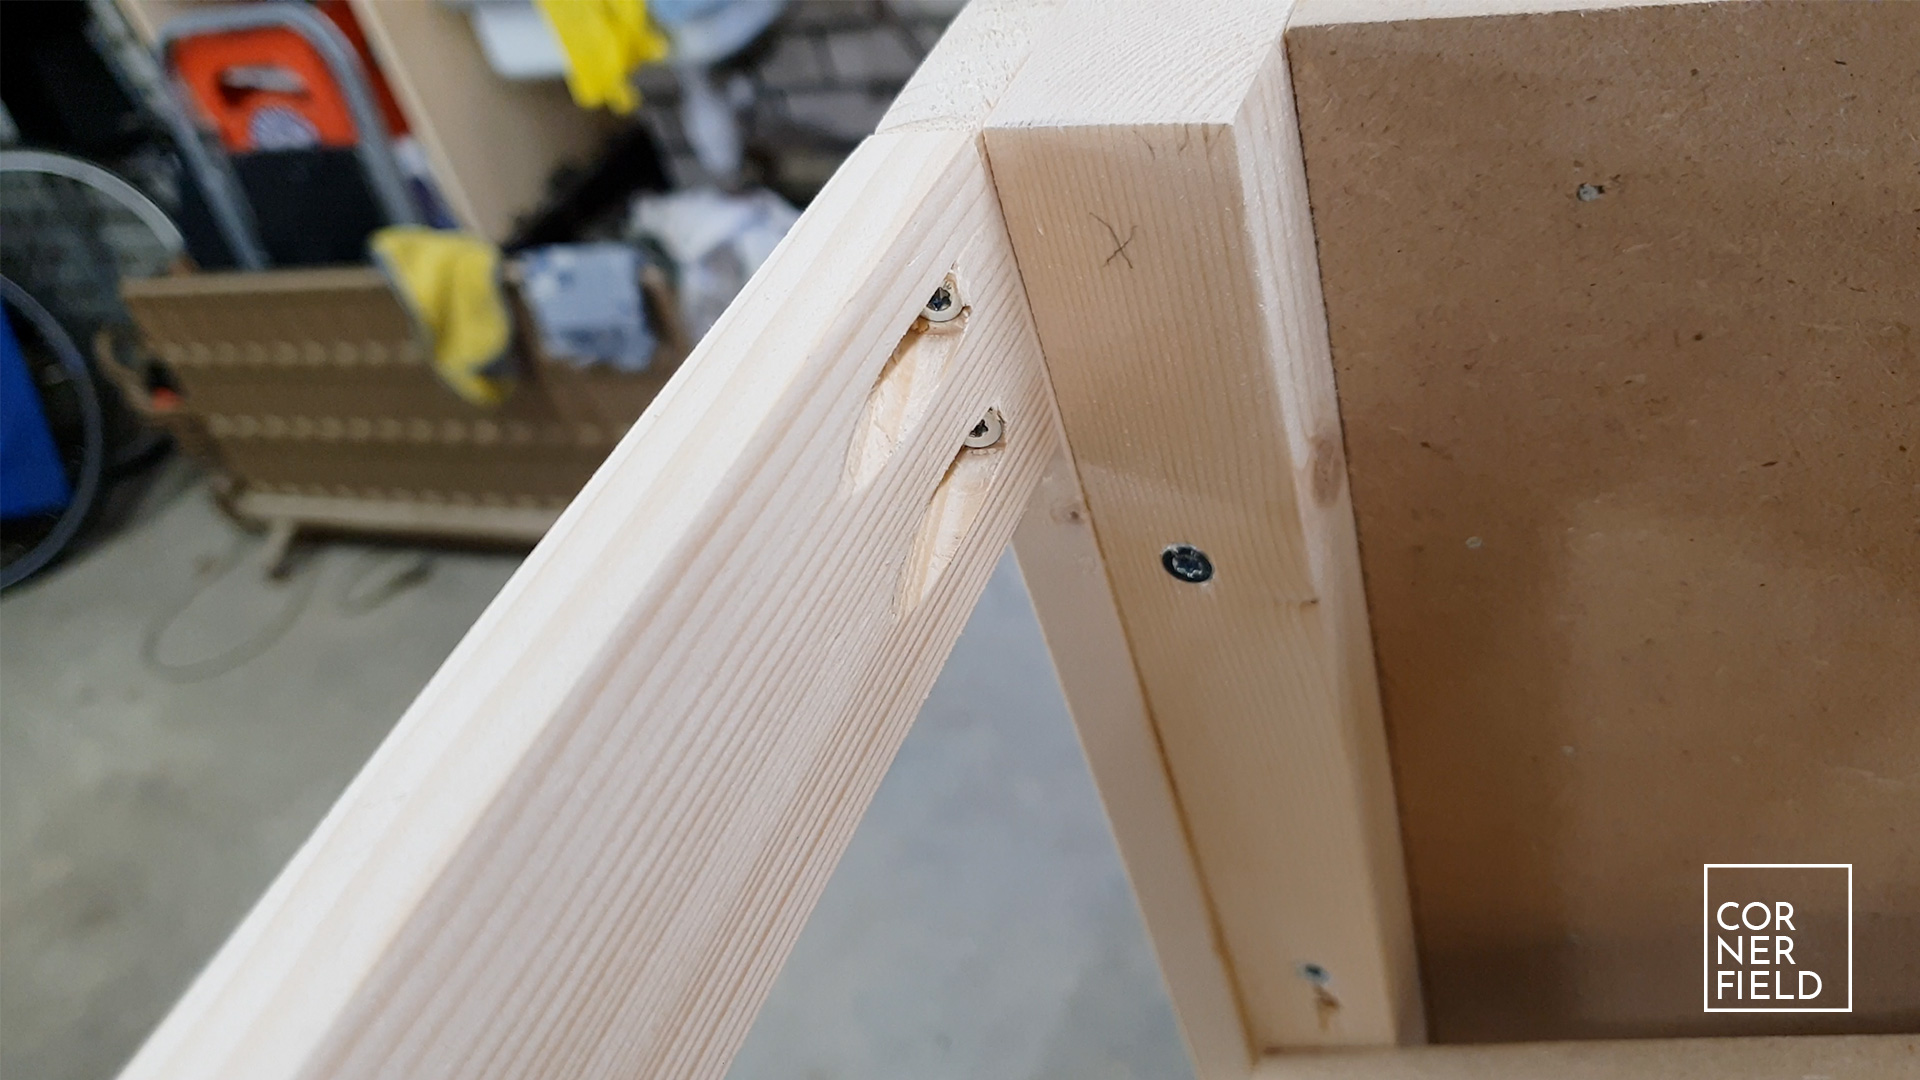
For the back, I first attached the uprights that would hold the backrest. Once these pieces are fastened I could attach the pieces in between with pocket holes. Once all these pieces are in the inner piece of MDF can be glued in as well. The last part for the inner assembly is the bottom which I’m saving for later on in the build but you can also glue that in now.
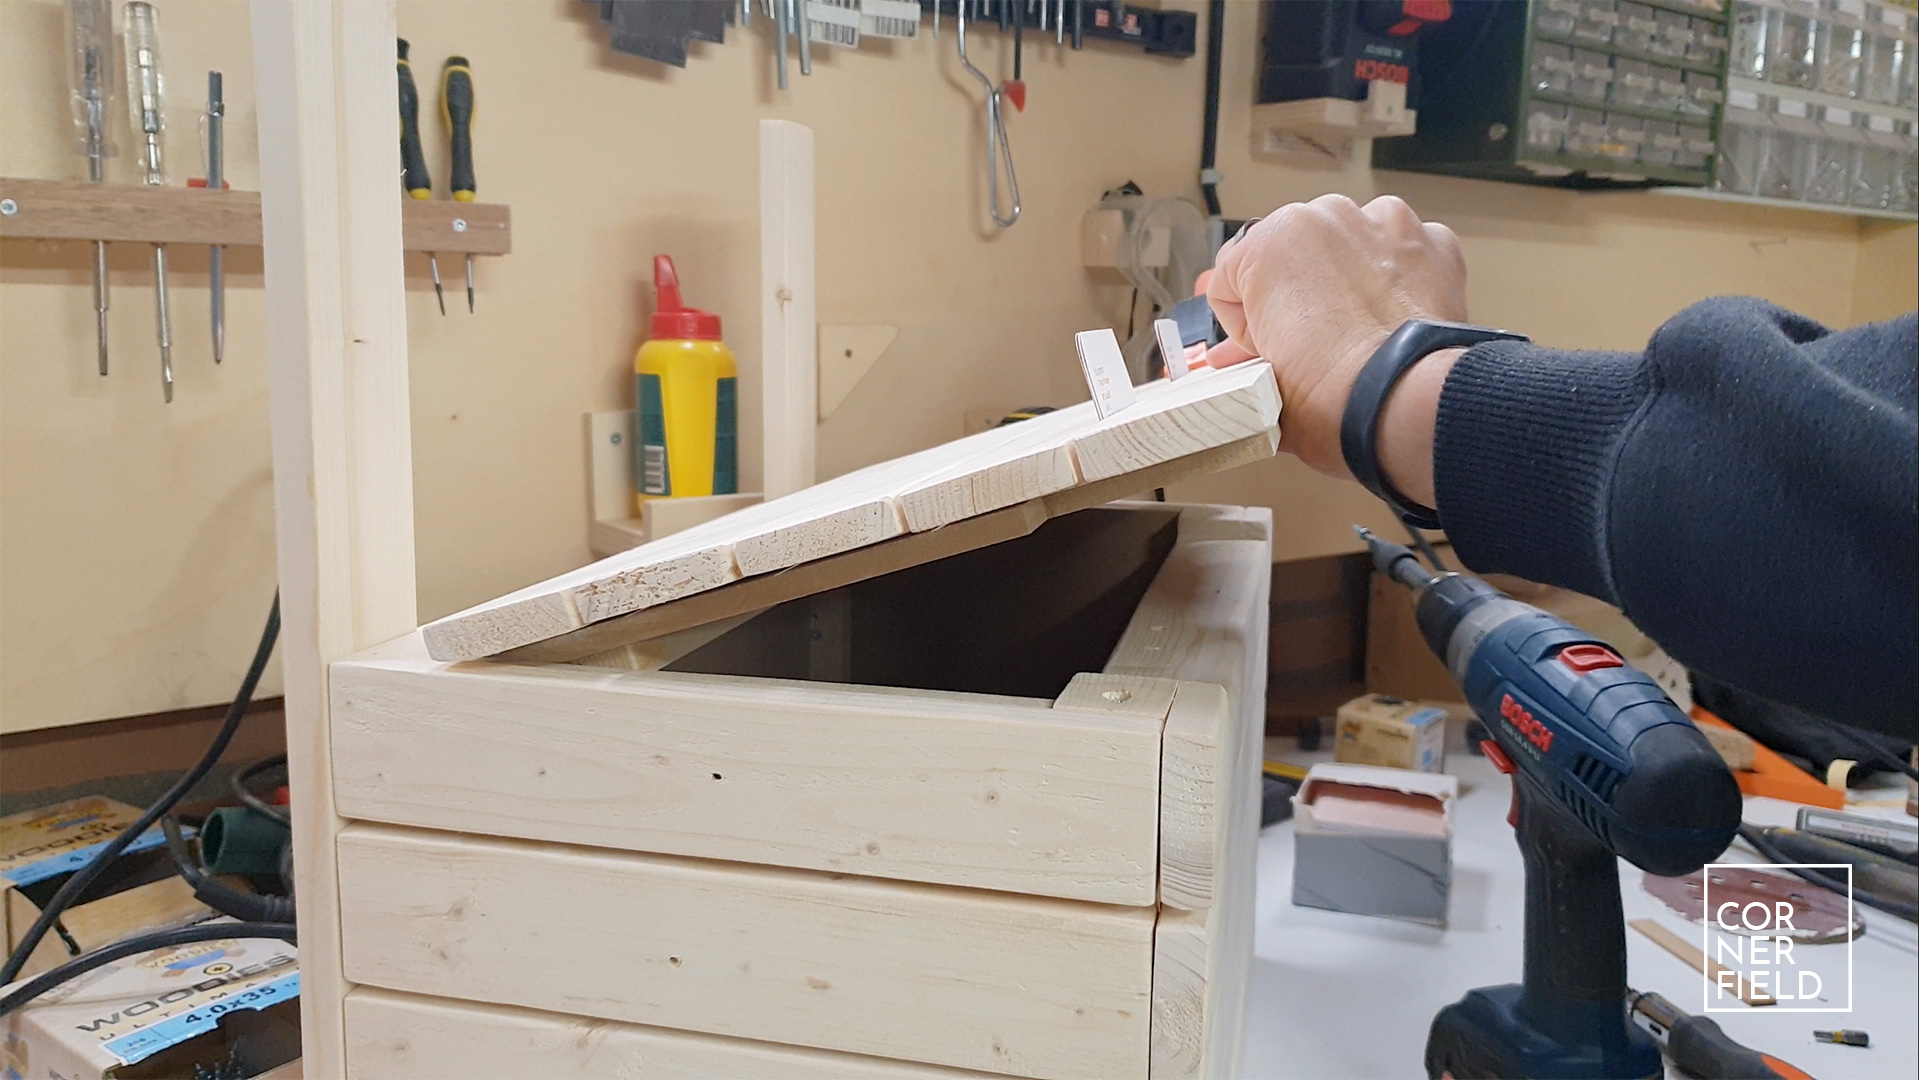
The seat/lid
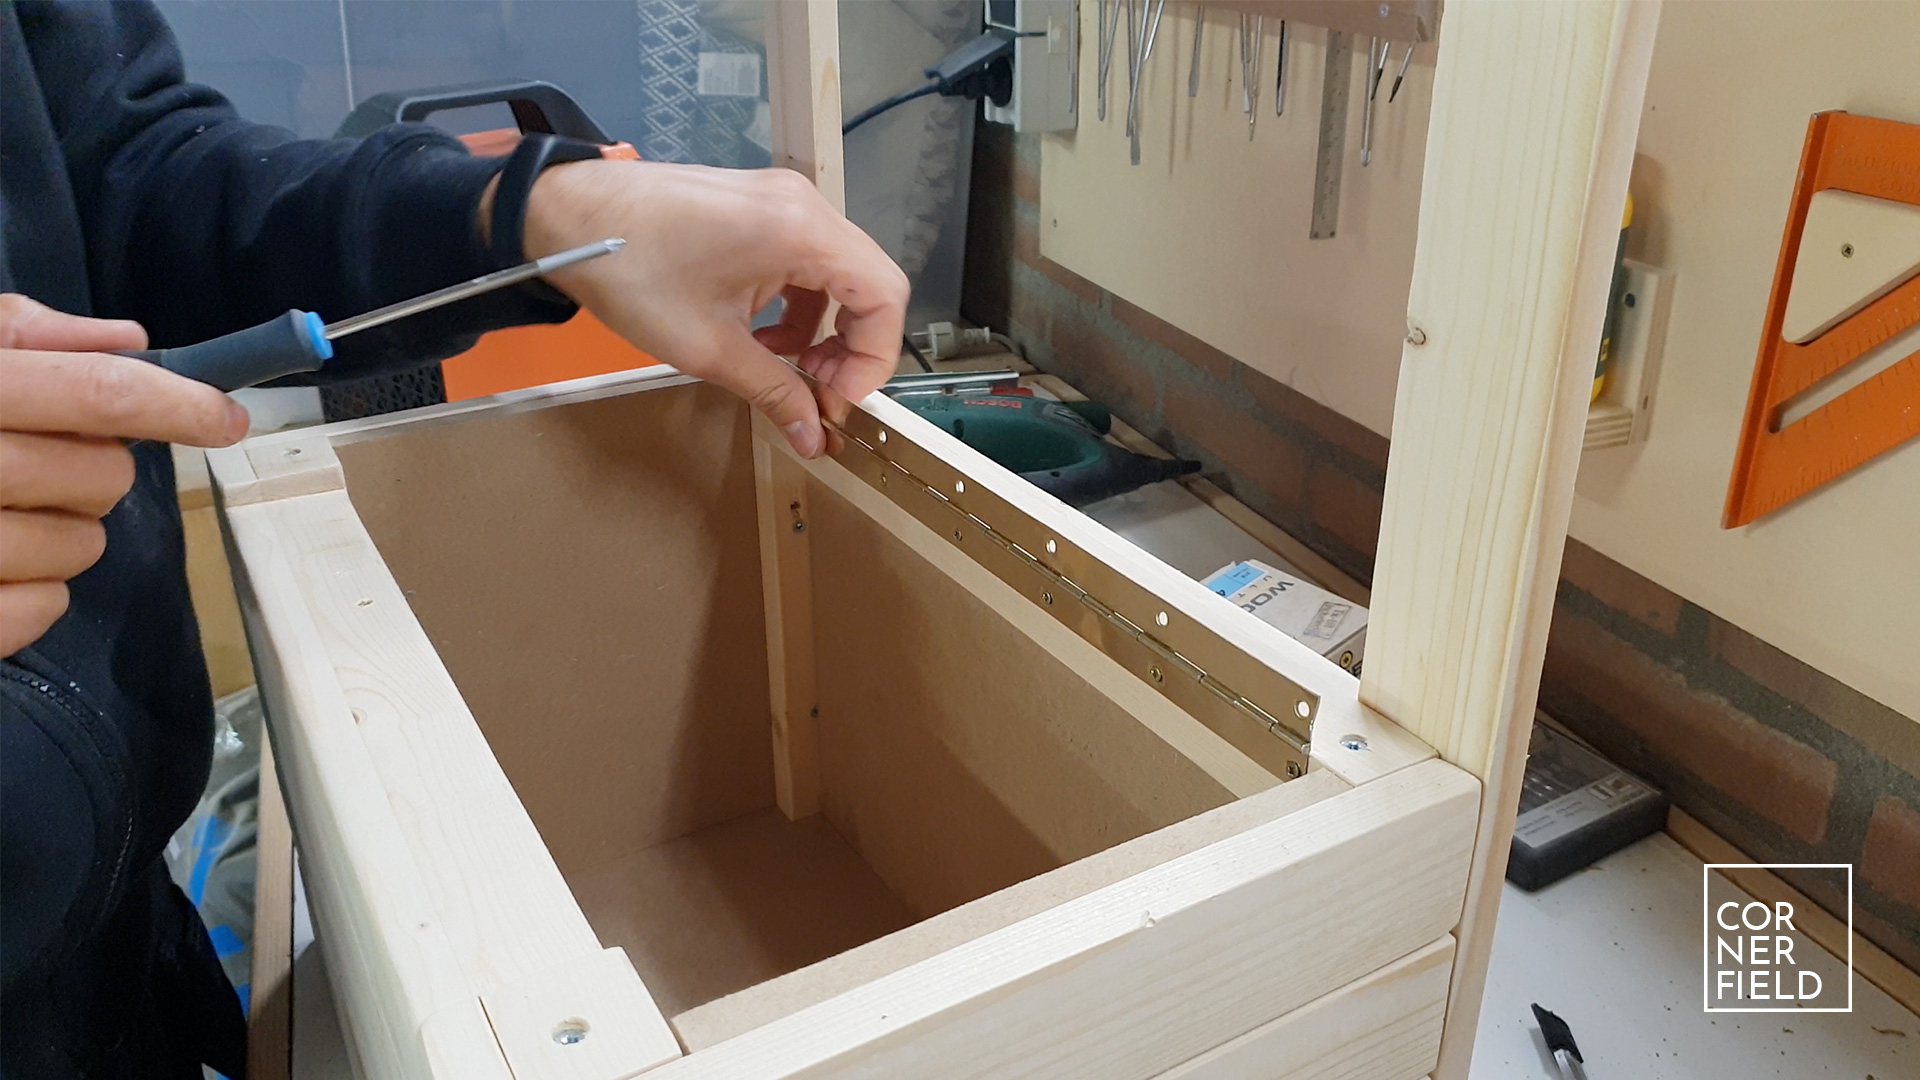
For the lid to sit flush with the sides I needed to cut out a recess from the front. If you are using a solid piece instead of strips you can skip this step. I first cut the inner piece of MDF that would complete the inside. Once I had that I could attach the strips to the top that would rest on the sides and form the seat. When attaching the hinge to both the lid and the bench itself make sure you position it correctly. I’ve placed mine too low and ran into some issues. This can be avoided if you test it a little first with maybe two screws instead of committing on the first try as I did.
Final assembly
The last pieces missing from the puzzle are the bottom and the backrest. The bottom is one piece of MDF that I cut to fit within the frame and sit flush with the sides. I recommend gluing and screwing this in place. You never know what heavy things will be inside when you pick it up. It would be very unfortunate if the bottom falls out at that point. The back is finished with pieces that have pocket holes on the back. The front facing pieces can either be glued or screwed. I didn’t mind the screws on the back so I chose to use screws.
After these last things were done I could give the whole thing a final pass with the sander and apply some oil to finish it.
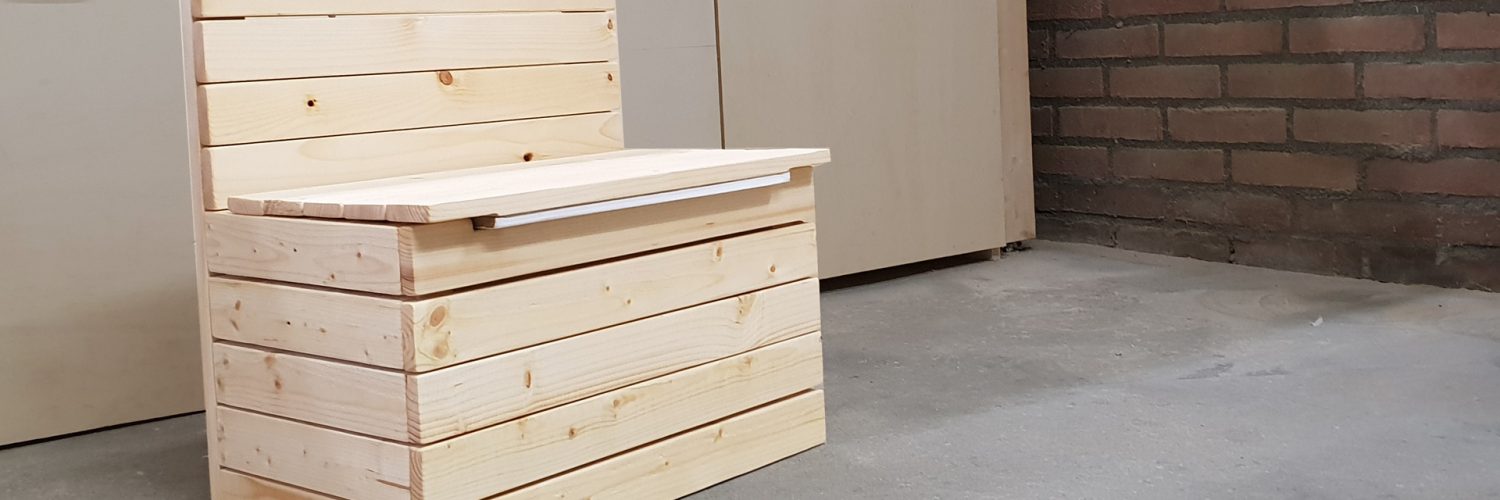
Result
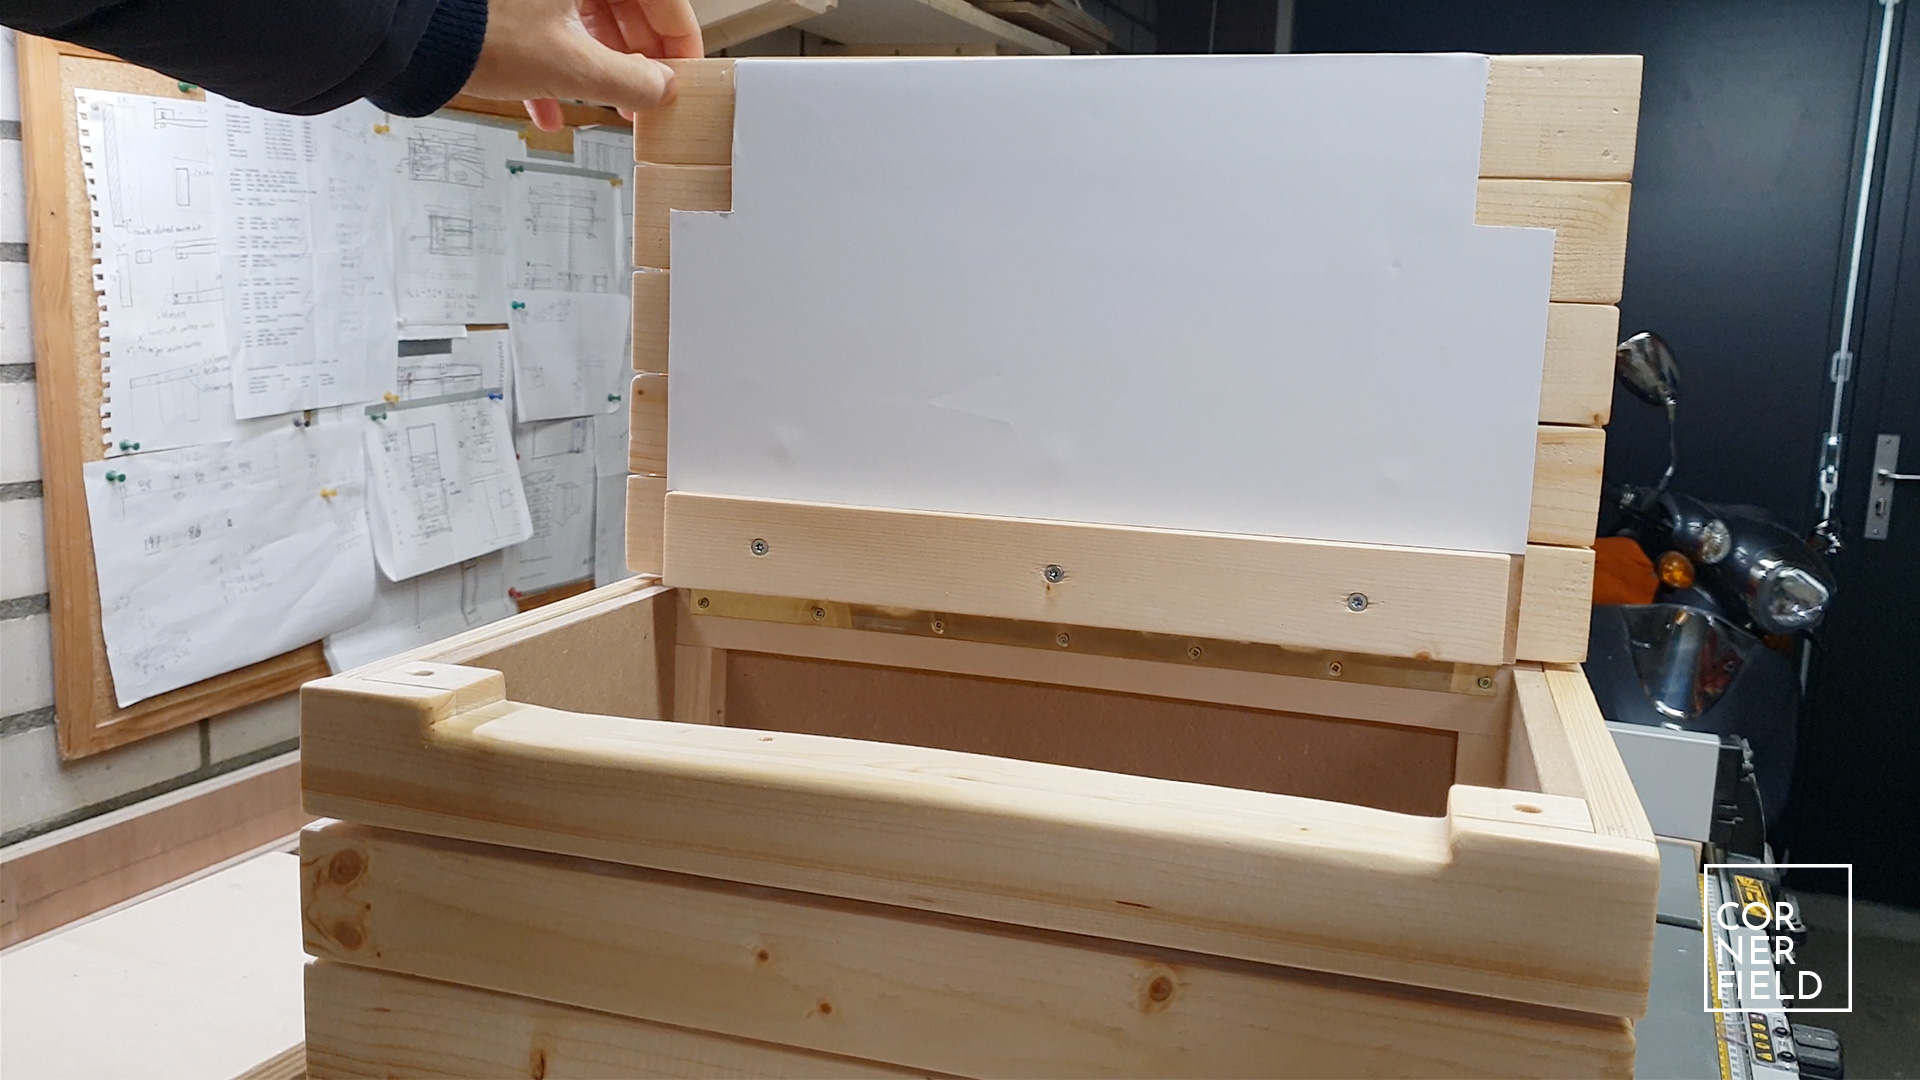
When I was looking at my end result I had the feeling it was missing the final touch. The bottom of the seat didn’t look complete so I modified it a little. After attaching a piece of paper with double sided tape it could also serve as a drawing board. I thought that was a nice finishing touch. It was very fun to build this bench and I think it’s easy enough that anyone can give this a try. I’m happy with it, now I have to wait and see if there is a kid around that likes it just as much as I do.

Download & Links
If you want to build something similar I’ve linked my 3D model below as a download.
SketchUp 3D-model
Instagram 1 | 2 | 3 | 4
Hope this post has inspired you to make something!
And don’t forget to follow your excitement 

Add comment