

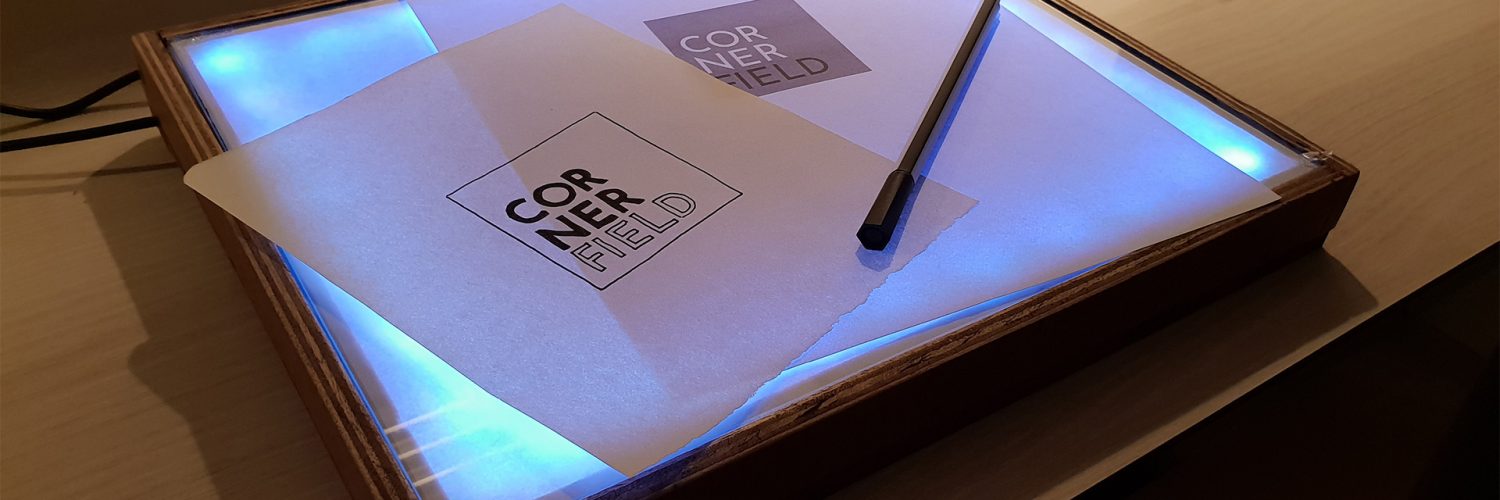
If you want to trace some artwork or practice your drawing skills this lightbox project for you.
Design
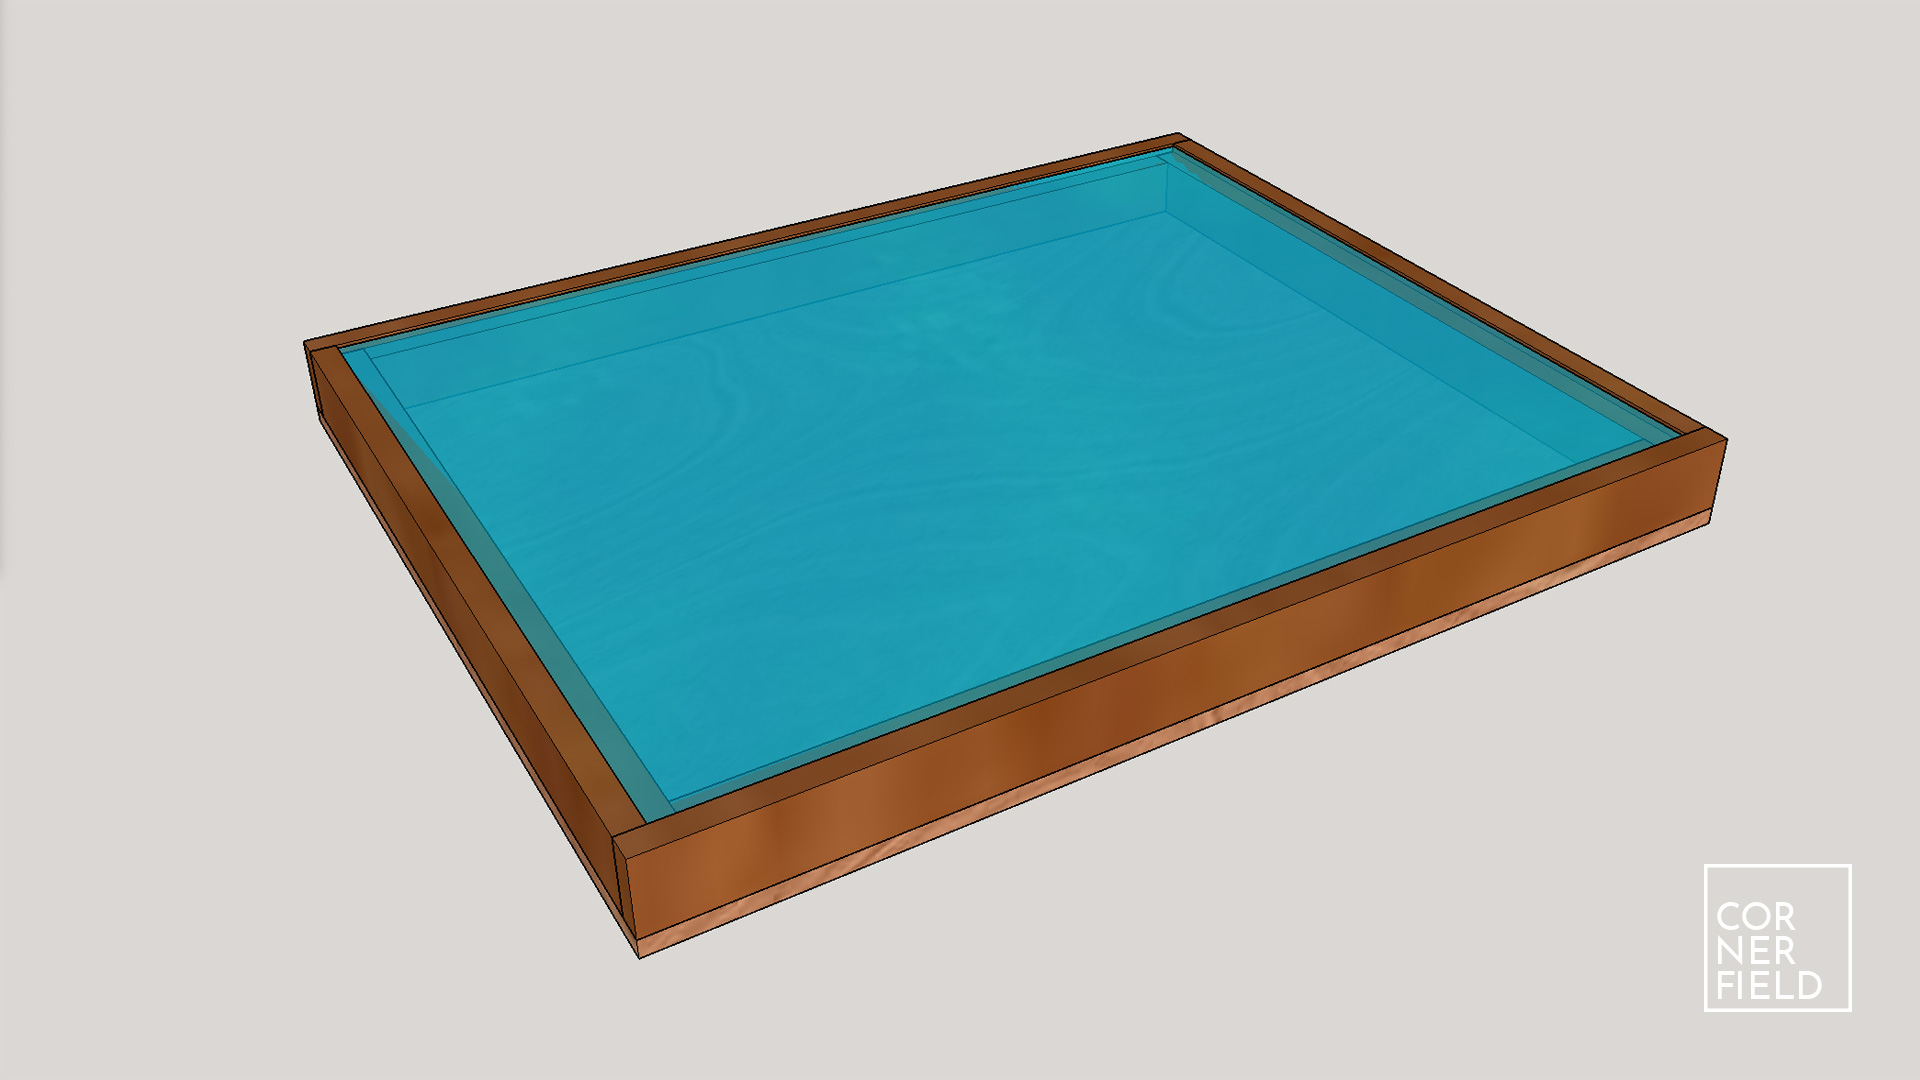
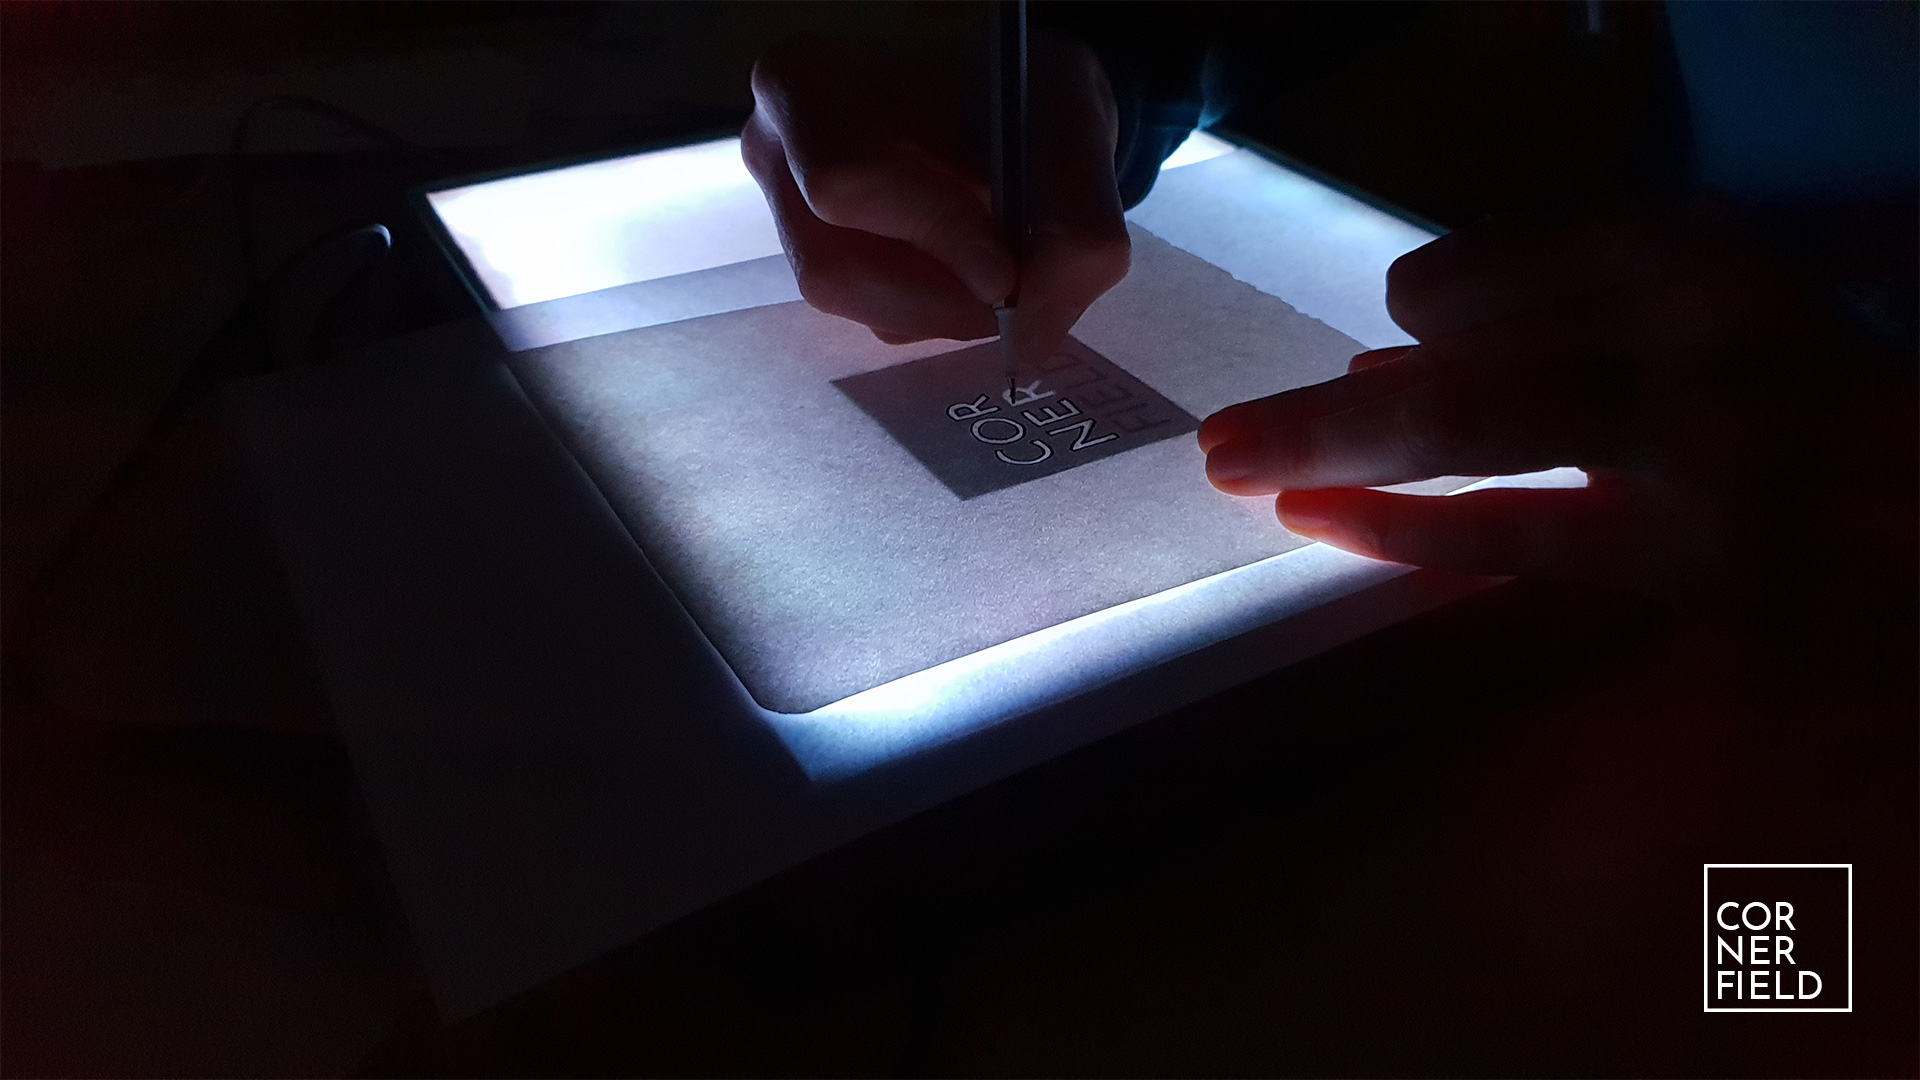
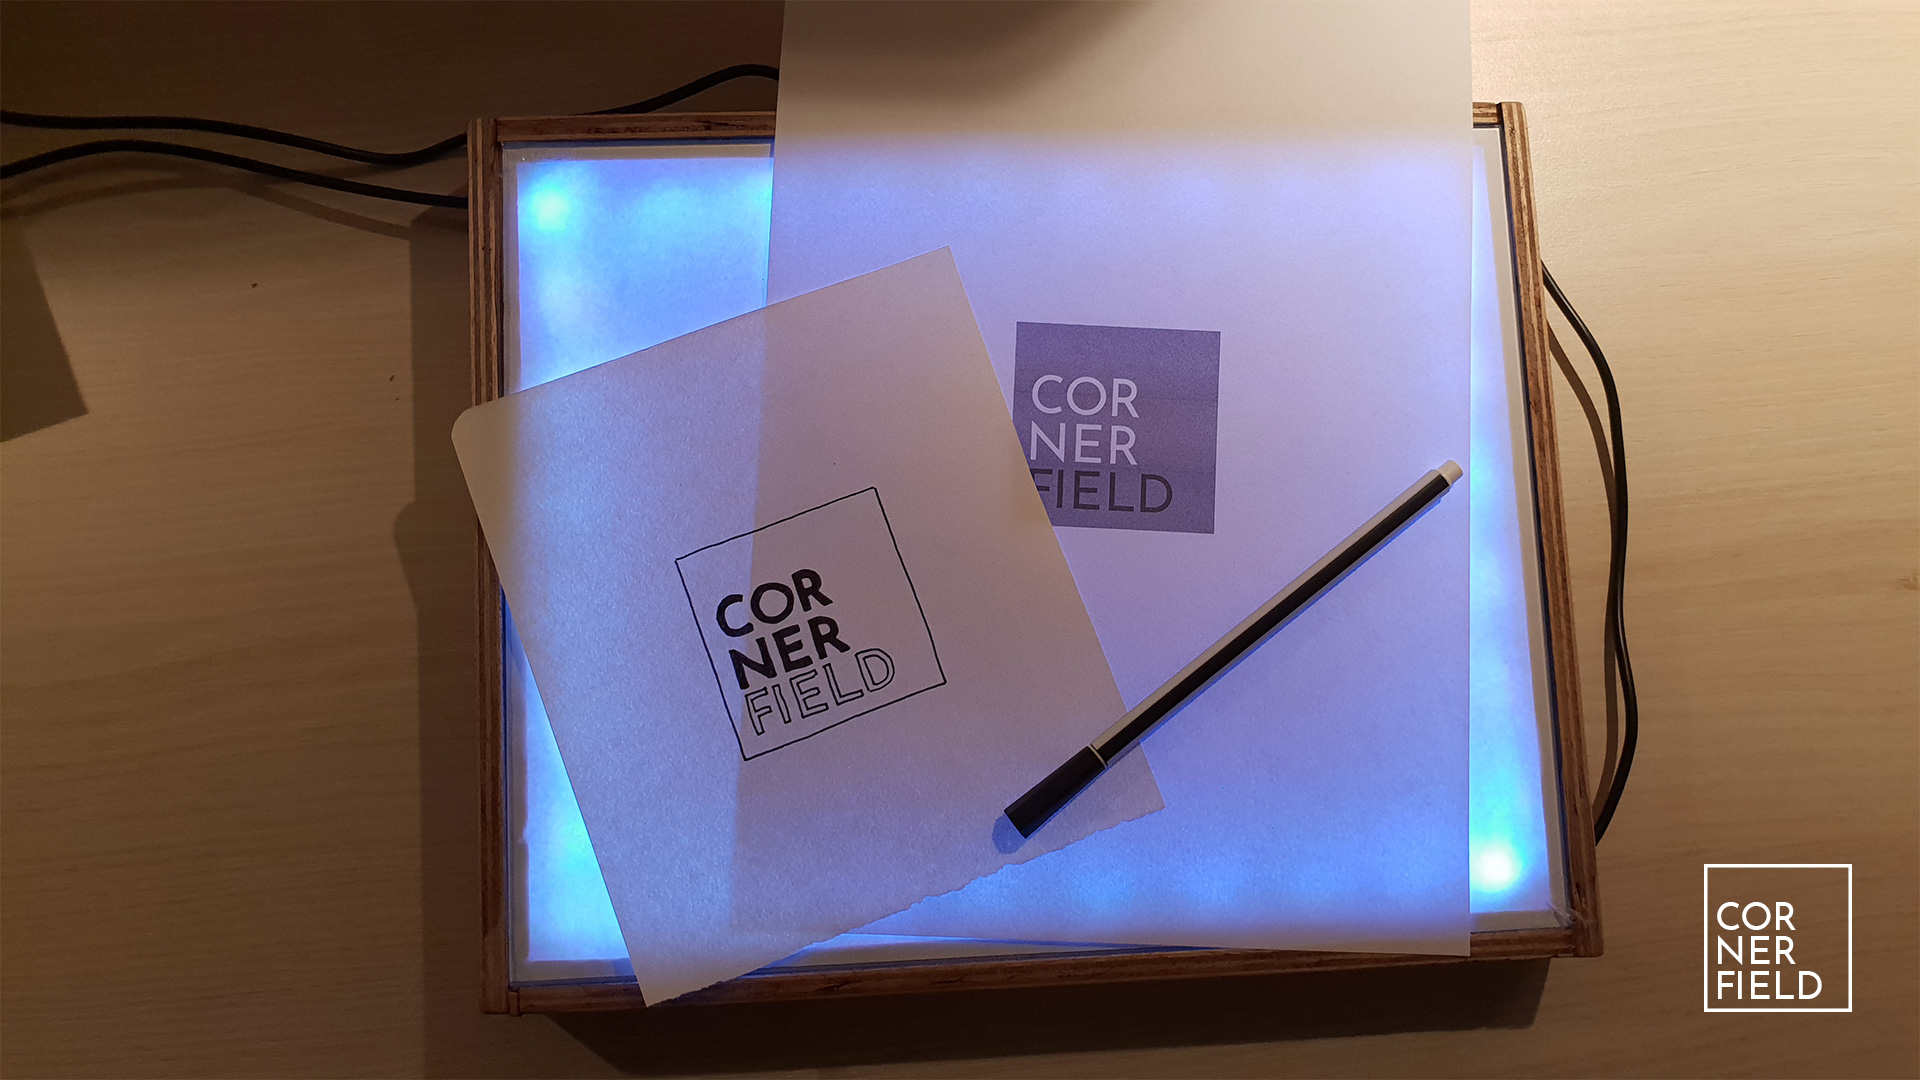
If you look for similar projects they all basically have the same design. It’s a box with a light inside that is covered by a transparent surface so the light can shine through and illuminate your paper from behind. This allows you to either trace a drawing or you can use it to create more complex artwork.
Build
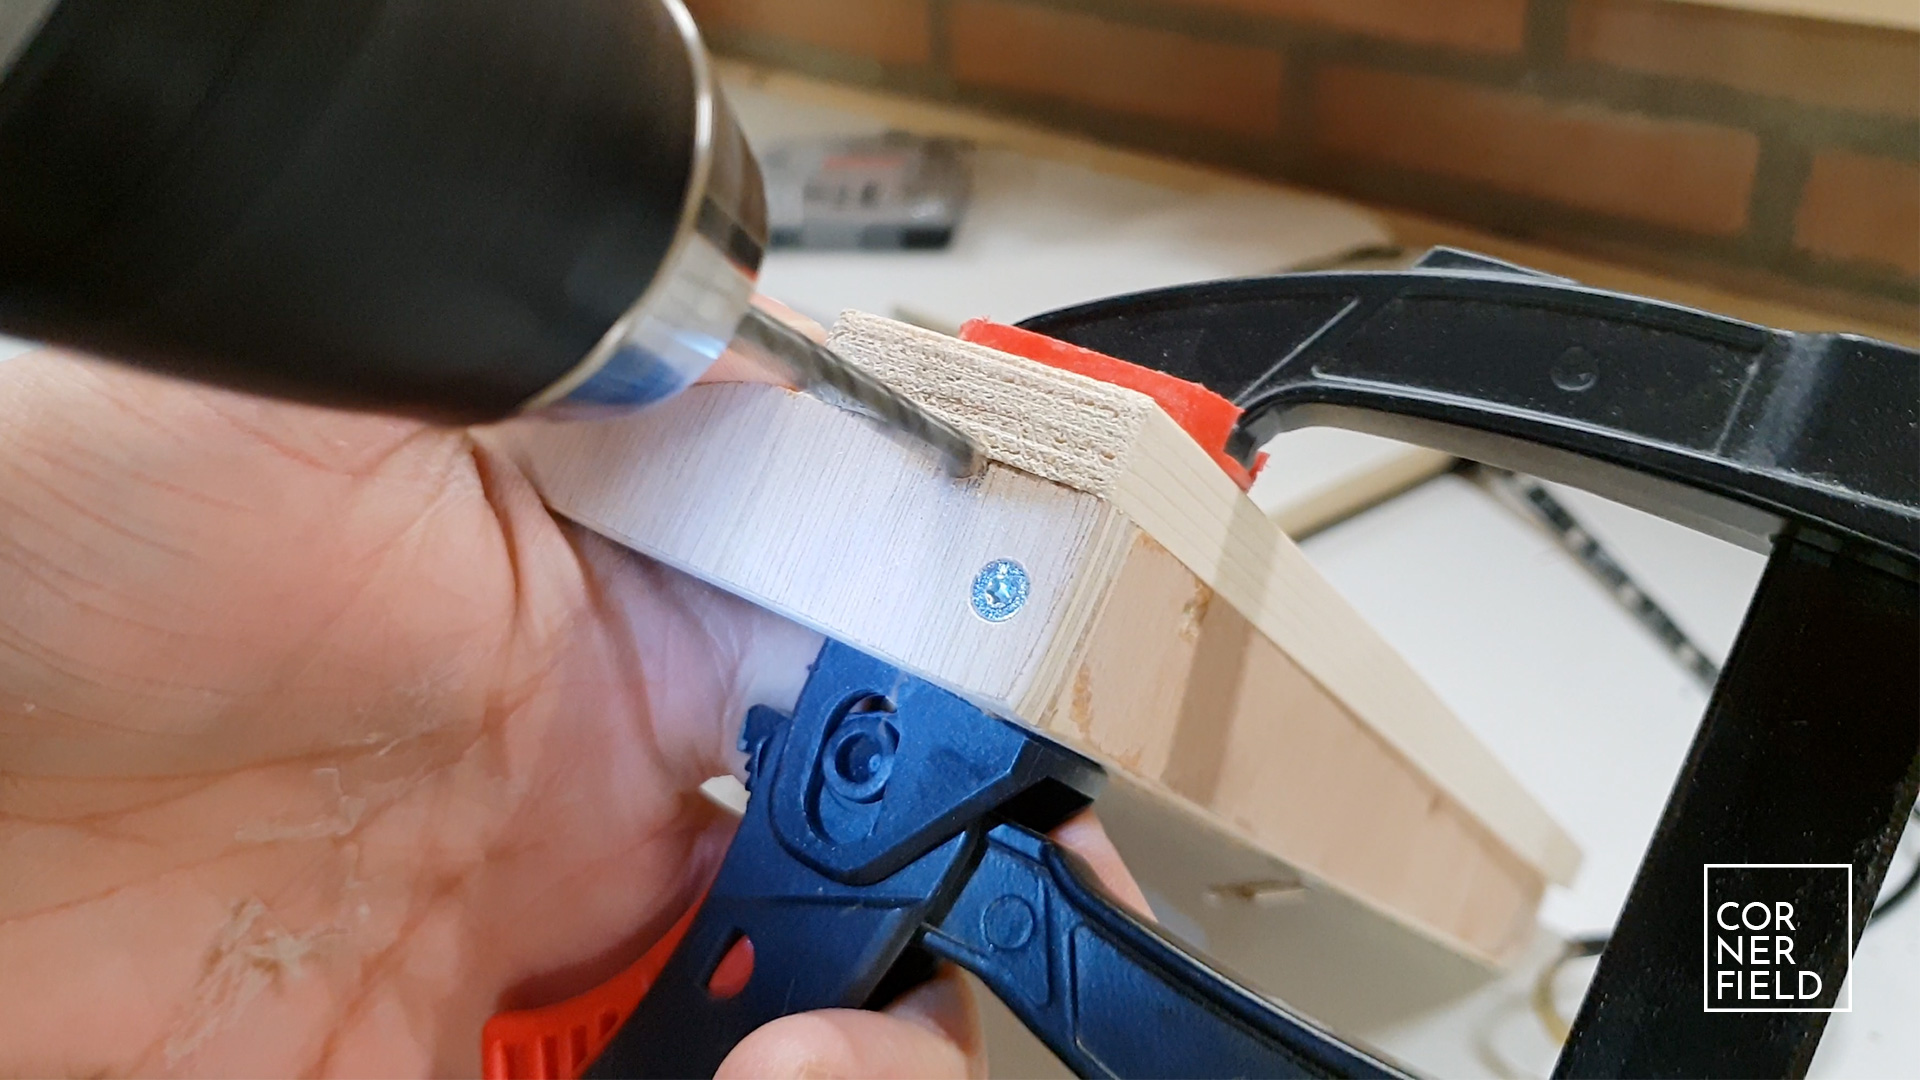
This build is very simple and can be done with minimal tools. The material that you need is some wood, pane of glass and a LED strip (or another light source). In my case, I used the table saw to rip a slot in four pieces of plywood that make up the sides of the box. If you don’t have a table saw you can laminate multiple pieces of wood together to form a ledge for the glass to rest on. For additional strength, I cut a rabbet in the corners but you can also use butt joints.
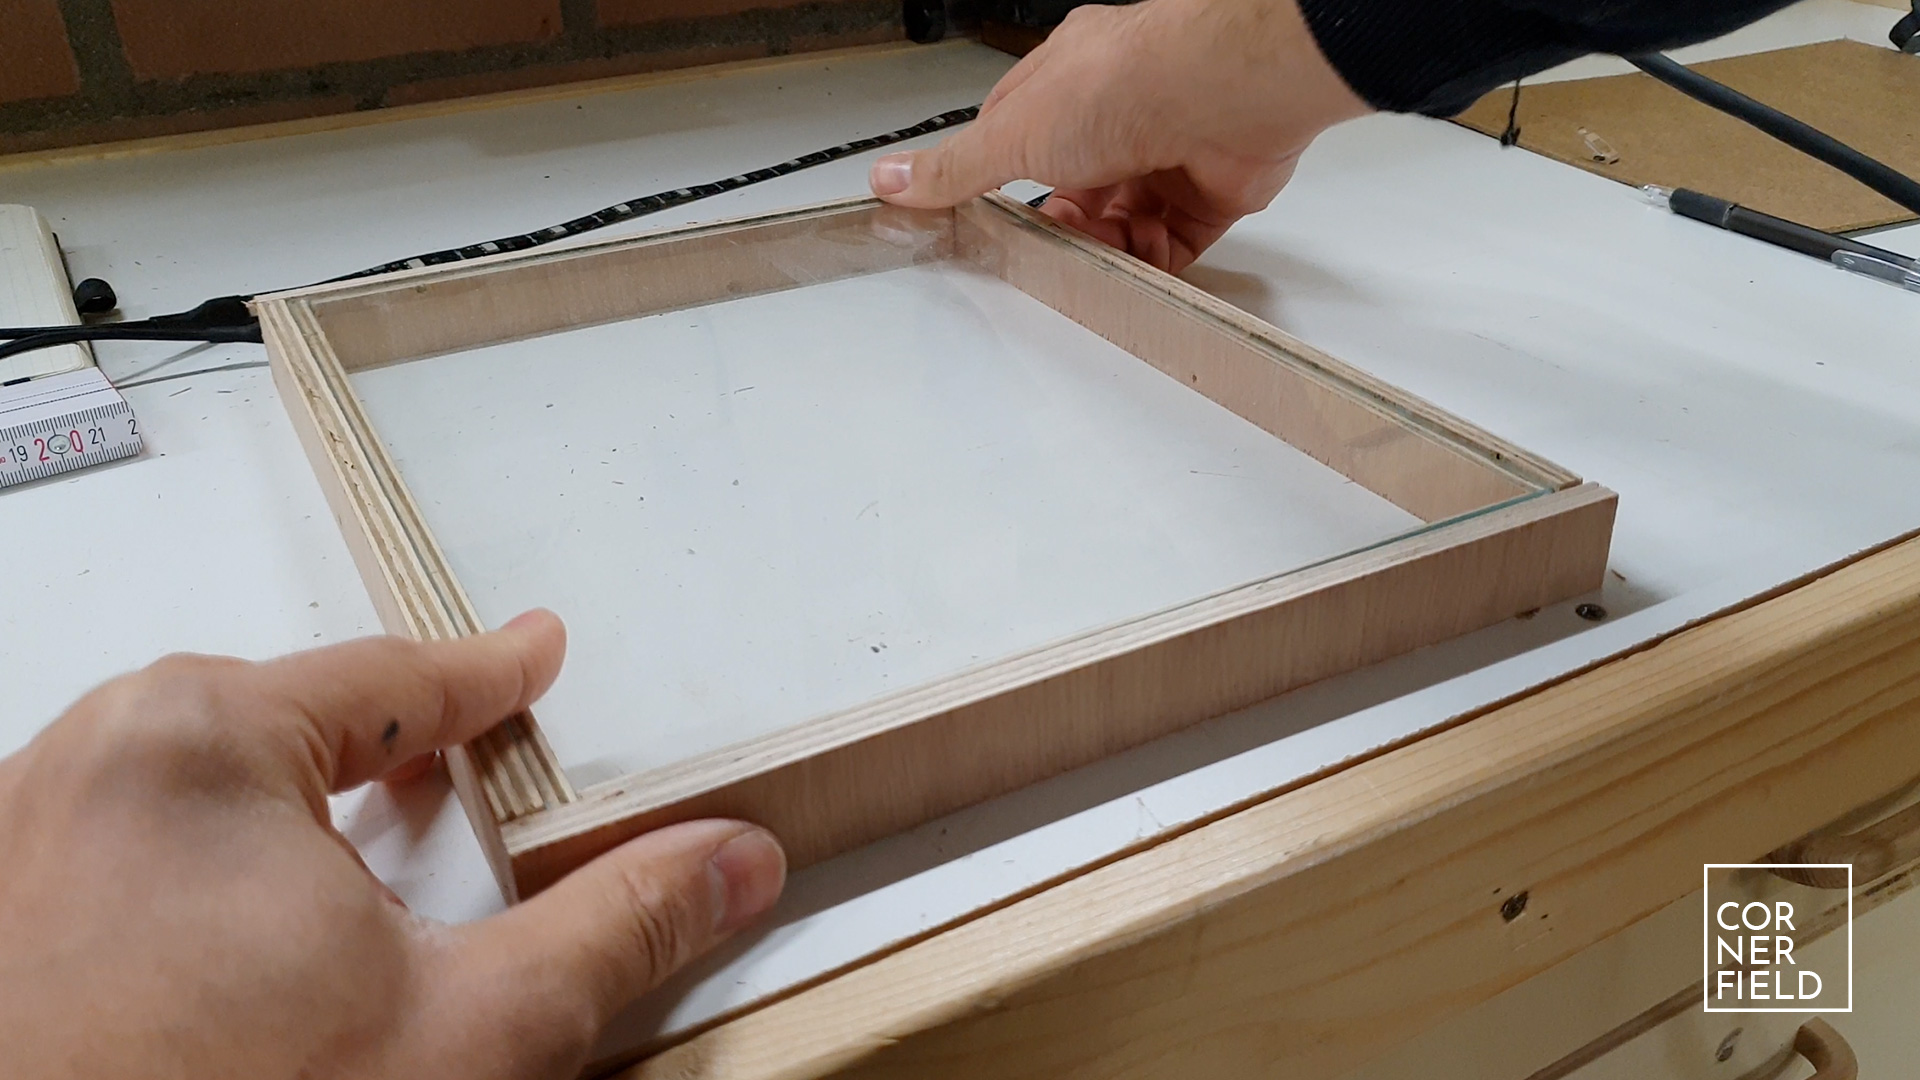
With my rabbets cut I figured out the length of the sides and cut them to length. Next, I cut both the recess for the glass and the height of the box down to its final size. While you’re cutting be sure to dry-fit the glass regularly to make sure it still fits.
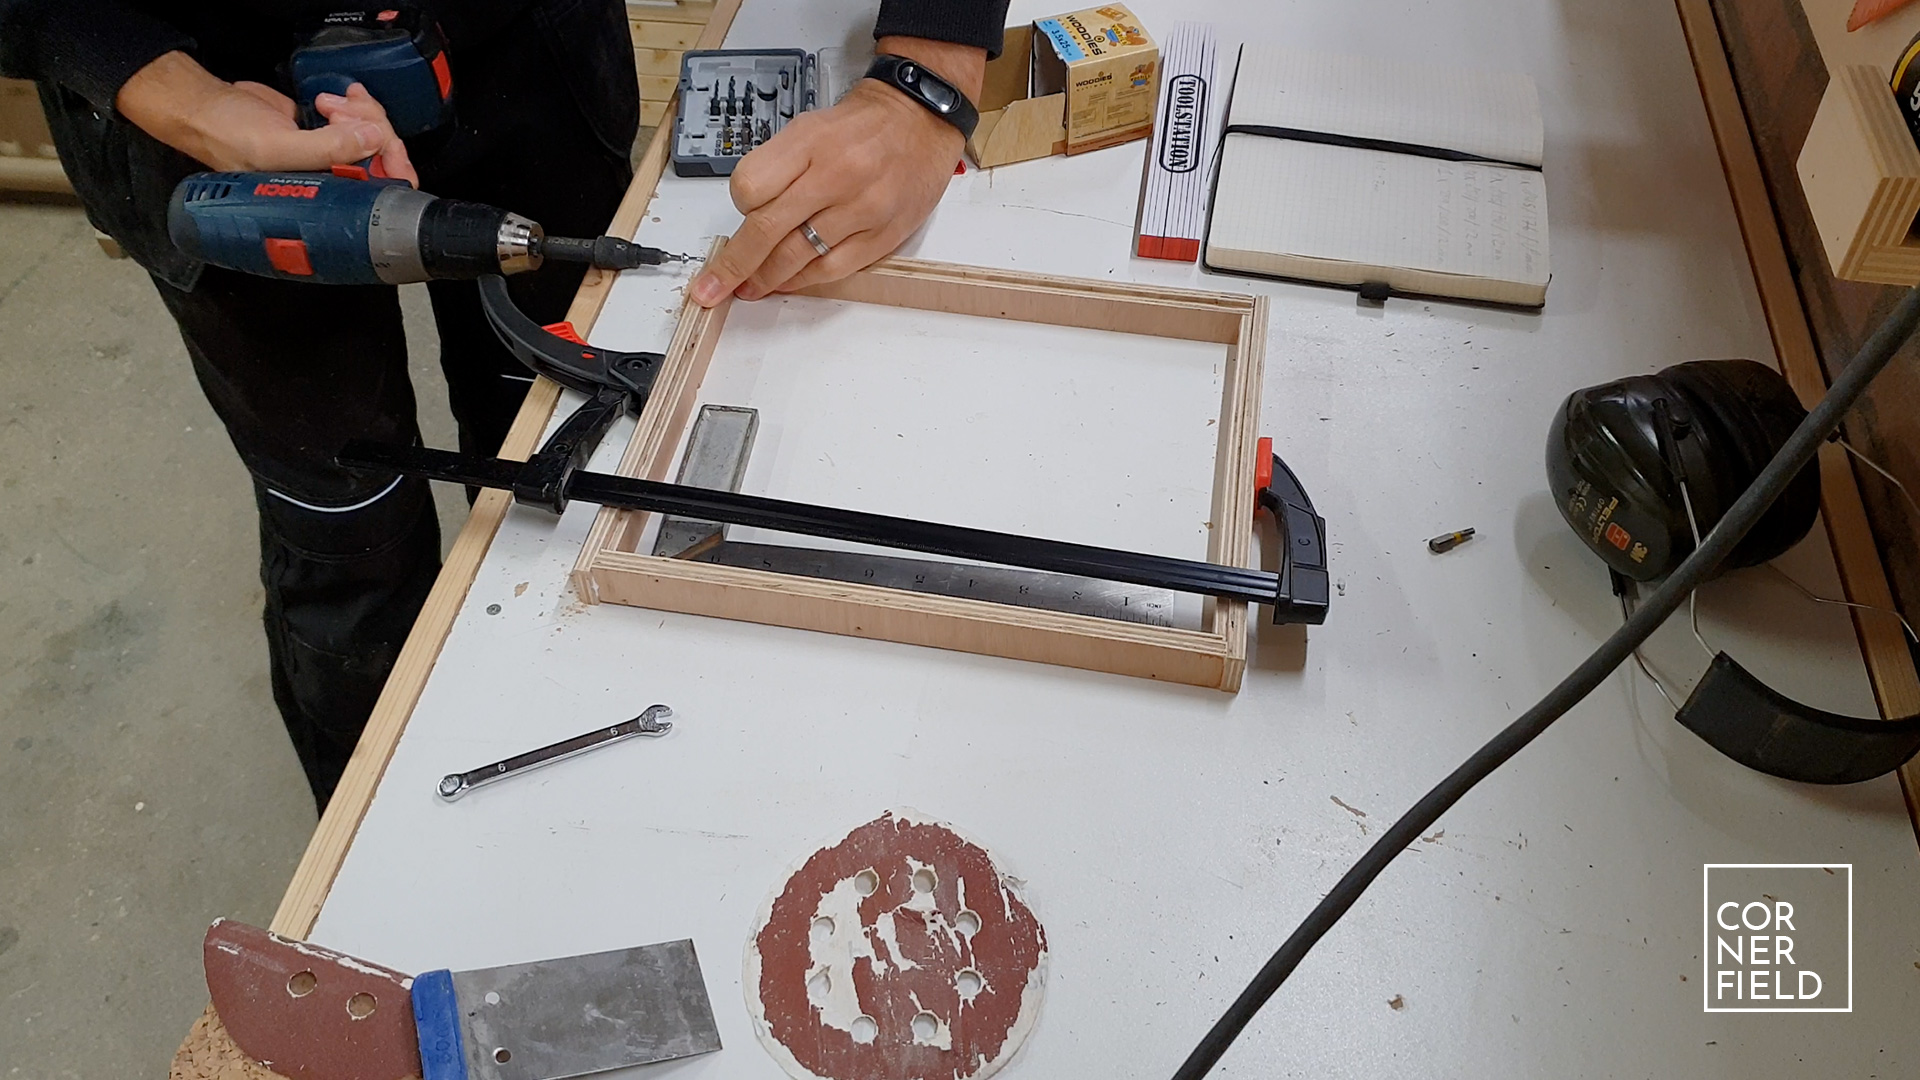
Assembly
Assembling the outside of the box is done with glue and screws. I chose to attach the LED strip to the inside next, before attaching the bottom of the box. To make the hole for the wire of the strip as small as possible I clamped a scrap to the bottom and drilled through both pieces 50/50. This way the hole is half the size but more than enough for the wire. The bottom in my case is a piece of MDF but you can use any wood. With the LED and the bottom fastened it’s ready for some finishing touches.

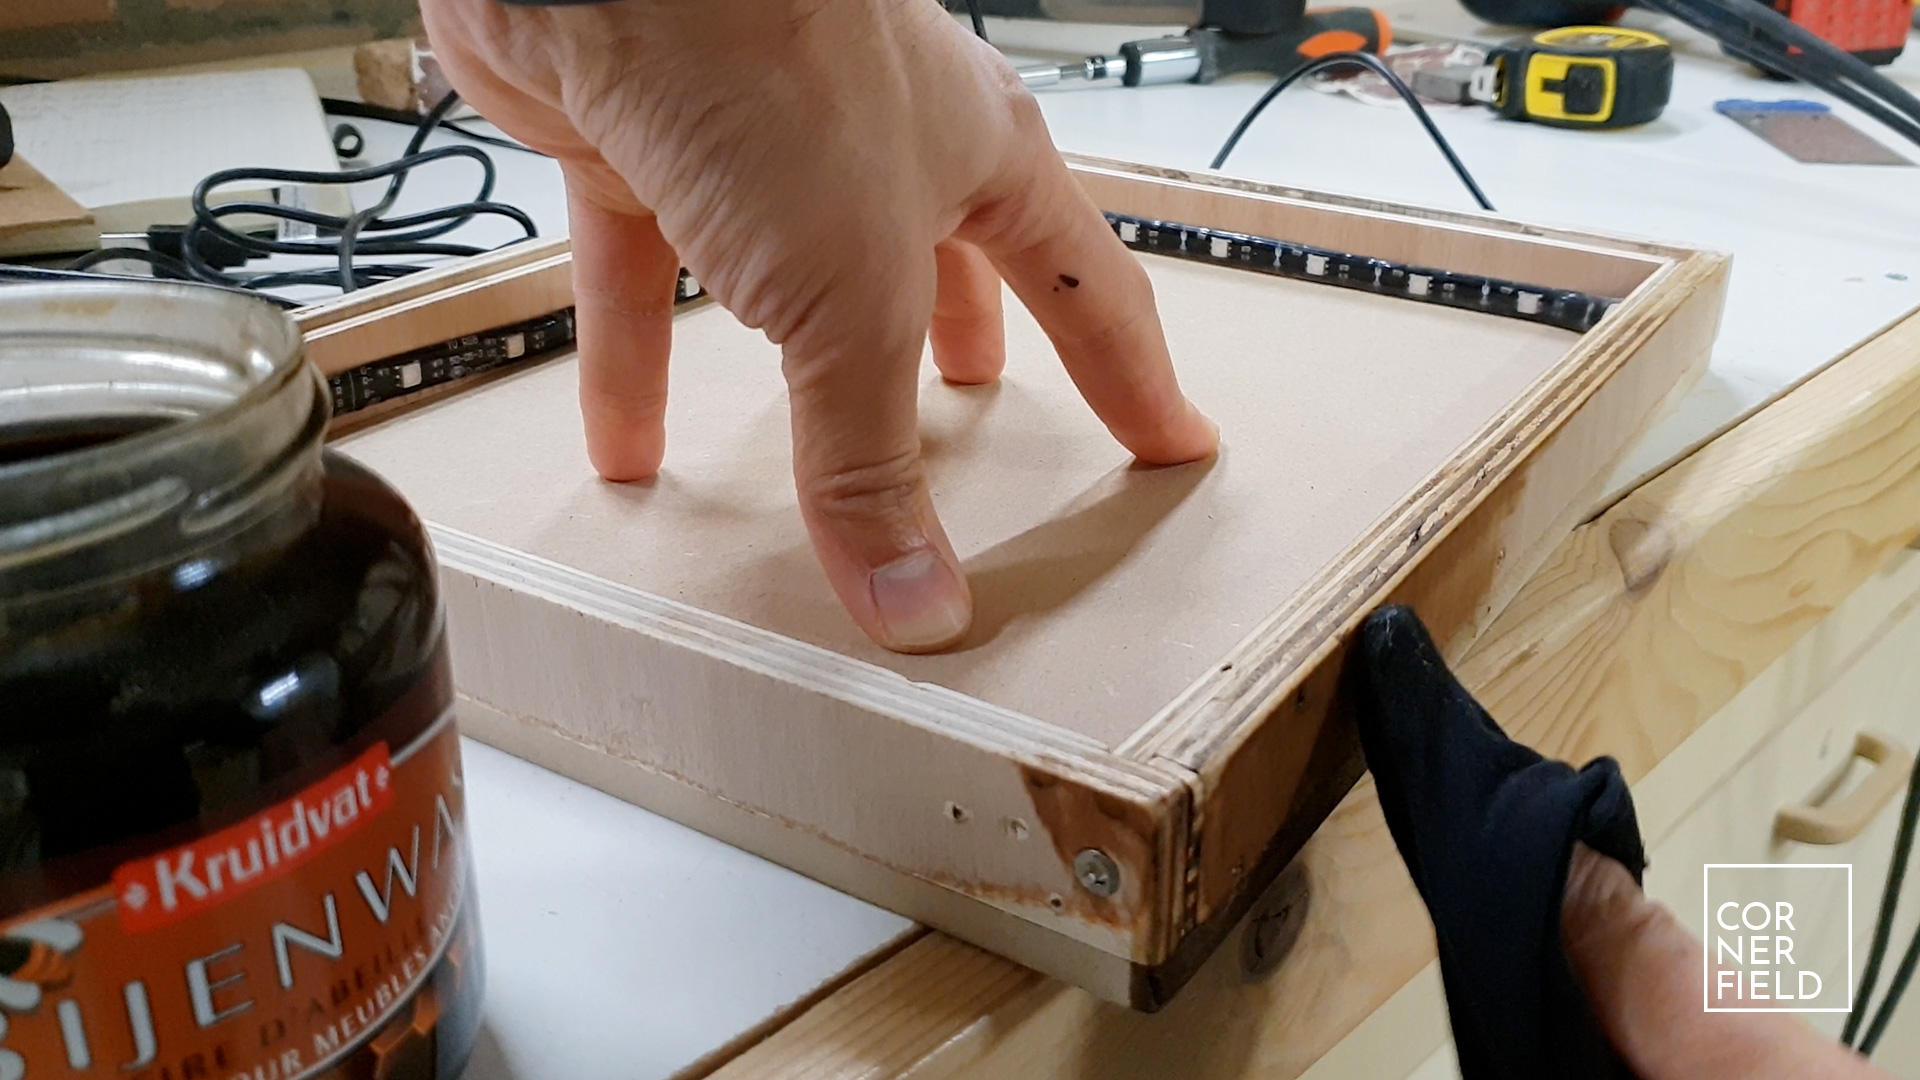
I used some beeswax with a die in it to darken the wood. You don’t have to use a finish but it will make your project last longer when you start using it. After applying the finish it’s a matter of putting in the glass pane and it’s ready for use.
Tip
If you don’t have any glass and have to buy it I recommend using mat plexiglass instead. This diffuses the light better than clear glass. If you have clear glass from a picture frame for example (like I had), then you need to diffuse the light somehow. I used some thin paper beneath the glass but this block quite a bit of light so it’s not ideal.
Result
After a test run, the final build was ready and I’m pretty pleased with the outcome. What I would do differently if I were to make another one is, add a stronger light source or simply more lights. The brighter it is inside, the better the box works.
Links & Download
If you want to build something similar I’ve linked my 3D model below as a download.
SketchUp 3D-model
Instagram 1 | 2
Hope this post has inspired you to make something!
And don’t forget to follow your excitement 

Add comment