

This build is my attempt at building the jig from Fine Woodworking by David Sutter (link below).
Design
I used the design that David describes in his article. Check that out for more details on dimensions, etc.. Below is the artist impression made by Jim Richey to illustrate what the end result will look like.

Build
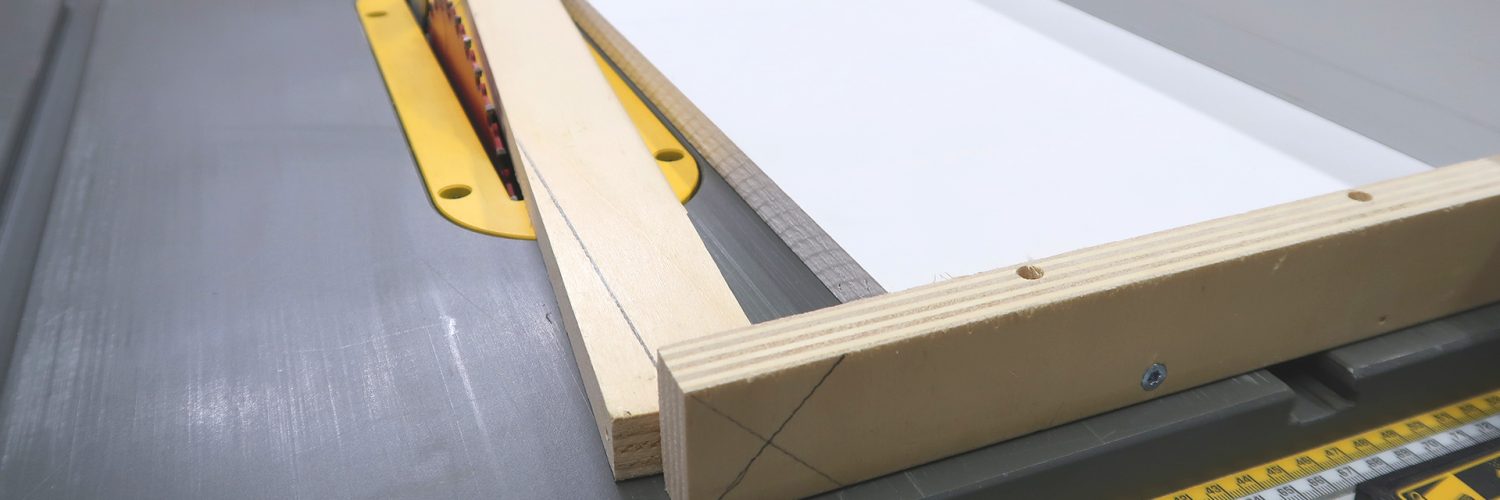
The build is basically just a few steps. Find two pieces of wood. I used a plywood base and back piece. Square up the pieces and connect them with the back piece overhanging on one side. This overhang is crucial for the build so don’t accidentally cut it flush. Last is to partially drive in a set screw in the side of the plywood where it meets the back. That’s it, you are ready to cut your tapers.
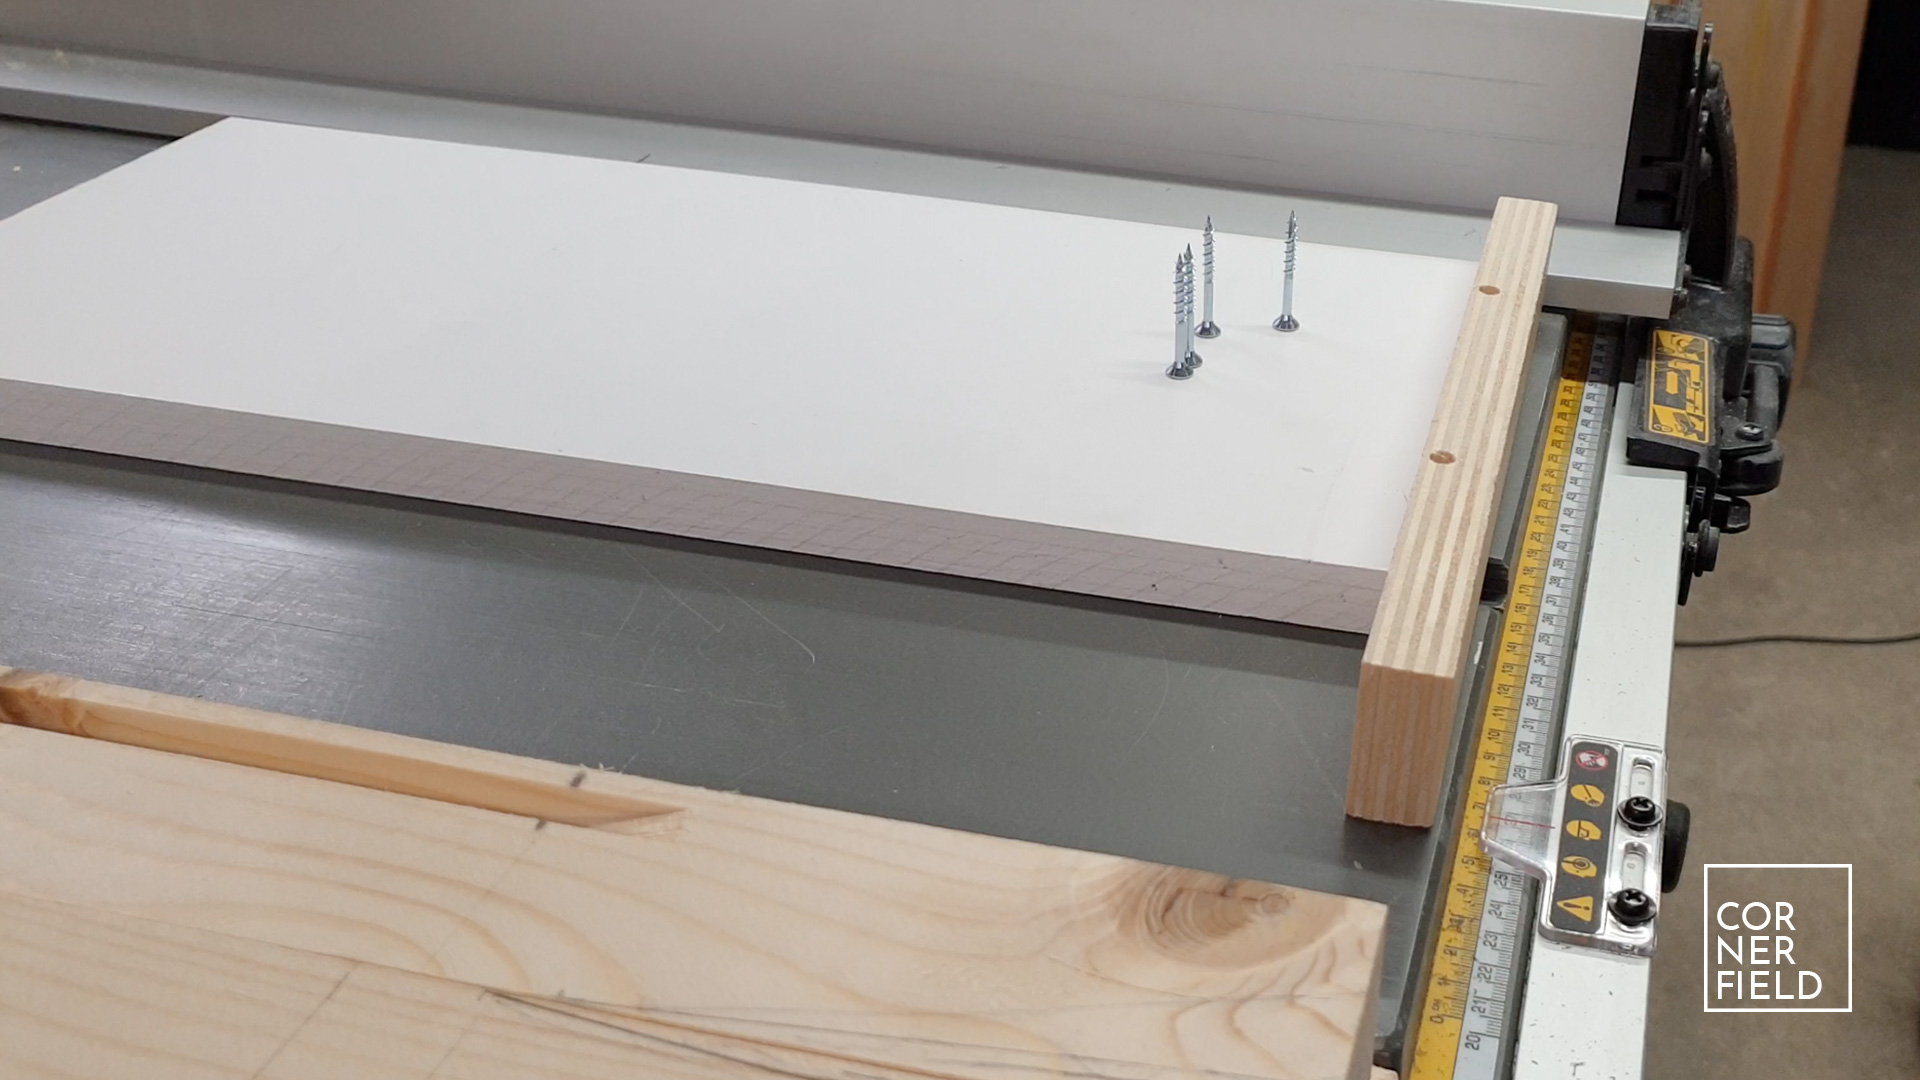
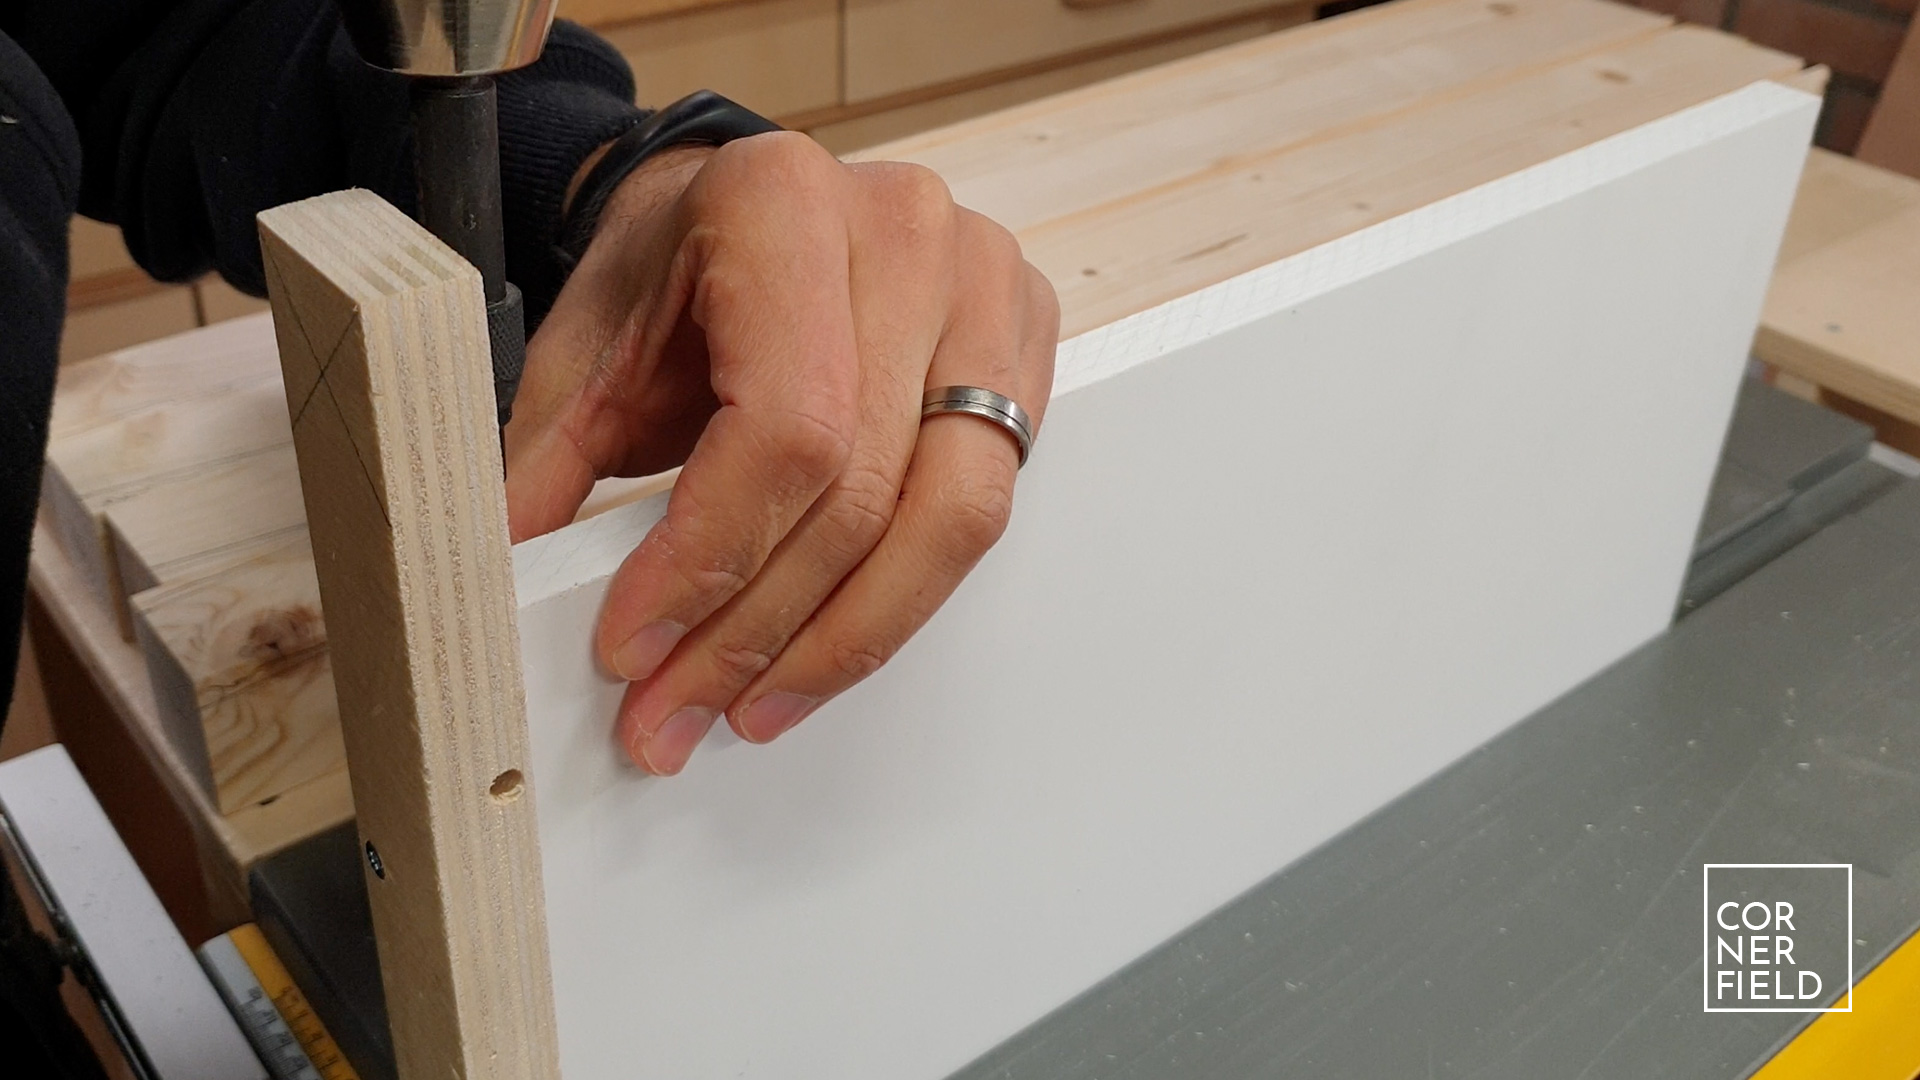
To make a cut you first measure and mark your taper. Also, mark on the side where the taper should start. Then tweak the set screw to cut the correct taper. When that’s done you’re ready to make the cut. Repeatable to multiple pieces.


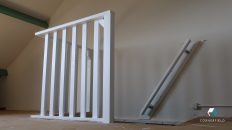
Result
A jig that is going to come in very handy, I love it! It’s quick to set up and easy to use.
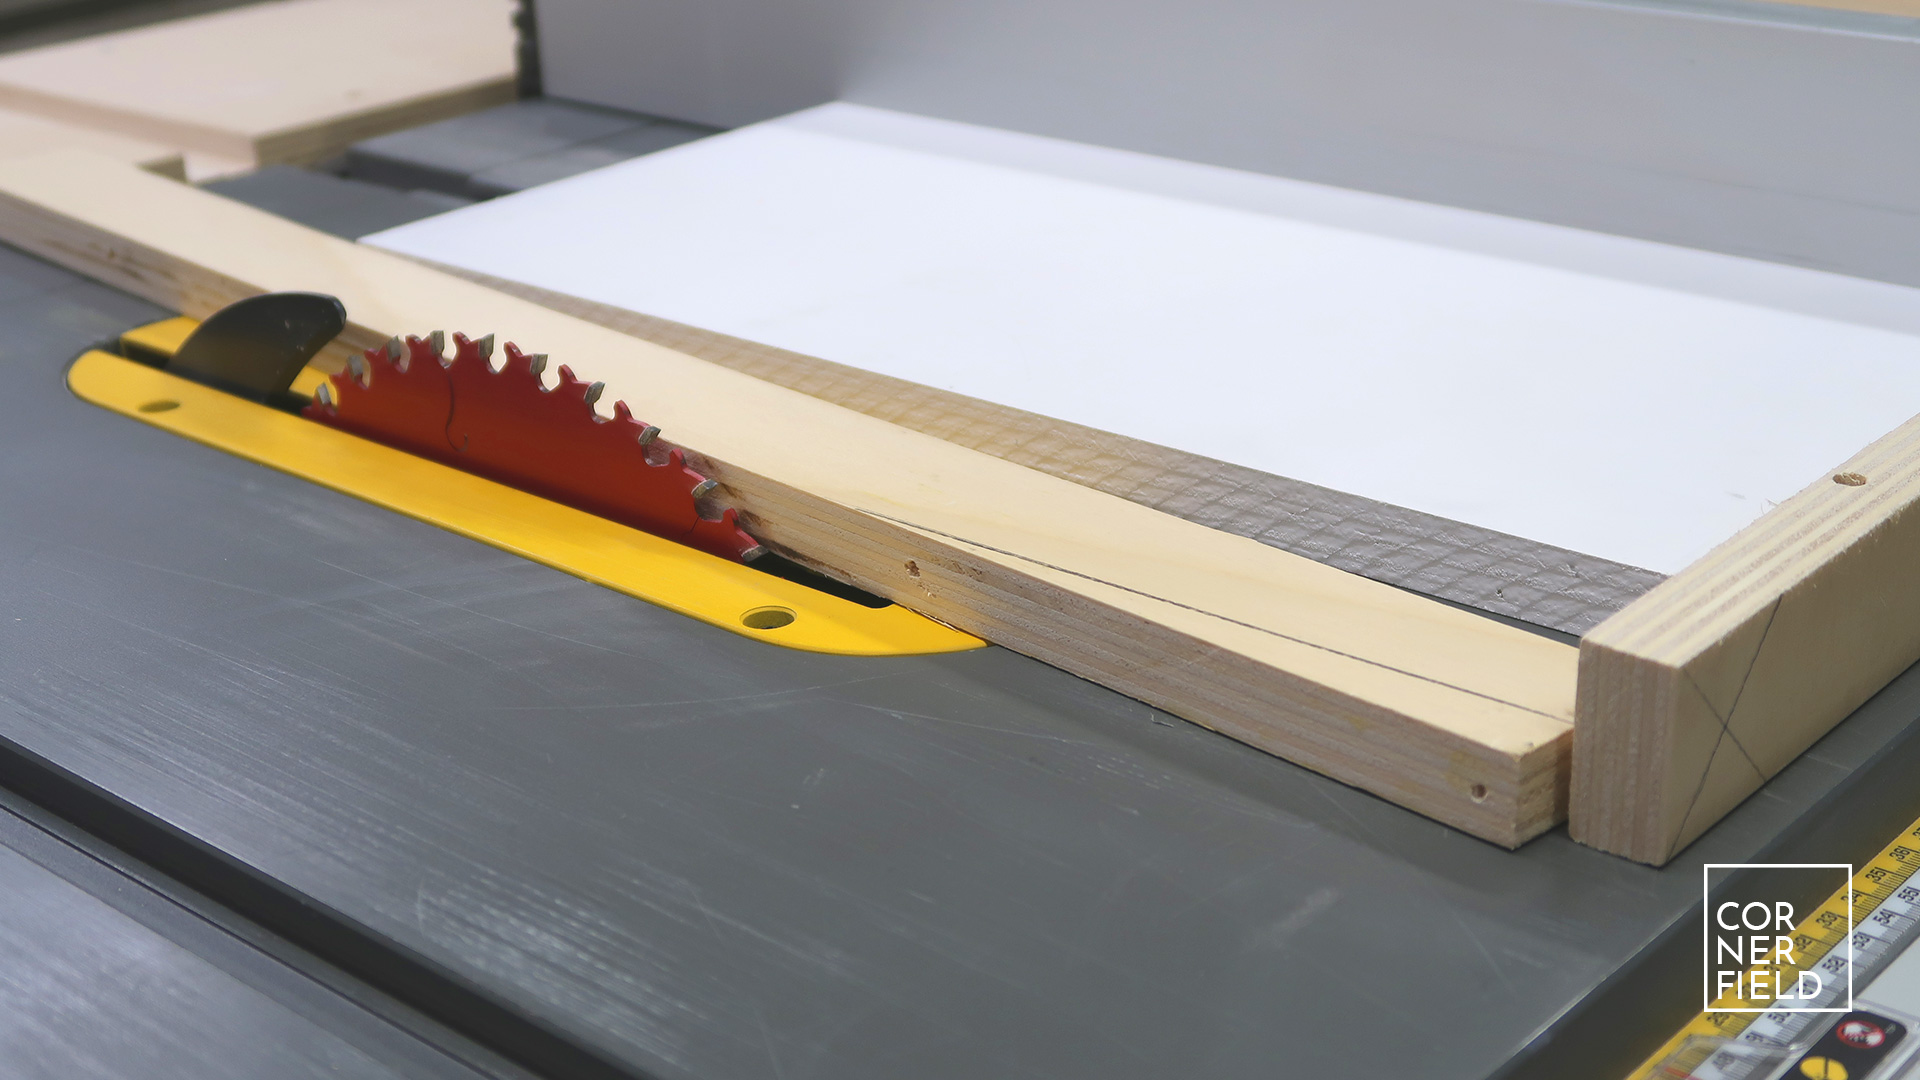
One thing worth mentioning is that you come close to blade using this jig, so what closely where you position your hands. Always respect your tools and be careful when using them. Don’t get distracted, focus on what you are doing and be safe.
Links
If you want to build something similar I’ve linked to the original article below:
www.finewoodworking.com/2008/02/05/simple-precise-tapering-jig
Hope this post has inspired you to make something!
And don’t forget to follow your excitement 


We love your content. Regards from Pissouri Bay Divers from Cyprus!
Thanks! Greetings back from the Netherlands 🙂