

For the room of our newest addition of the family, I decided to build this changing table.
Design
When designing this build there was more to consider than just appearance. It had to be practical and safe to use. My first step was to take a look at other examples that you can buy to find out if there are some specific requirements to consider. Height was an important aspect but other than that I didn’t find anything specific for this project. Off course it should be sturdy but that goes for all furniture.
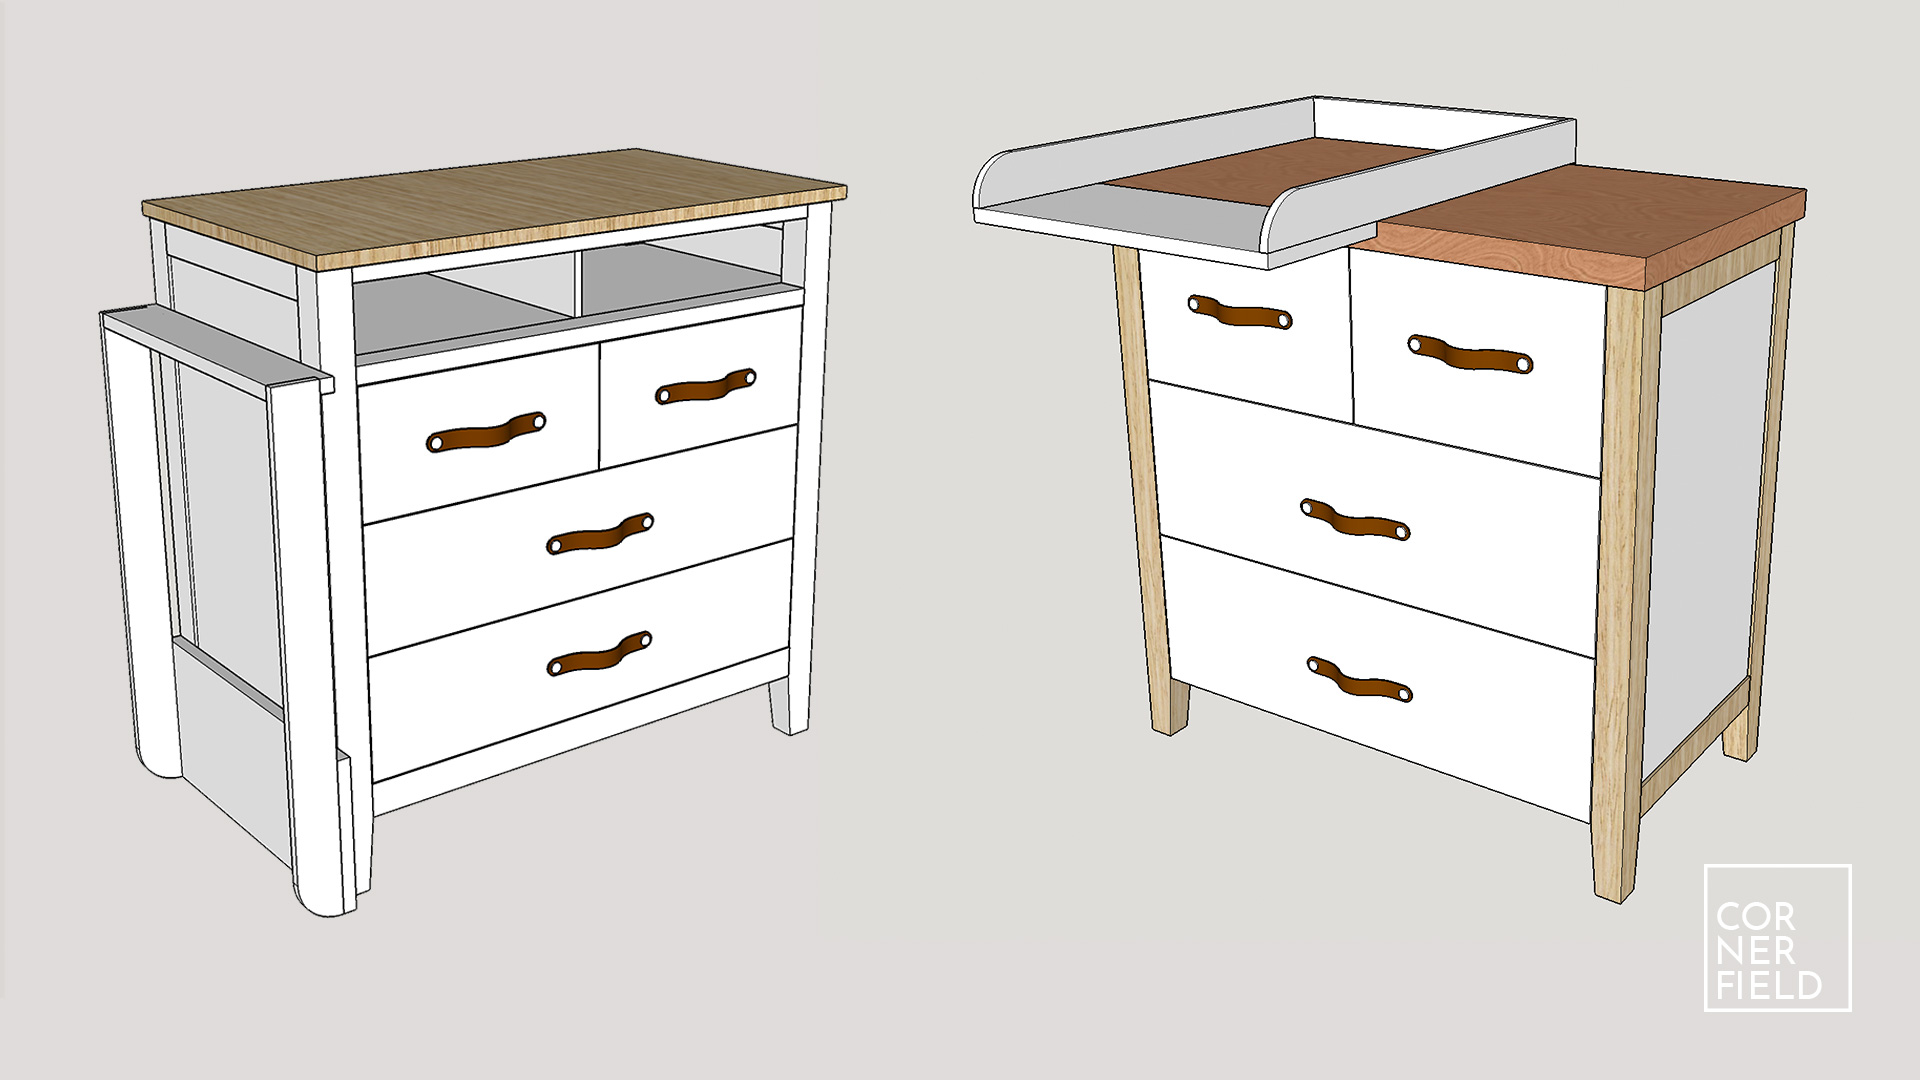
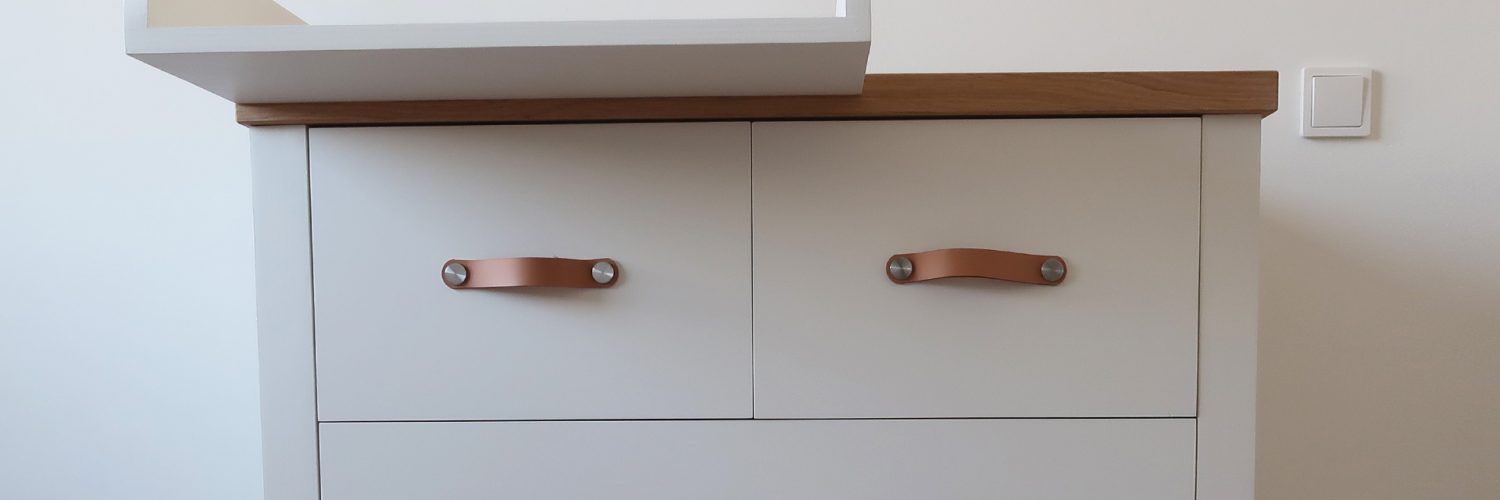
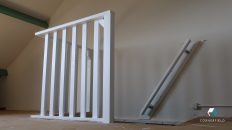
Since we want the overall design of the room to be clean the cabinet is predominantly white with some leather and wood accents. I’m happy with how it looks and I have my list of materials so let’s get started on the build. If you want to build something like this yourself I have a download of my Sketchup file at the end of the article.
Build
Materials
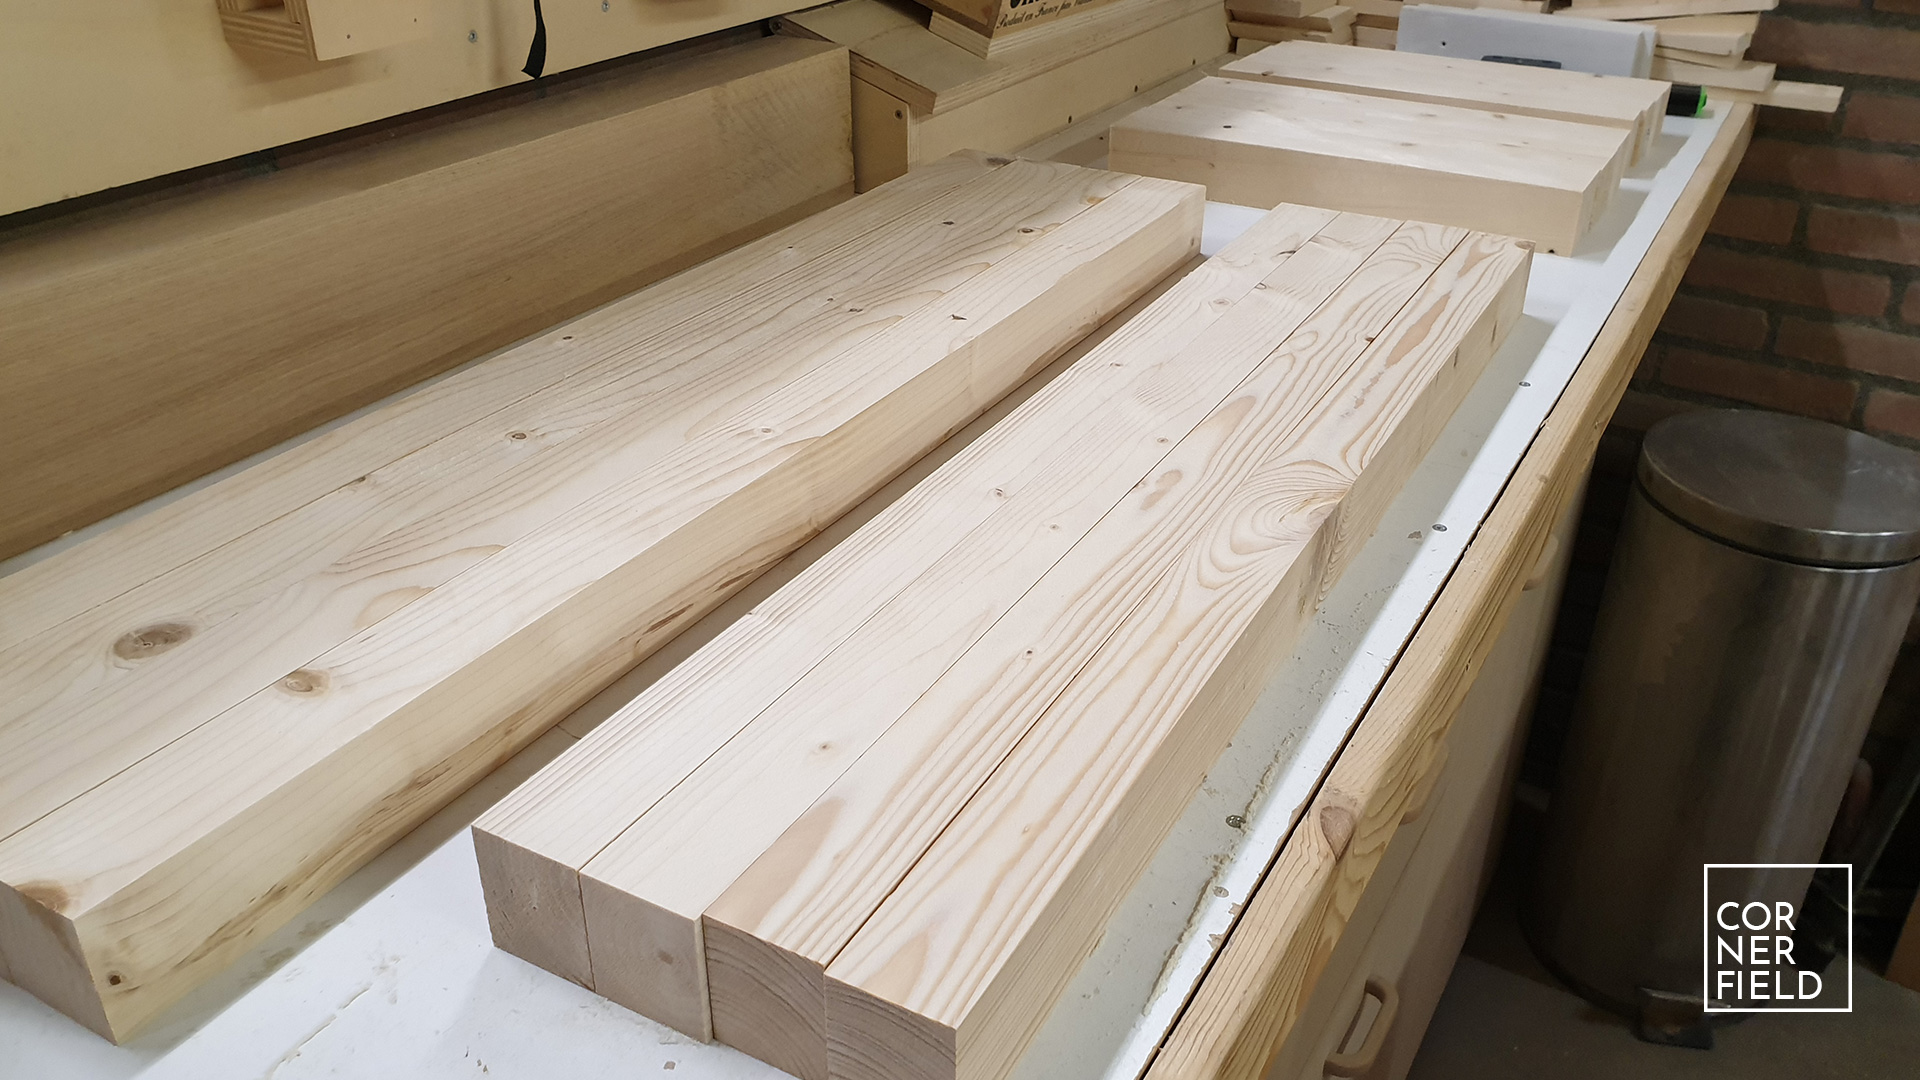
To start this build the first step is to get all the required materials.
You will need the following:
- Pine or Spruce for the frame,
- Plywood (18mm) for the drawers,
- MDF (9mm) for the panels,
- Oak (or any other hardwood) for the top,
- Screws,
- Glue,
- Drawer hardware (slides),
- Drawer pulls or handles,
- Paint plus all the painting tools like brushes.
I didn’t include the required tools in this list. If you are interested in any of the tools I used for this build leave a comment below.
Dimensioning
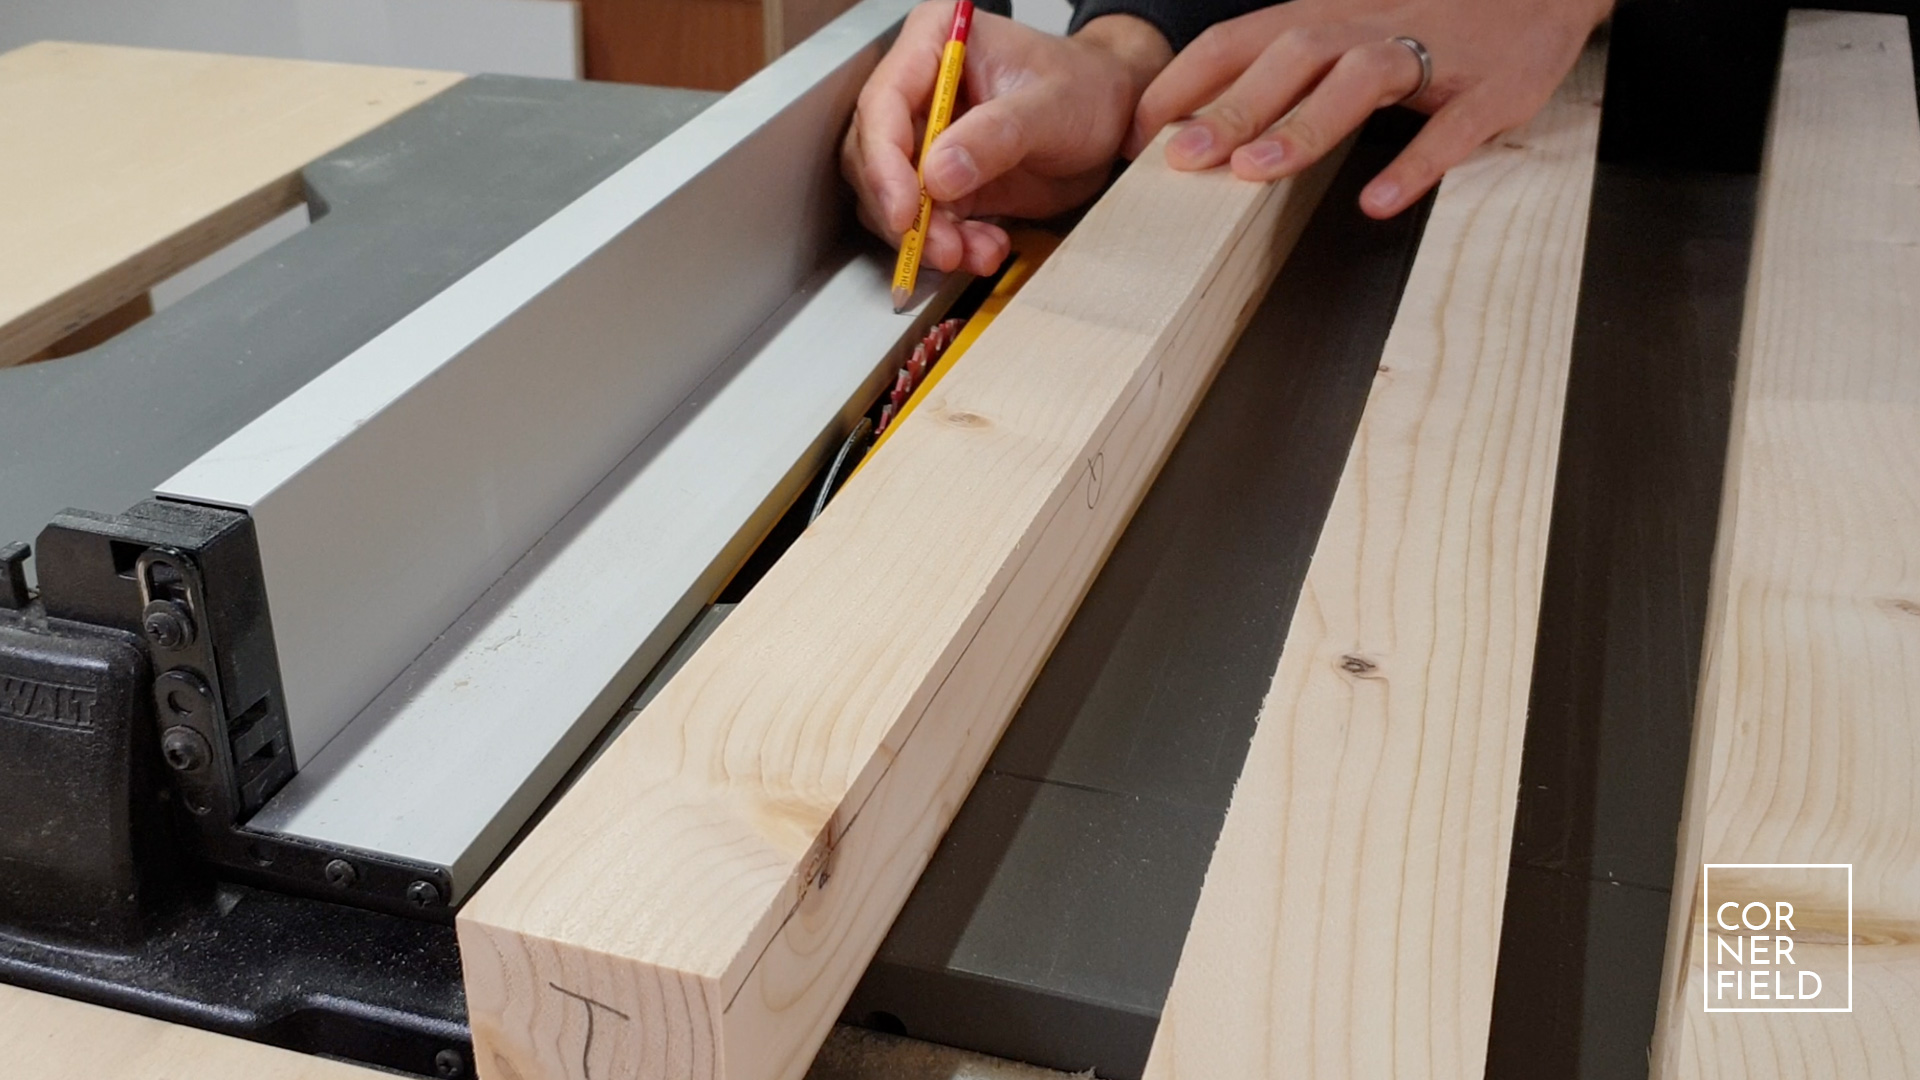
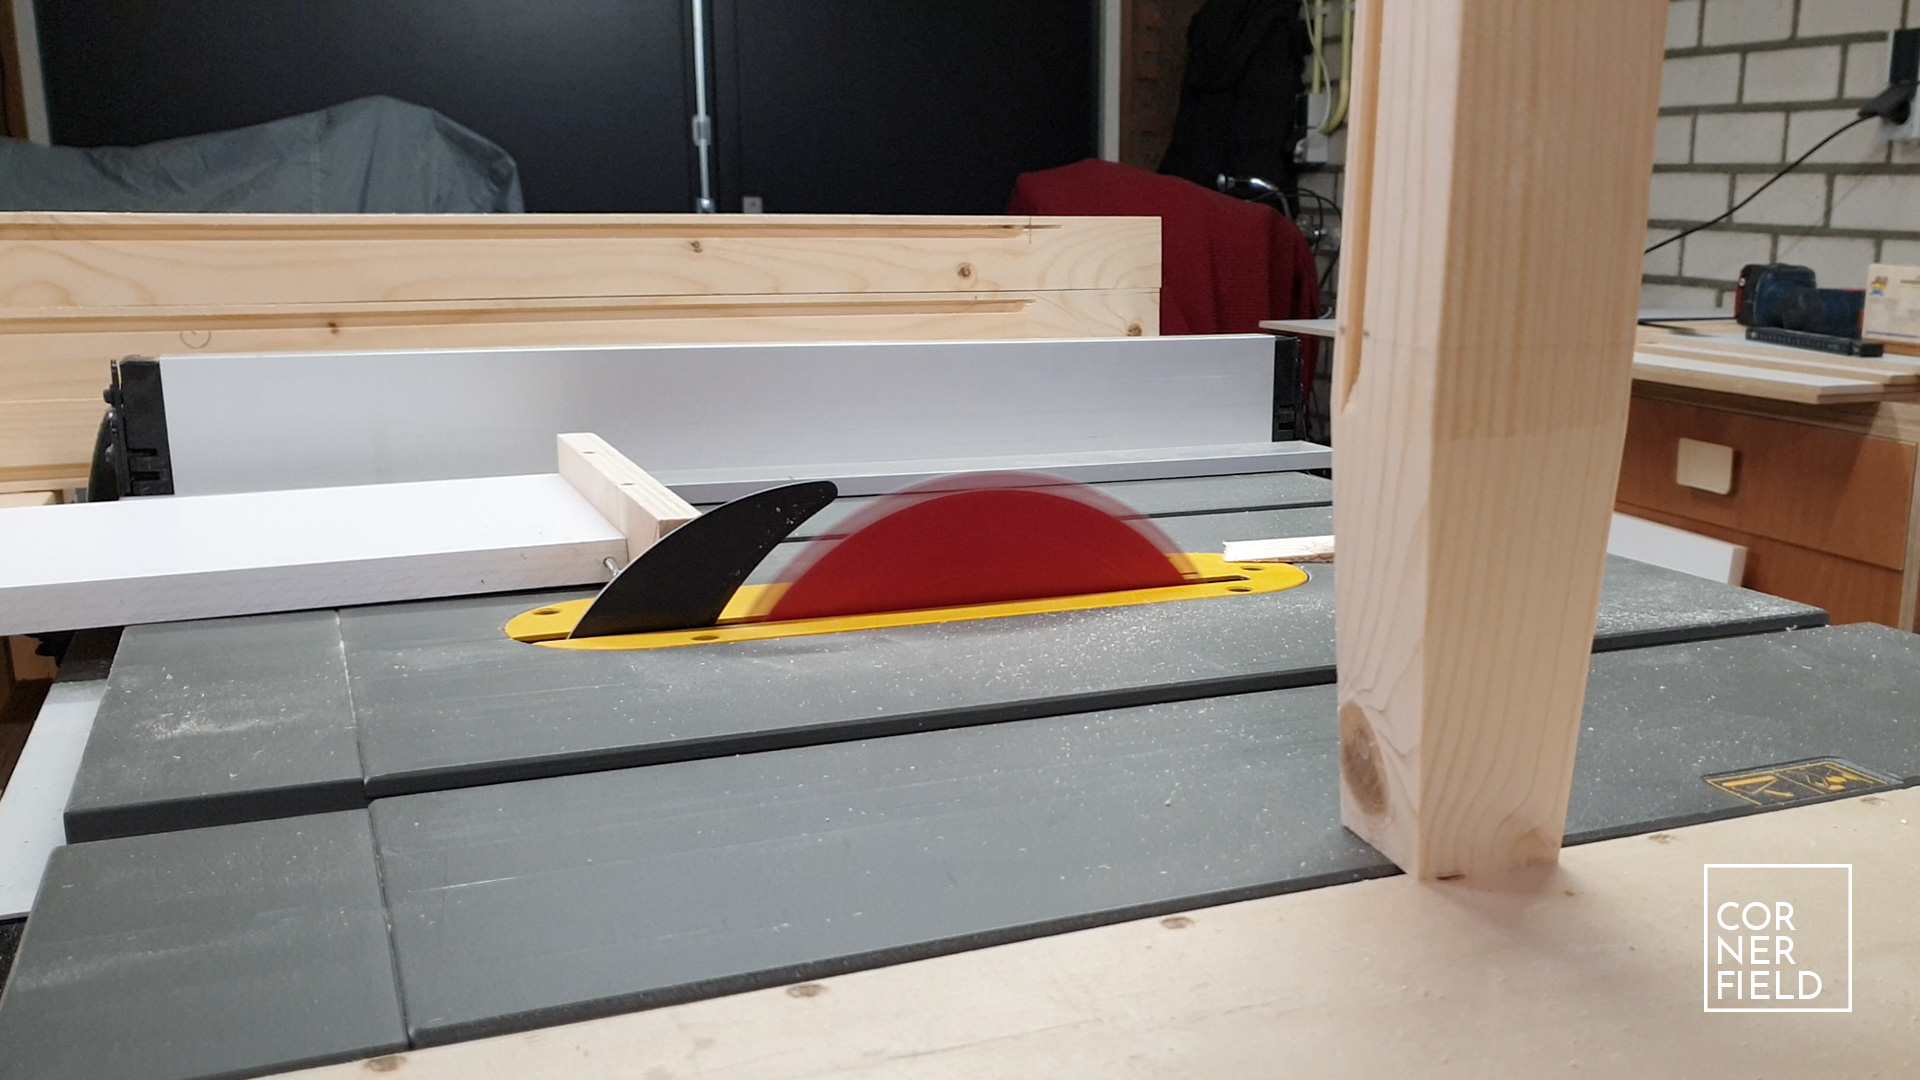
With all the required materials gathered I start by cutting the wood for the frame to size. After everything has the correct dimensions I make slots in the legs for the panels to go into. You can use a router(table) for this if you have one but I don’t, so I used my table saw instead. My approach was to mark to where the slot should go on the legs and marking on my fence to where the blade cuts. Using these two marks I could stop at the correct point. After moving my fence a few times the slots where wide enough to hold the panels.
The Frame
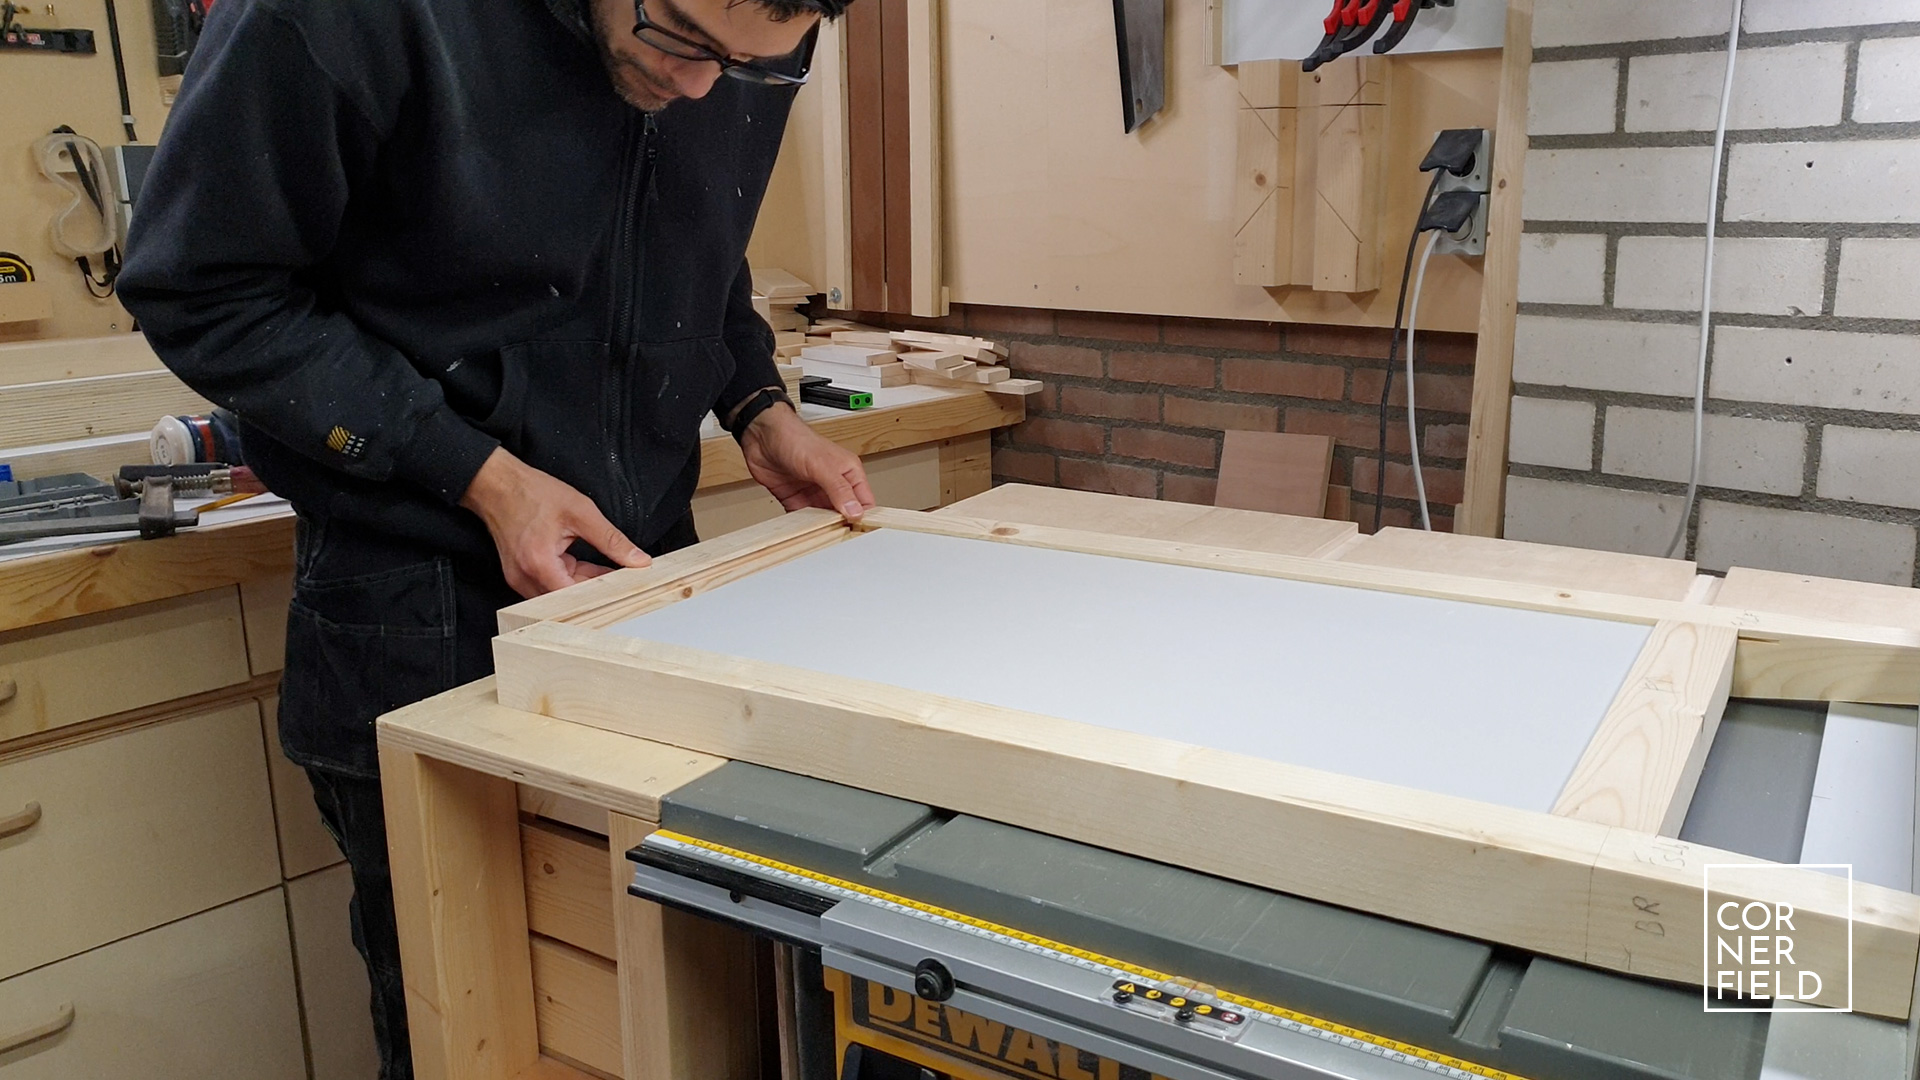
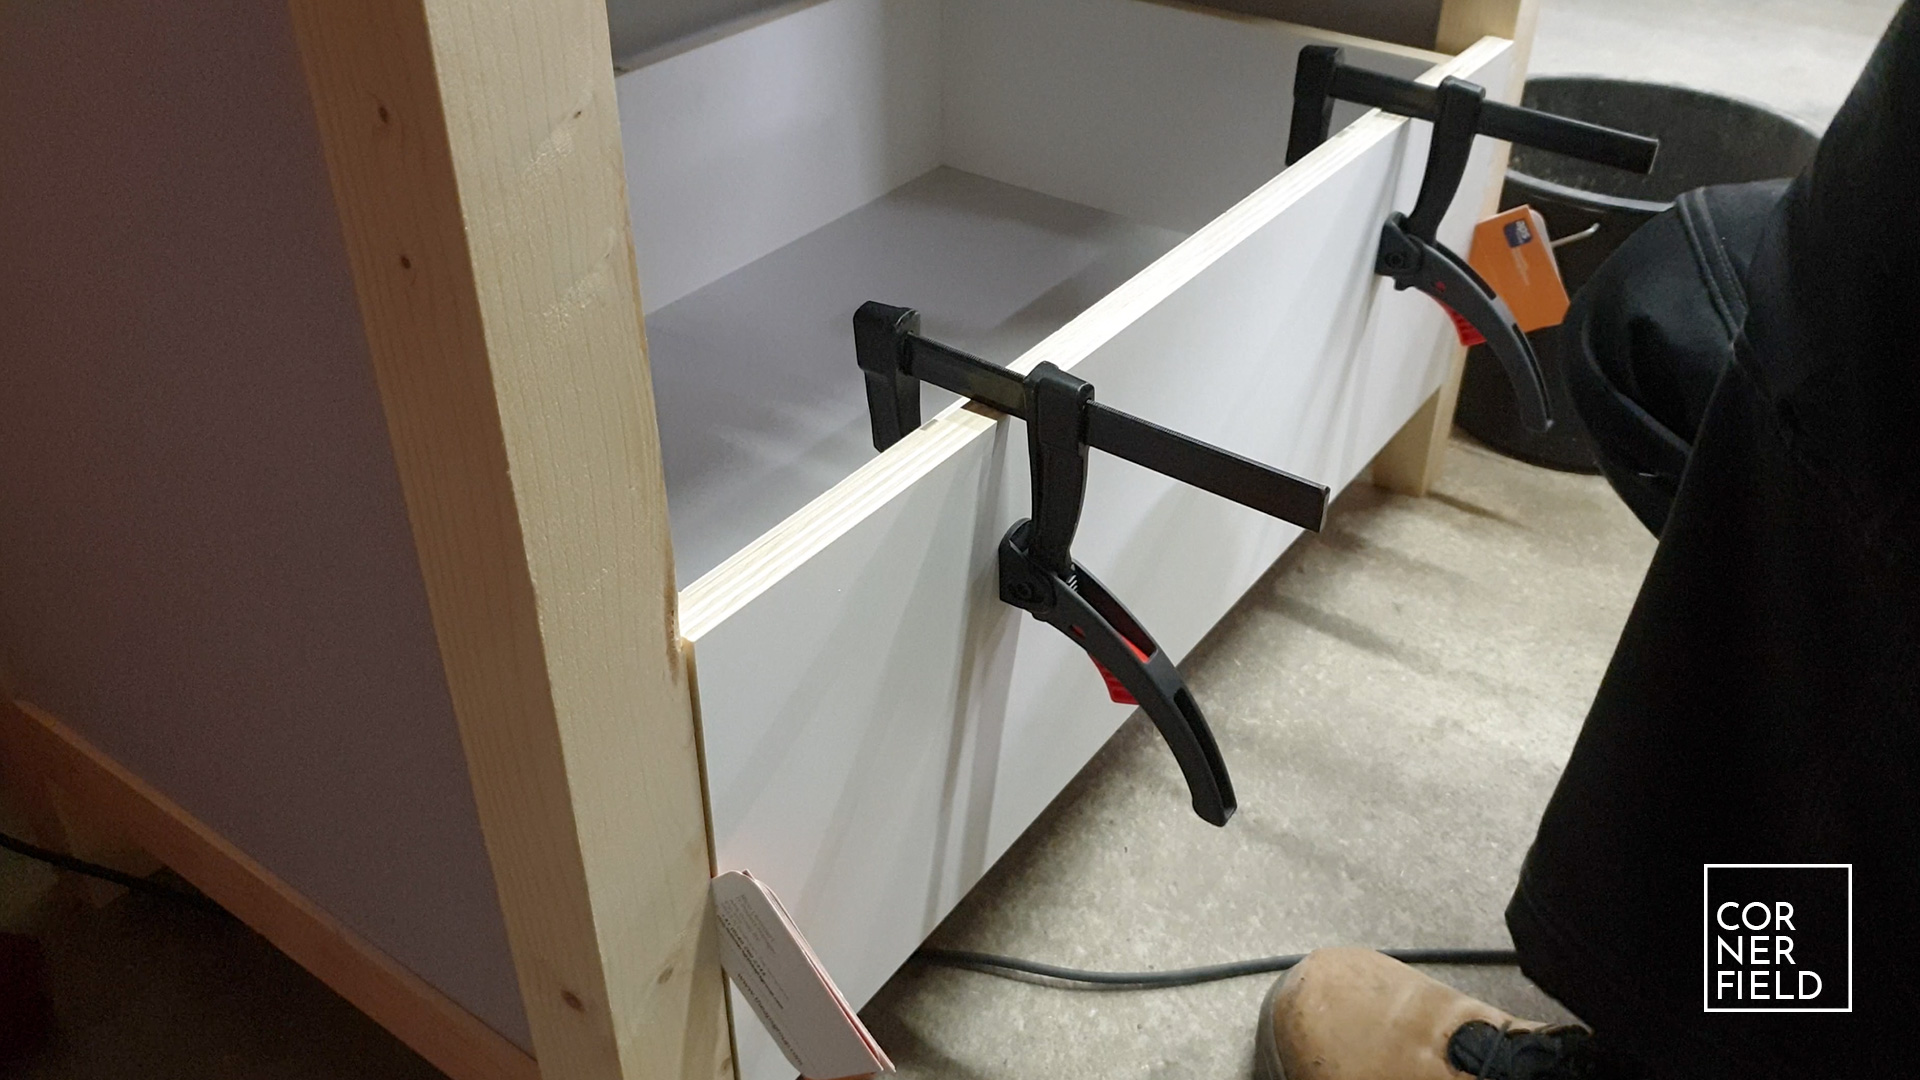
Before assembling the frame I cut some tapers on the legs just to make it look a little nicer. For more details on how to do that check out my article here. For assembling the sides and connecting the sides to each other I used pocket holes. Another option would be to use dowels. If neither is an option a good alternative is to pre-drill holes and using screws from the outside. Hide the screws under the surface and later fill the holes with dowels or wood filler. When attaching the stretchers on the front keep in mind that the drawer faces should sit flush with the sides. This means mounting the stretchers slightly backward.

With the frame assembled it was time to build the drawers.
Drawers
To make the drawers I’m using 18mm plywood for the sides and the false fronts. The bottom is made from 9mm MDF. You could get away with using thinner material, leaving more room for the inside of the drawer. My assembly method for drawers is always the same. I cut slots in the sides, slide the bottom panel in and fasten everything with glue and screws. The false front goes on last and can (depending on your hardware) be fastened using the screws for the pulls. For a more detailed description on making and attaching drawers check out this video and article.


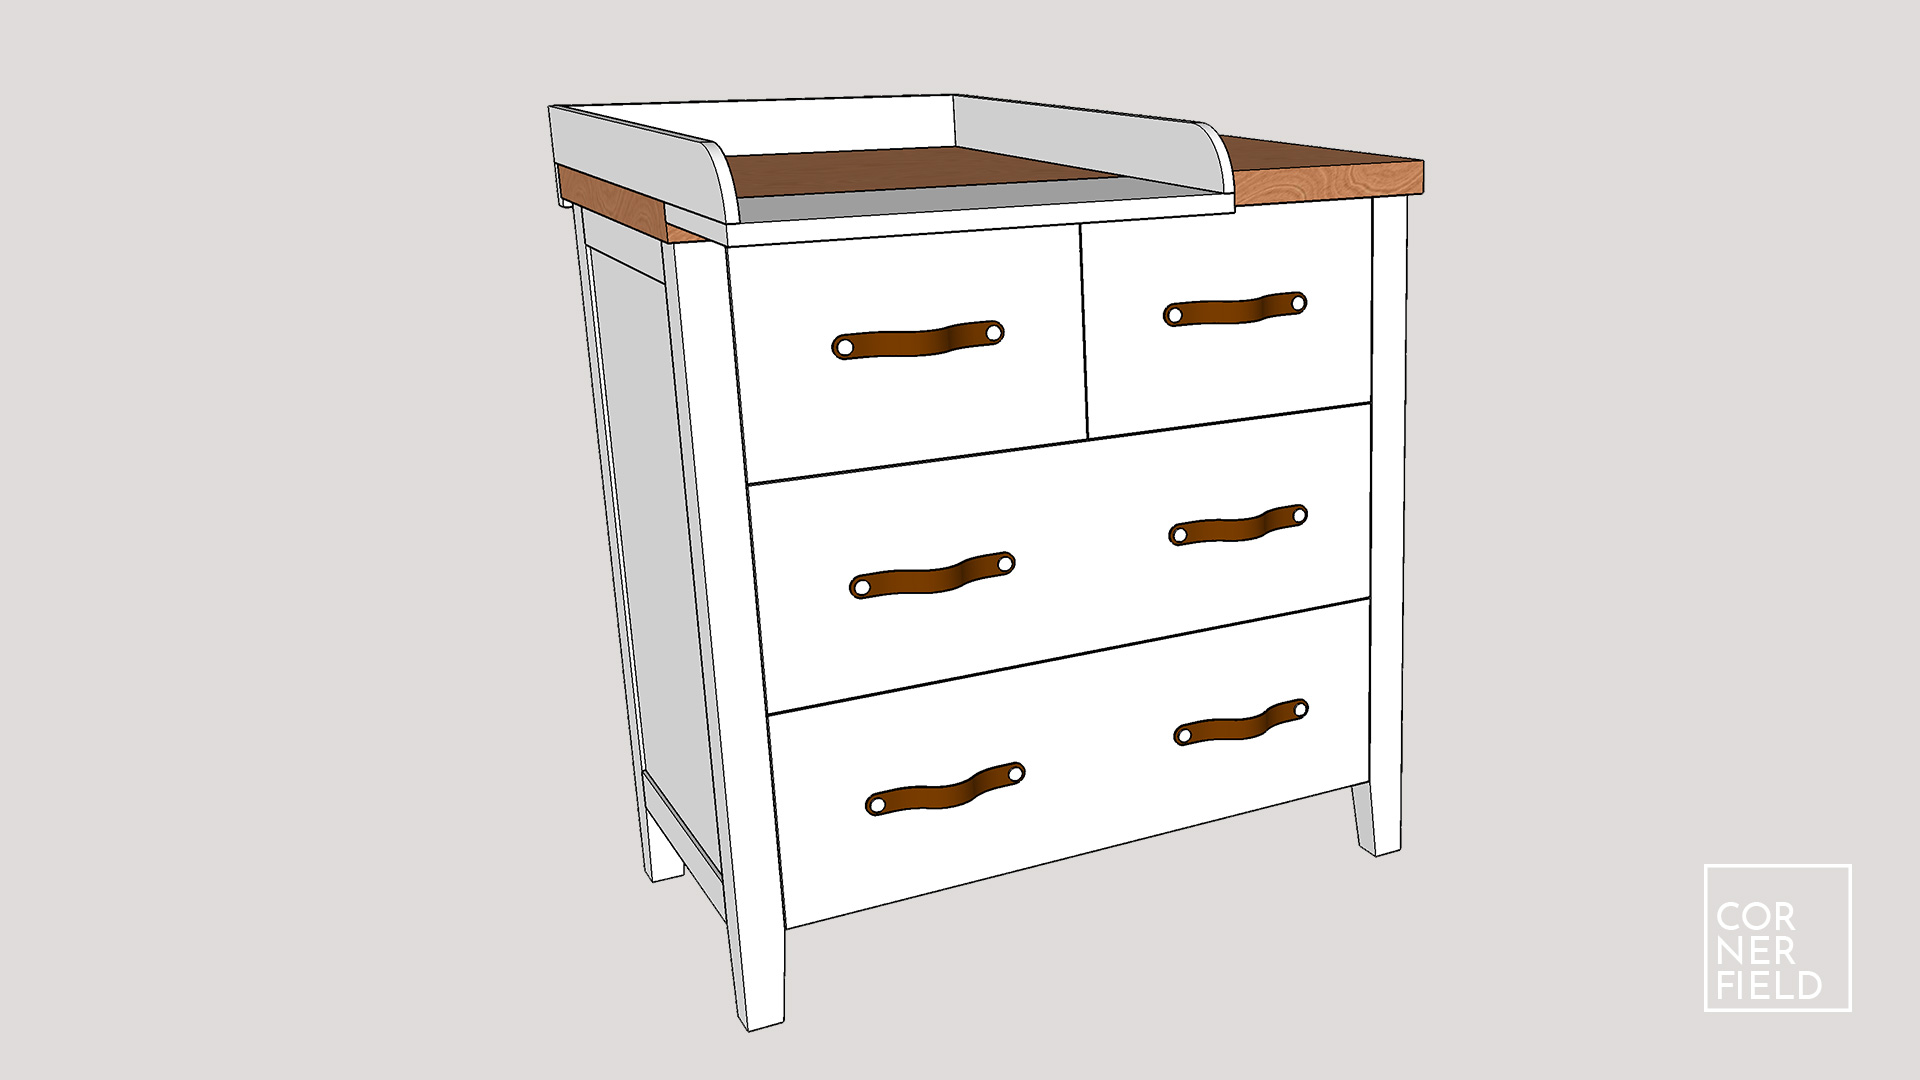
Top & Extension
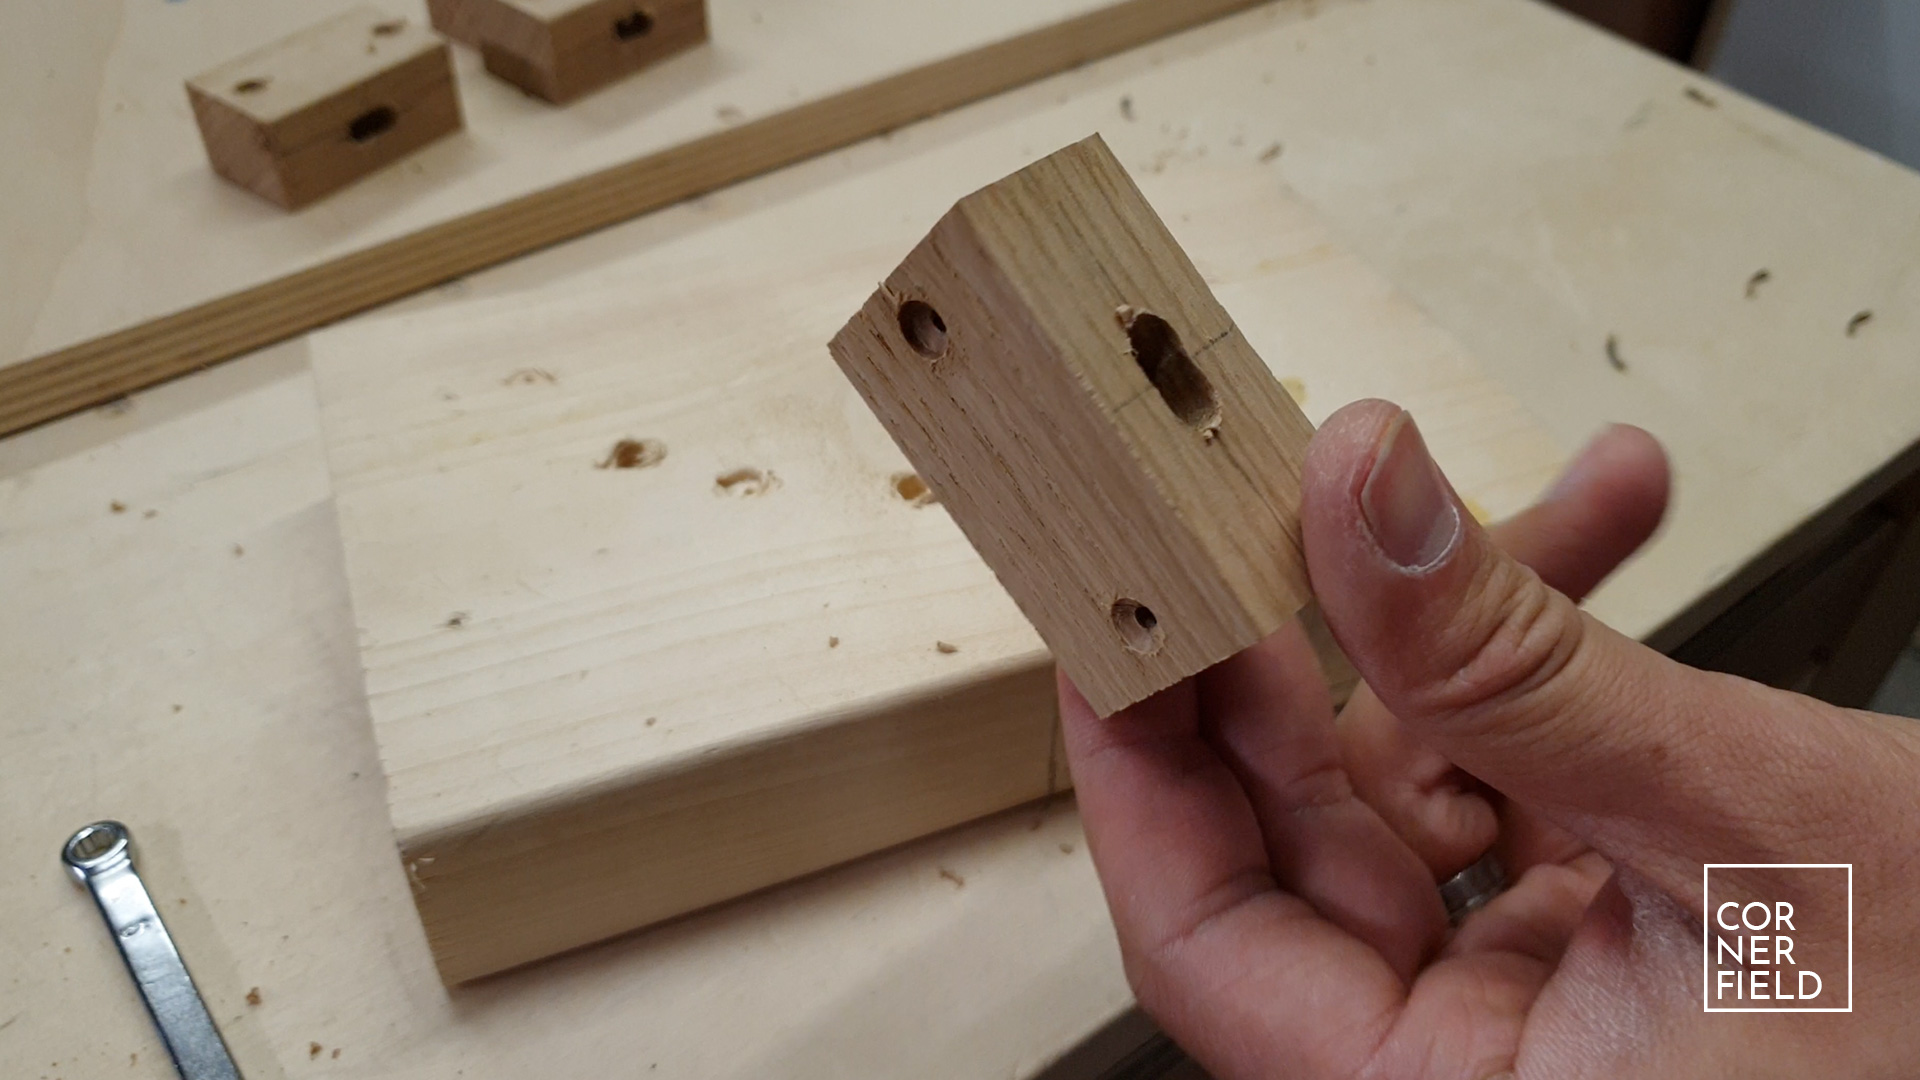
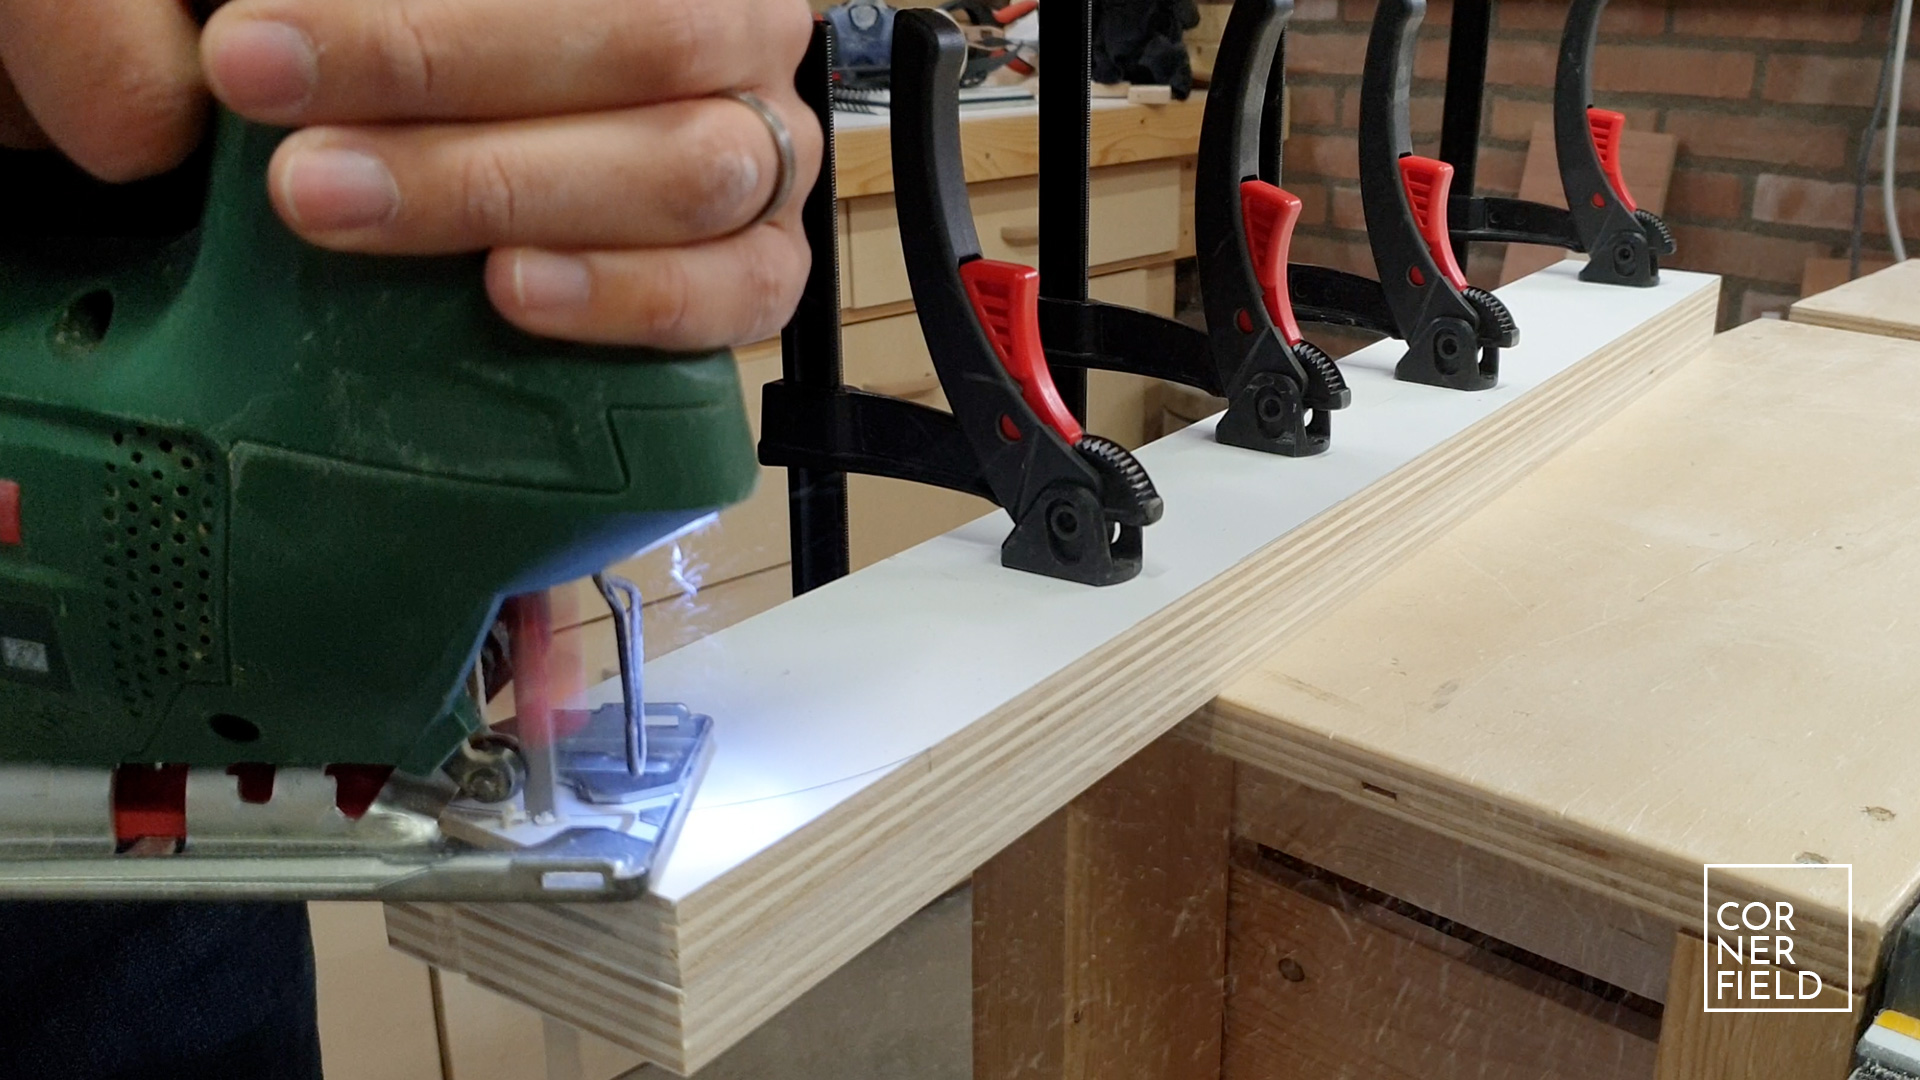
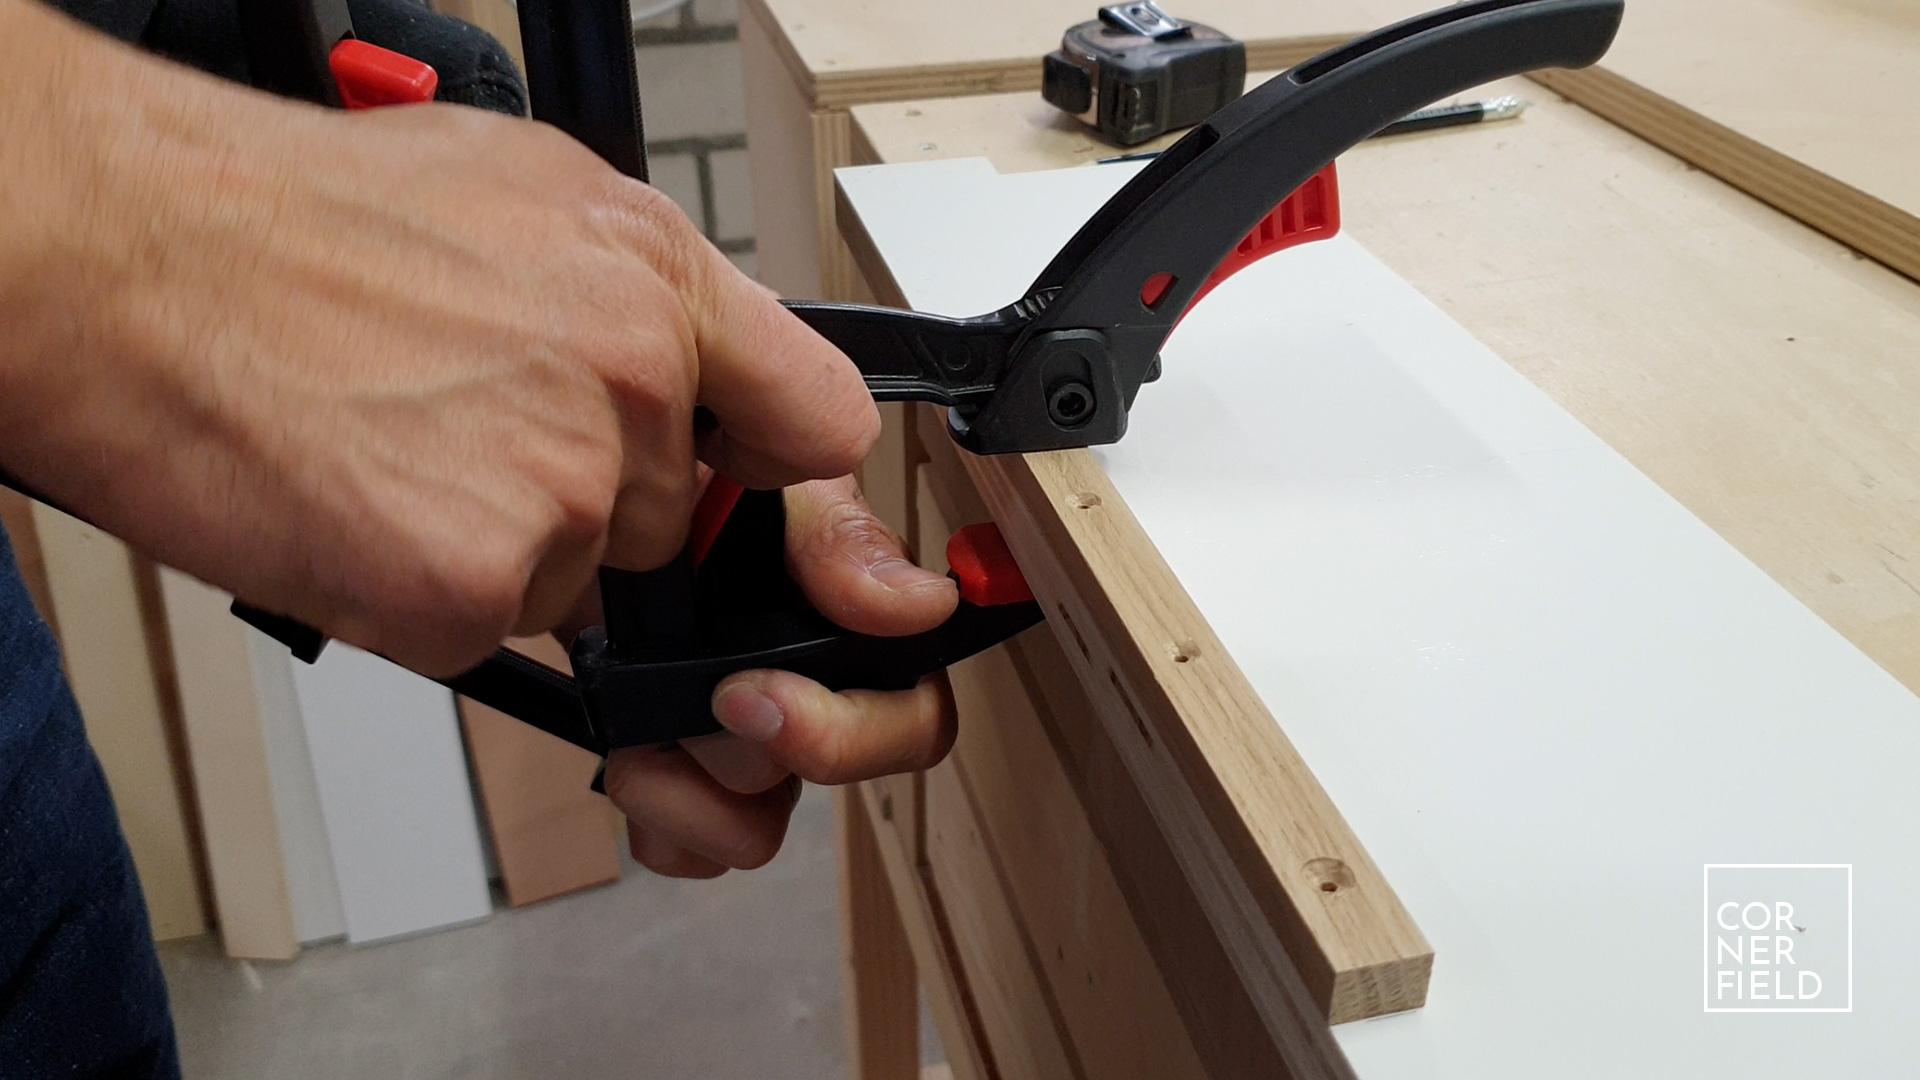
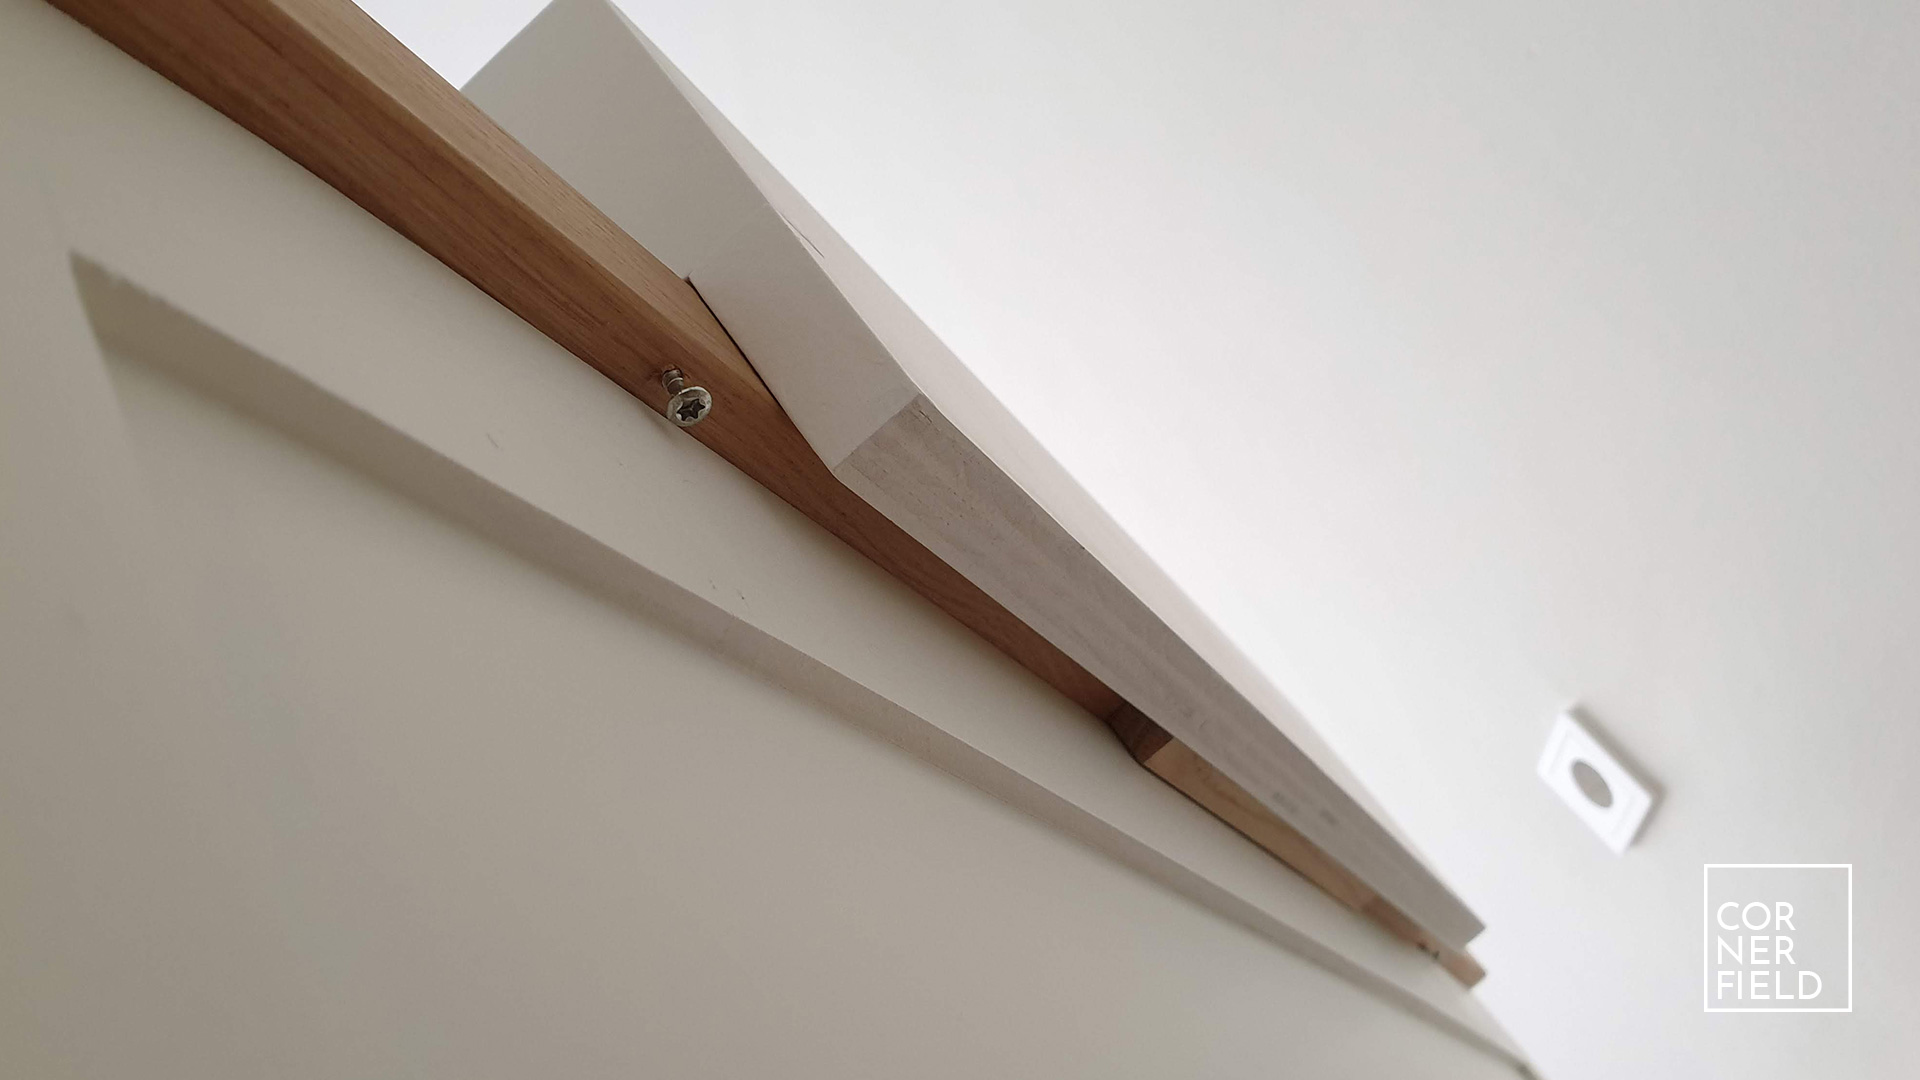
The final step in my build was fastening the top to the frame and building the extension for the changing pillow. Since the top is hardwood and the grain will expand and contract during the seasons I use blocks to fasten it. The blocks have wide slots so the screw and washer to hold down the top can slide around when the wood starts to move.
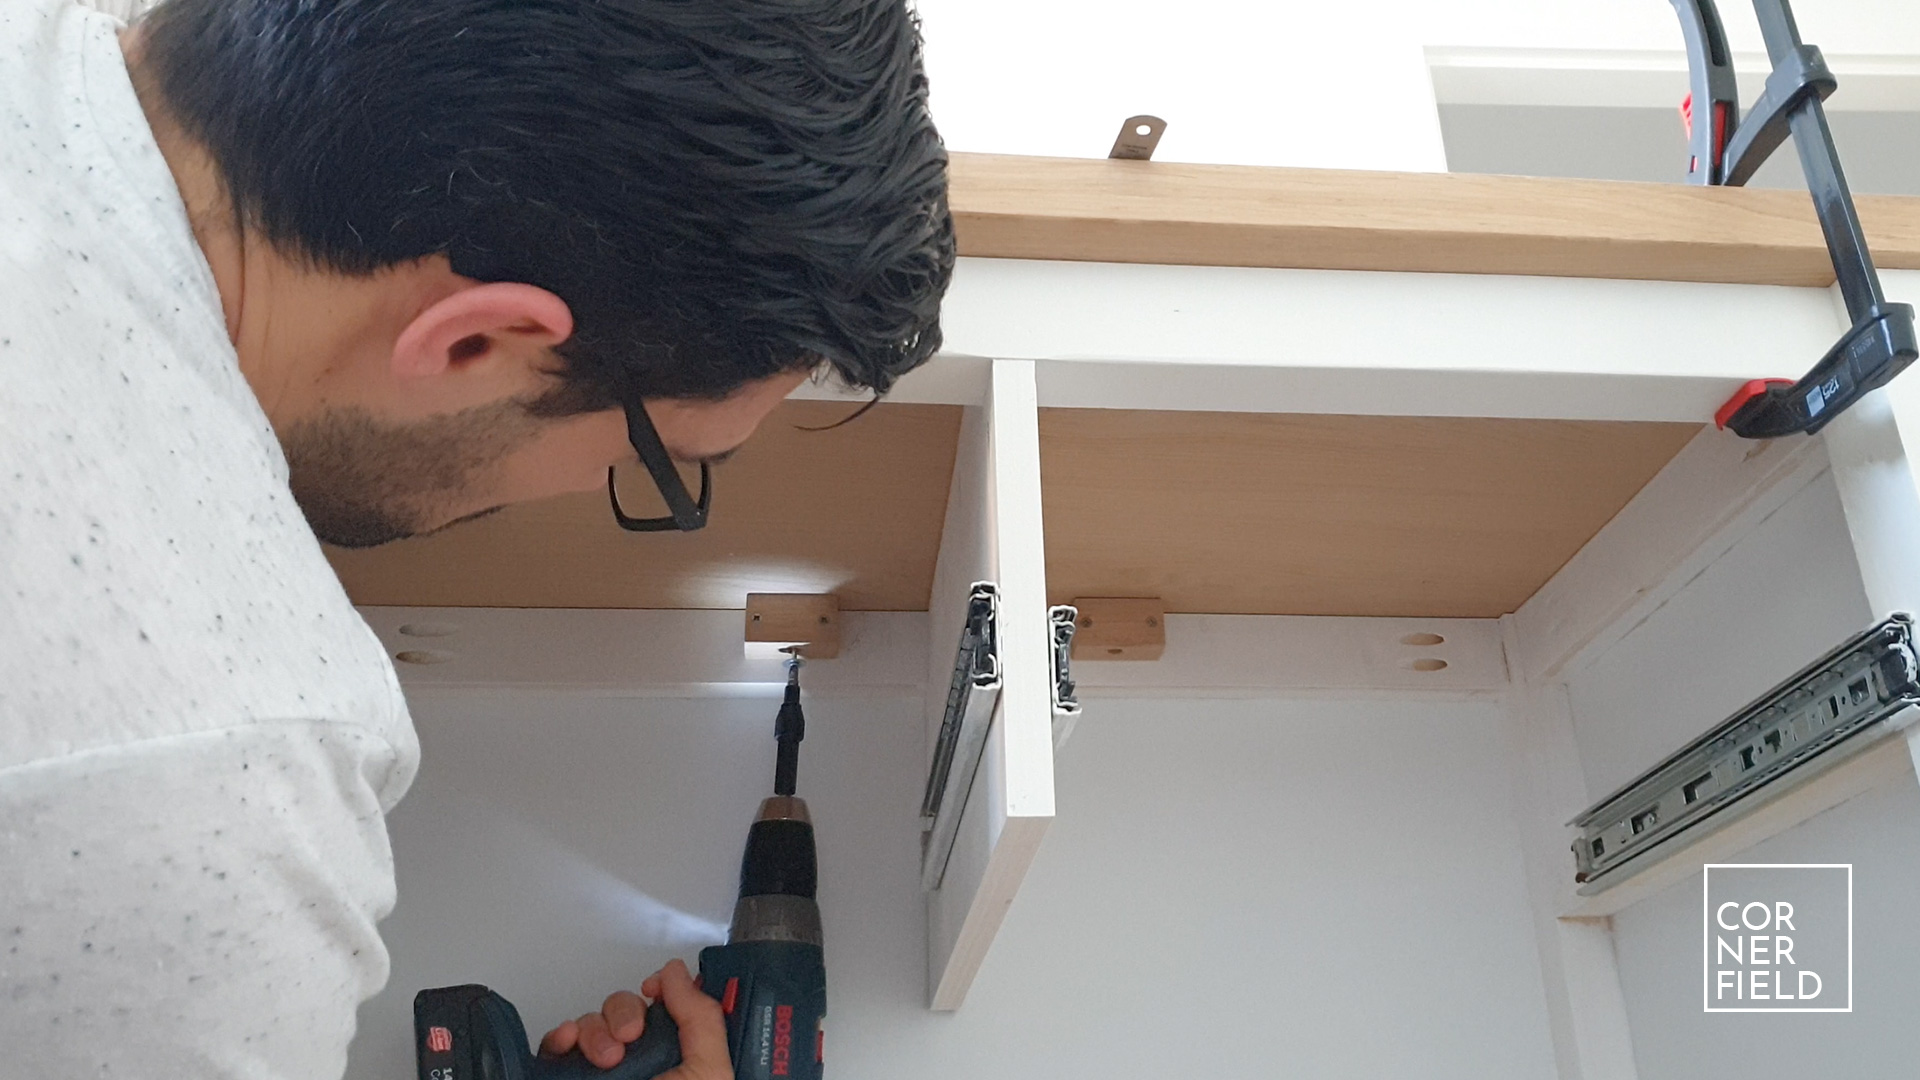
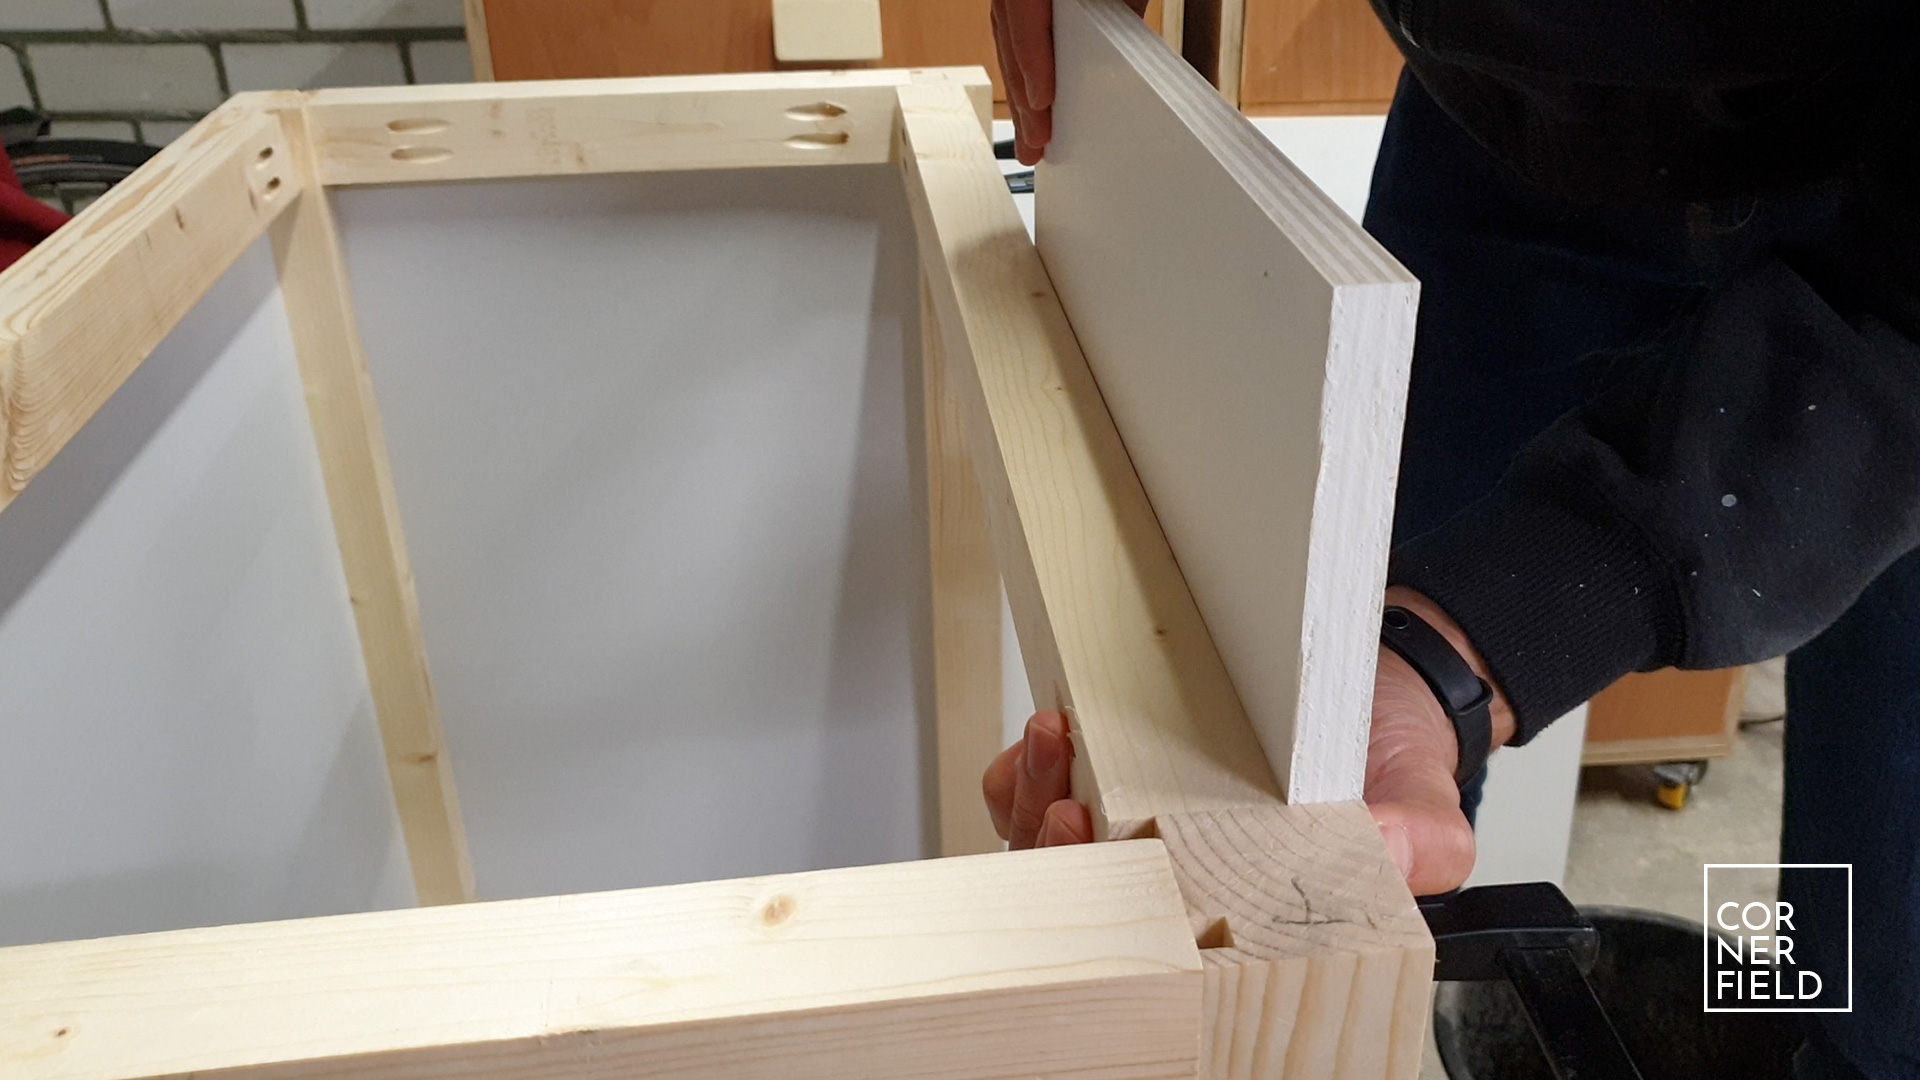
The extension for the top is made from 4 pieces of plywood and a block of oak. The construction is very simple. There are 2 sides that receive a curved front. These pieces fall into slots cut into a vertical back piece. In the front, a horizontal piece is attached to extend the surface of the top. Everything is attached using glue and screws. The screws are below the surface and later hidden with wood filler. To ensure the top doesn’t tip over forward the block of Oak is fastened to the bottom of the back piece. Important here is that it snugly fits around the top. So make sure the back piece is correctly measured to correspond with the thickness of your top.

Finish
All the components are complete and it’s ready for paint. My first step for this build was to apply wood filler to all the holes I wanted to hide. After that was dry I could go through the grids and sand everything nice and smooth. I degreased the surfaces and applied the first coat of primer. In total, I applied three coats of primer before the final paint. The paint I used is mat in the color RAL 9010.
Result
This was an ambitious project for me however it turned out better then I had hoped. It looks like something you buy and that is the biggest compliment I can get. If someone asks “where did you buy this?”. The end result really is very nice. I’m happy with the materials I used and the design. Now let’s hope that it’s also practical to use. I will keep you posted.

An additional note is that I screwed in two screws on either side of the little oak block that secures the top extension. This is to ensure that it can’t slide off either from the left or right. The screws are in the underside of the top where no one can see them.
Links & Download
If you want to build something similar I’ve linked my original 3D model below as a download. It doesn’t have the improvements I made in this update but it is the basis for this build.
SketchUp 3D-model
Instagram 1 | 2 | 3 | 4 | 5 | 6 | 7 | 8 | 9 | 10
Hope this post has inspired you to make something!
And don’t forget to follow your excitement 

Add comment