

This video is all about making a practical piece of furniture for storing my battery-powered tools. This charging station is a shop project, nothing fancy. Let’s get started!
Design
For this project, I gathered some inspiration from other creators but I didn’t make a specific design for it. The concept of the hanging drills has been done by many others so it’s not a revolutionary idea. More relevant for me regarding the design is that the storage is purpose build. It’s functional for me and my tools. That means doing something like this will look different for your needs. That is something to keep in mind when building something similar.
My design had three criteria it had to meet:
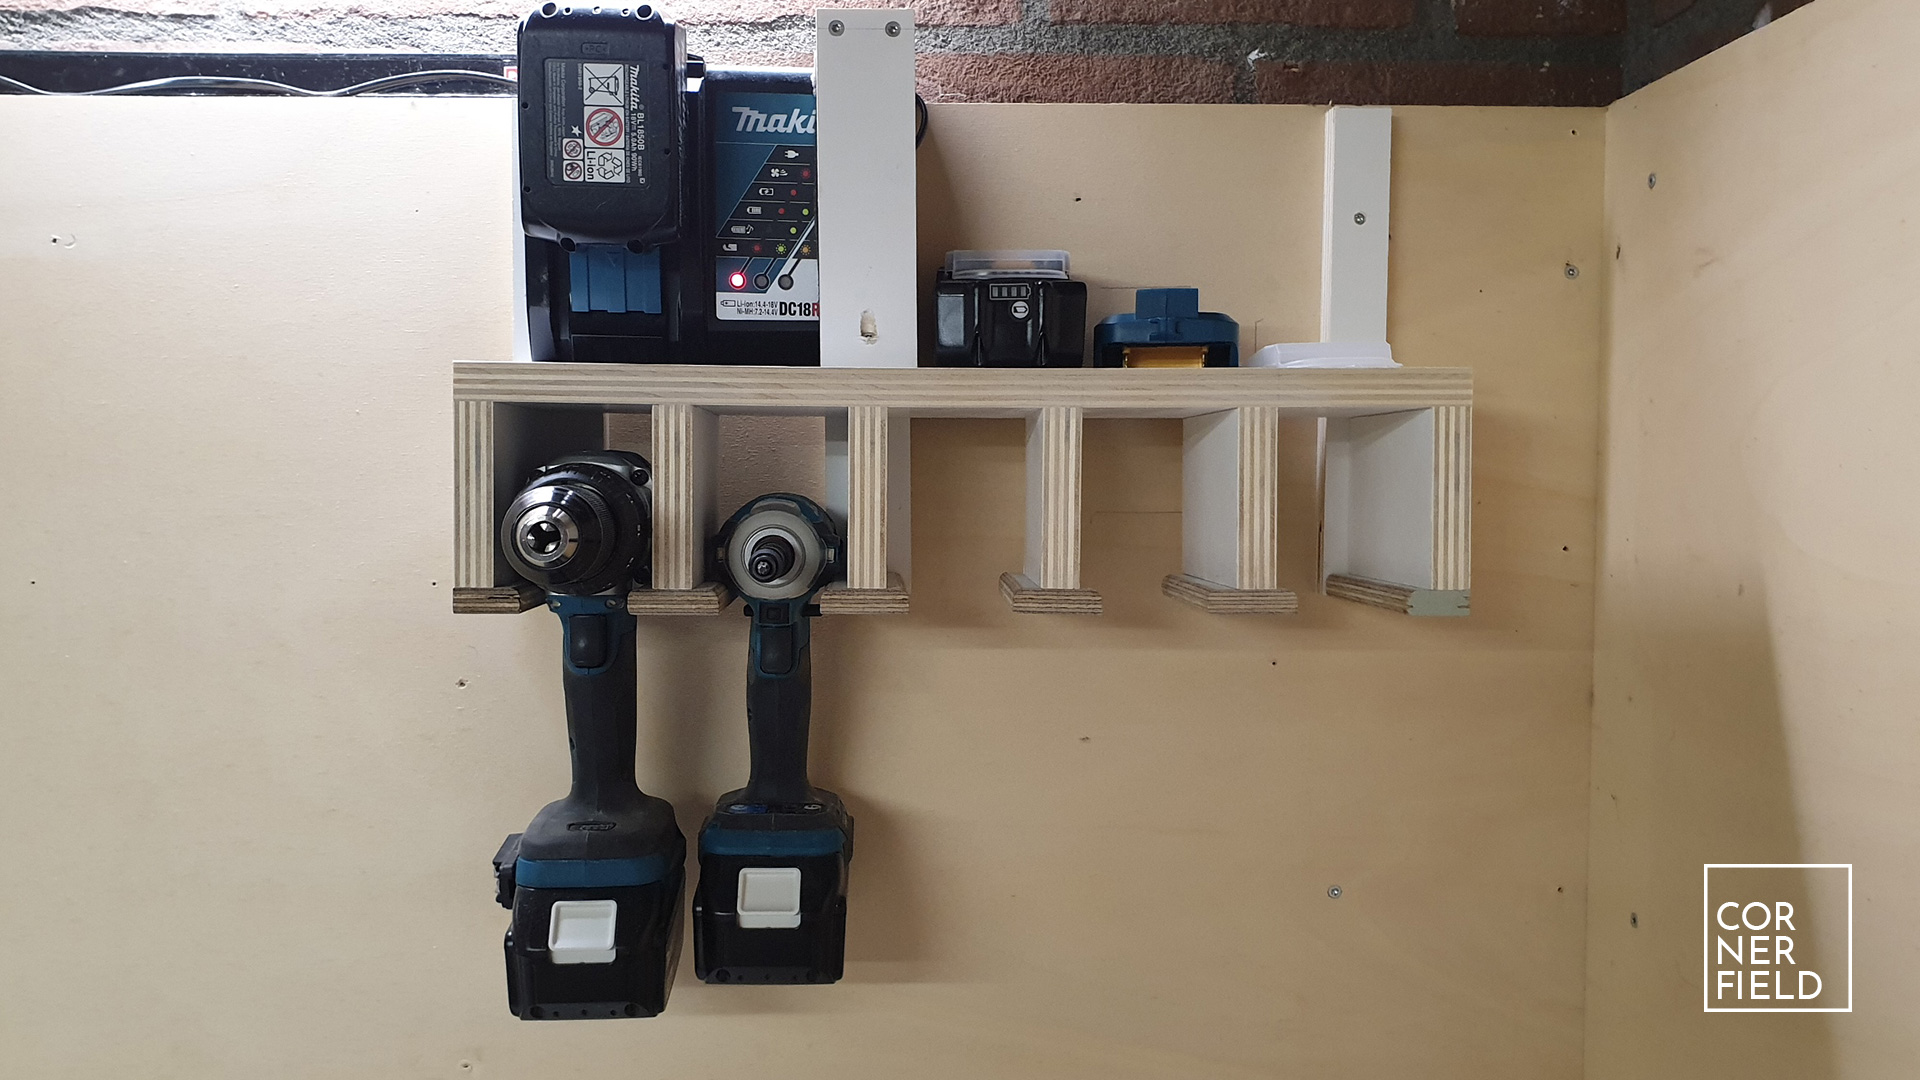
- It should be able to store my charger vertically so I can see if the battery is charged,
- My drills should be stored next to the batteries,
- The whole assembly should be hung from my tool wall.
With those criteria in mind, I grabbed some scraps and started building.
Build
Cabinets
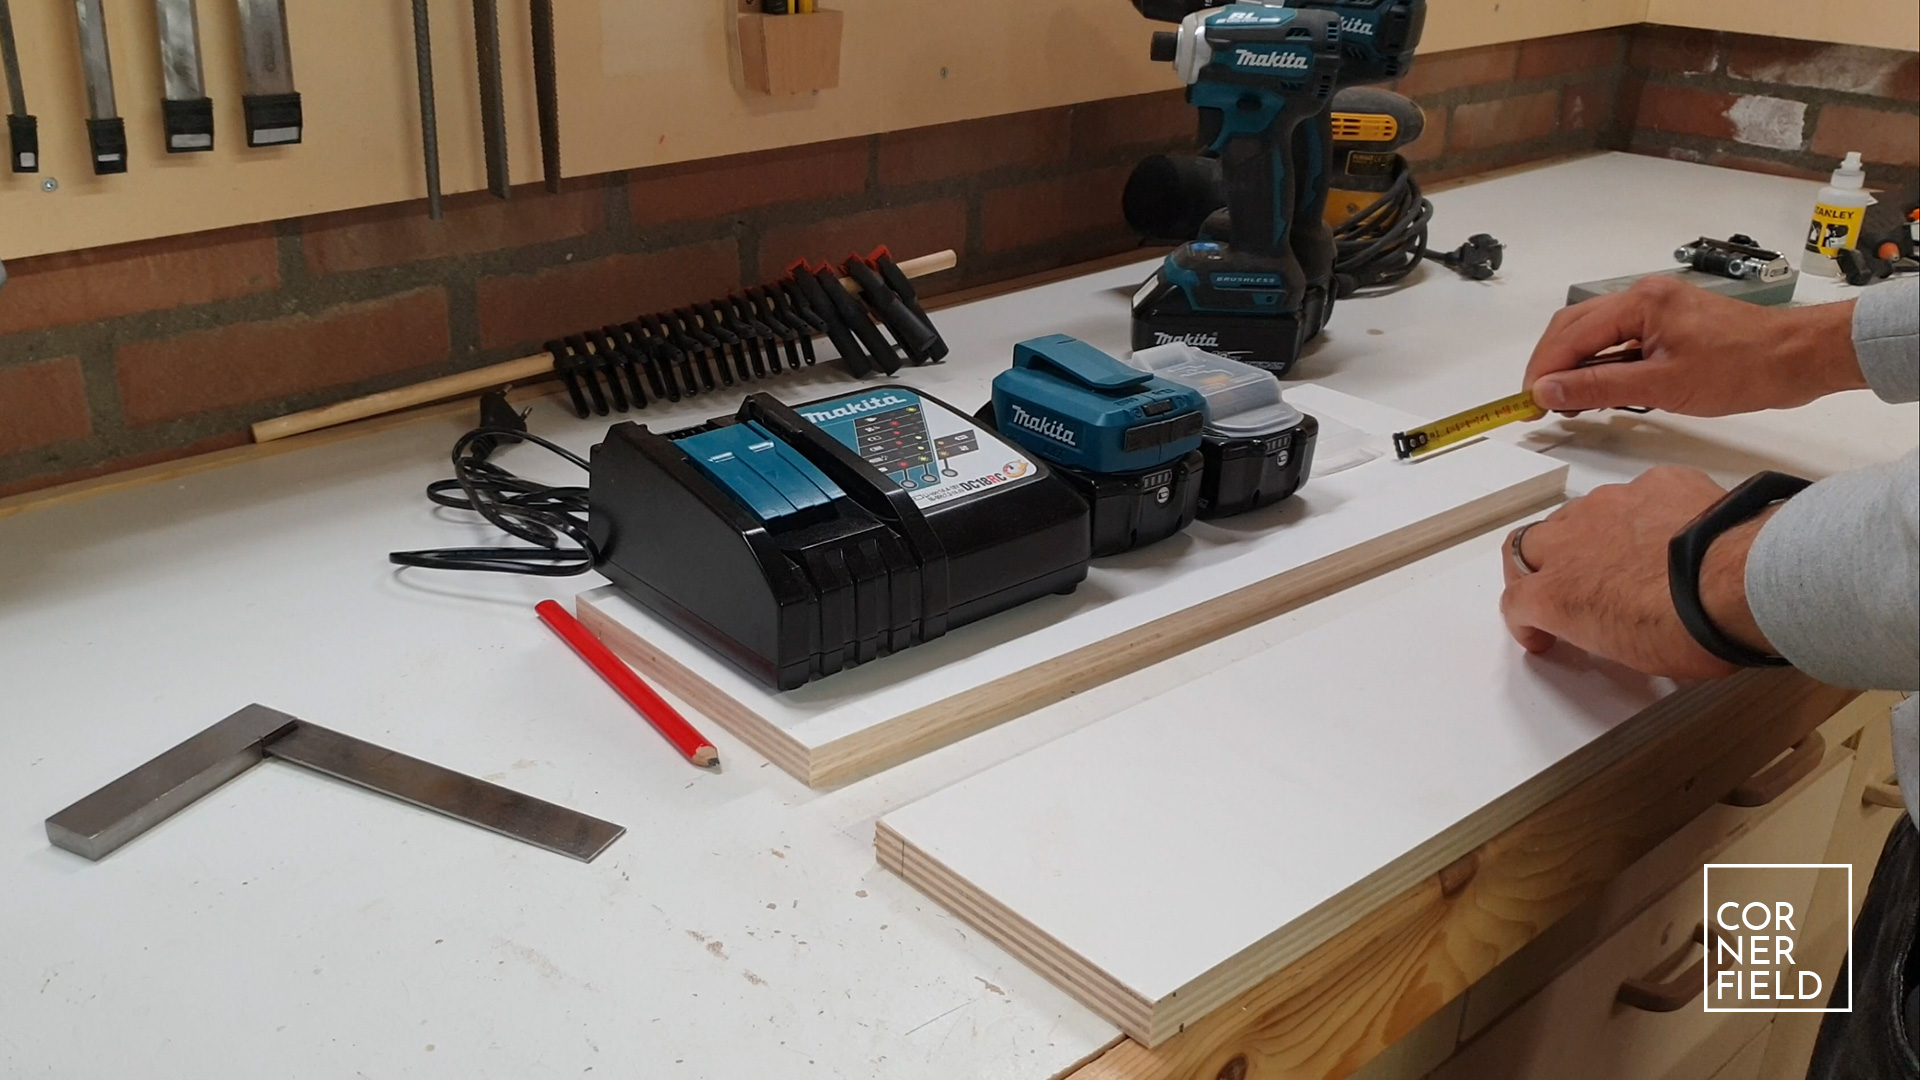
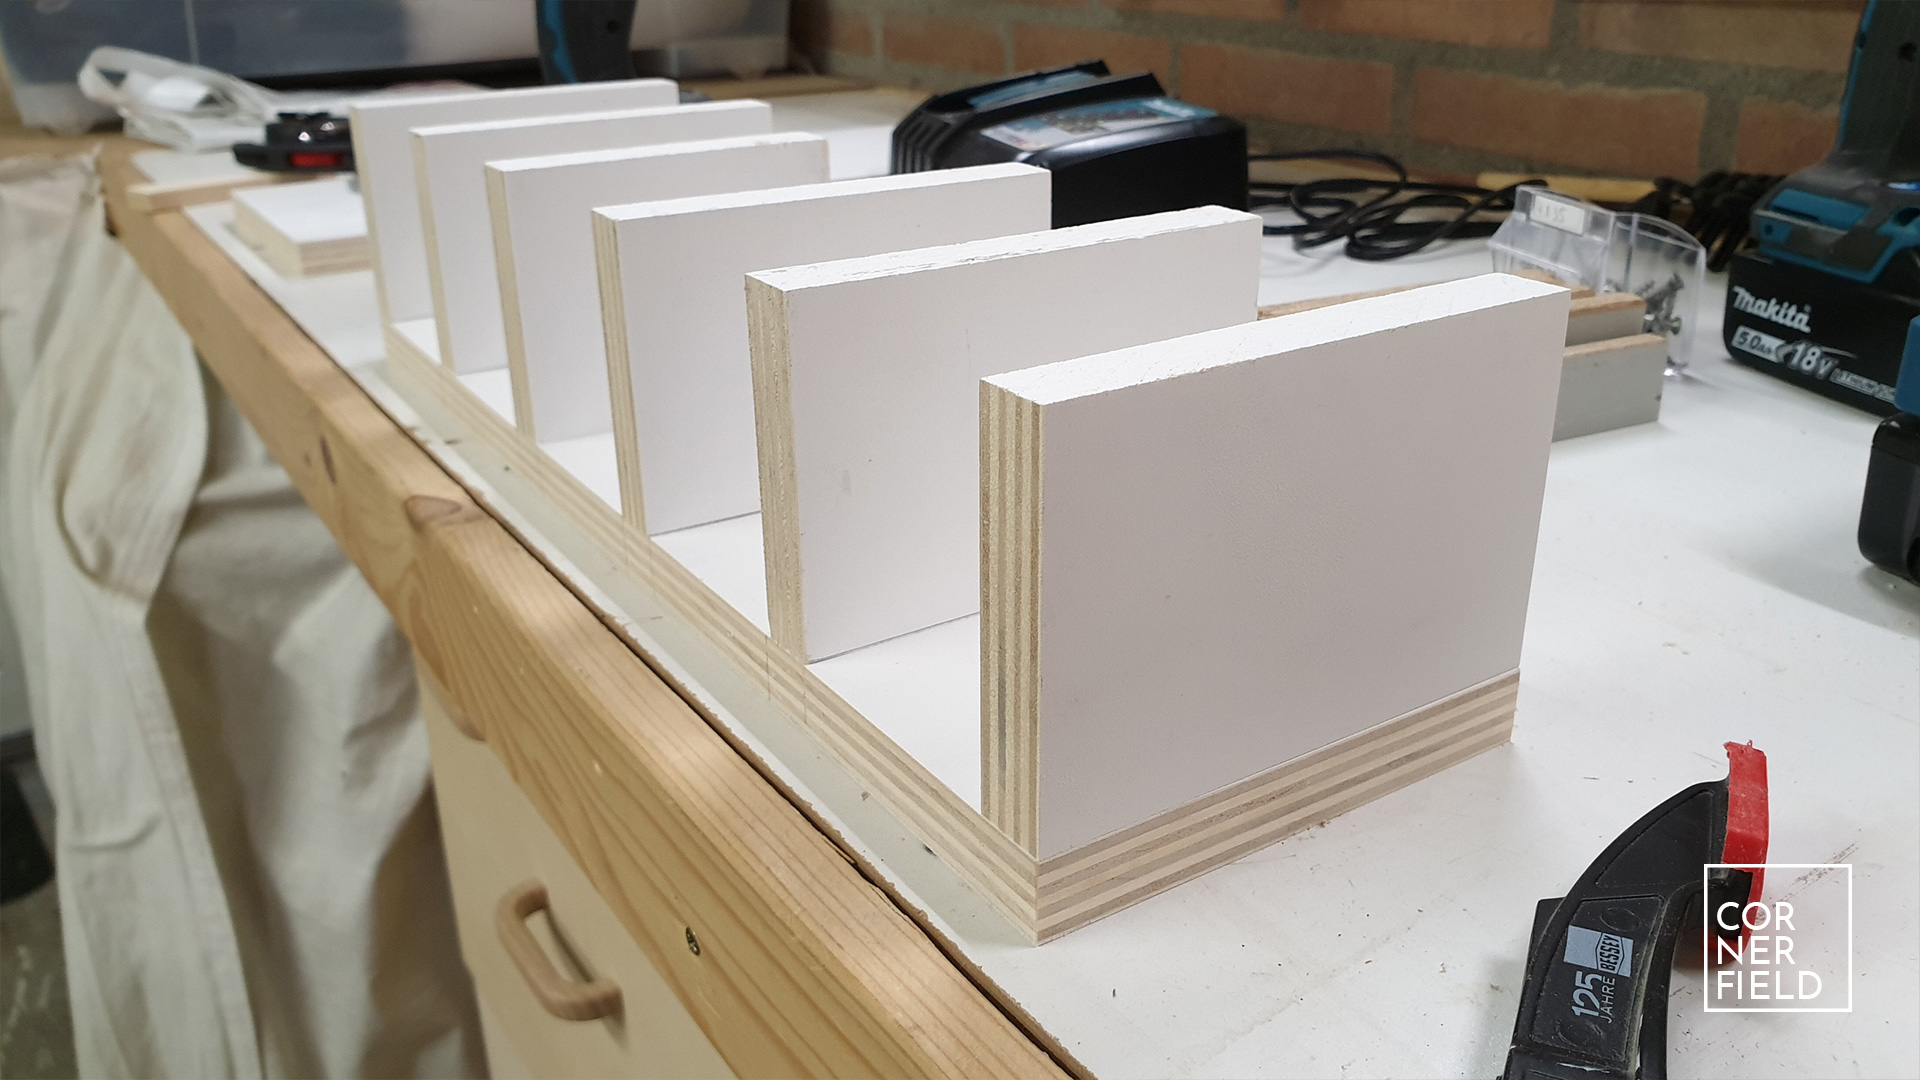
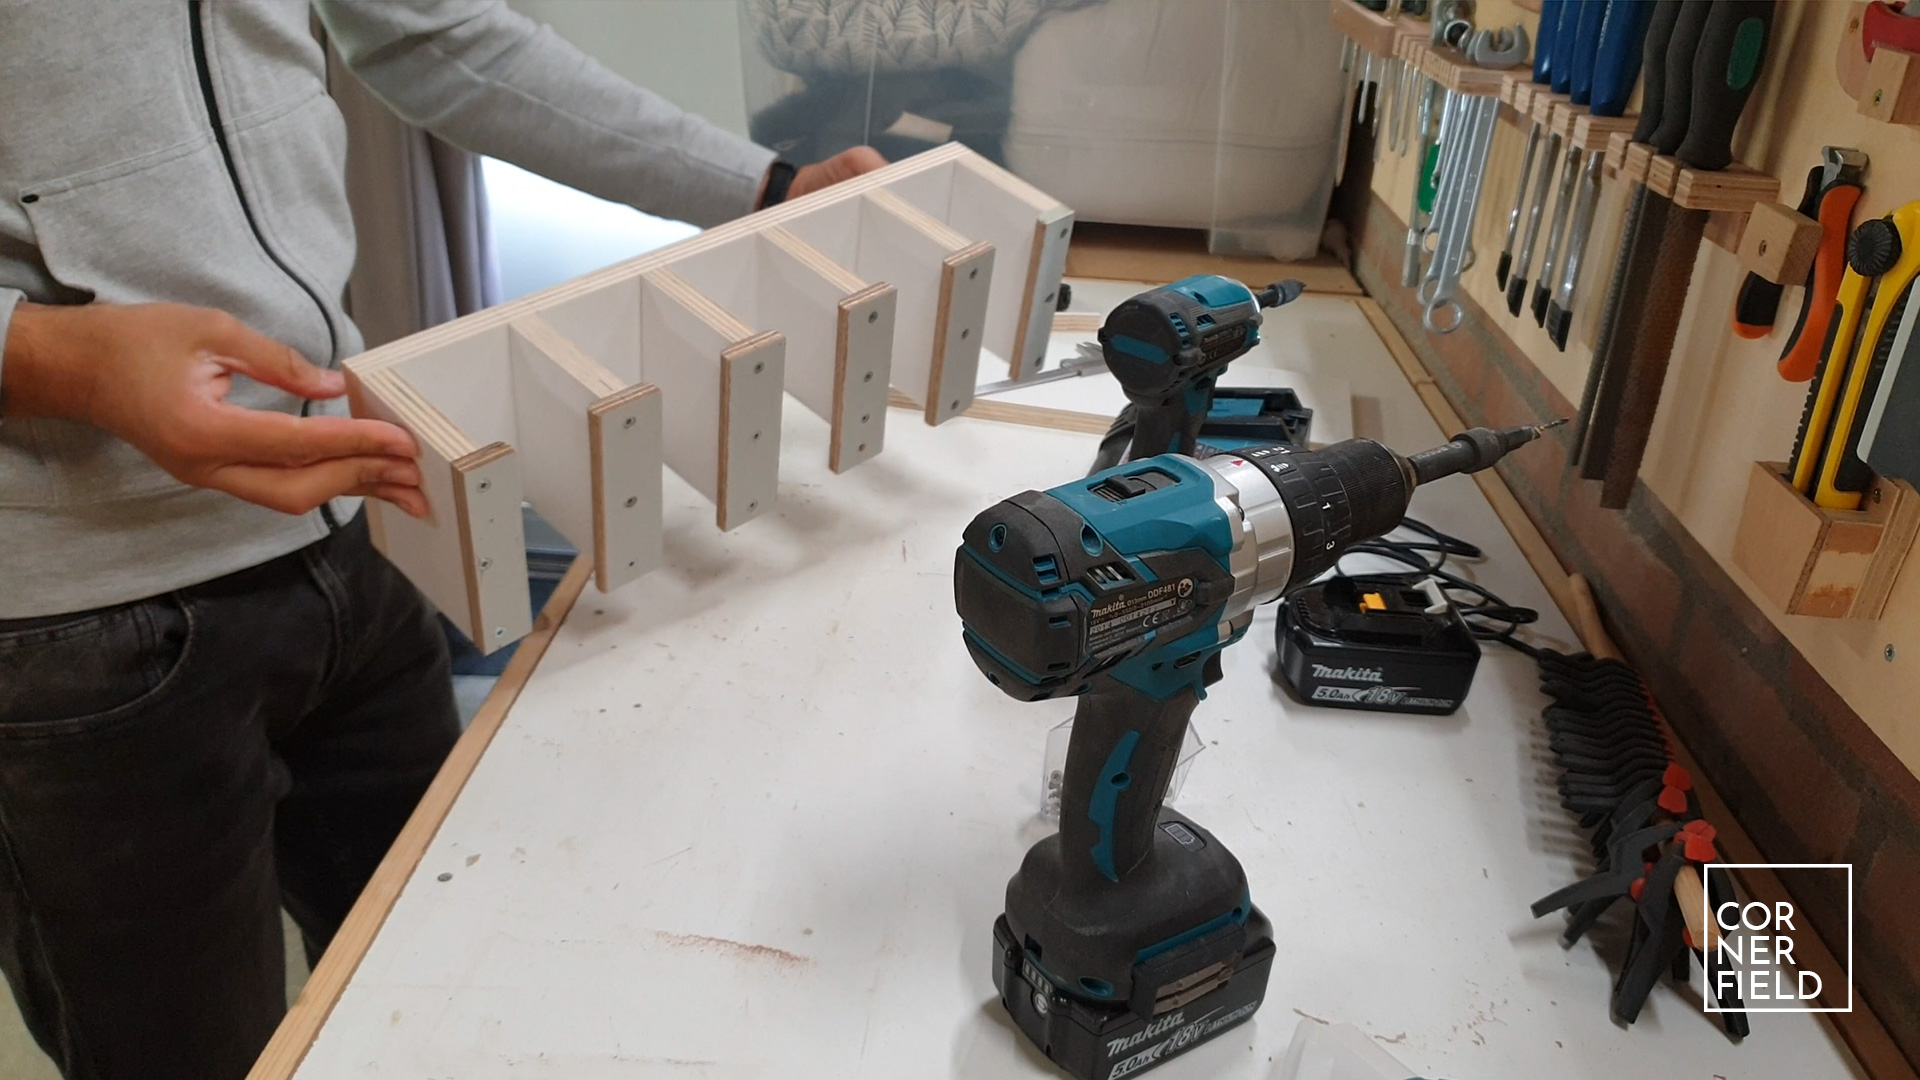
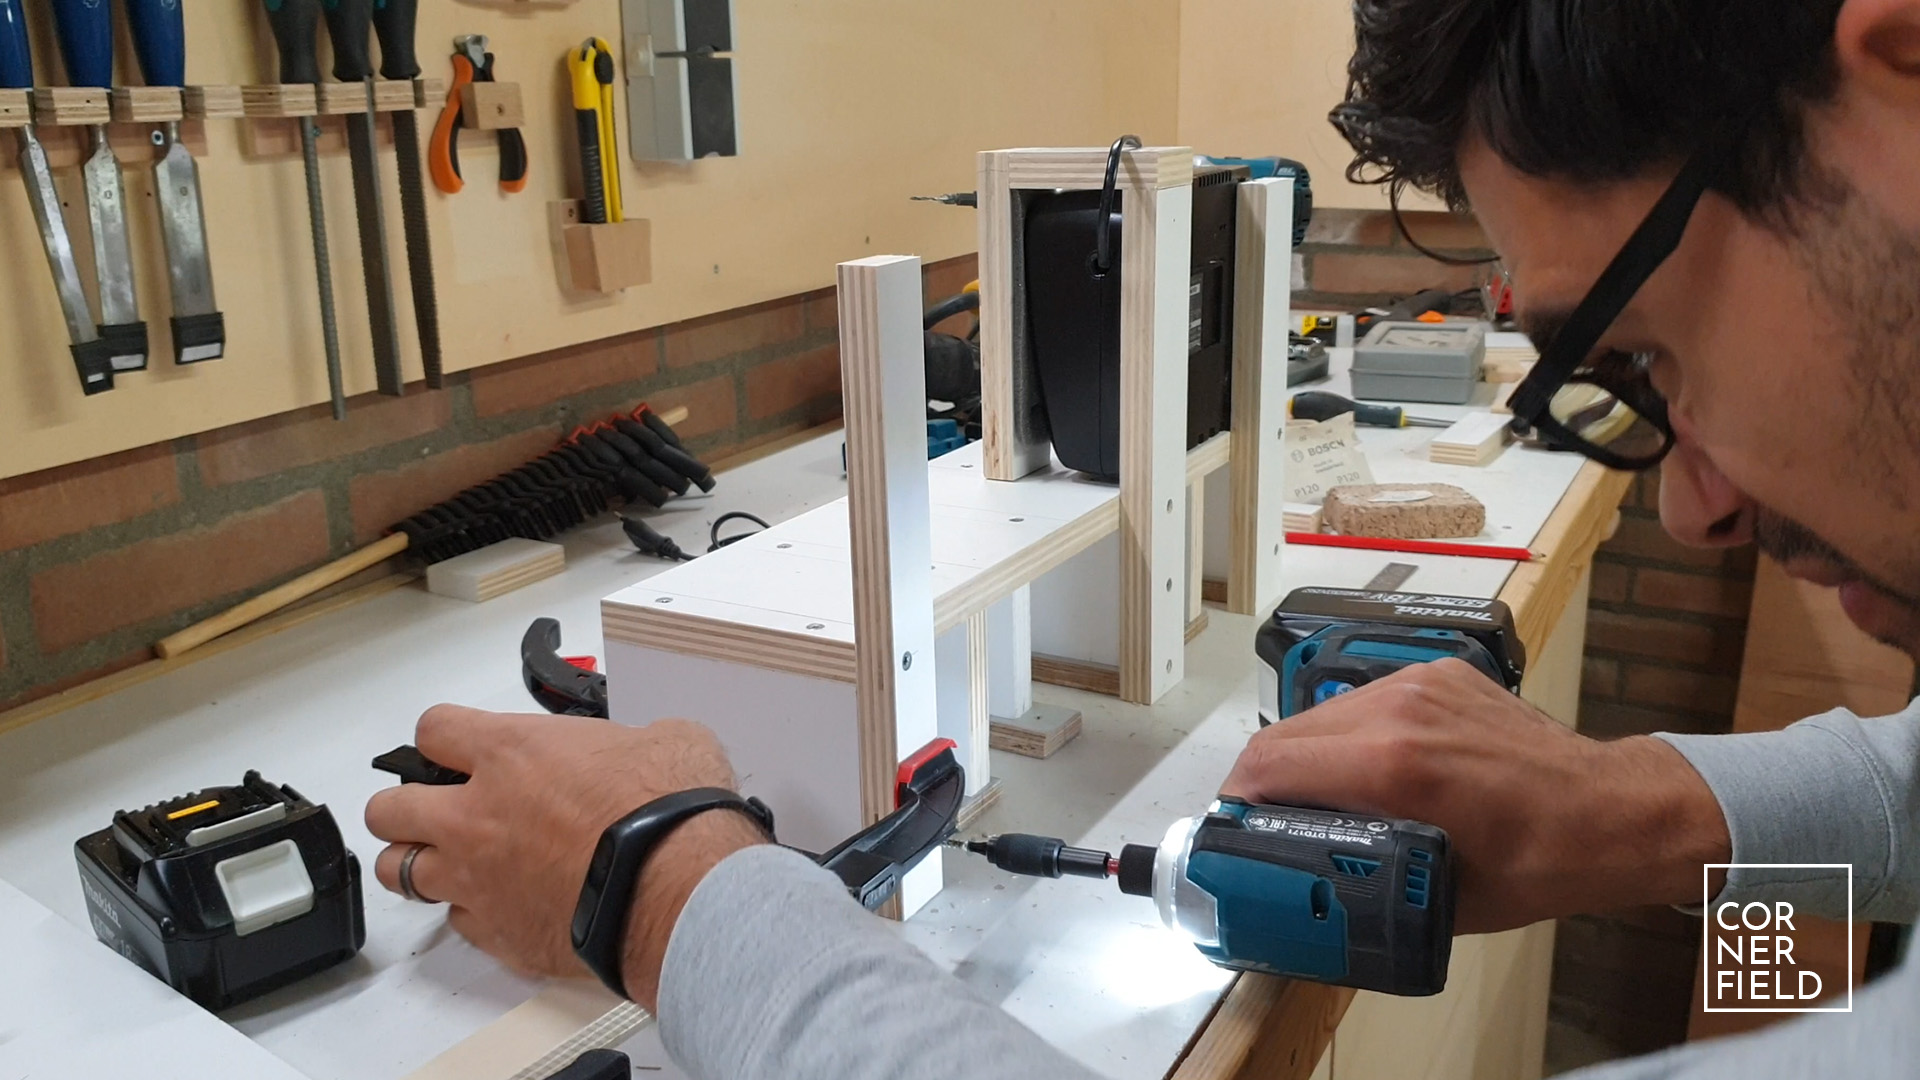
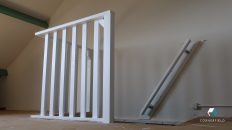
My first step was to lay everything out on a board and see how wide I should make it. With that figured out, I cut it to size and move on the making the sides for the cabinets. Those will be small strips of plywood that are just high enough to fit my tools inside it. The spacing between these side pieces should correspond with the thickness of your tool(s) plus some wiggle room. Fastening the pieces is done with glue and screws.
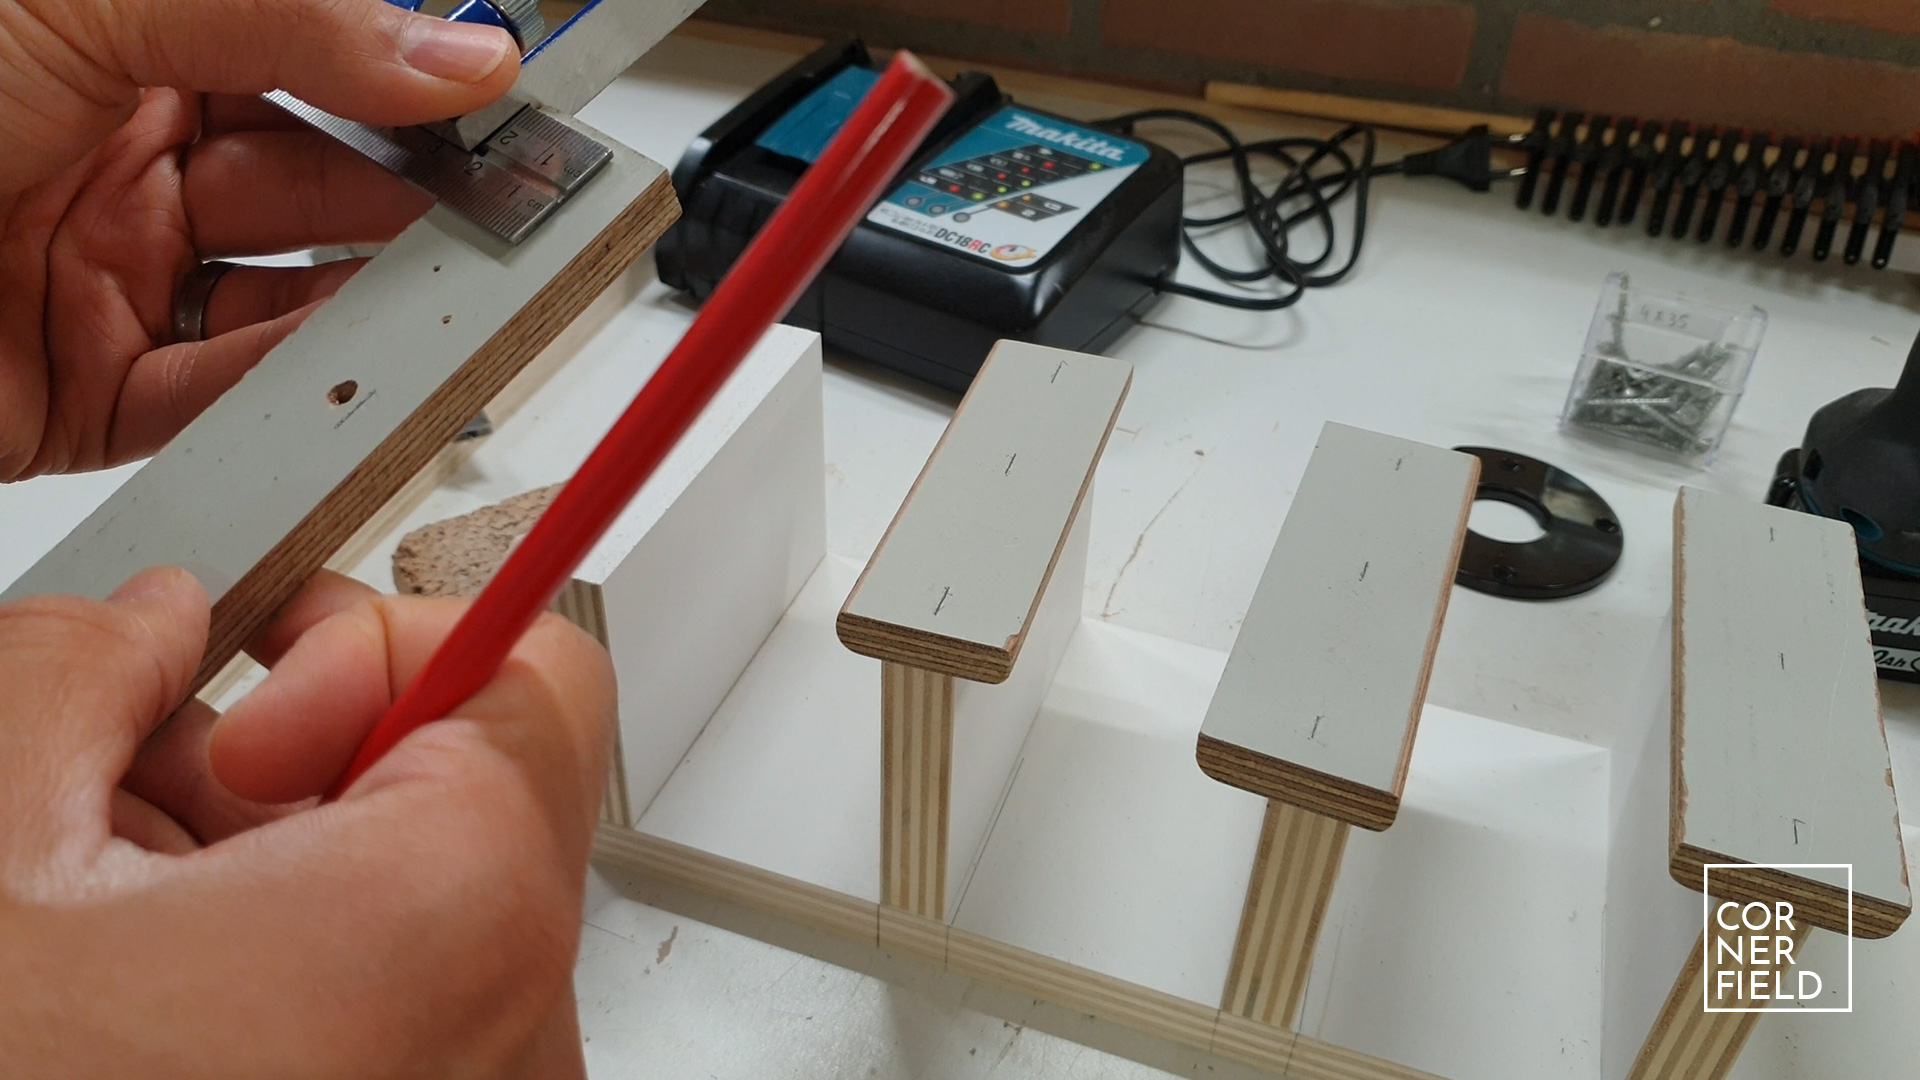
Tool holders
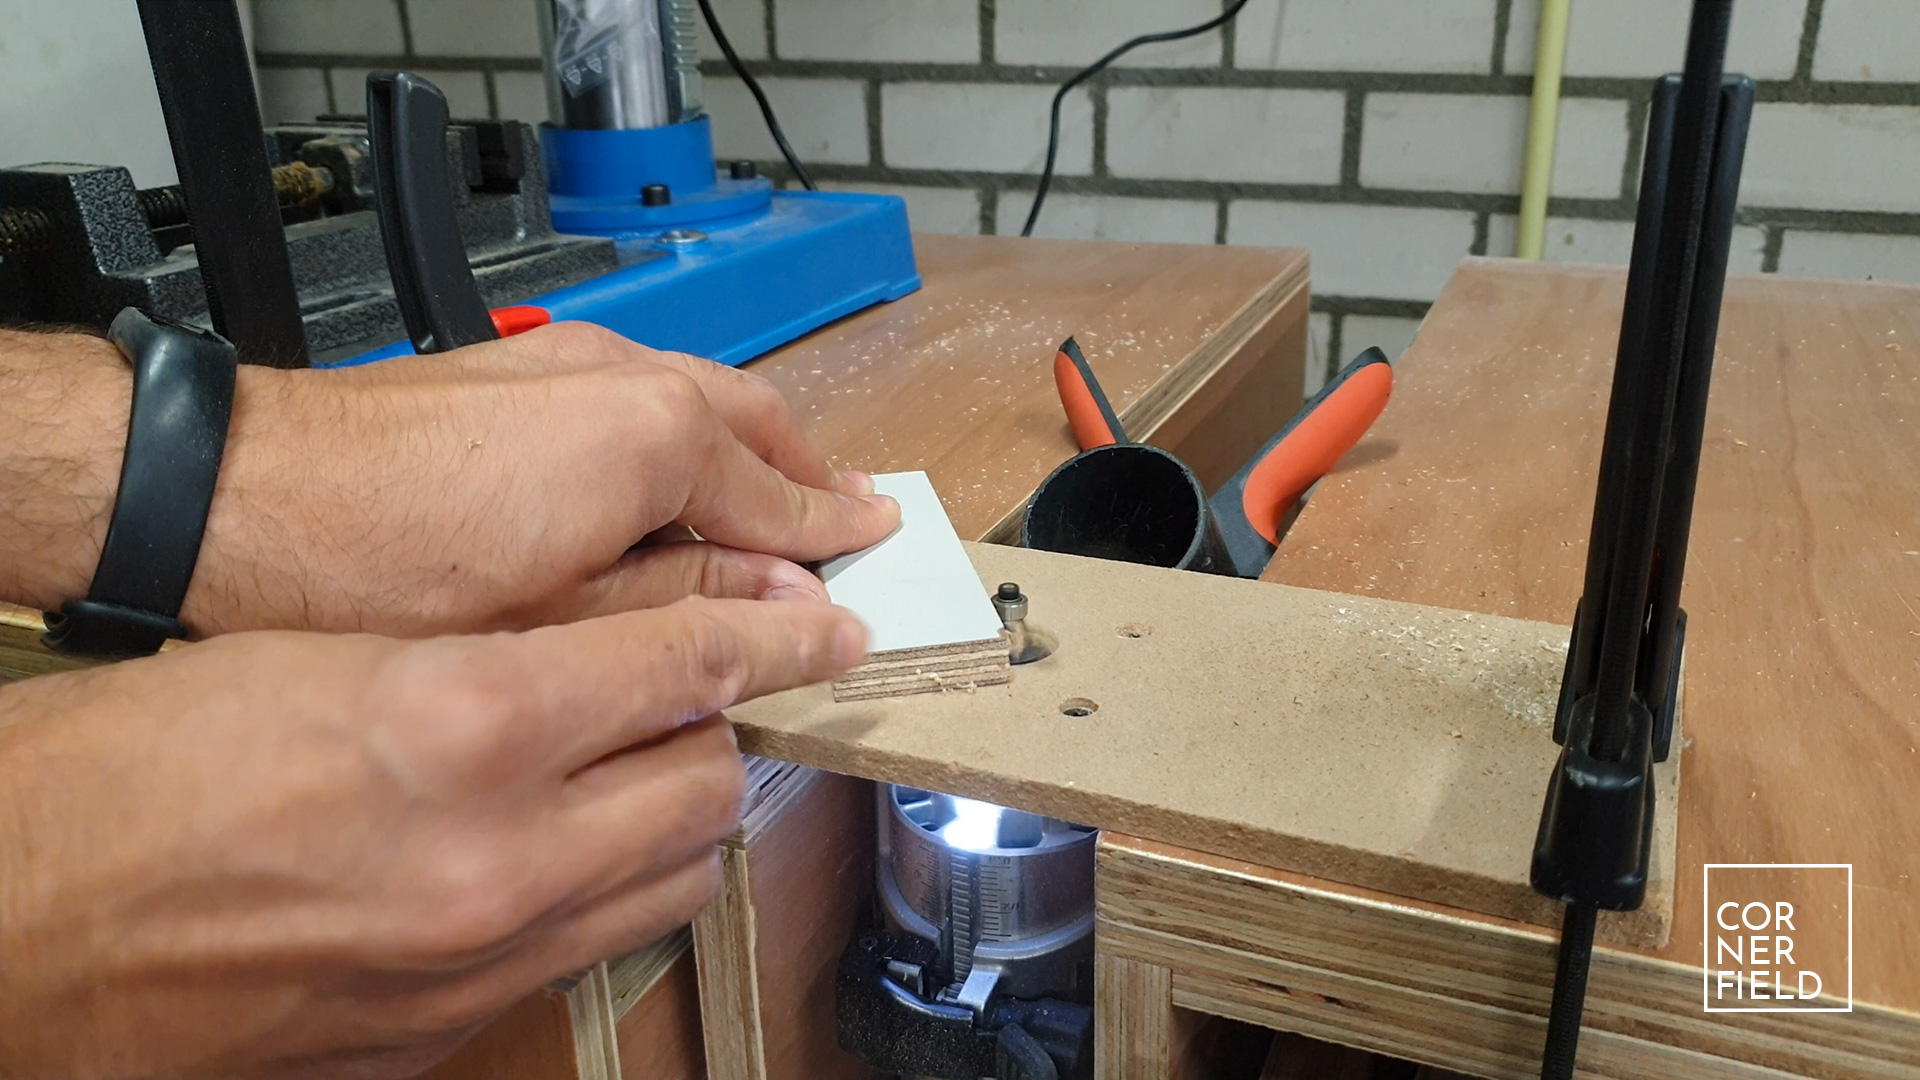
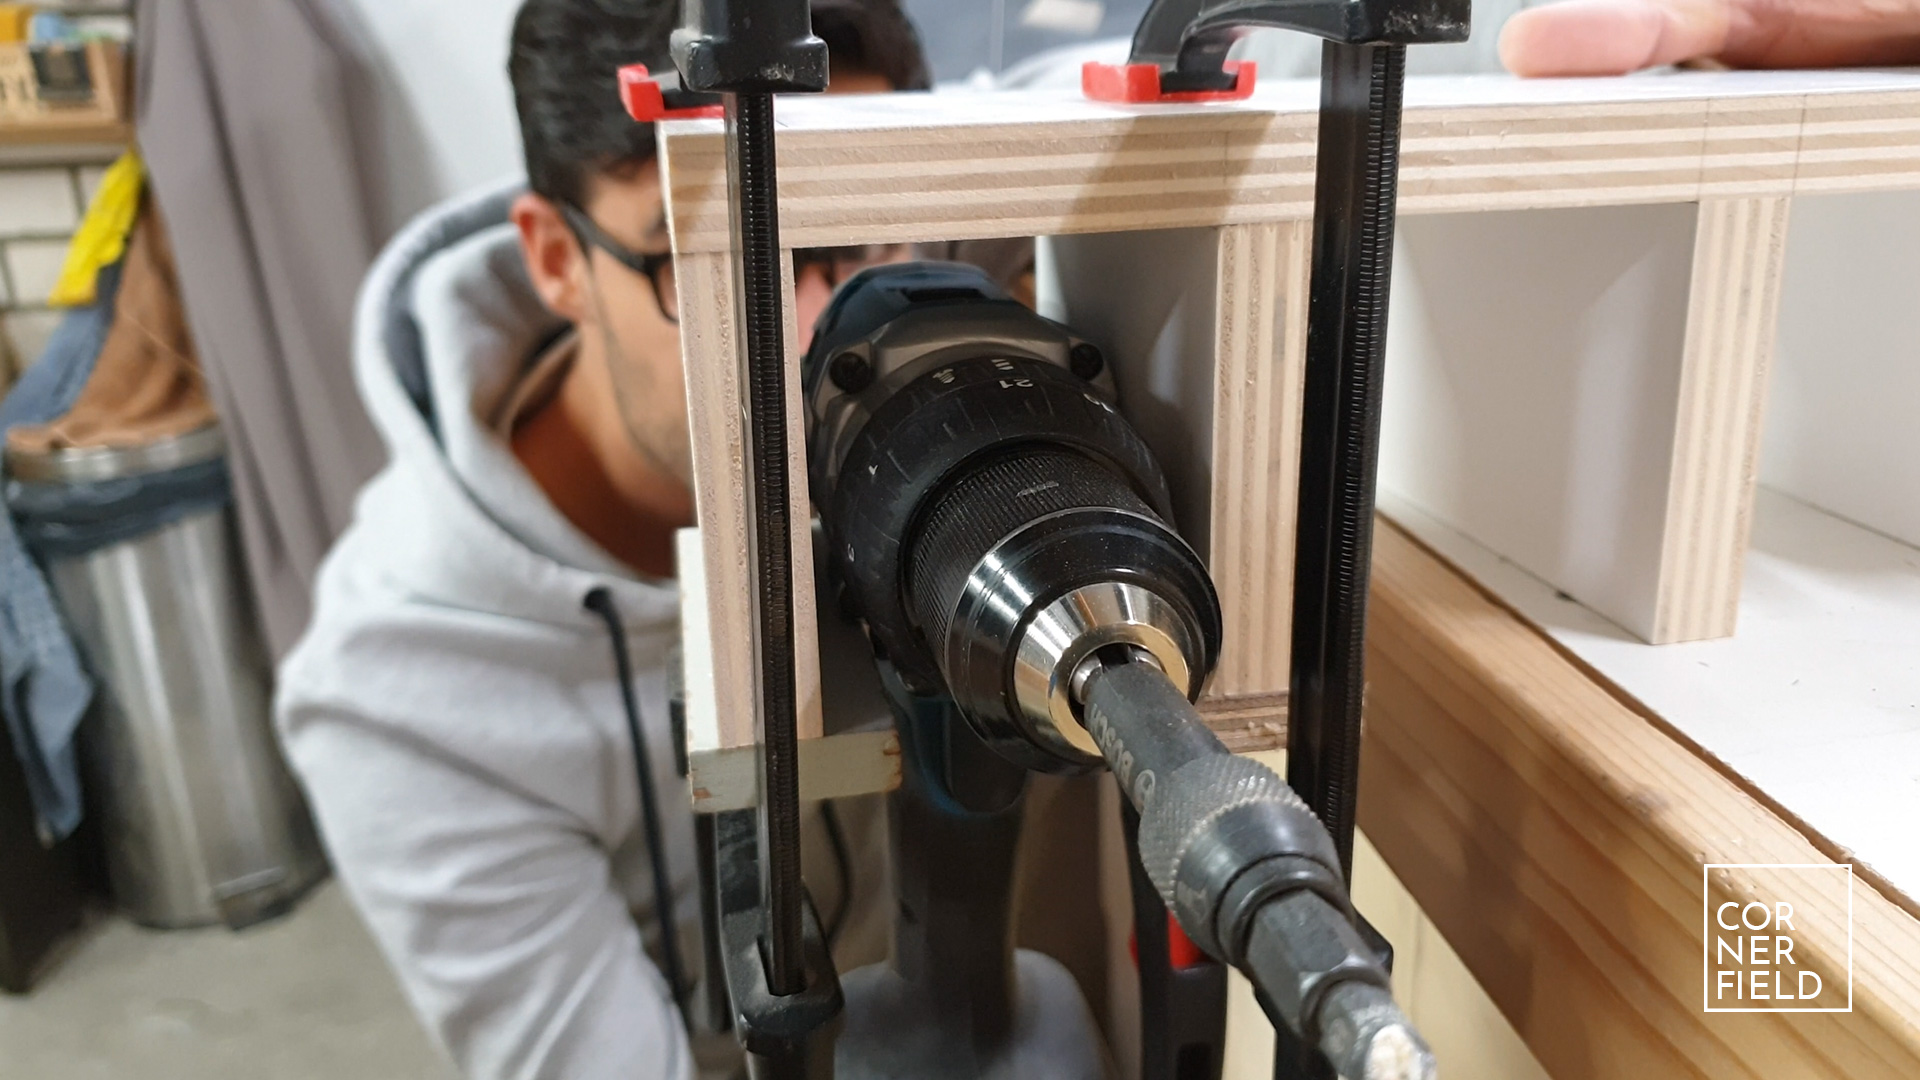
To hold the tools inside the cabinet, smaller pieces are required on the bottom. I’m cutting those out of left-over exterior plywood. To make it easier for the tools to slide in and out I’m rounding over the edges. For this, I’m using my router with a round-over bit. In my case, I had to make a jig for my router to hold it in place and then round the pieces over one by one. It’s better to leave a long strip so you can simply run your router over the edge(s). Once the edges are rounded over you can fasten them. Making sure everything fits is important so don’t forget to make a test fit once in a while.
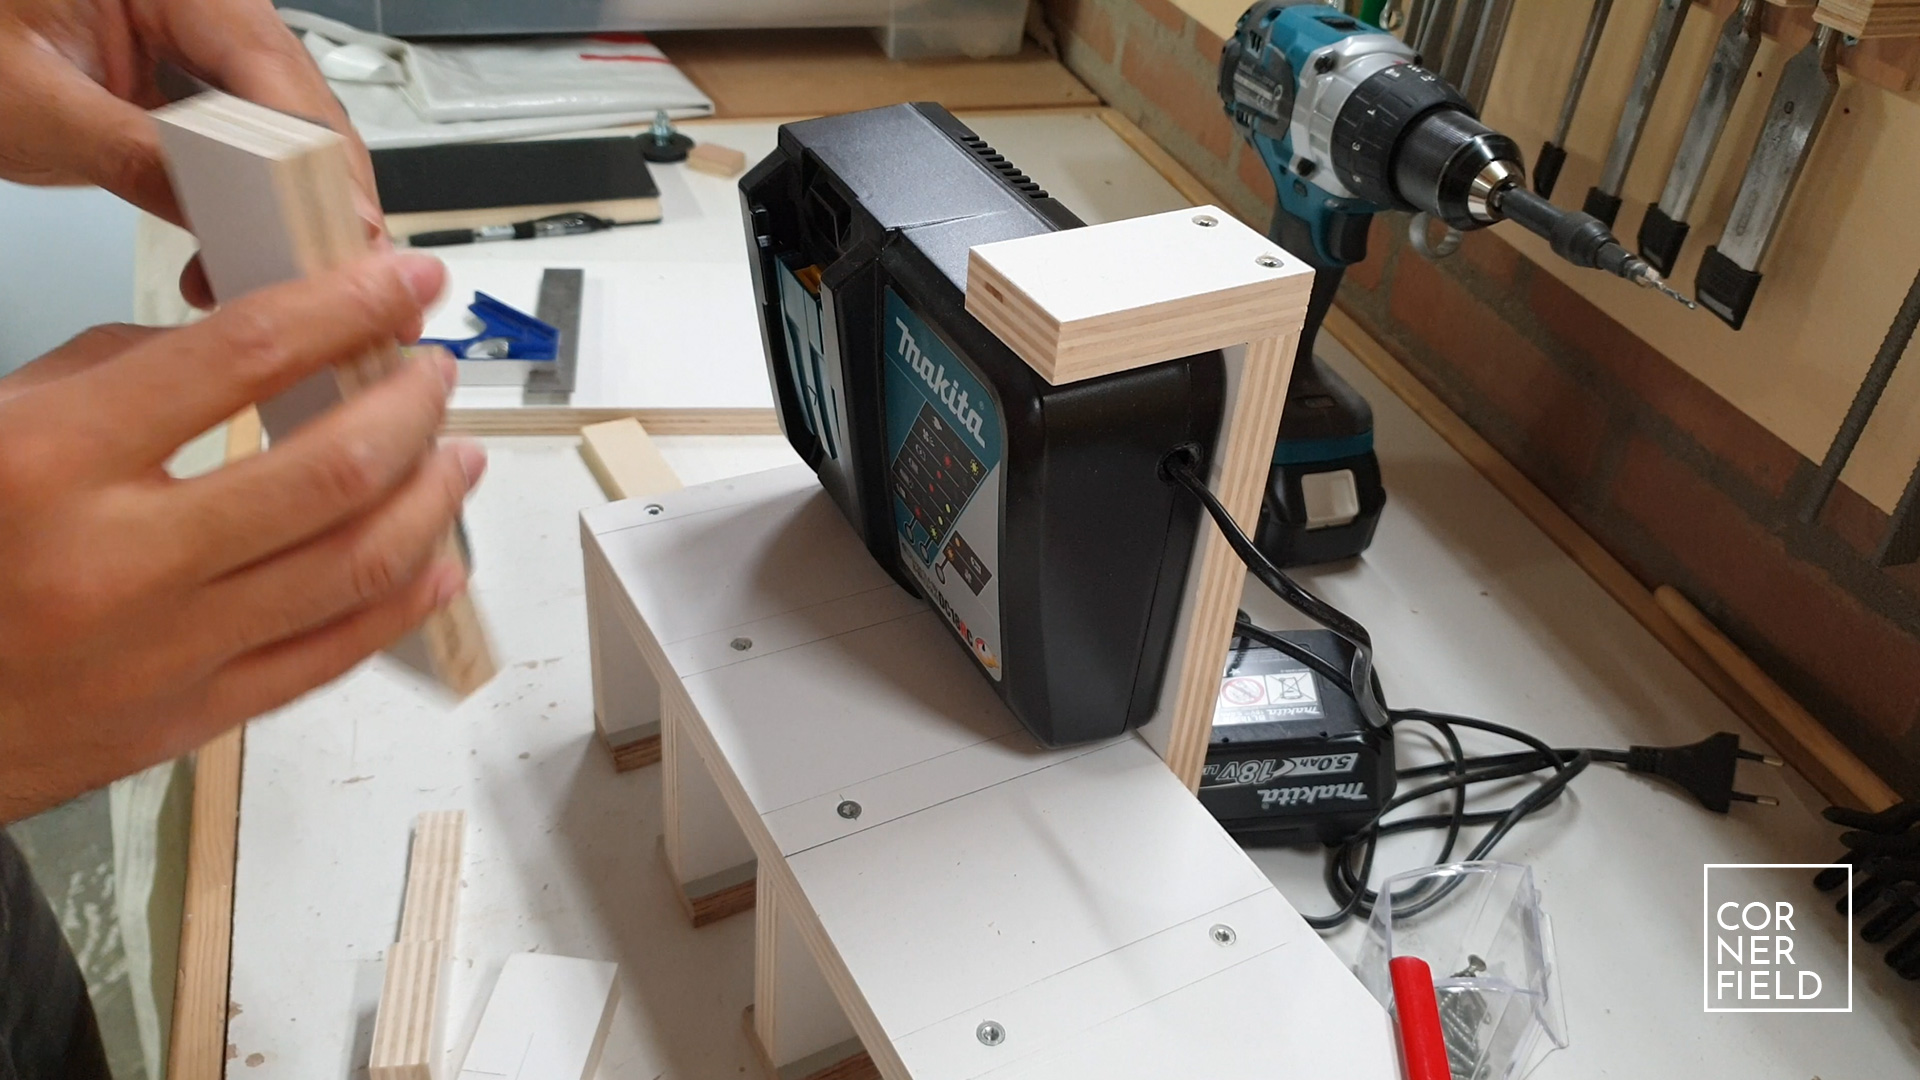
Vertical charging
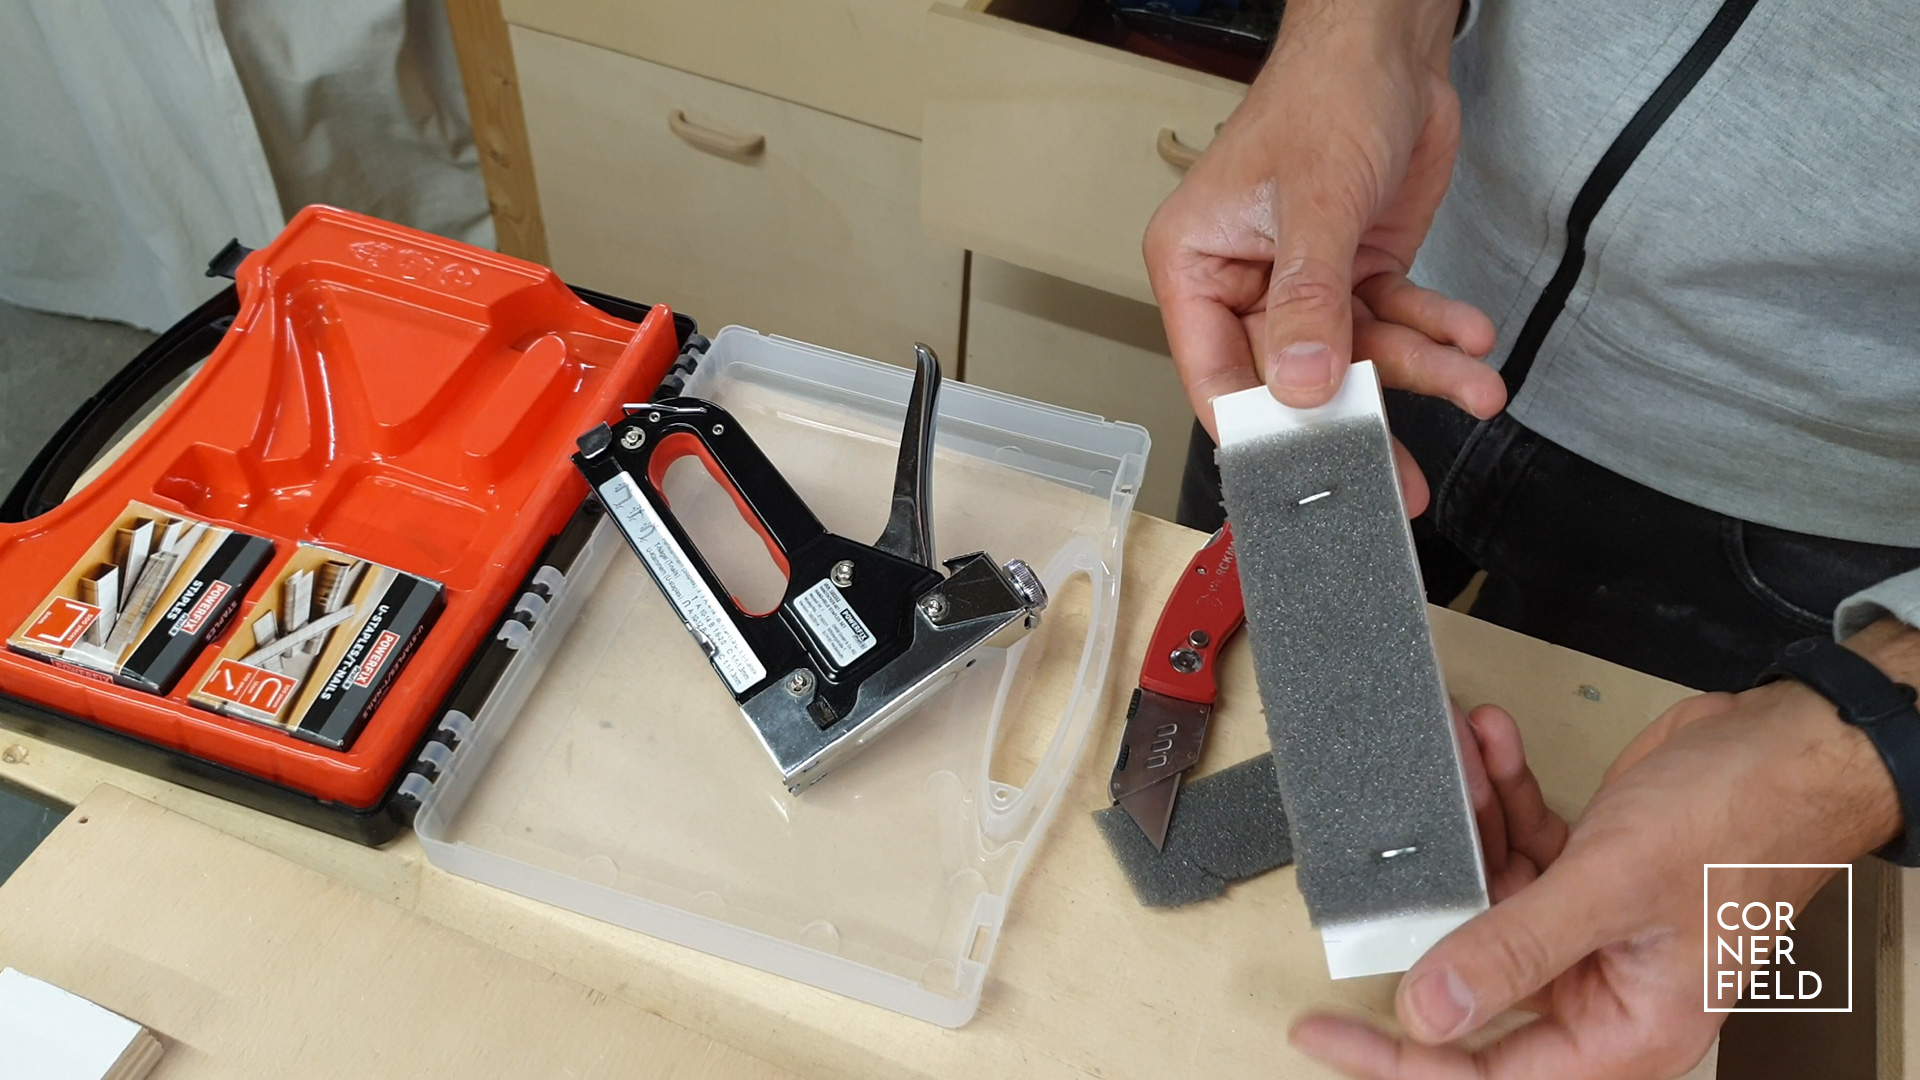
Now that the cabinets for the tools are done I’m moving on to fastening the charger. I want the charger to stand up vertically so that when I have a battery in it I can immediately see when it’s full. Doing this meant that I had to fix the oddly shaped charger on its side somehow. A solution to this problem is drilling shallow holes in a strip of plywood in the location of the feet of the charger. Once these are drilled you can ‘wrap’ the rest of the body with more strips so it will stay in its place. To put enough pressure on the curved front I added some foam to the inside of the strip covering the front. Alternatively, you could cut out the exact shape on the bandsaw (or jigsaw) but this seemed simpler to me.
Suspension
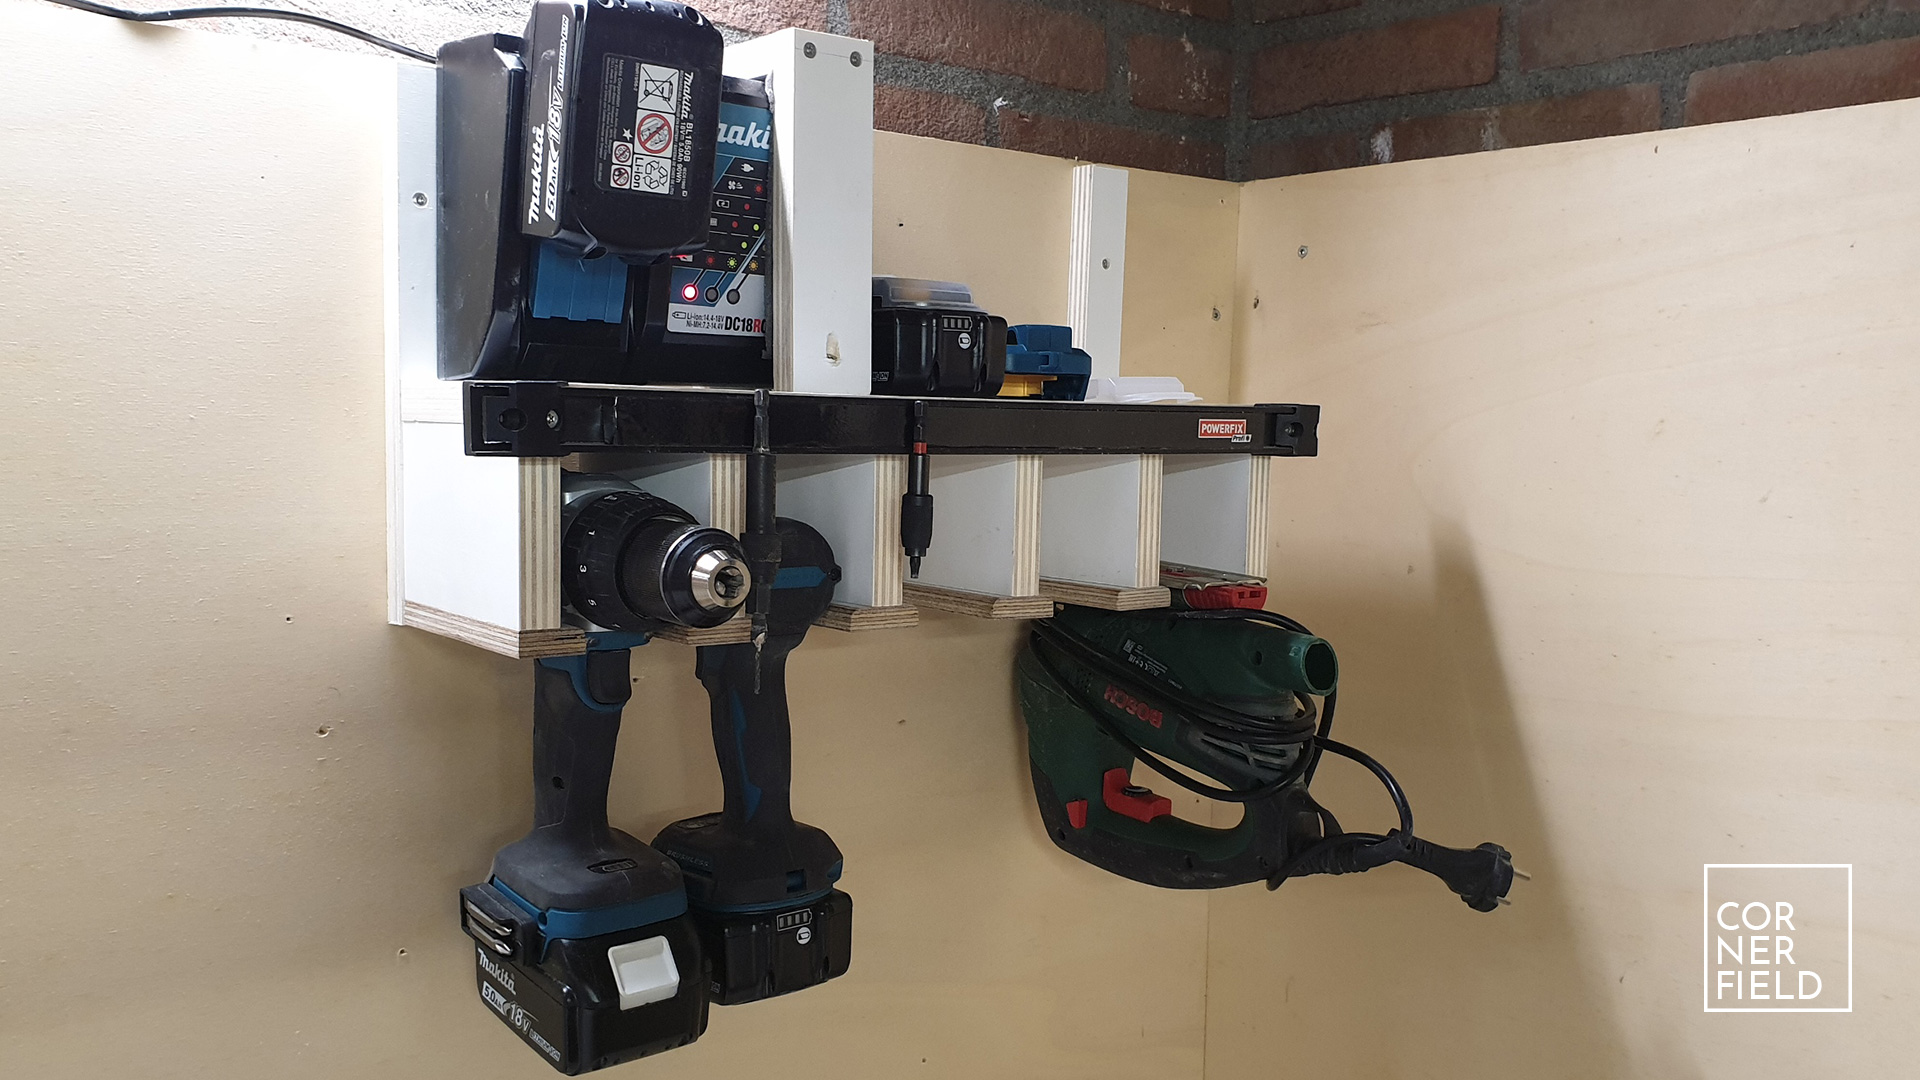
Once the charger is in its place the last part of this project is hanging the entire assembly on my tool wall. I did this by adding two strips on either side of the back of the cabinet. After that, it was a matter of fastening those strips to the wall. One bonus feature I added last-minute is the magnetic strip on the front. I had this laying around and it seemed like I could use this for (temporarily) storing whatever is in my drills when I’m putting those in their holders. So far it’s been a good idea!

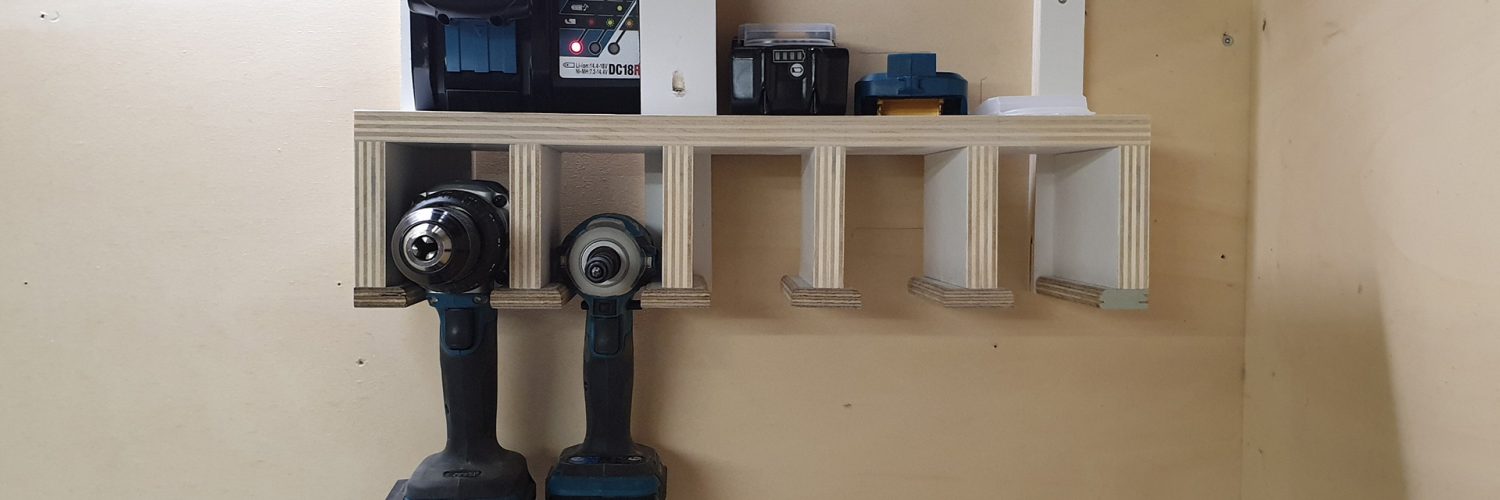
Result
I’m pleased with how the whole charging station turned out. What I would have done differently if I would make it again was to check if I could store other tools in it before-hand. Now there are some tools that don’t fit in the cabinets but with a small adjustment could have fit. Perhaps I will make the change in the future, for now, I’m happy to start using it as it is.
Social
If you’re building a similar charging station please let me know on Instagram or send me an email. It’s great to see what other people are making!
Instagram post 1
I hope this post has inspired you to make something!
And don’t forget to follow your excitement 


Add comment