

These cabinets will provide a place for some new tools but first I need to build them. Let’s get into it!
Design
For the design of my cabinet, I wanted something simple. Since this is only a shop project there is no need to make something pretty, it just has to be functional. Also, I wanted to make this as soon as possible so construction had to be simple yet sturdy. To get to a point where I know what the build is going to be I always start with a 3D model. This is available as a download at the bottom of the page.
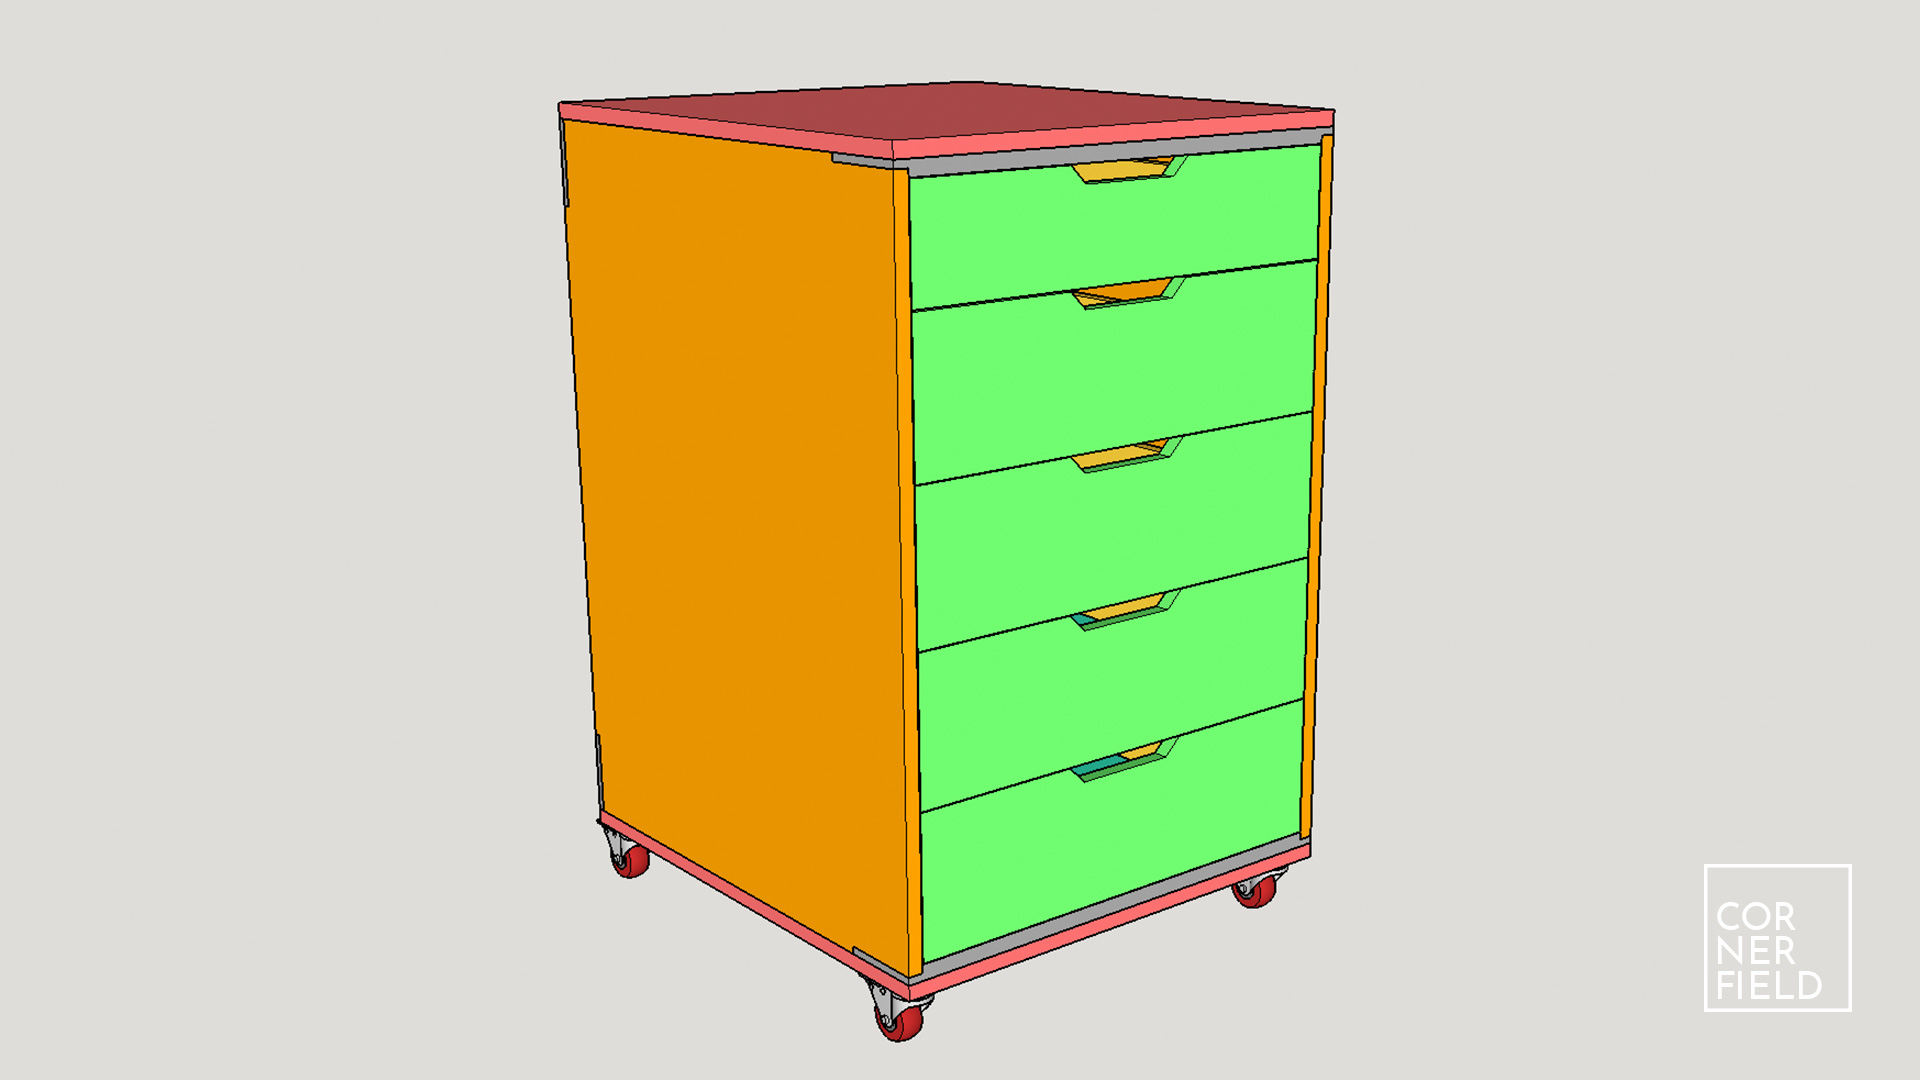

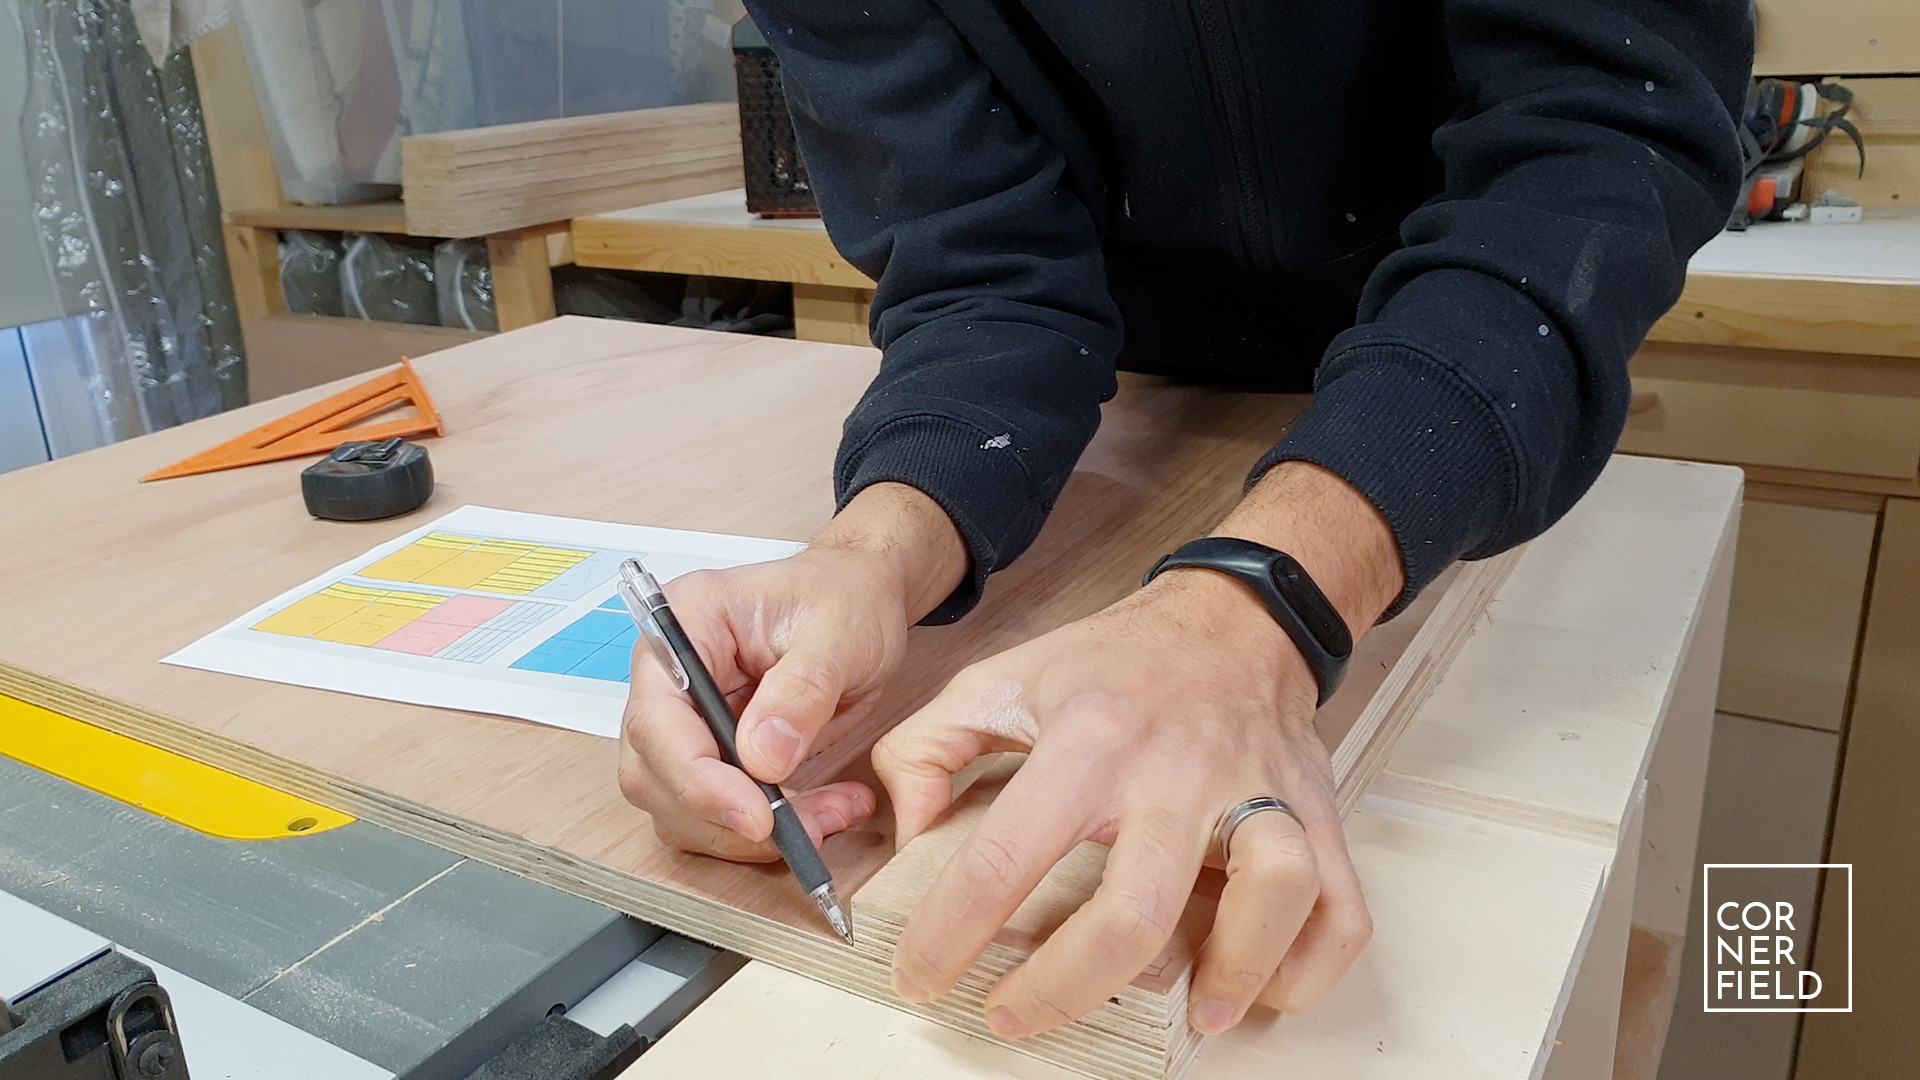
In this model, I also worked out the optimal way to cut down my plywood so I can get the most pieces from a single sheet. What I changed during the build and that’s not in the build are the drawer pulls. In the design, I thought I would use cut-outs but I changed my mind due to all the dust. I ended up making some simple pulls from plywood.
Build
I started gathering all my leftover pieces of plywood and figuring out what I needed to buy. In my case I needed one sheet less then I have in my cut list. First up is the frame.
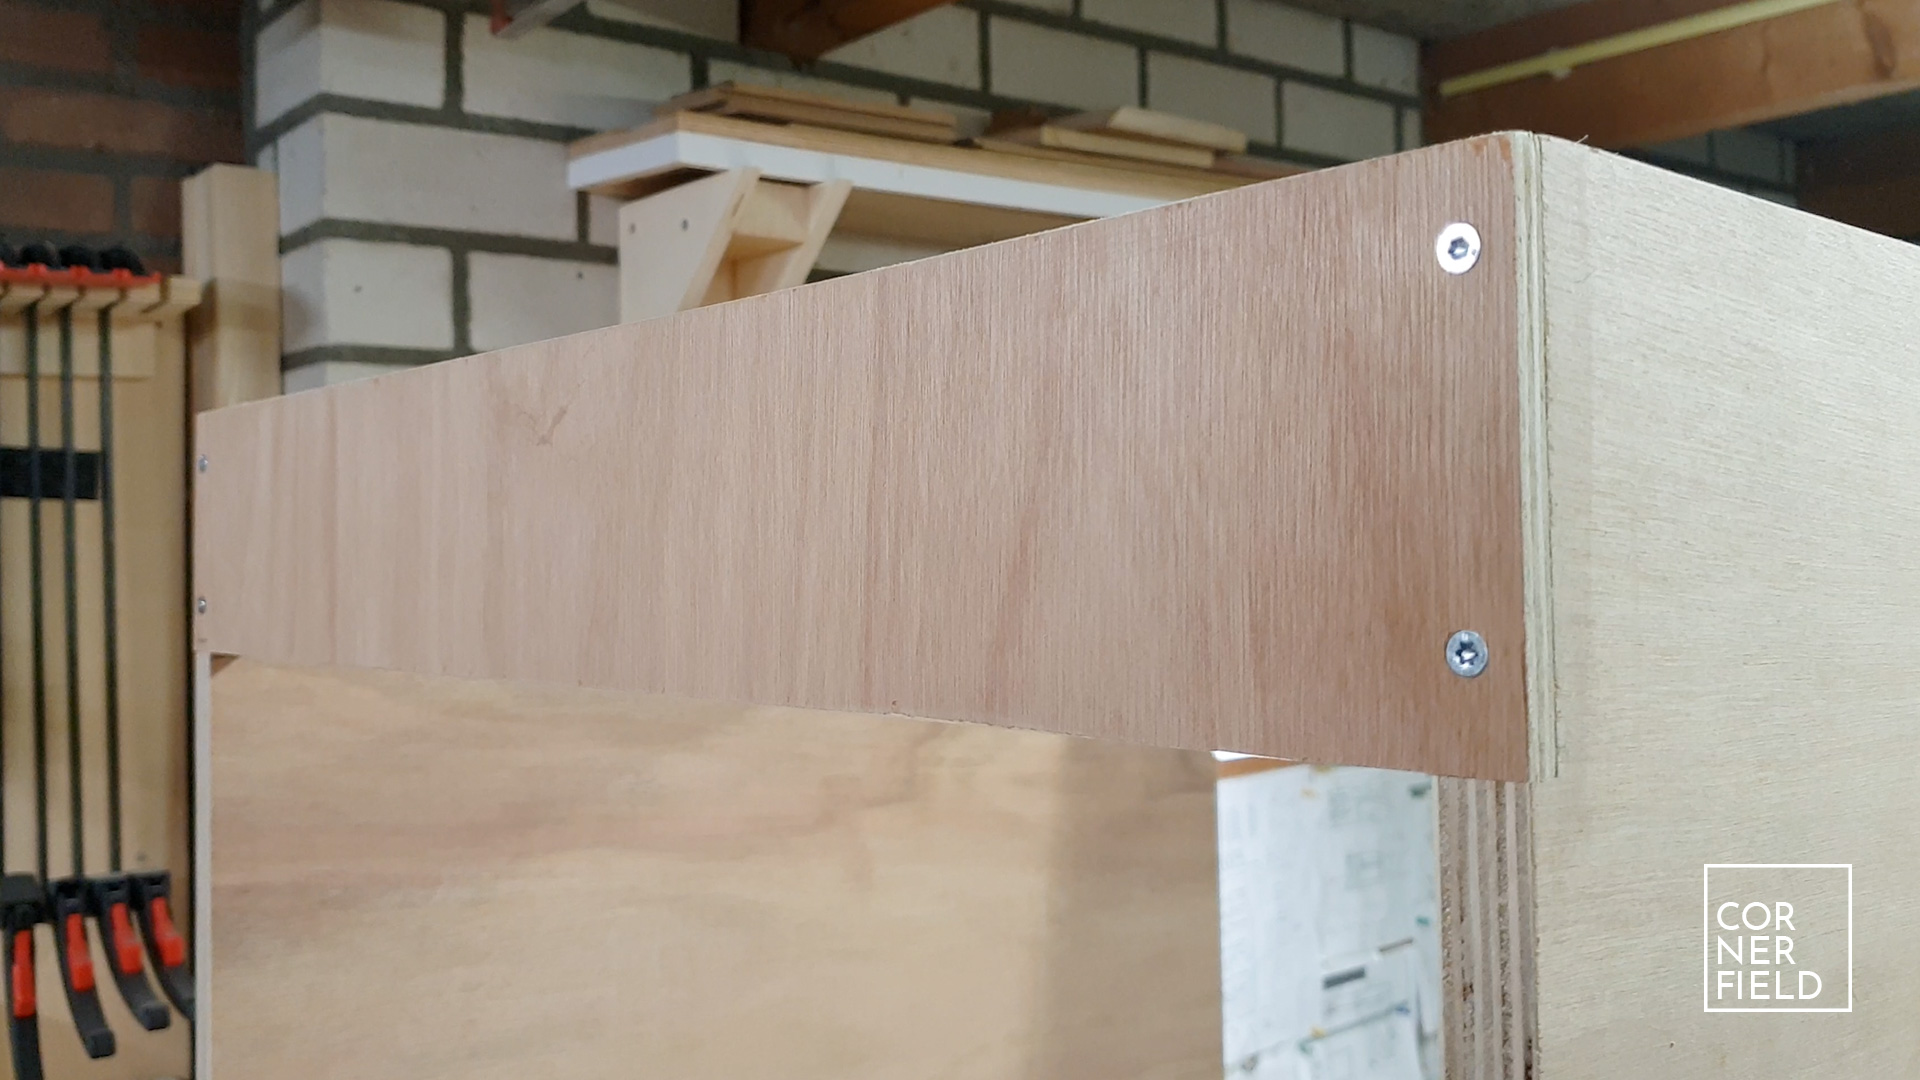
The frame
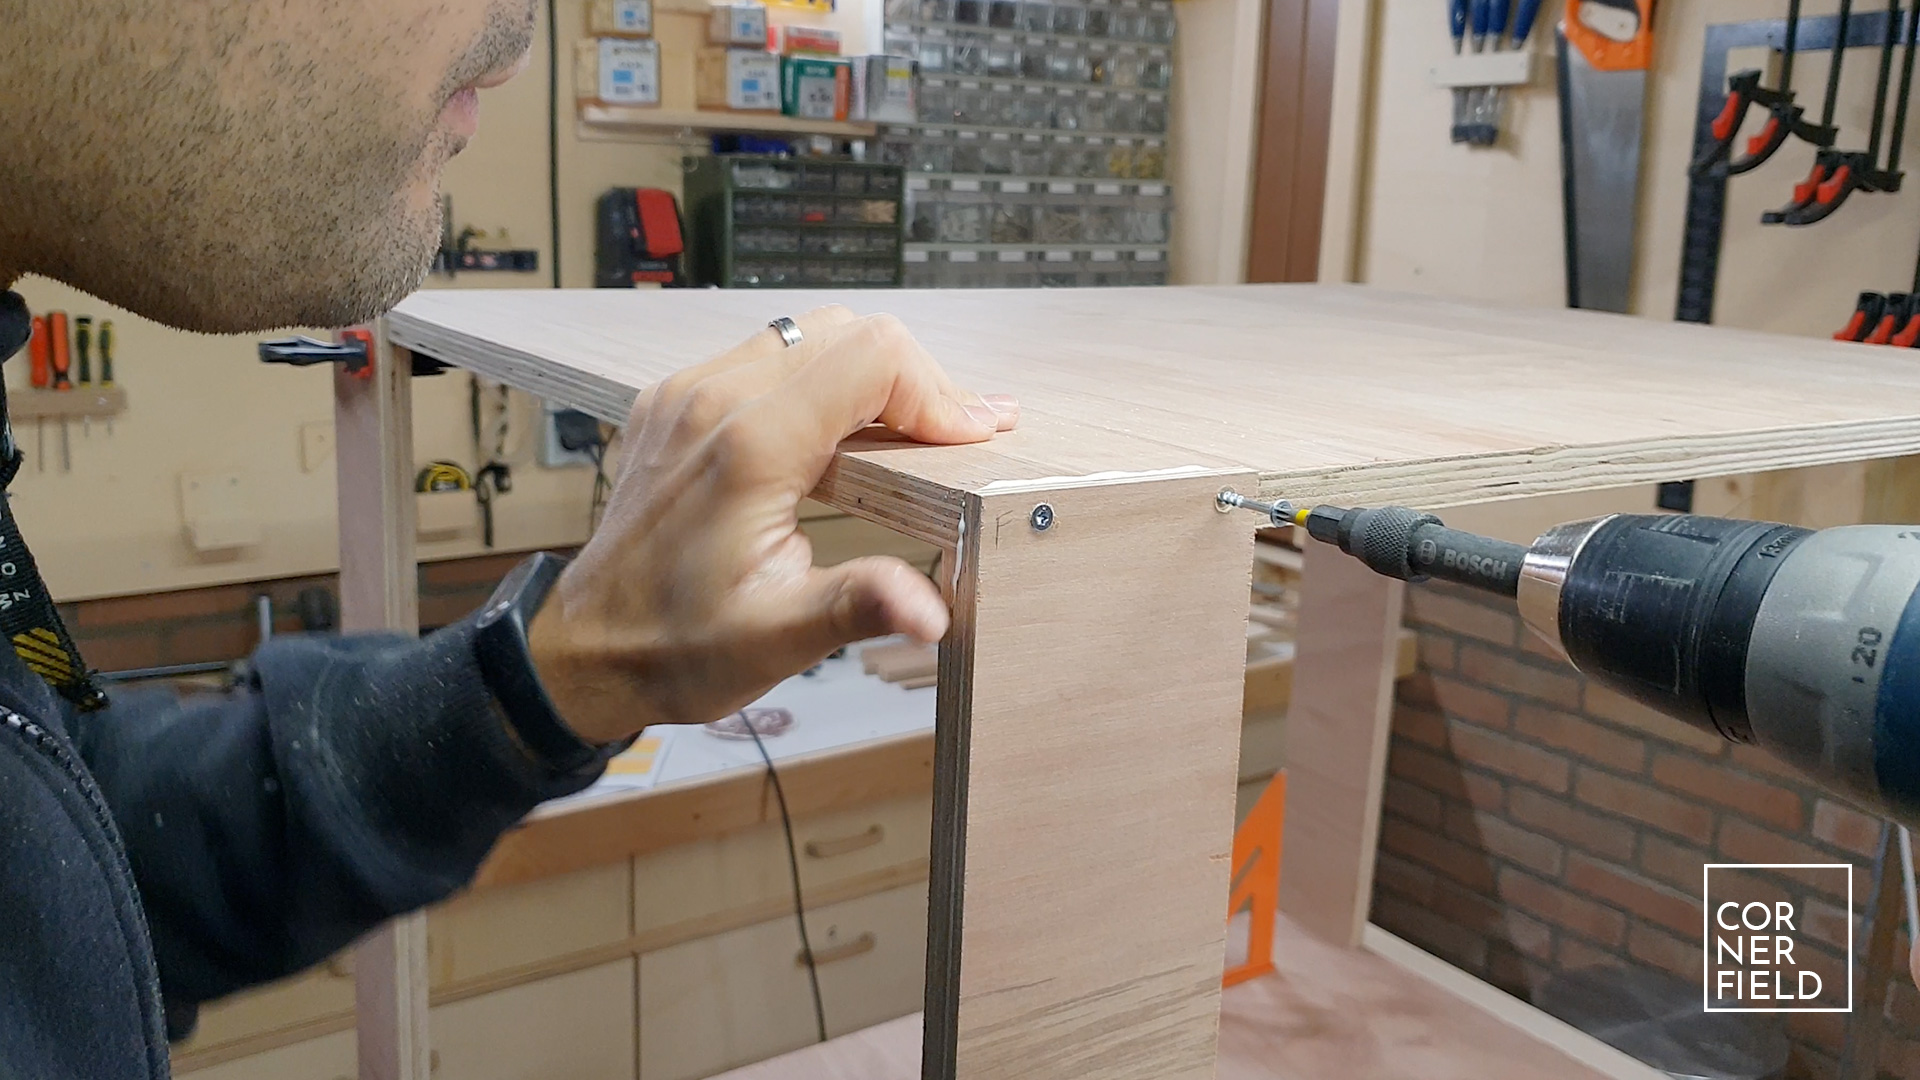
With the materials gathered I started by cutting the pieces for the frame that holds the drawers. This consists of two solid sides and four connecting stretchers. The pieces are joined using double rabbets. This means both the stretchers and sides receive a rabbet. For the top and bottom, I cut solid panels to size and fasten them using screws. In the vertical pieces, I put some pocket holes so it’s a little easier to secure the top. The main reason I chose this design is so I can easily replace the top.
Drawers
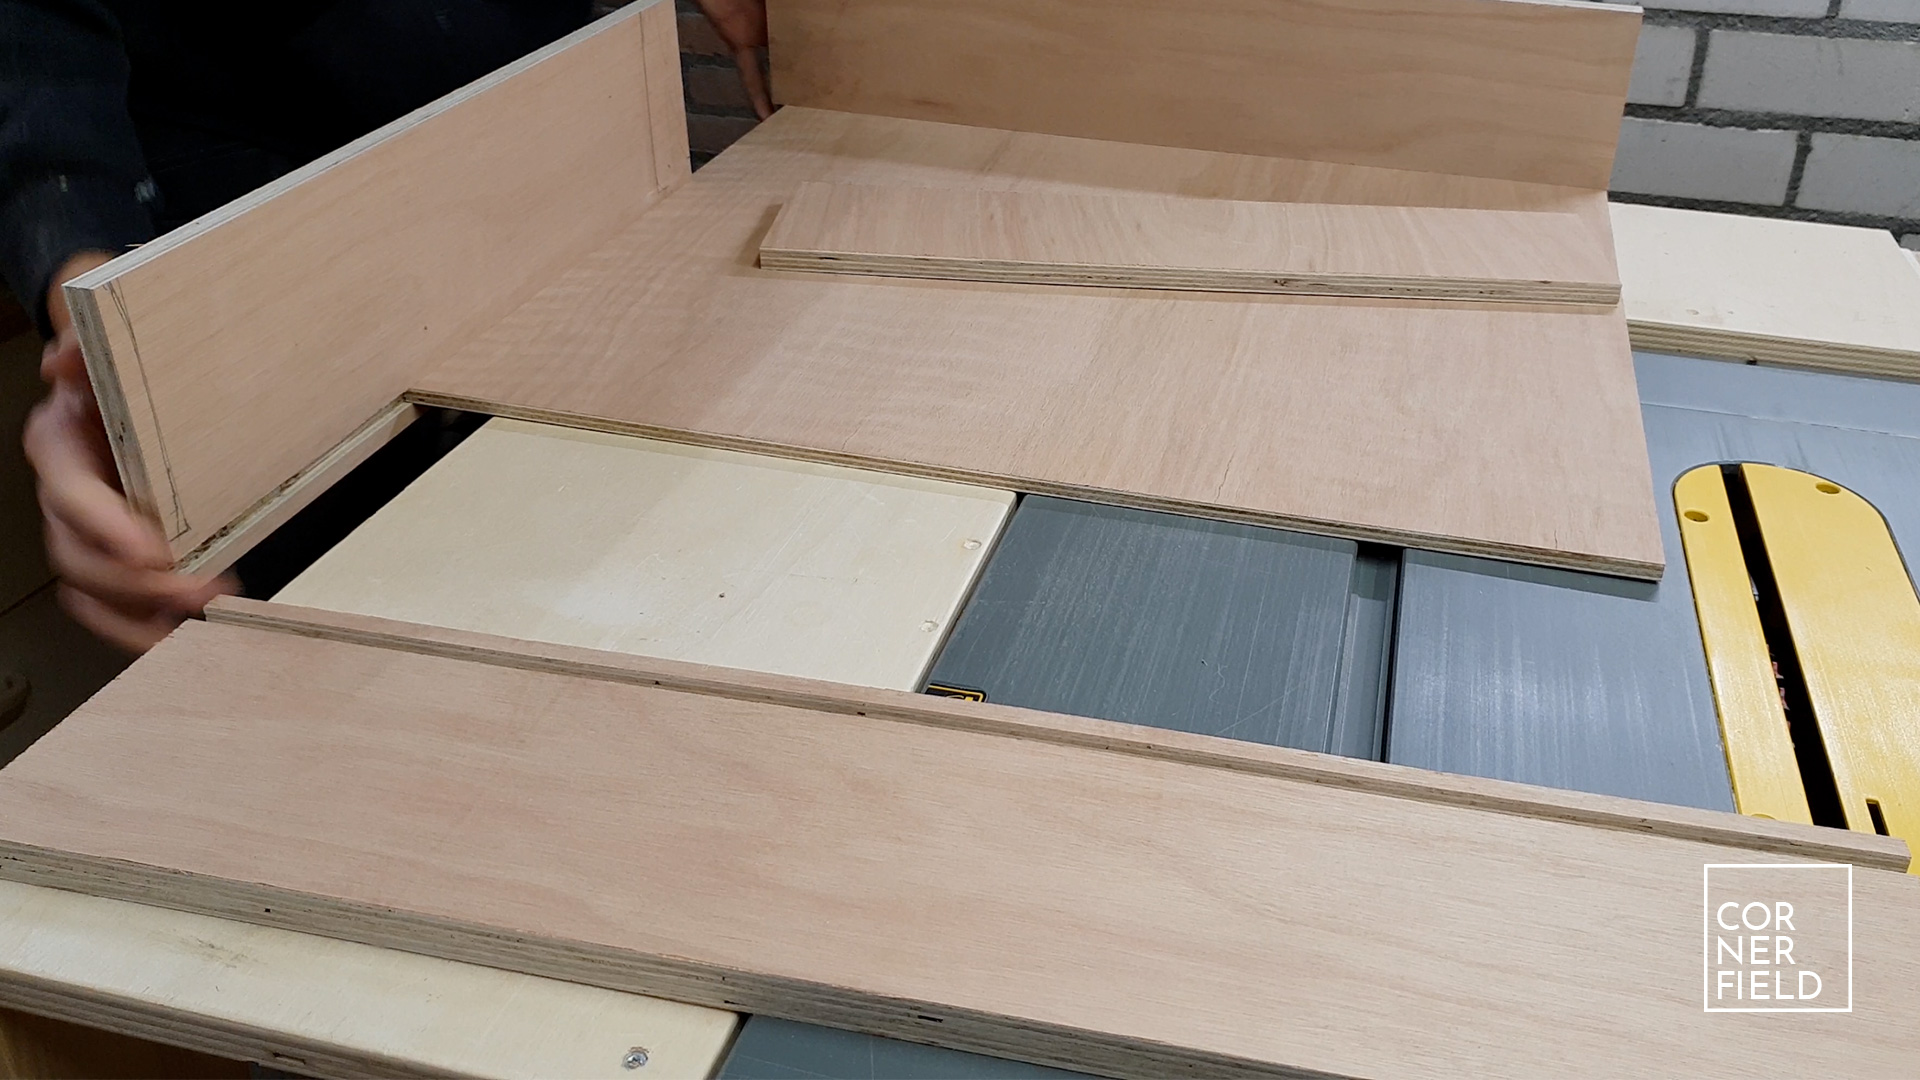
With the frame assembled I could measure the width and depth of the drawers and cut those pieces to length. Keep in mind that you need to leave room for the drawer slides, the back stretchers, and the false fronts. Next, you can also cut the height of all the pieces so all the panels are fully cut down into strips except for the bottoms. Before I’m cutting the bottoms I make the dado’s in the sides and back pieces. I use the table saw to do this but you can also use a router if you prefer. With the fence set to cut off about the thickness of the bottom, I make my first shallow cut. It’s about half the thickness of the wood deep.
In numbers that’s 12mm or 1/2 inch between the fence and the blade and the height of the blade at 8mm or 3/8 of an inch. After the first cut, I move the fence and make another cut until I’m close to the thickness of the bottom piece. Once I’m close I check with every adjustment to see if it fits. You want a snug fit but not an impossible one. With the fit determined I can cut all the slots.

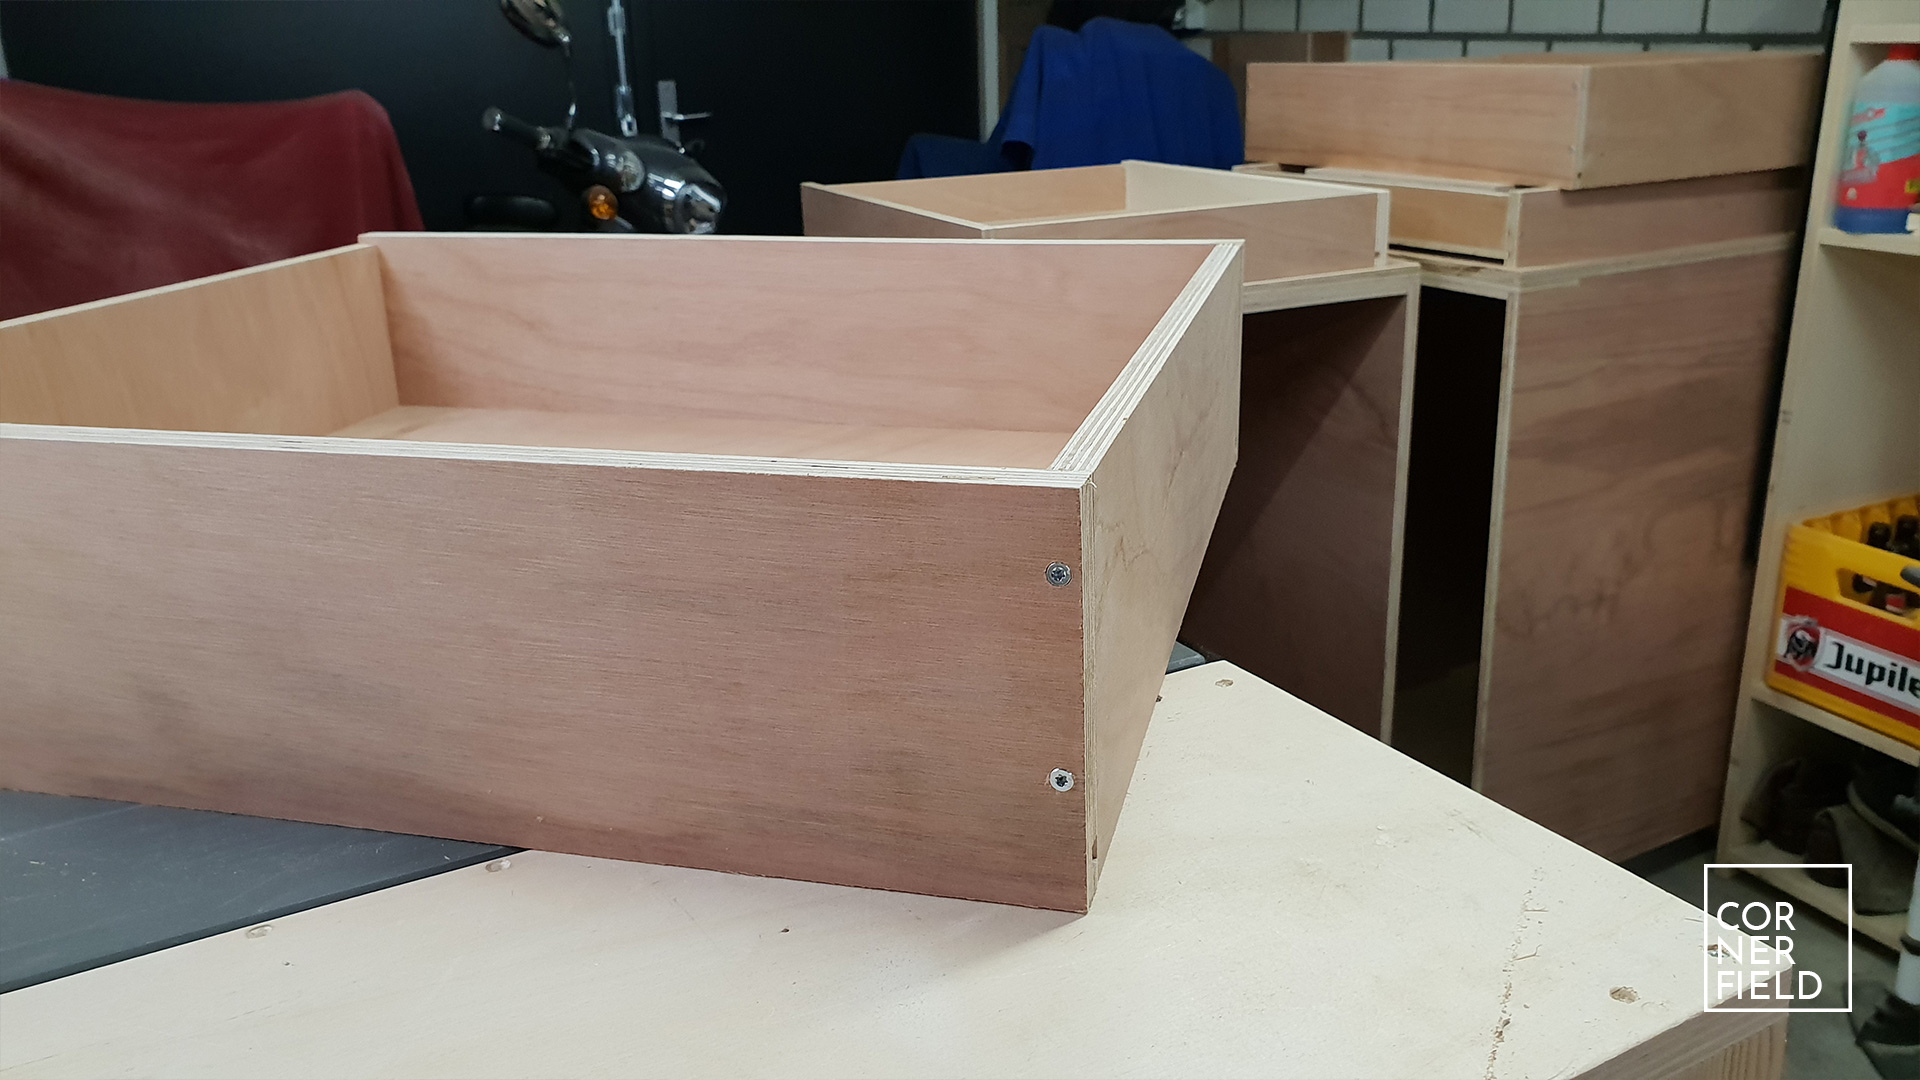
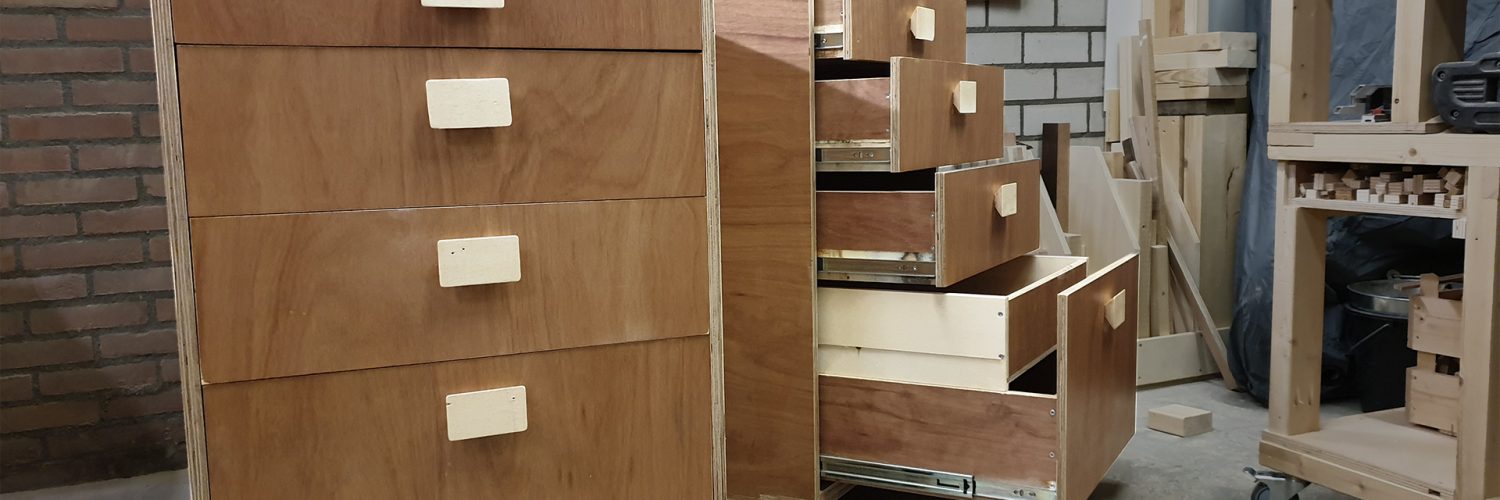
Now I dry assemble a drawer so I can measure the dimensions for the bottom piece. With those cut, the assembly can begin. This is done by fastening the back and sides to each other with screws and glue, sliding in the bottom and lastly fixing a front piece on top of the bottom panel. This allows for the bottom to easily be replaced if it breaks and it’s more than strong enough to hold the weight I’m going to put in it.
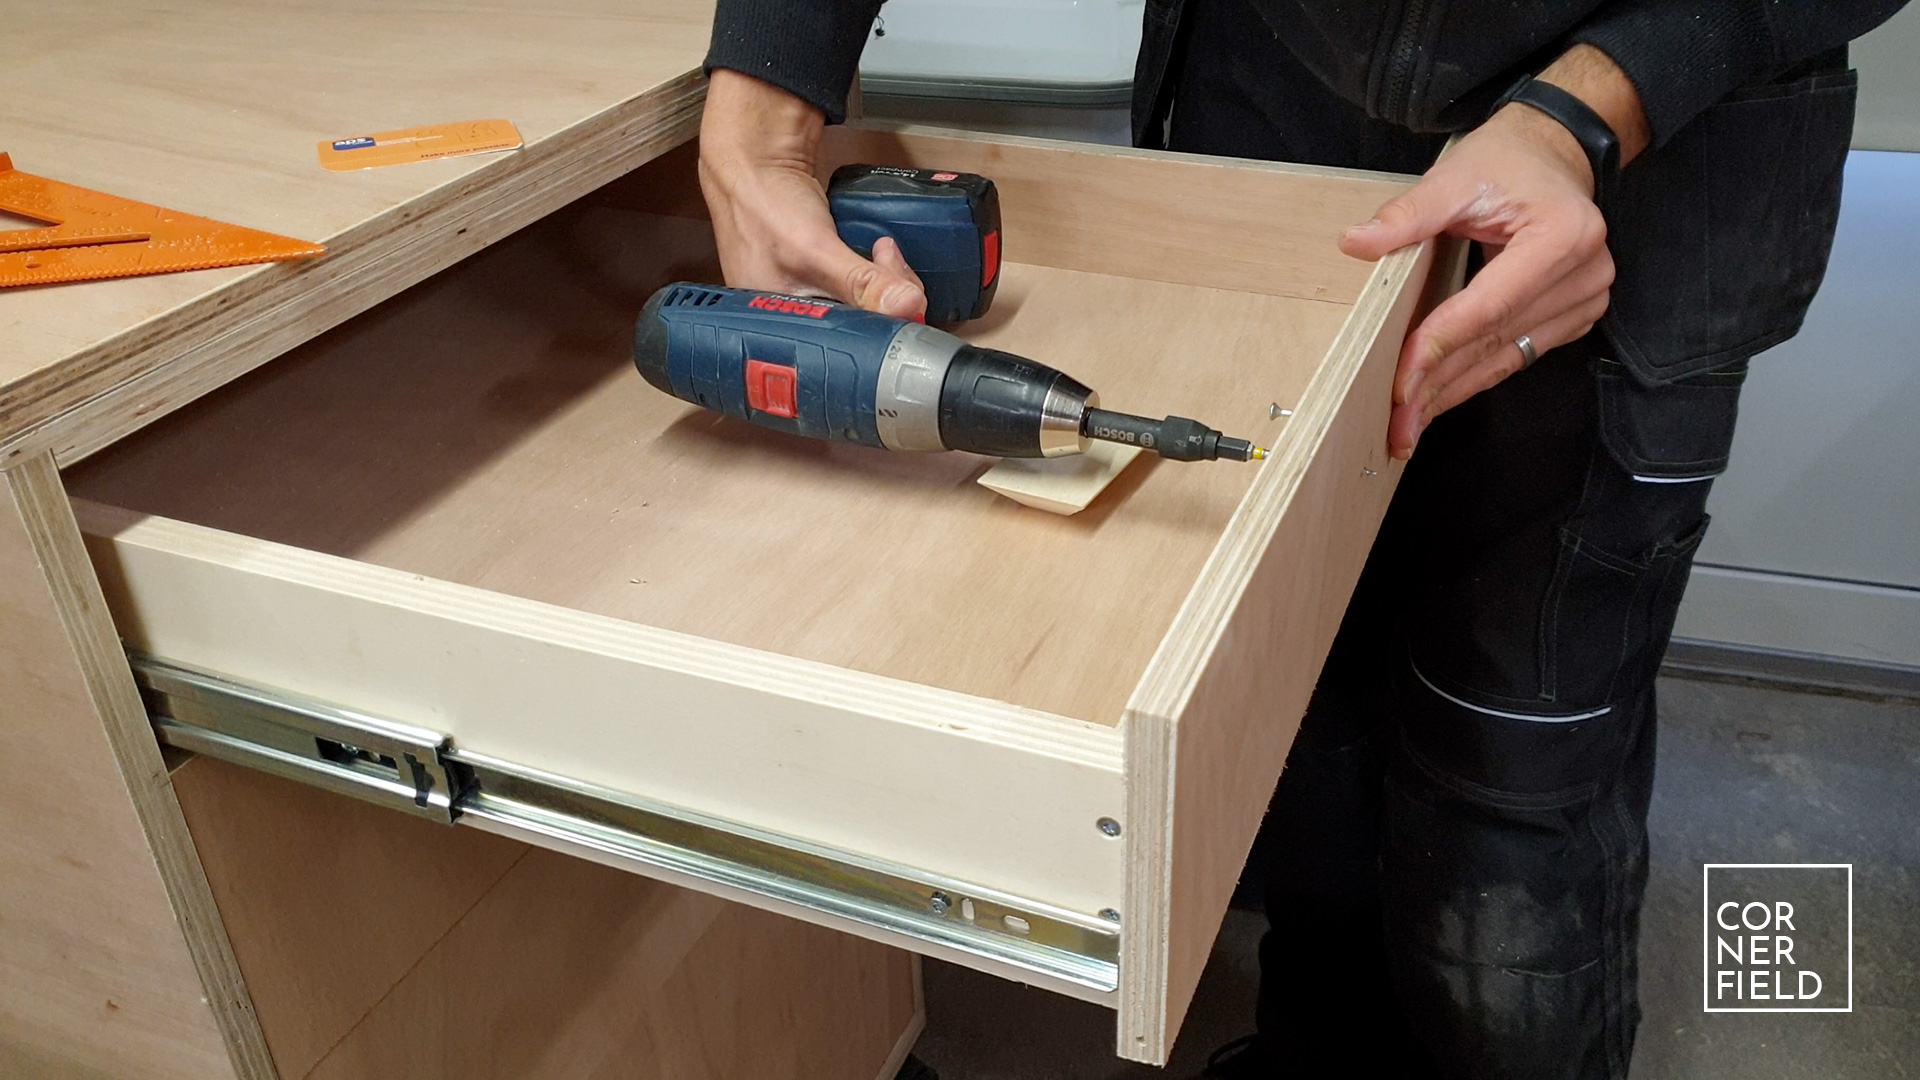
Installation
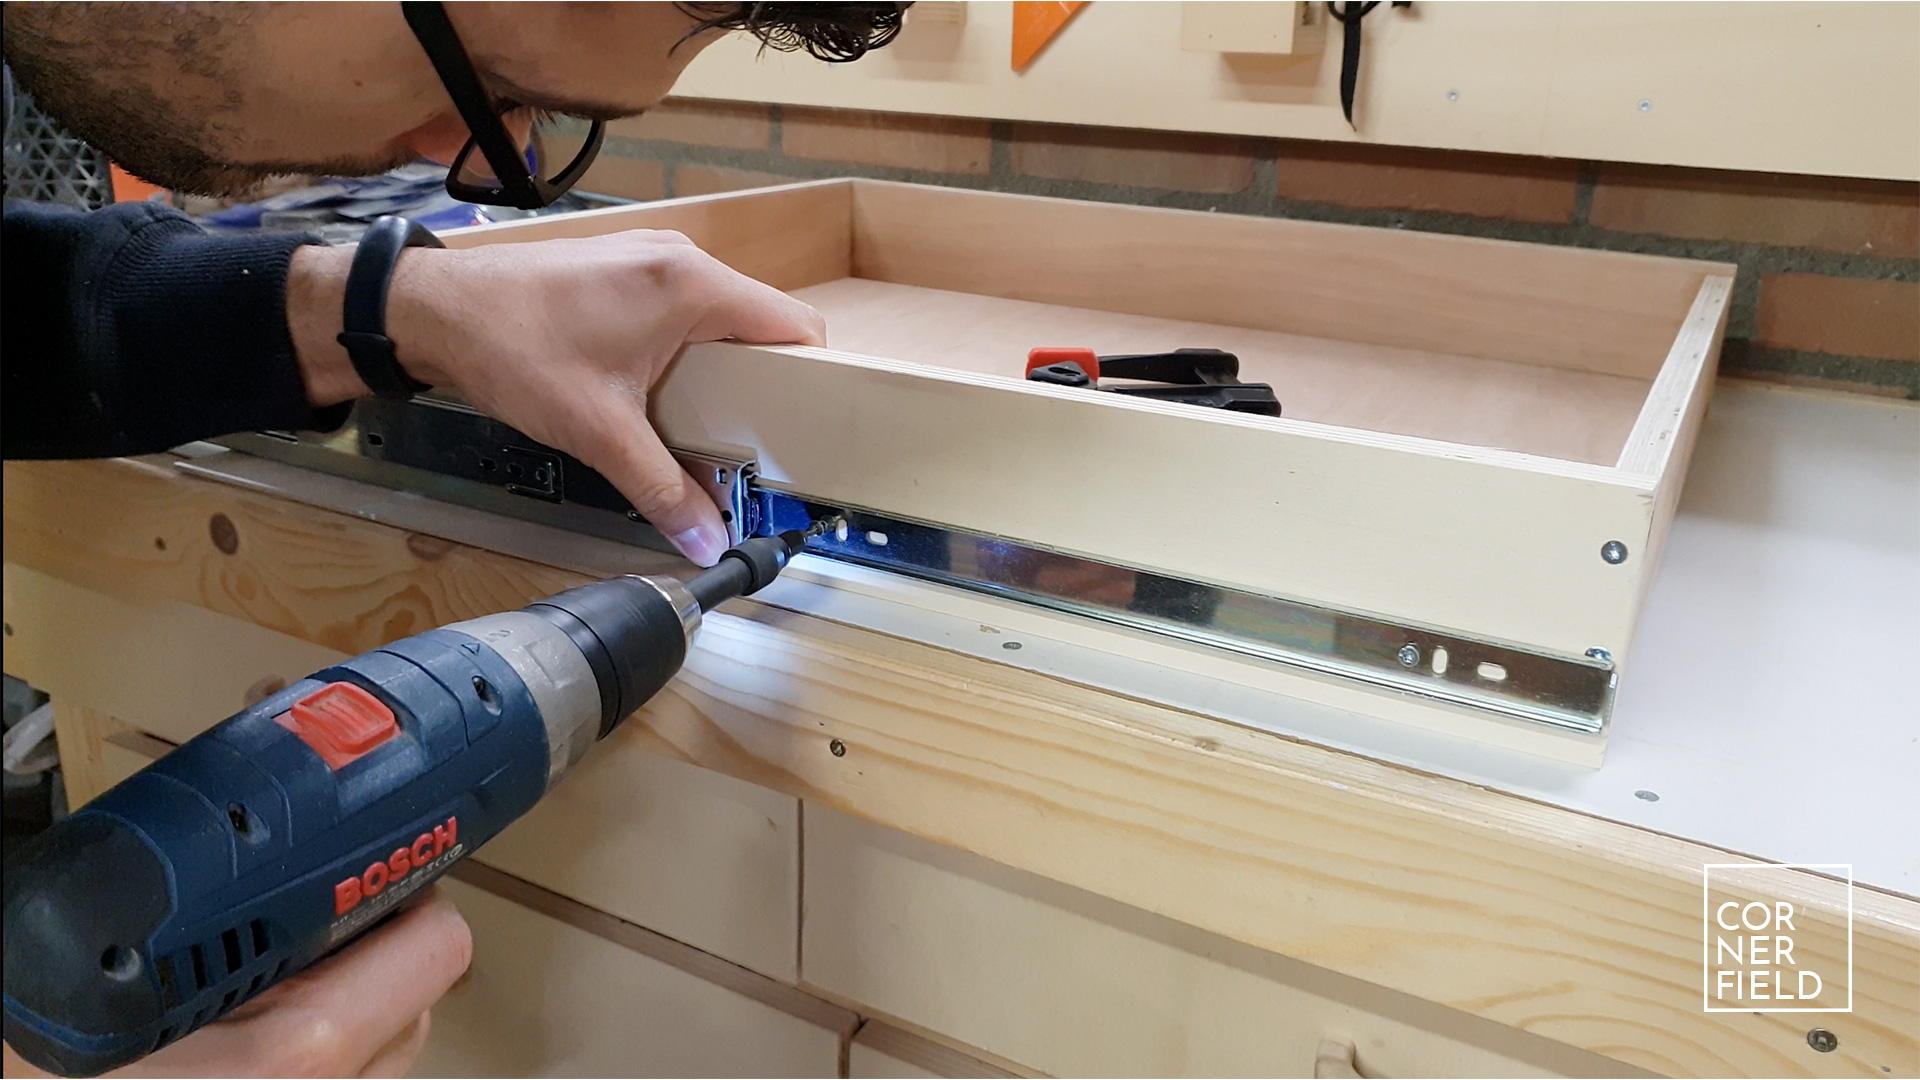
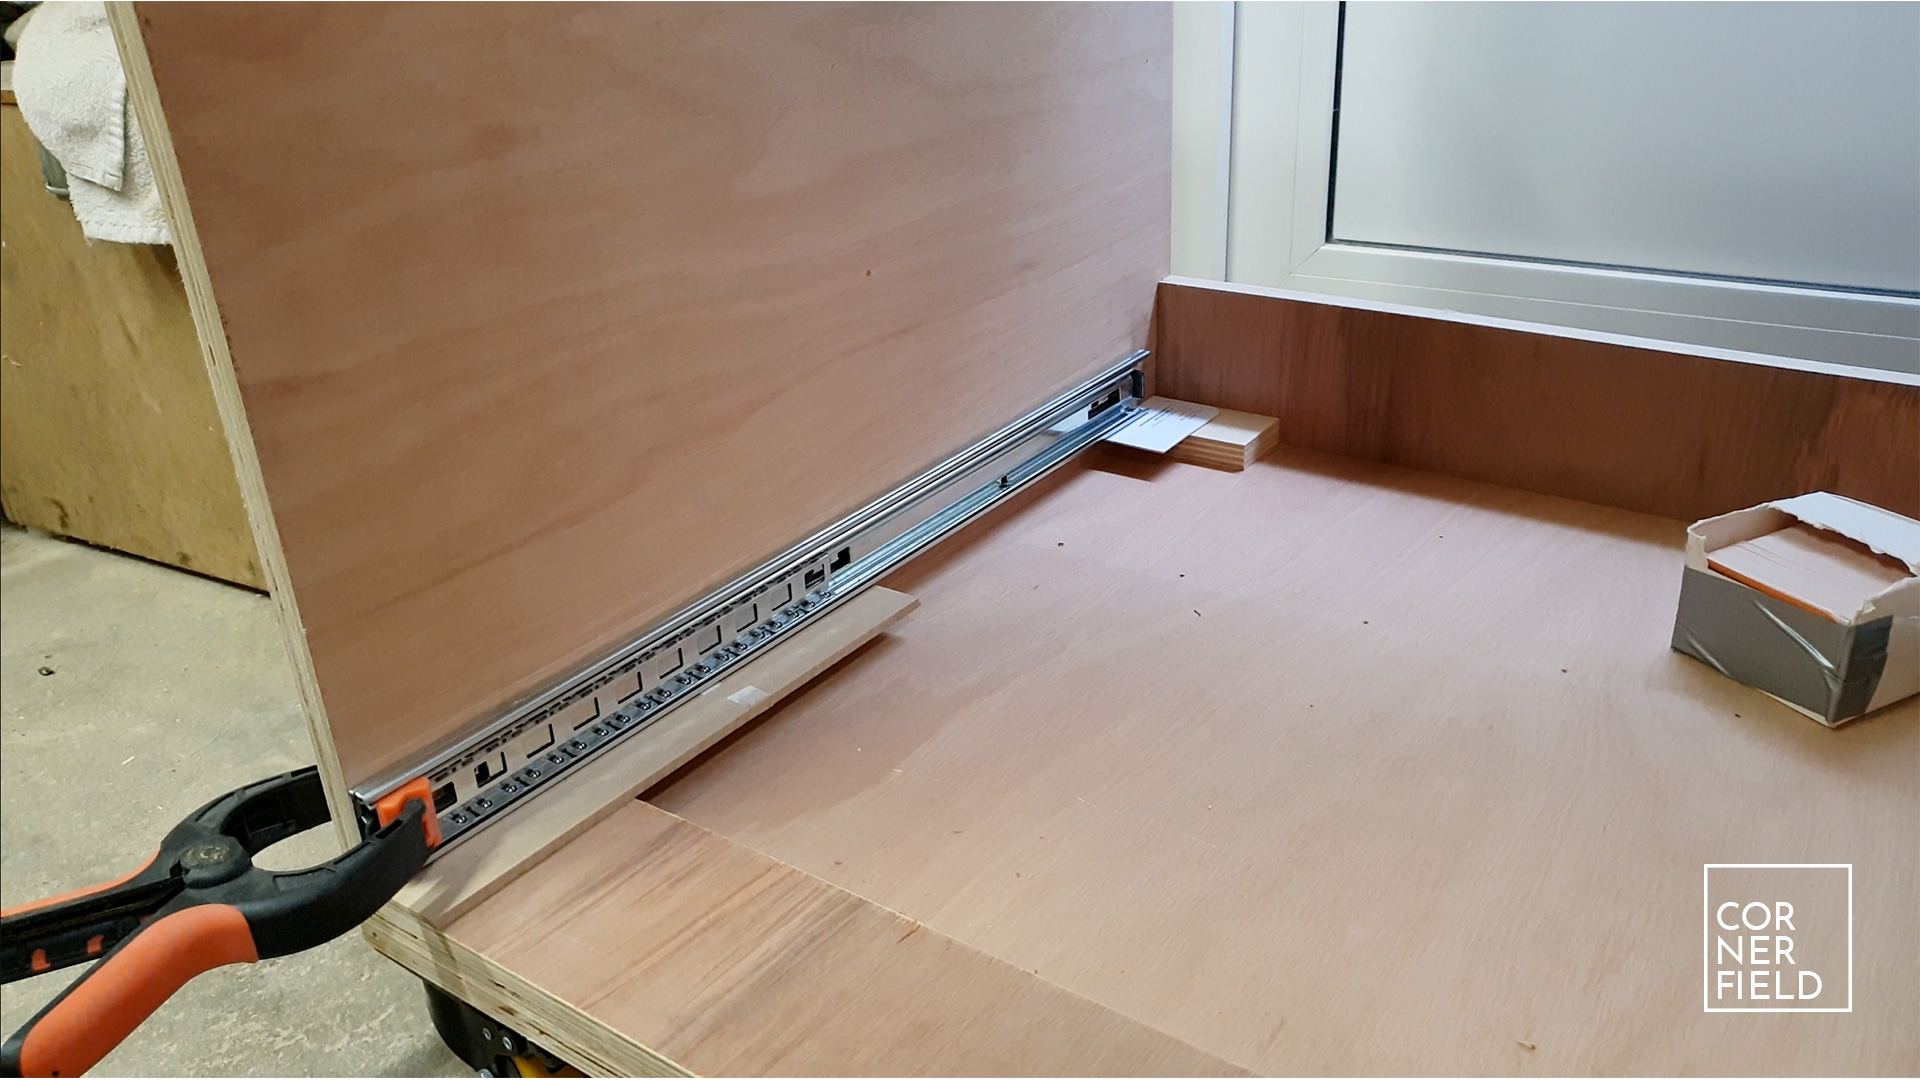
After everything is assembled the drawers can be installed. I do this by first attaching a slide (or runner) to the side of the drawer. Important to note is that you can only do this on a flat surface otherwise, your drawer won’t slide horizontally. Now I place the piece that is fixed to the cabinet on another spacer, level at the bottom of the cabinet. That is then screwed down using about 5 screws, or less if you only have light things inside your drawer. With the first drawer in I work my way up, spacing every drawer up from the last one. Keep in mind here that you need to work with the height of your fronts to get the correct spacing.
False Fronts
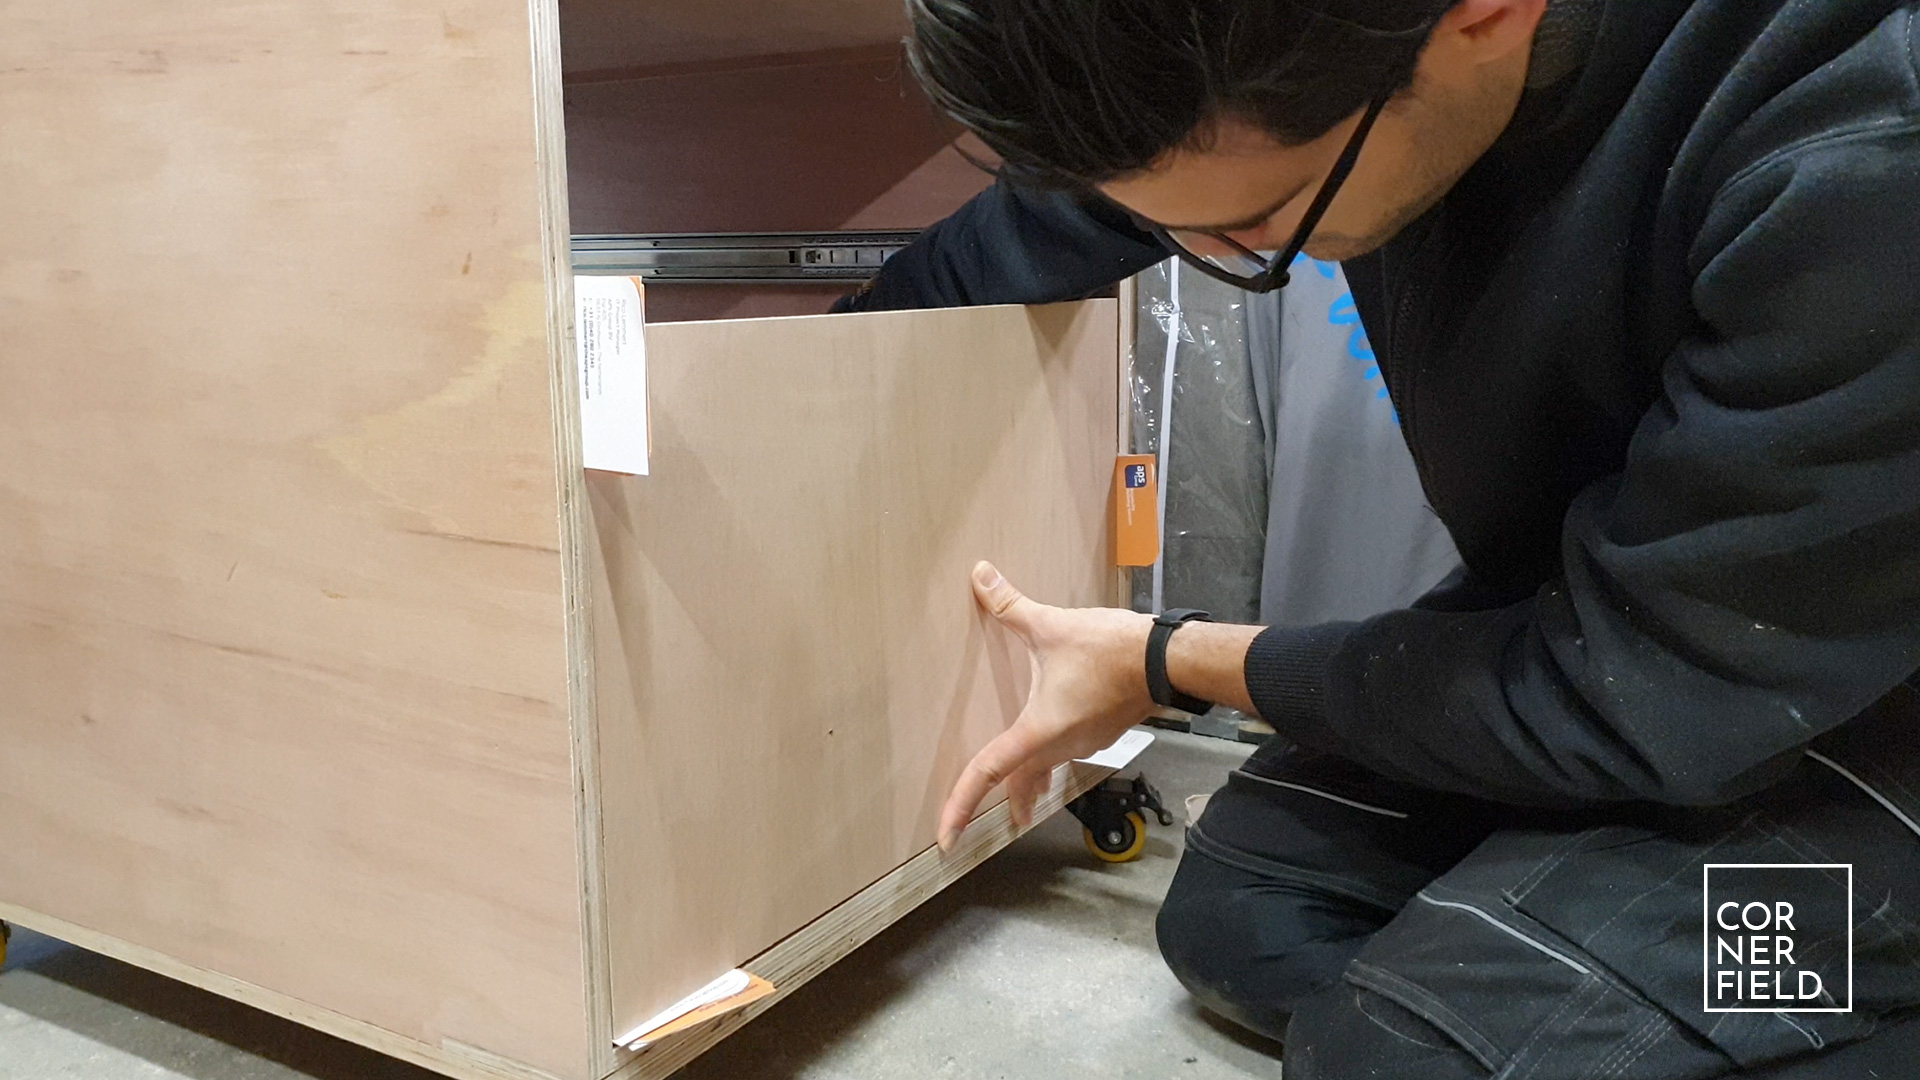
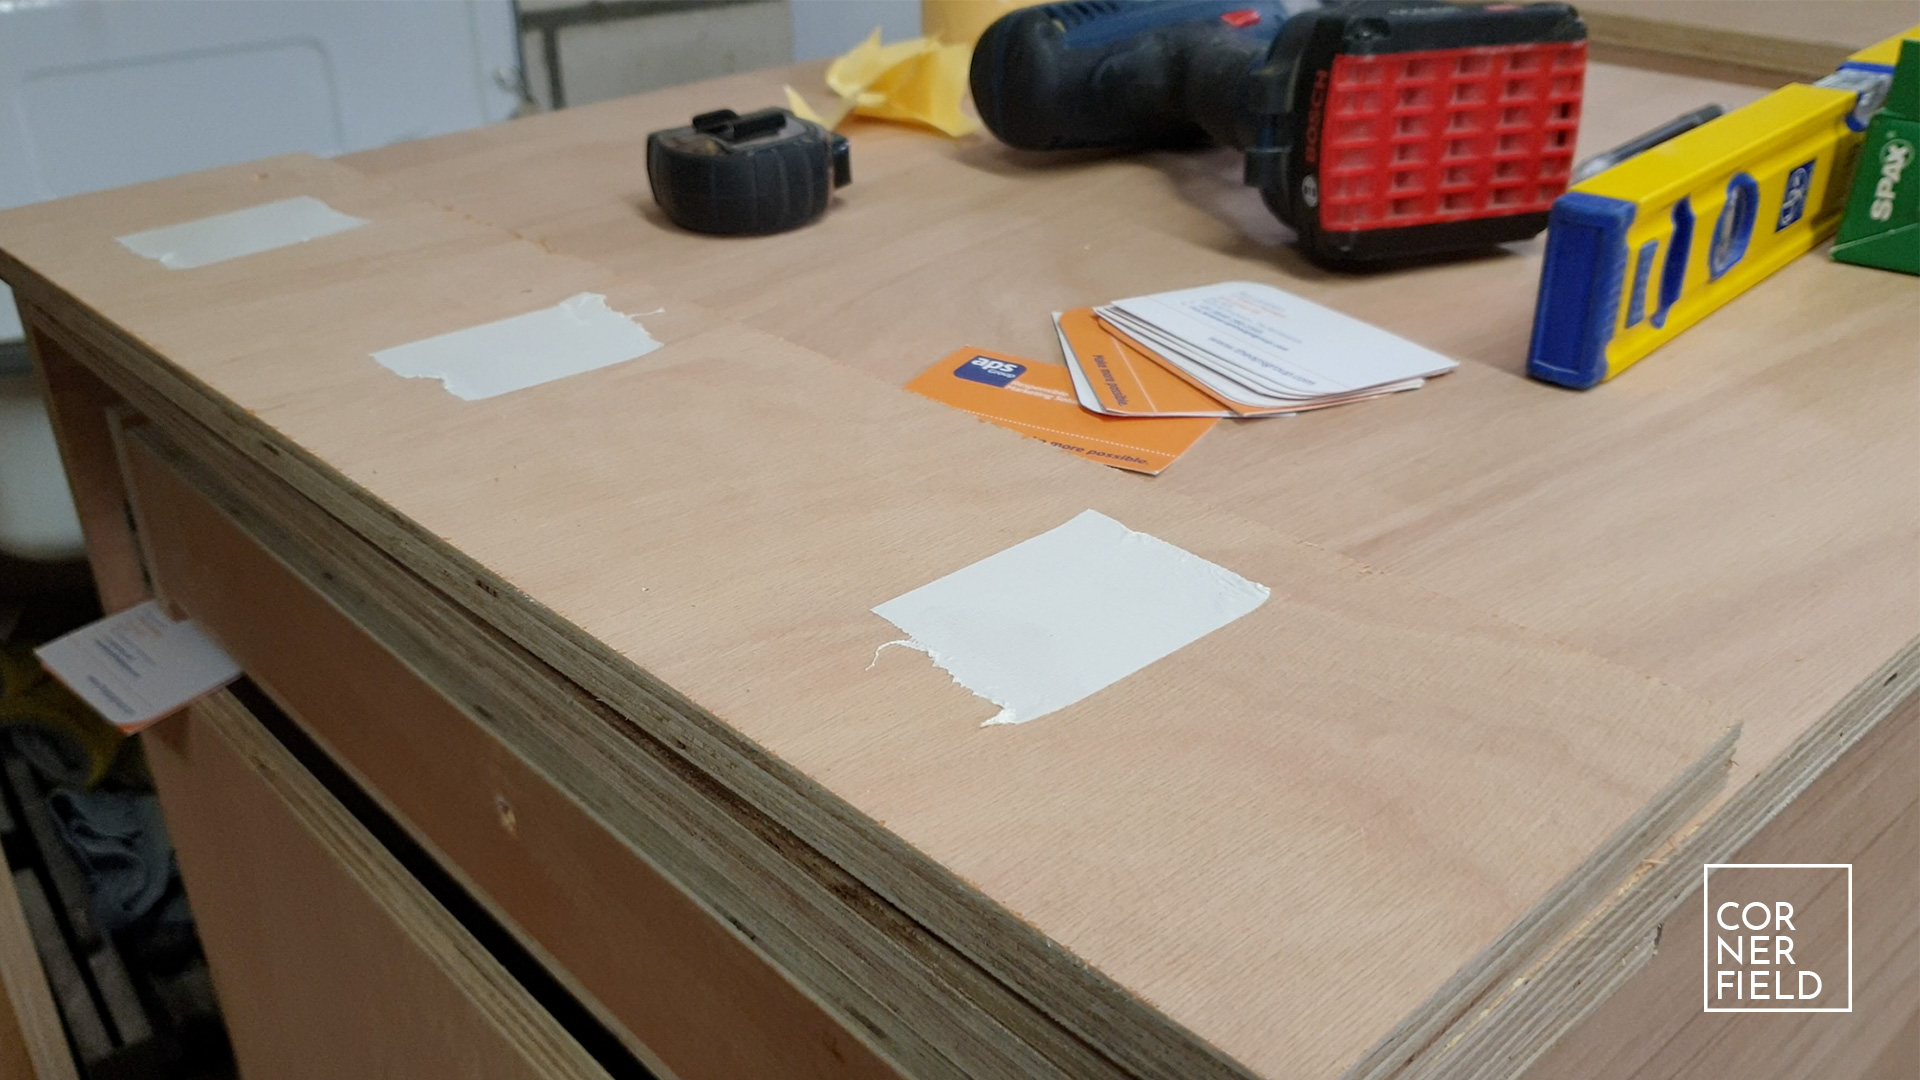
Once you managed to get all the drawers in it’s time to attach the false fronts. I left mine oversized and will cut them to the exact size in this stage. Since my shop is very dusty I’m aiming to the fronts with a very tight margin inside the cabinet. To space them out I use business cards. They have a nice consistent thickness and I have plenty laying around. To make it easy I mark the exact dimension on the side of the cabinet and transfer those lines onto my spaced fronts. Attaching them is done with screws that are countersunk from inside the drawer. The same method works for the drawer pulls. Tip for the last drawer. Temporarily attach it using tape, slide it out and then fasten the screws. Otherwise, it’s tricky to hold and fasten at the same time.

Drawer pulls
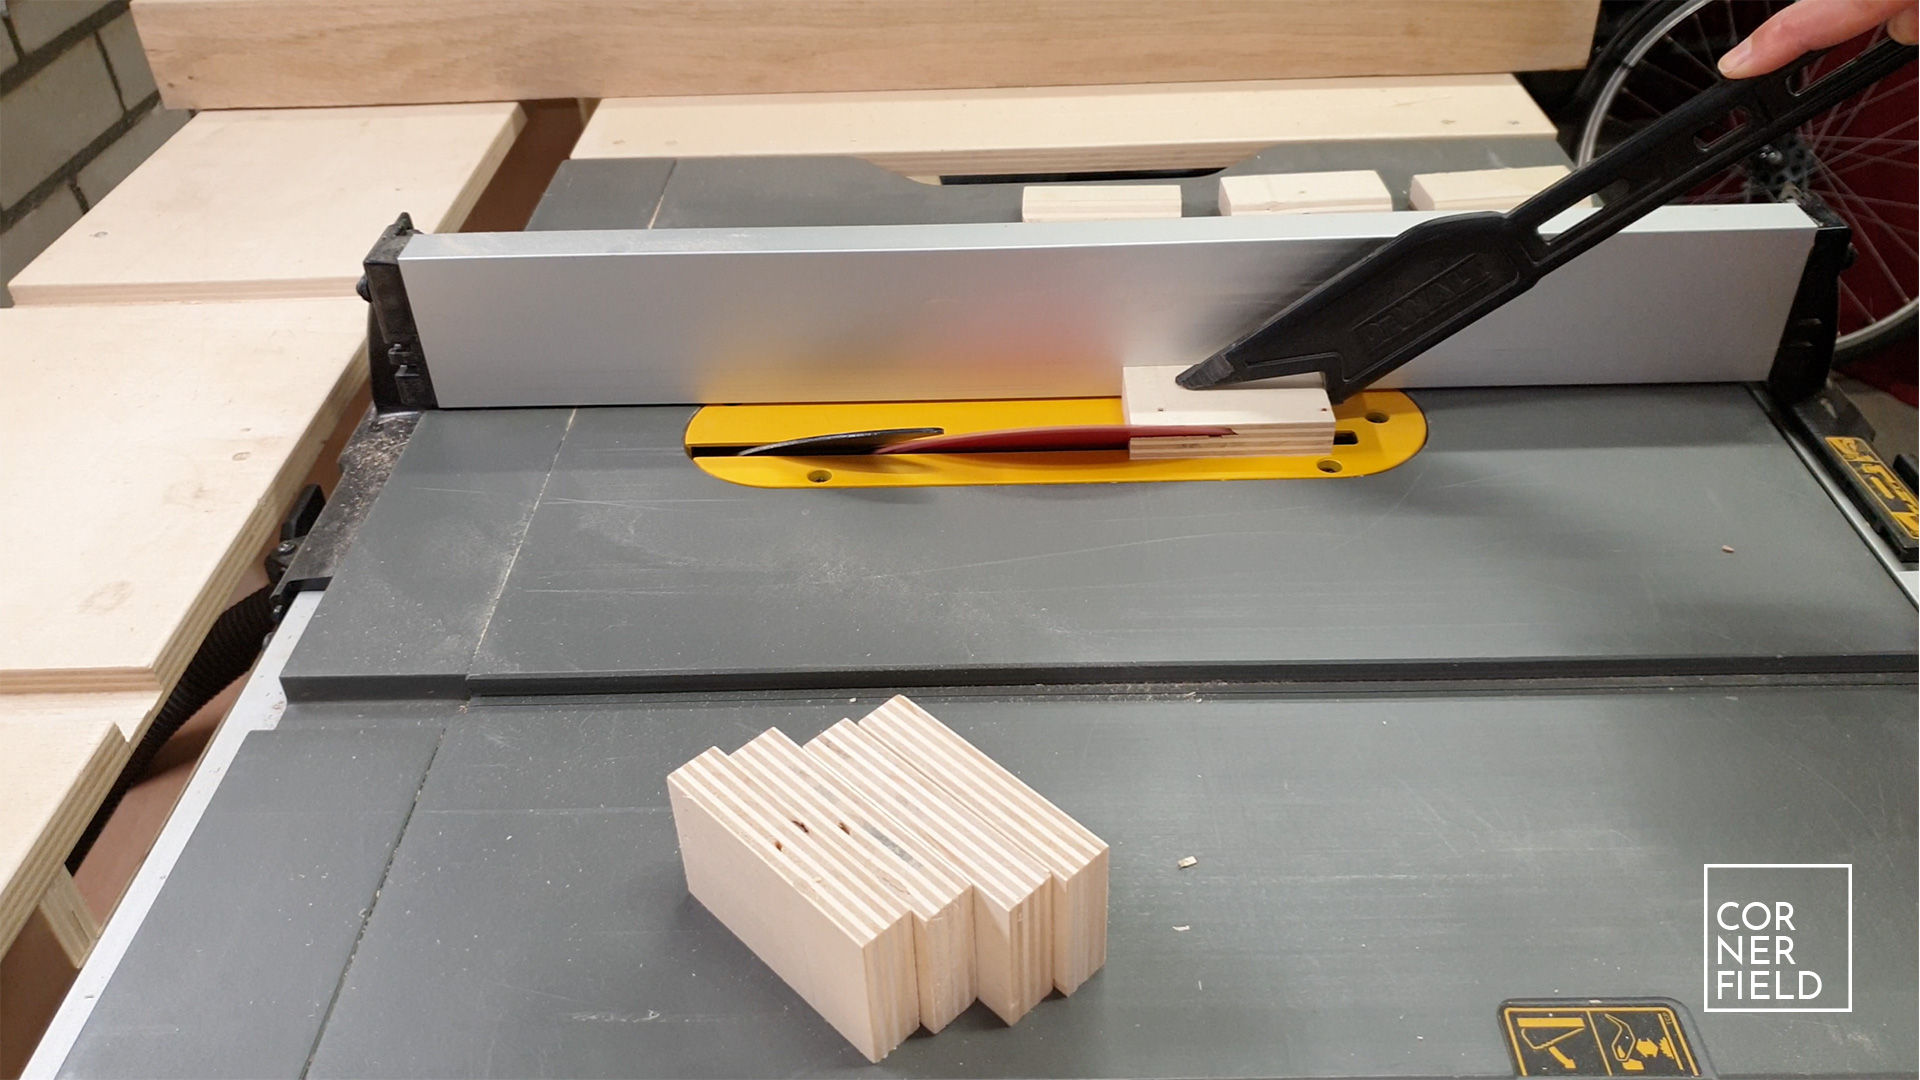
The pulls that I made are just simple blocks of plywood that are mitered at the corners as I mentioned before. I got the inspiration for this from another YouTuber but forgot where I saw it. Anyway, I made them using my table saw but please be careful if you want to do this yourself. Power tools are dangerous and you respect them at all times. I say this now because I’m fairly close to the blade for these cuts. Only attempt this if you are confident and comfortable doing this.


Last it’s a matter of sanding everything down and applying some finish. In my case, it was a varnish. Two coats with a lite sanding in between were good enough for me.
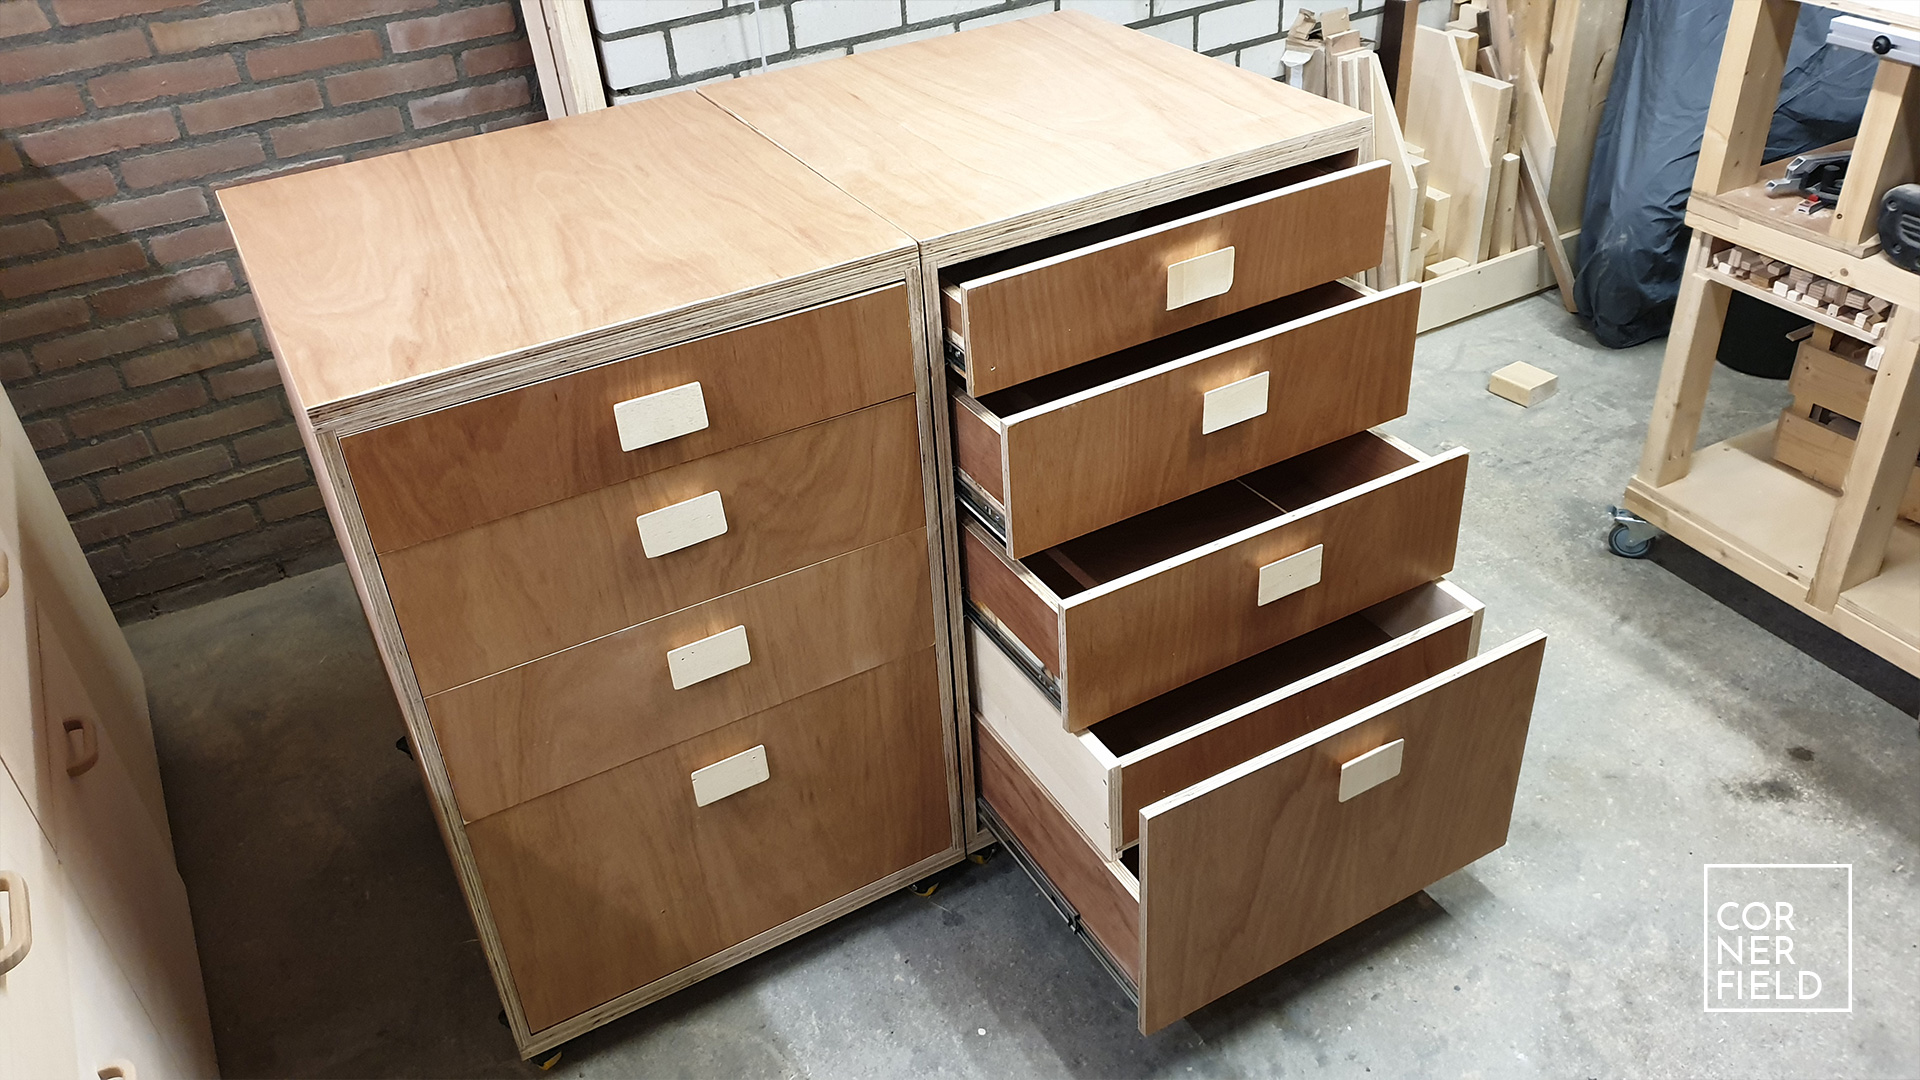
Result
At this point, I’m happy with the cabinets but time will tell if it stays that way.
Links & Download
If you want to build something similar I’ve linked my 3D model below as a download.
SketchUp 3D-model (including cut list)
Instagram 1 | 2 | 3 | 4 | 5 | 6 | 7
Hope this post has inspired you to make something!
And don’t forget to follow your excitement 

Hi, i was watching your video on you tube for the Mobile Tool Cabinets for additional storage and tool space. when i download the SKP file it is for a toy chest.
thank you Steed @ steed.wells@gmail.com
Thanks for letting me know! I fixed the link in the article to point to the correct file.